
For what ever reason after over two months with no orders I got 4 orders for the RGB case in one week. I Surprisingly, got them all printed and they will be in the mail on Monday.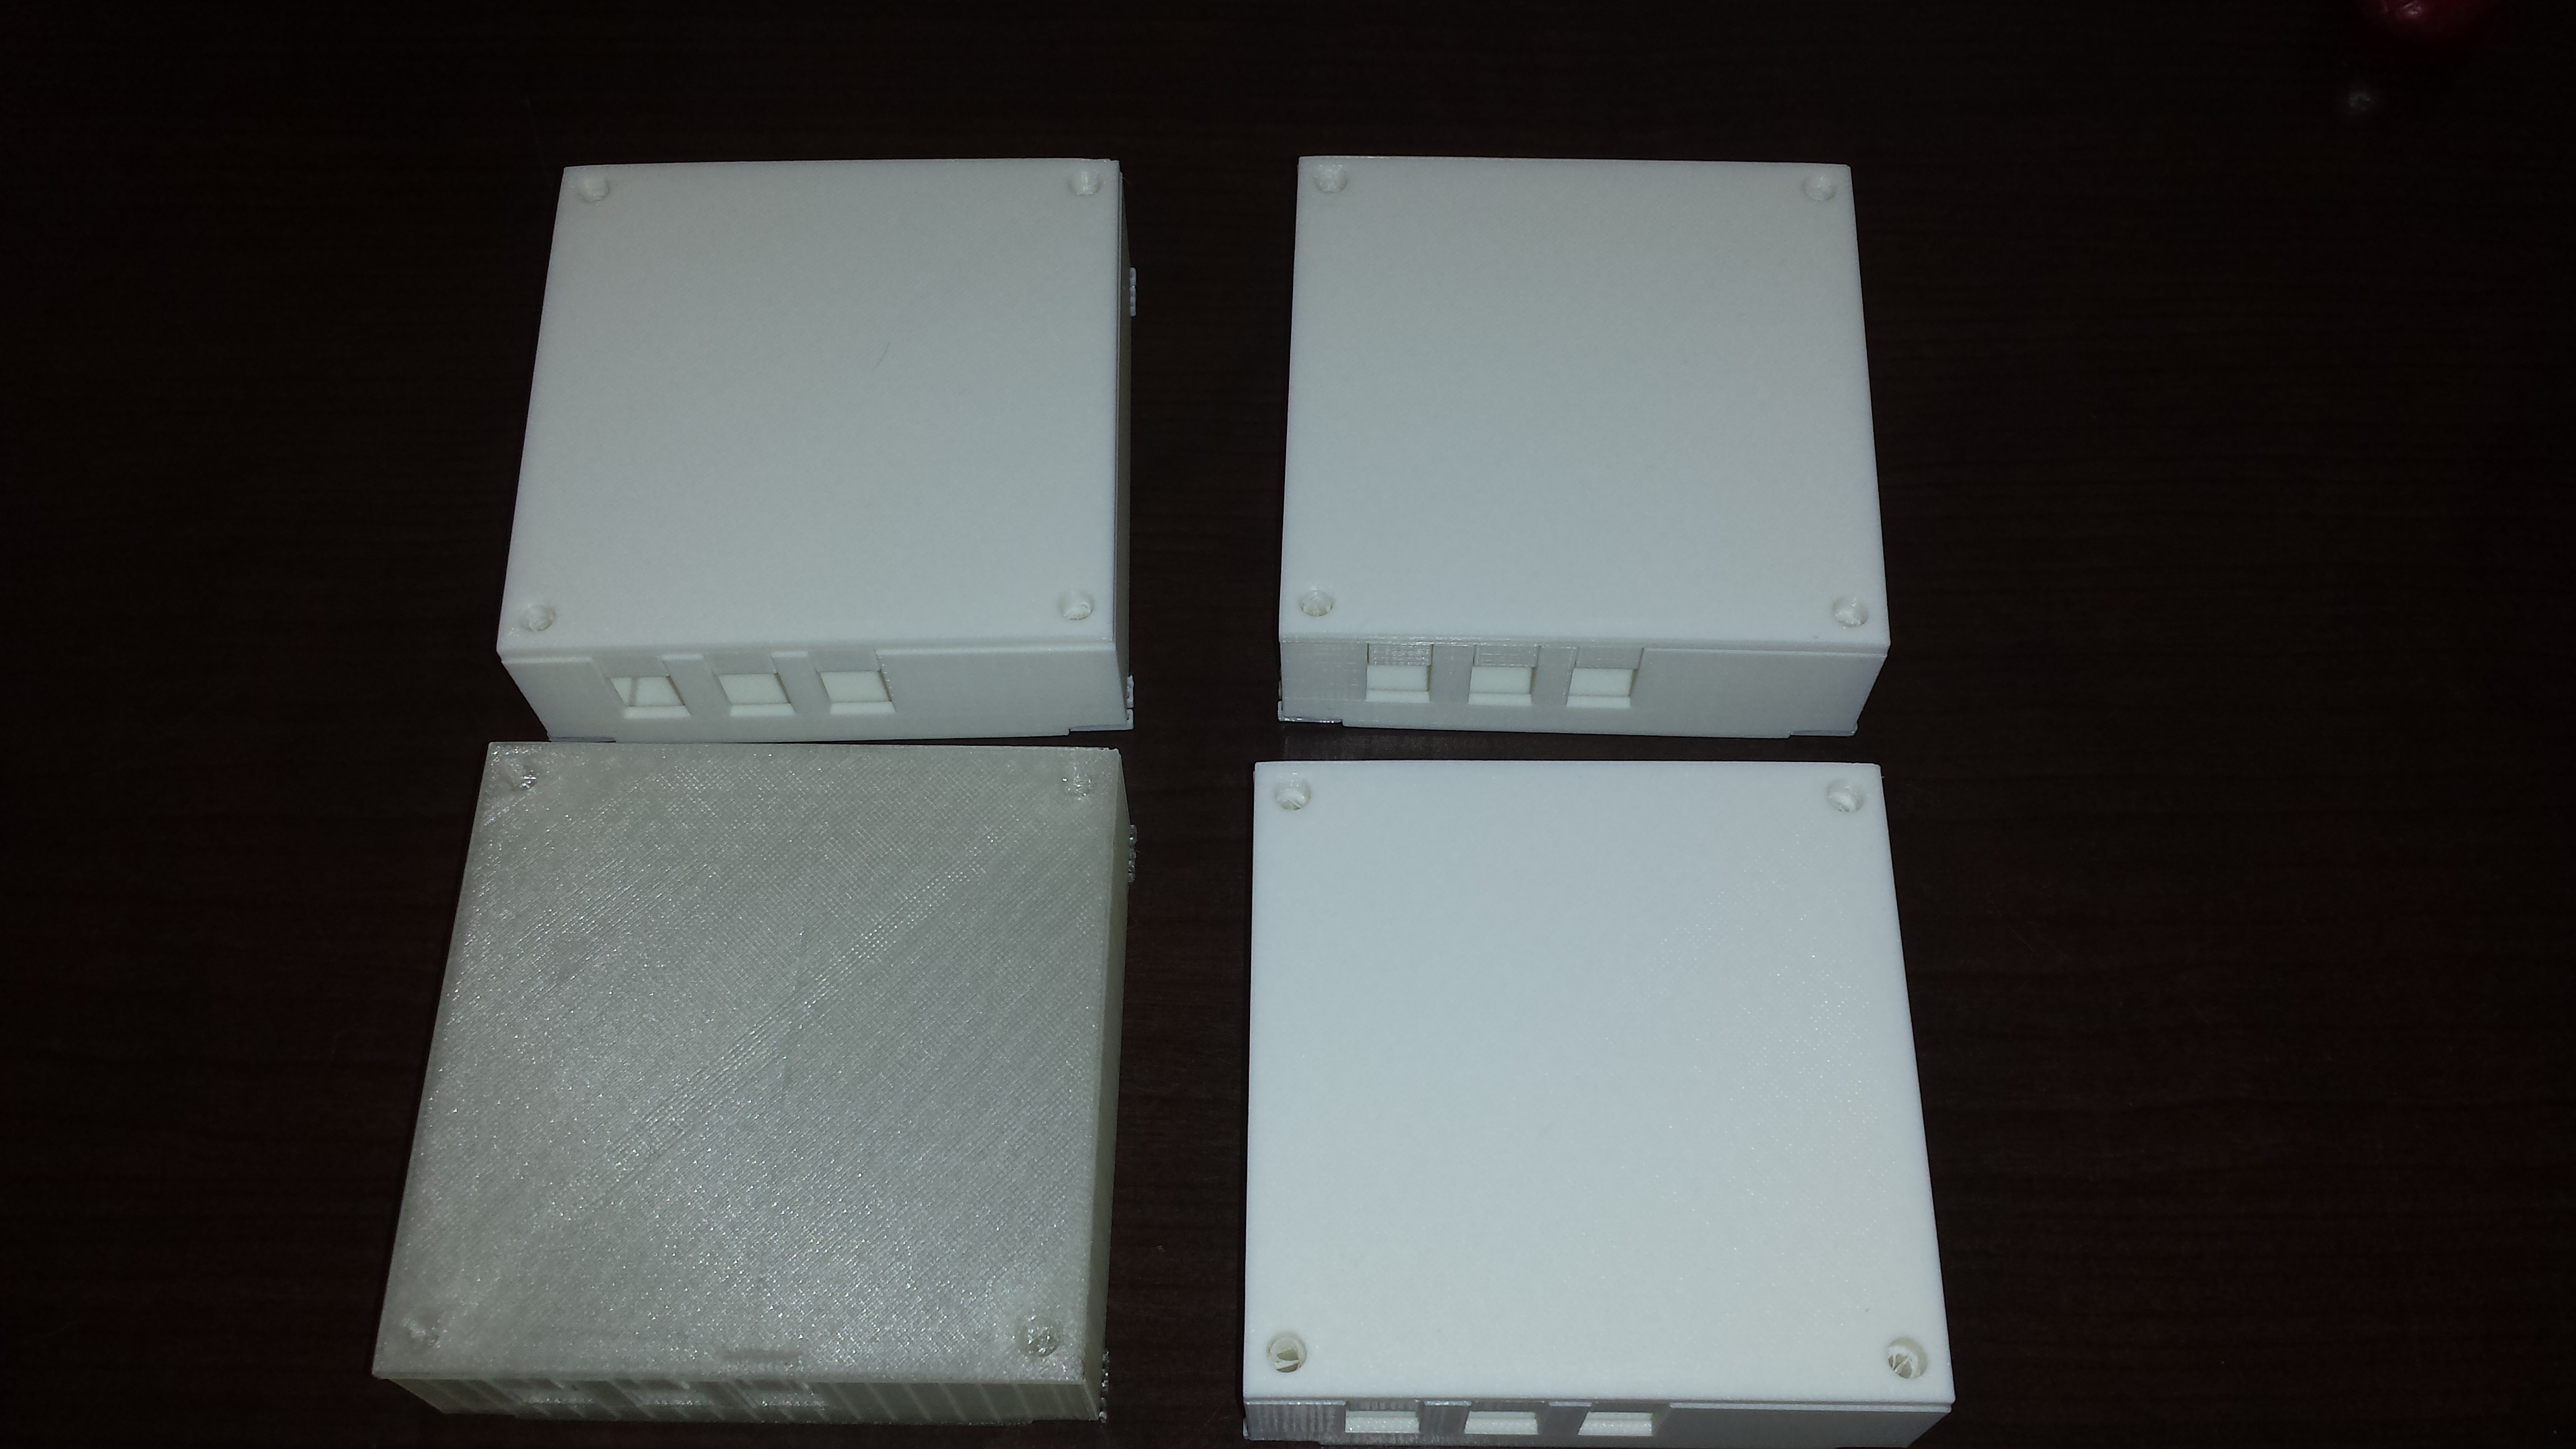
Category Archives: 3D Printing Service
Apple Disk 2 Emulator Case – Update 1
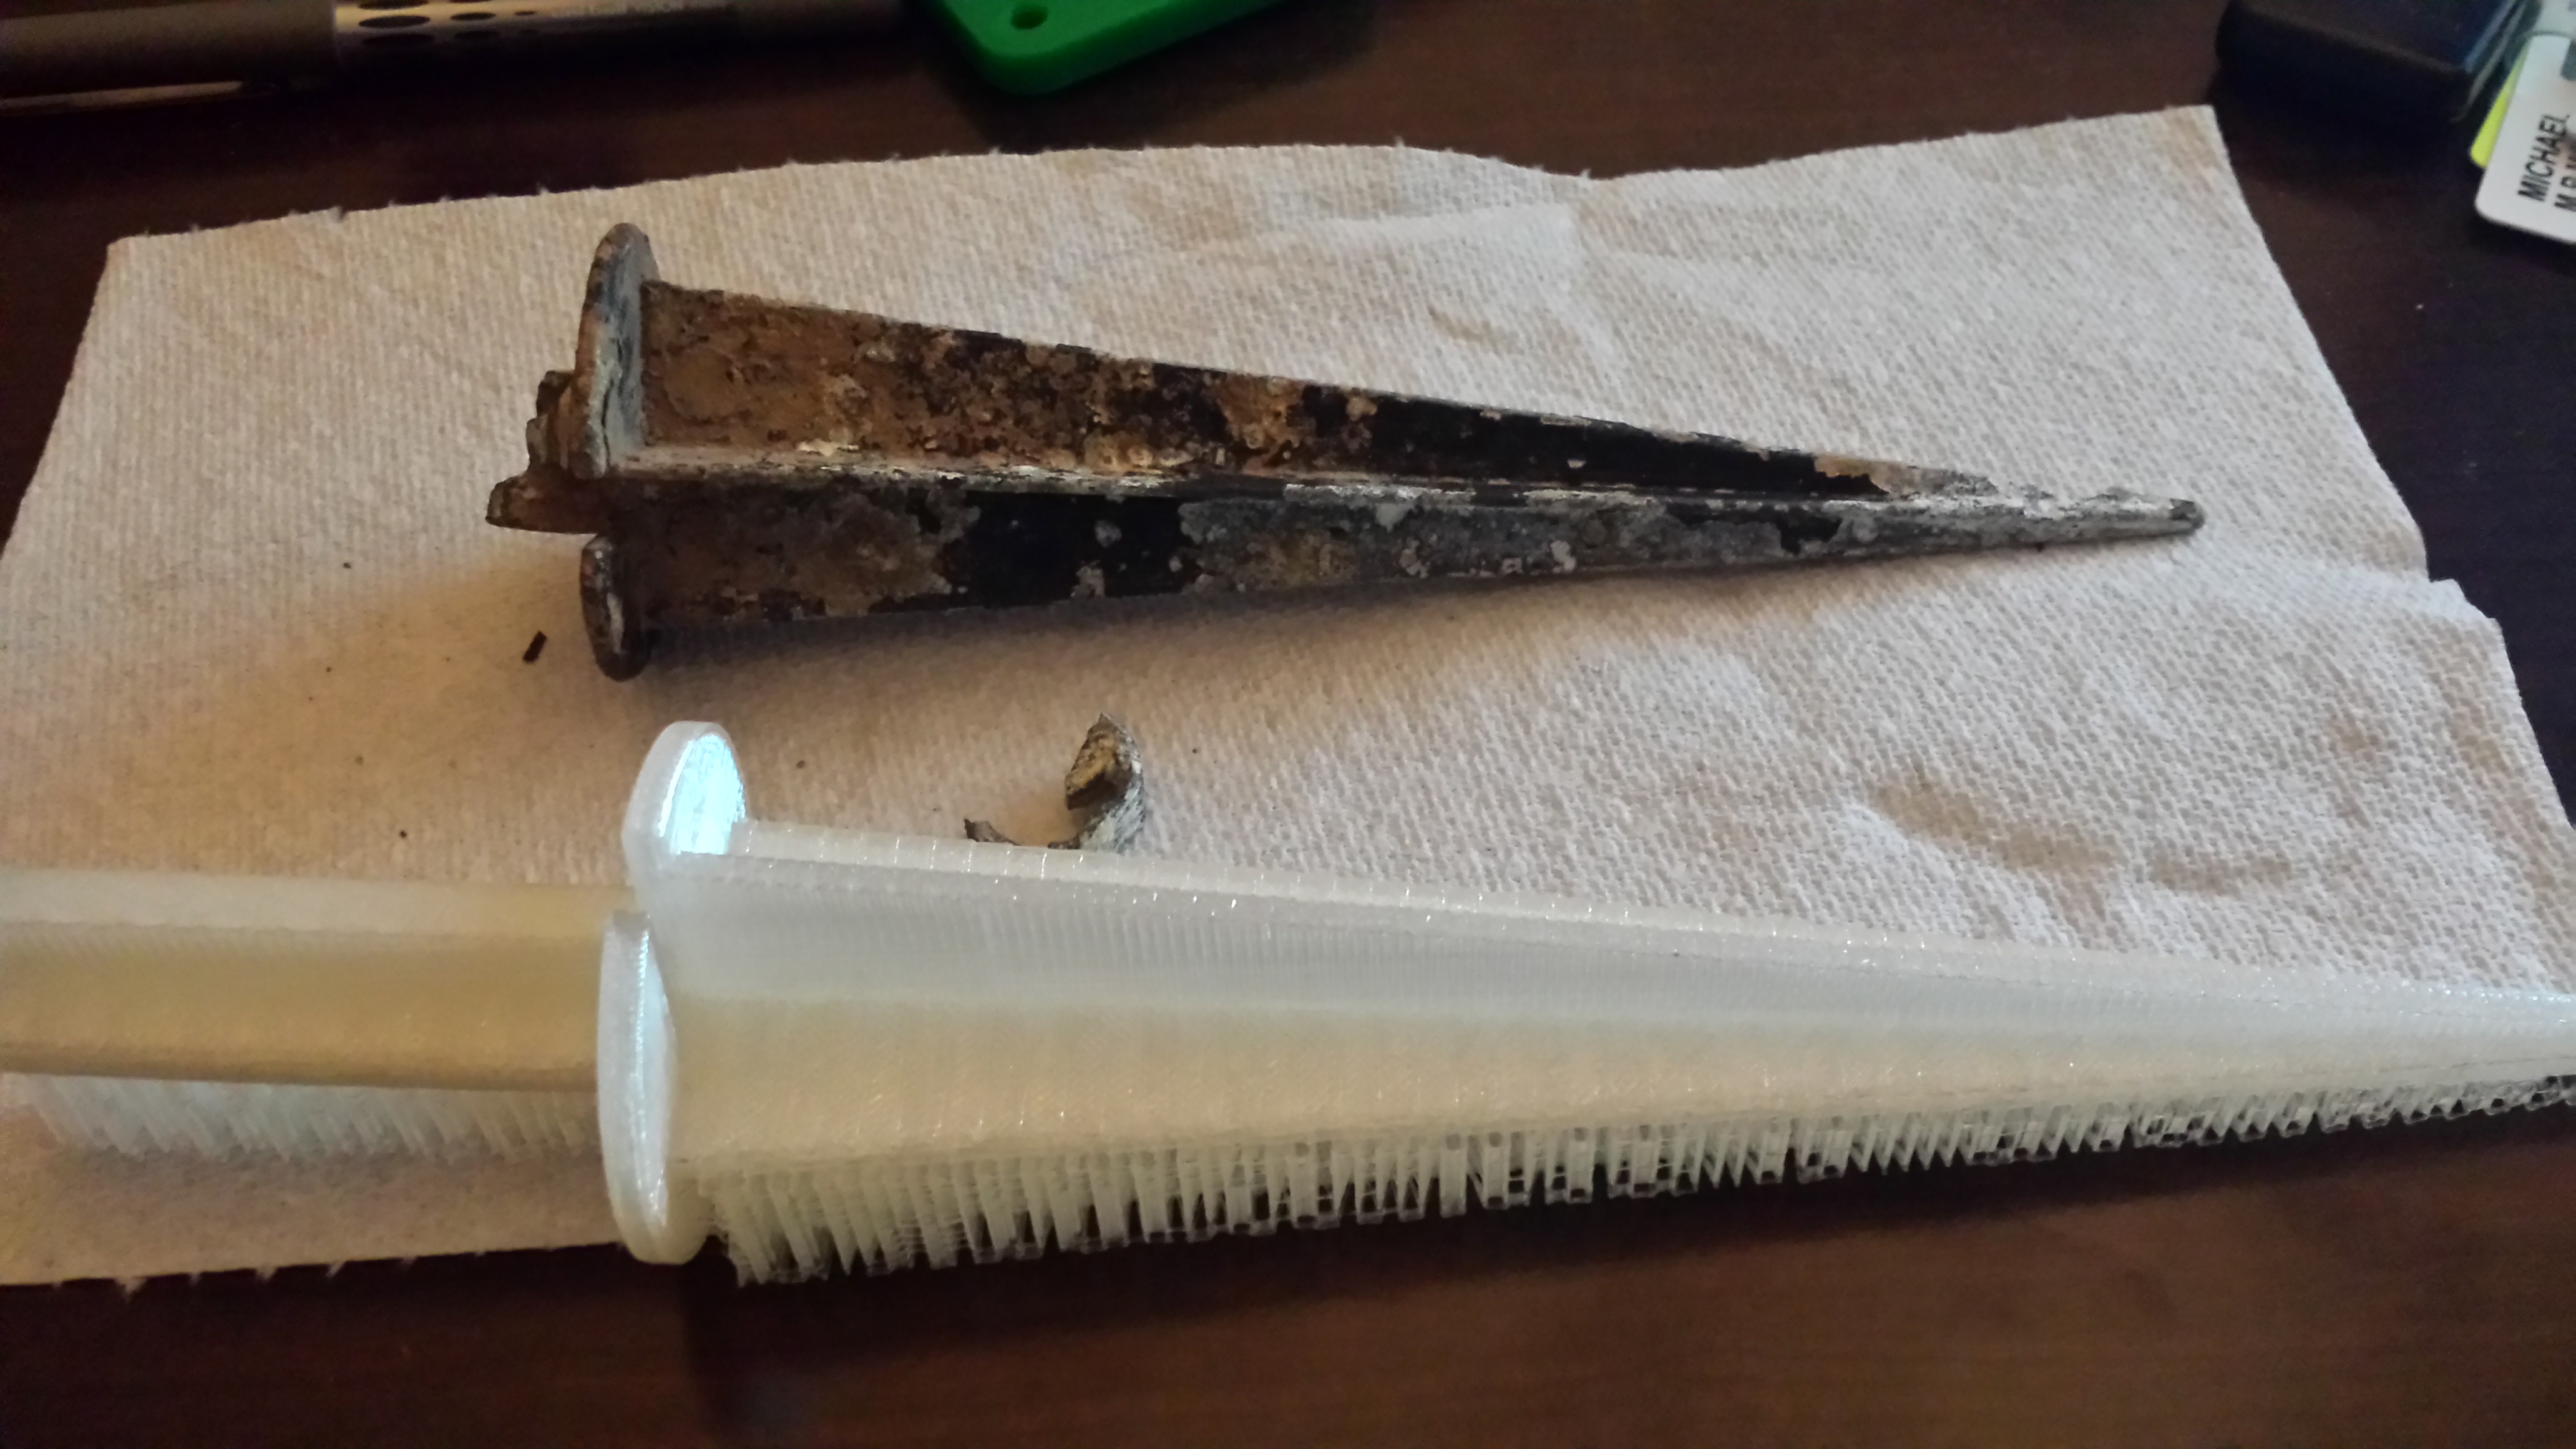
I was asked a while ago (http://wp.me/p3hKeN-83) to create a case for an emulator for the Apple Disk II http://tulip-house.ddo.jp/digital/SDISK2/english.html
After a full day and a half of design work I have a model tor work from. I tried to stay true to the original design, the only major deviation is the placement of the status LED (due to the location on the emulator board). I thought about soldering on some leads to move the LED to the proper placement (which I still might do later) but decided not to since I will be selling these from my website. I was able to get the design to 2 major pieces (plus the feet). I am currently printing a test to see how everything fits.
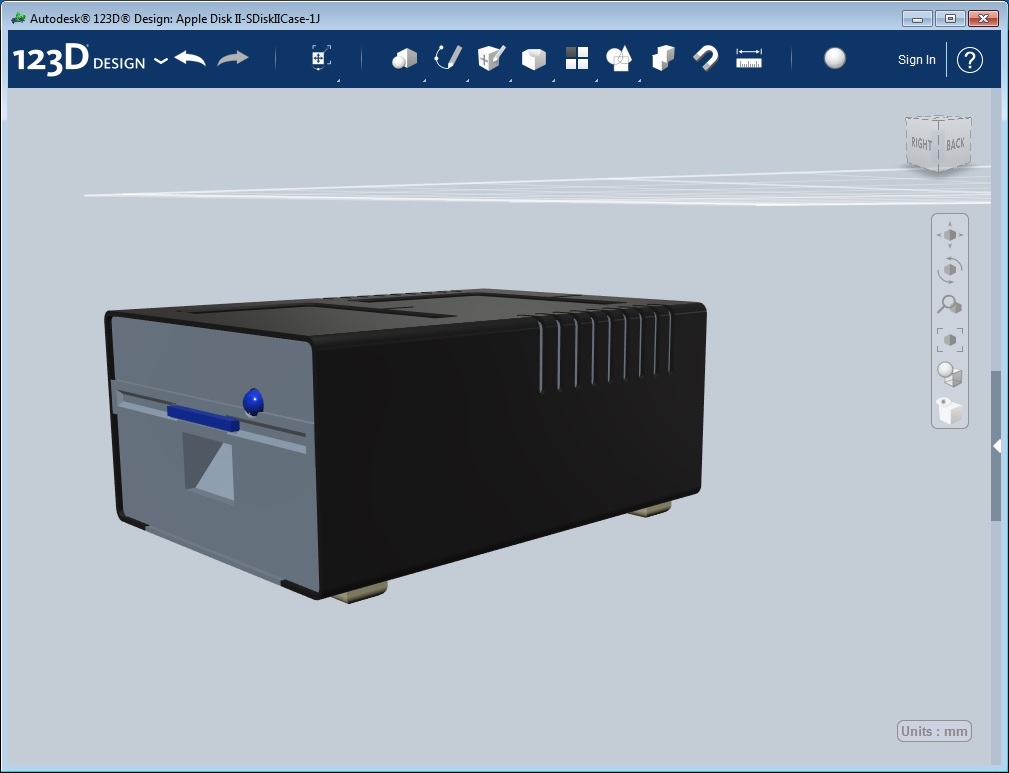
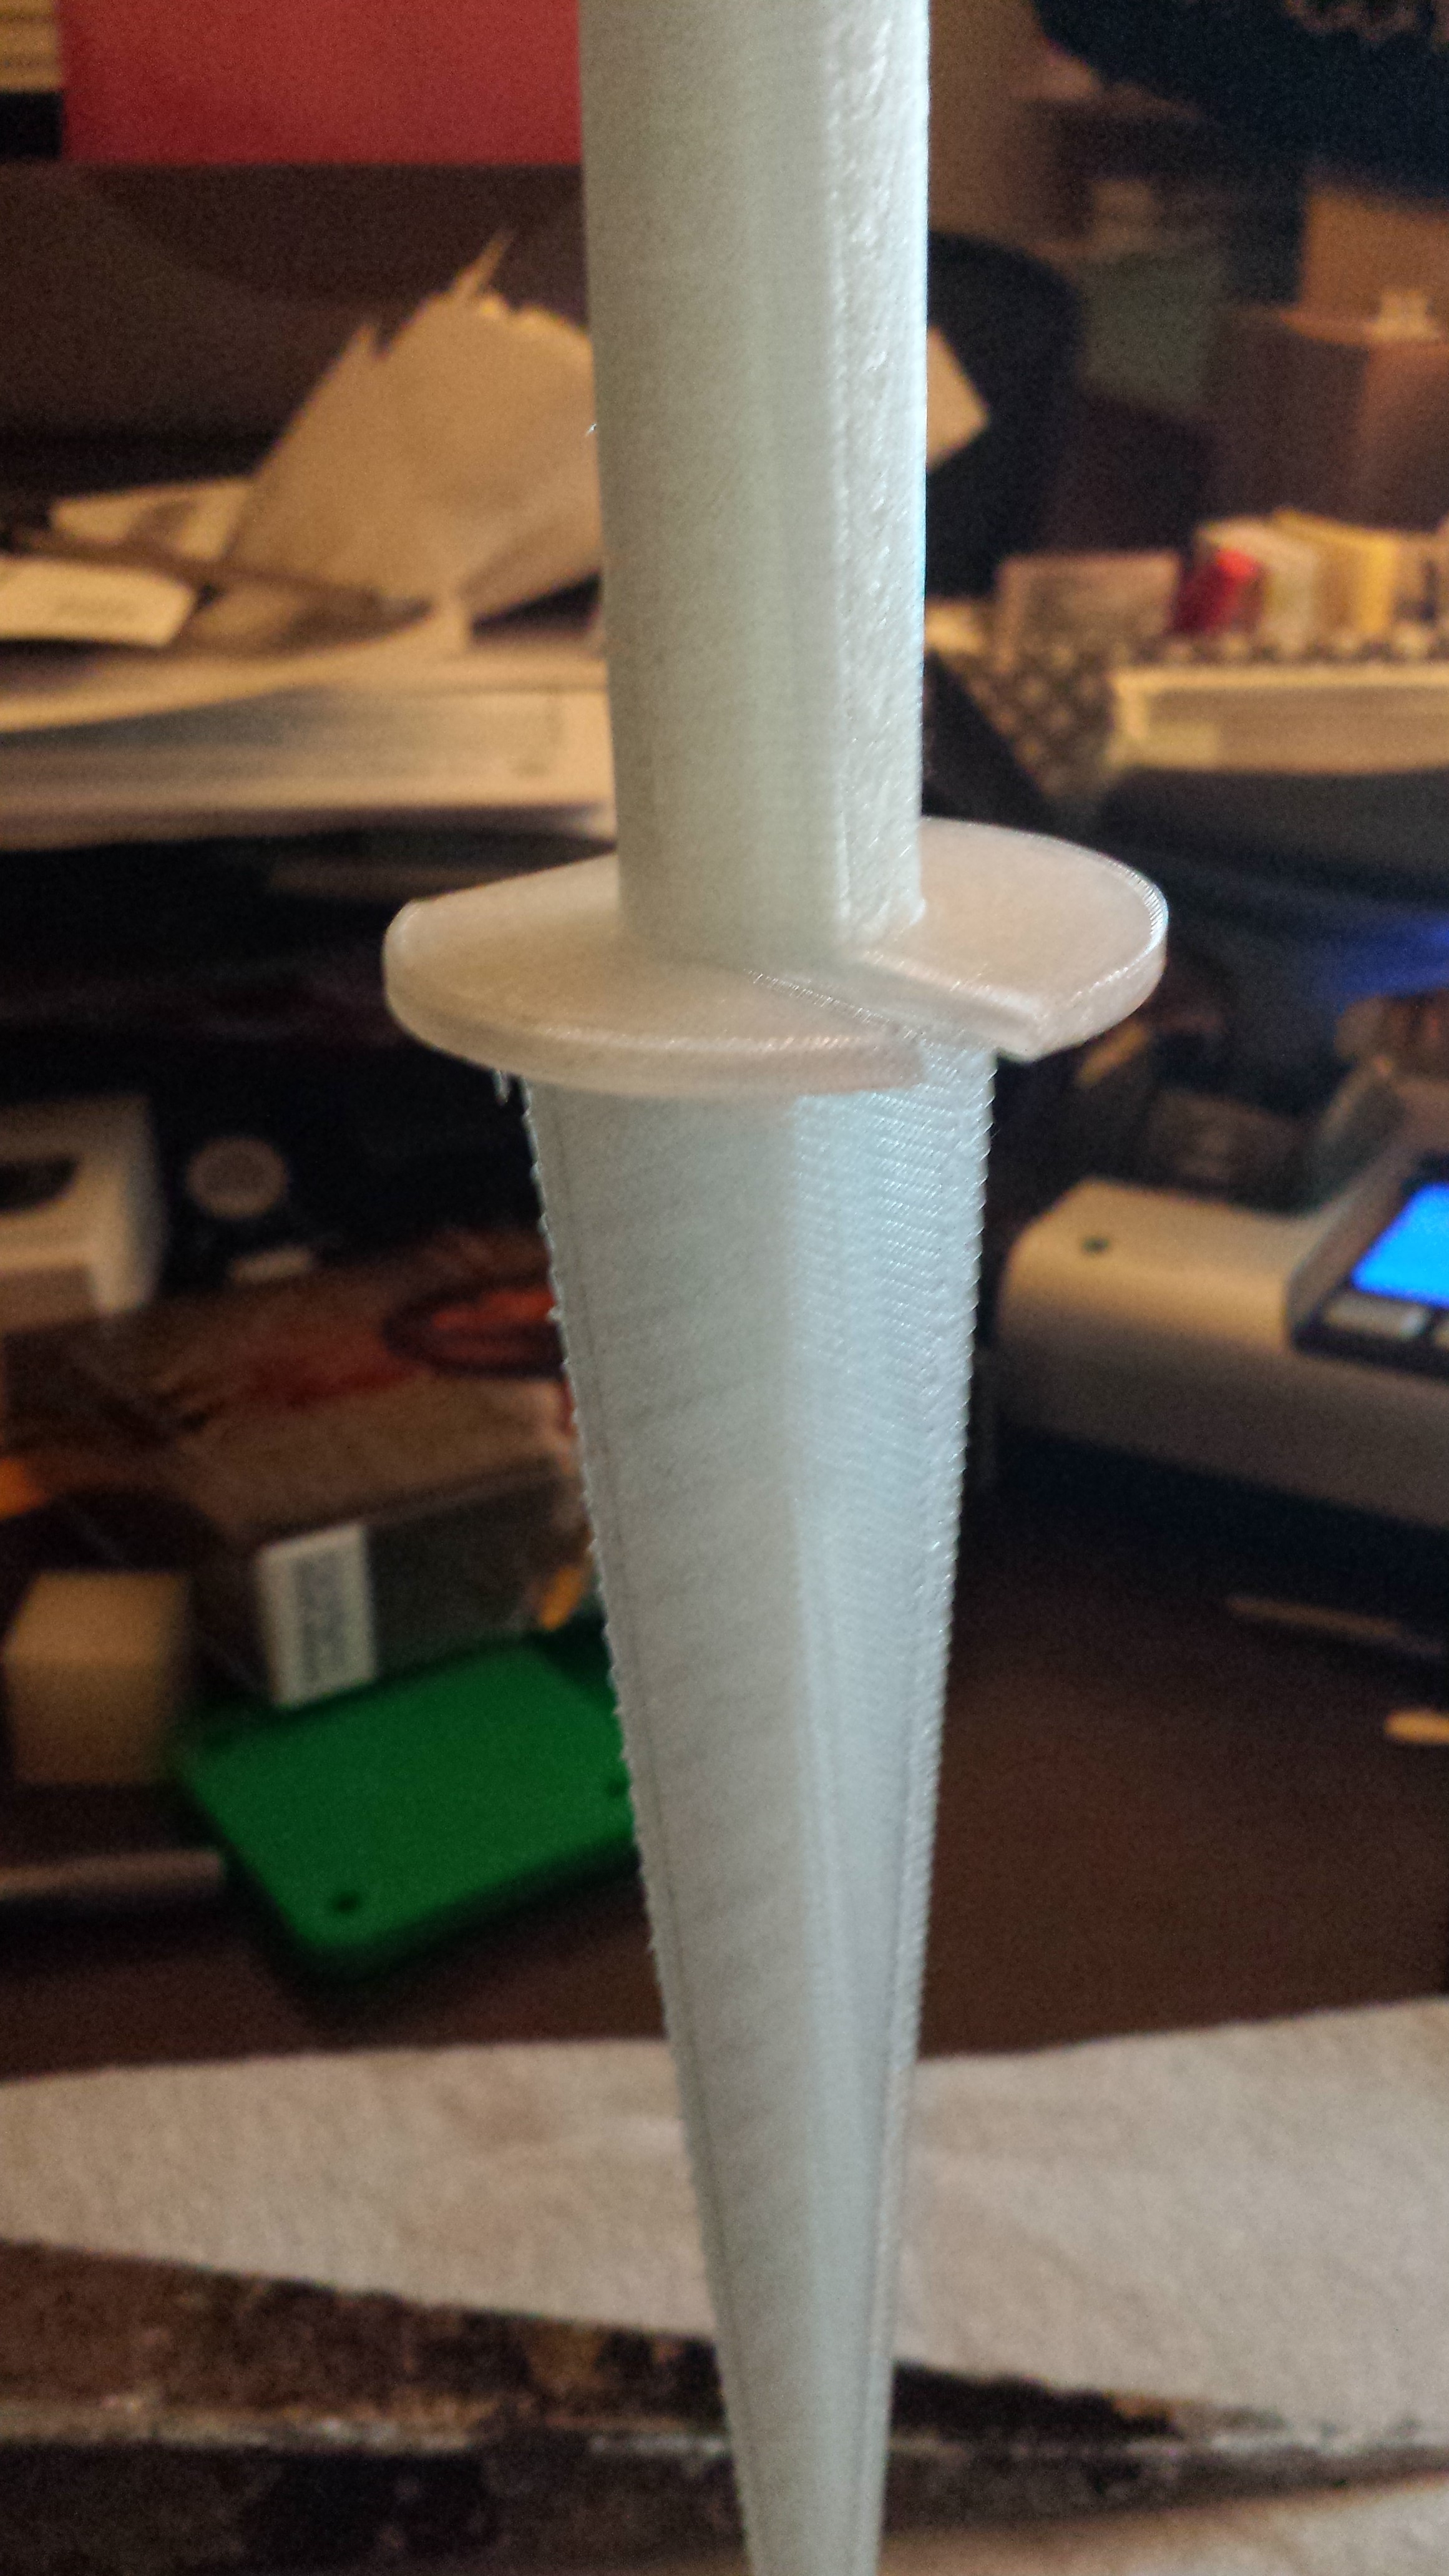
Full Finished model – All pieces
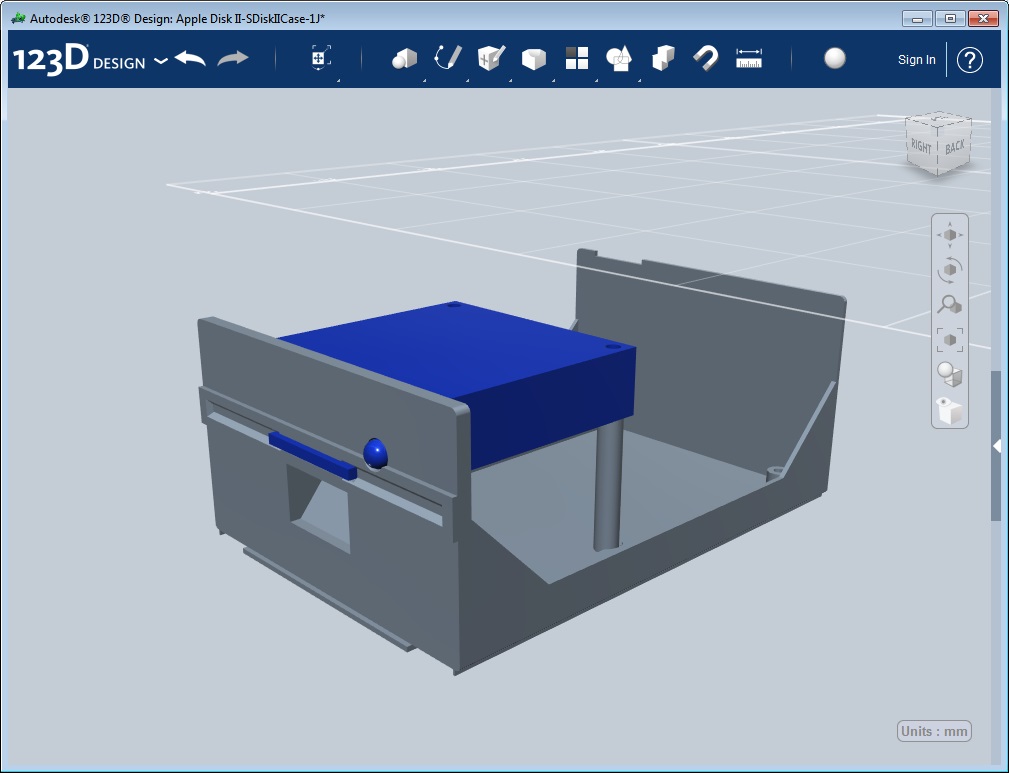
Bottom with mock-up board I used for placement
Once I check the fit and make any necessary changes I will post back with some picture of the final product.
Time lapse of Light Post
Here is my first attempt at a time lapse of an object printing. It came out ok but next time I will turn off auto focus so it does not wiggle the pictures. This is 3h 35 mins compressed to 2min 20sec.
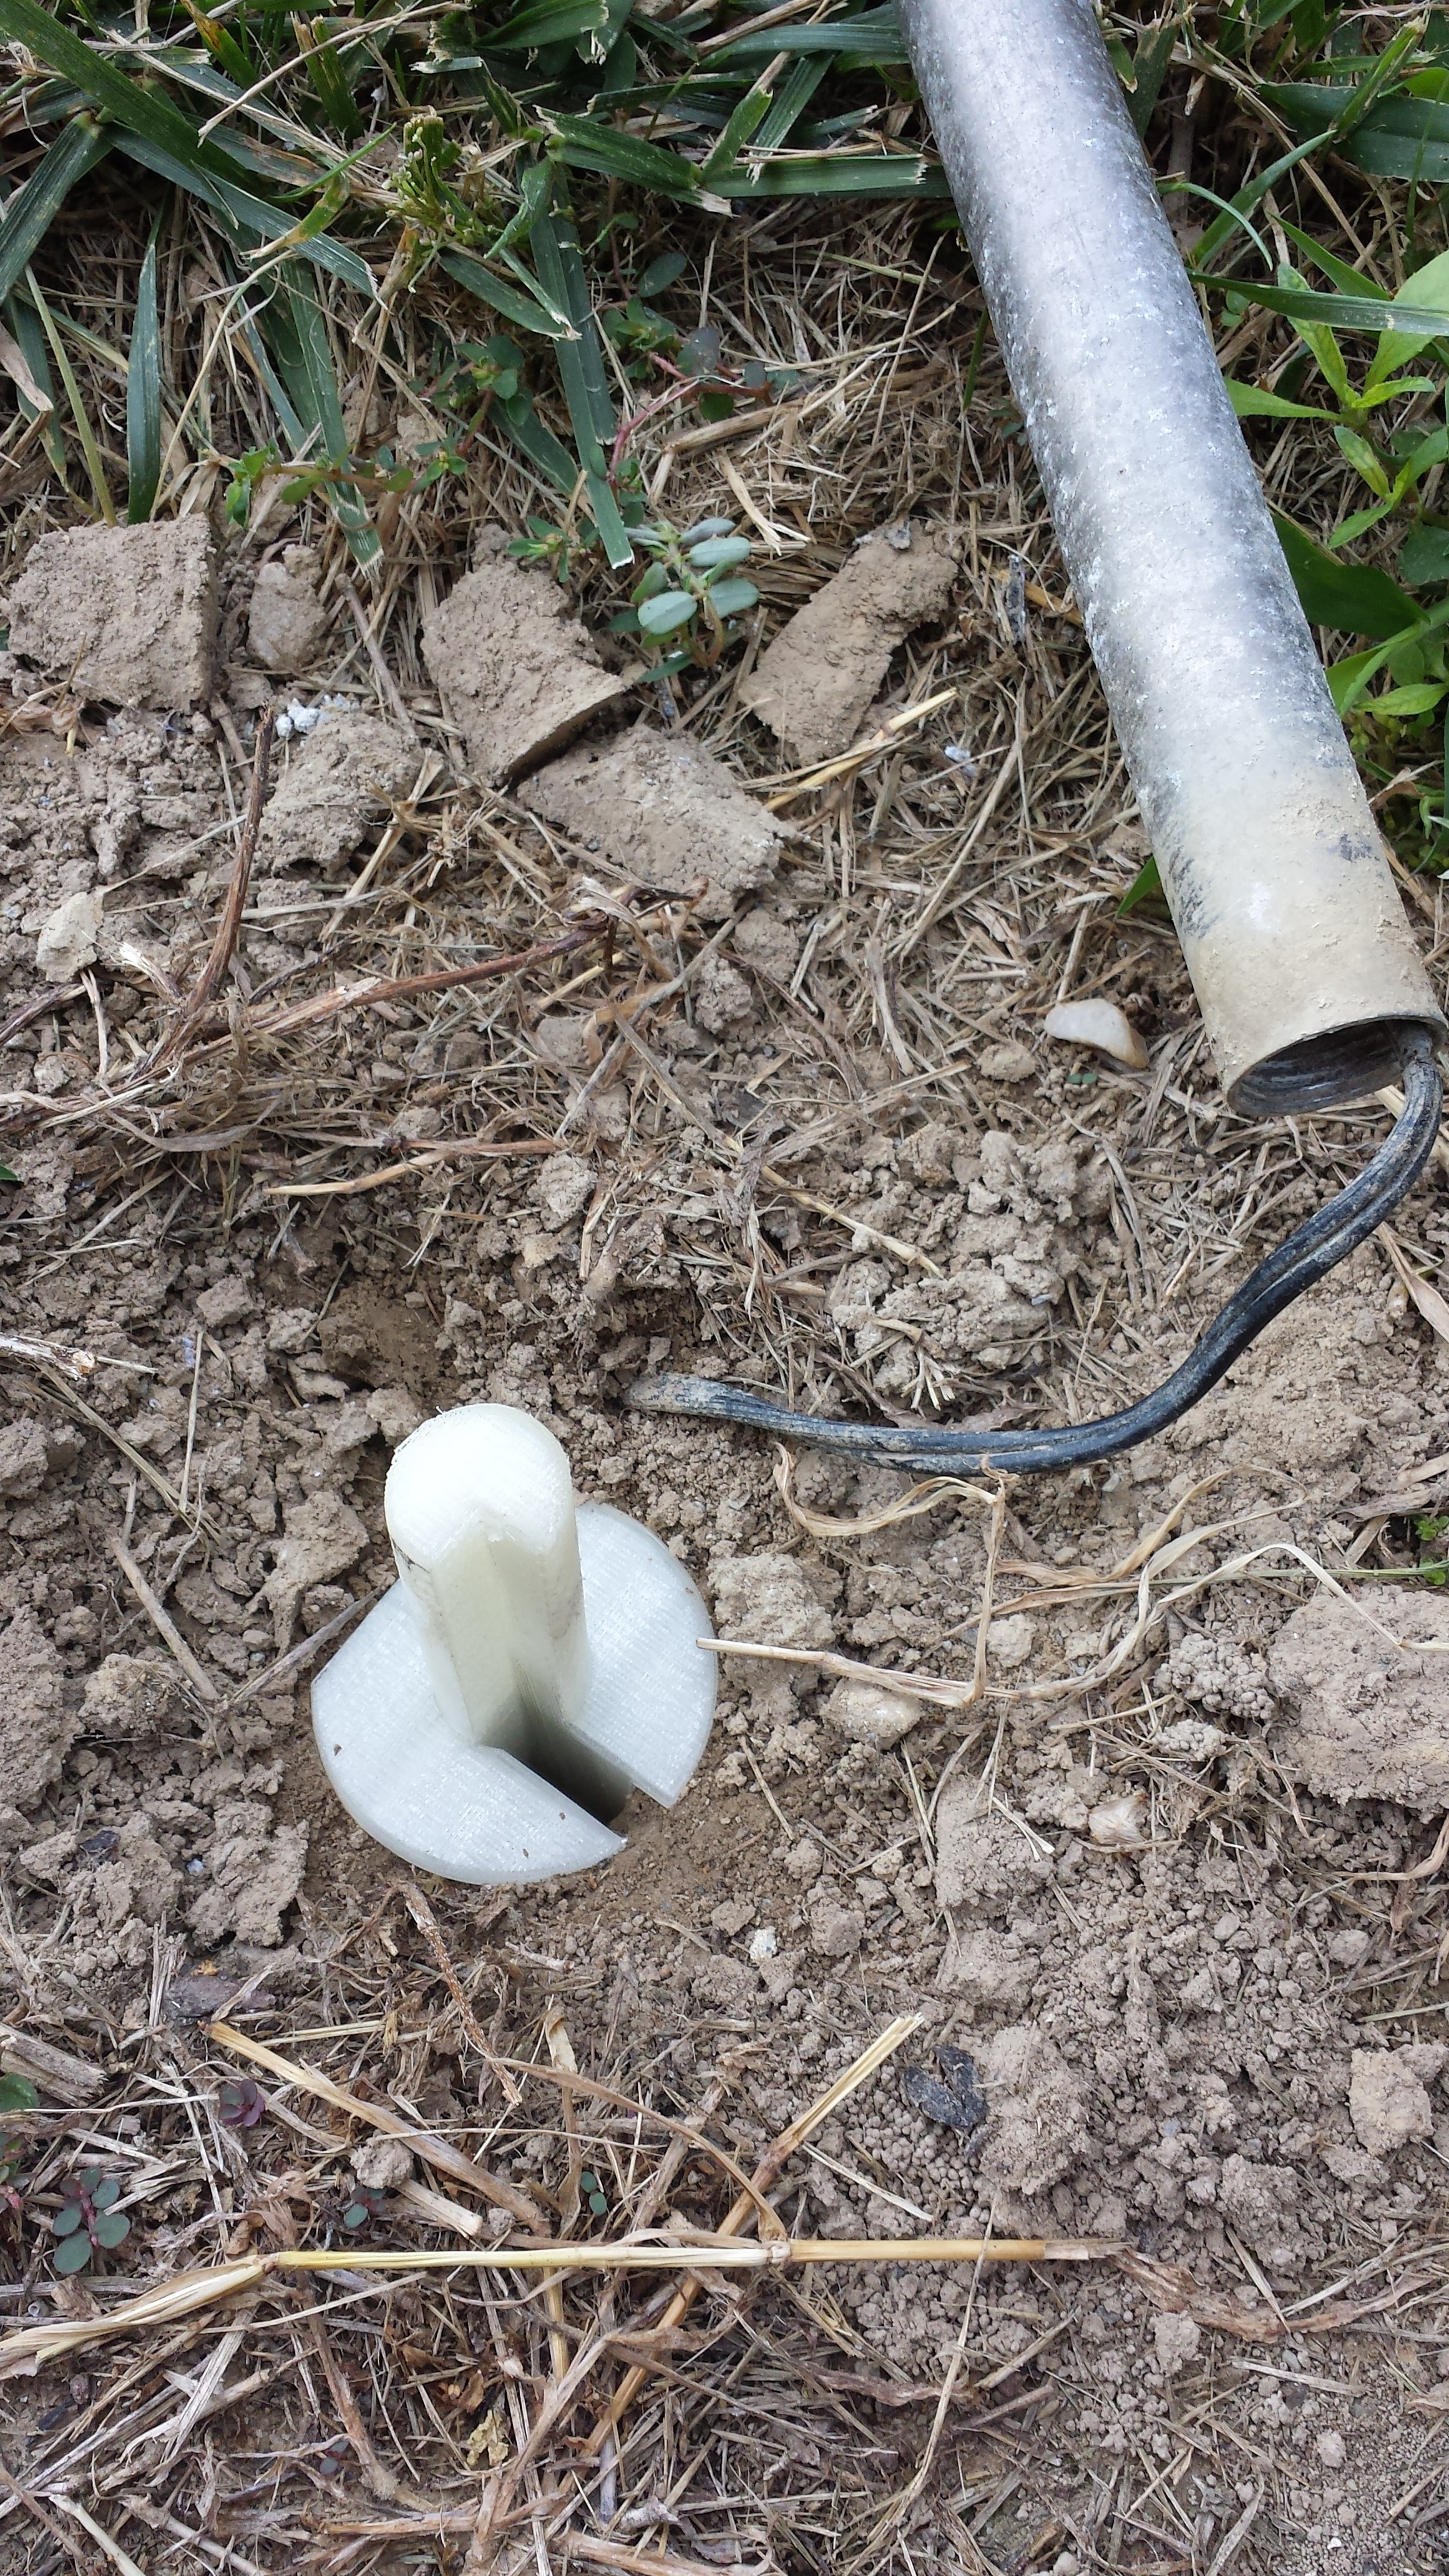
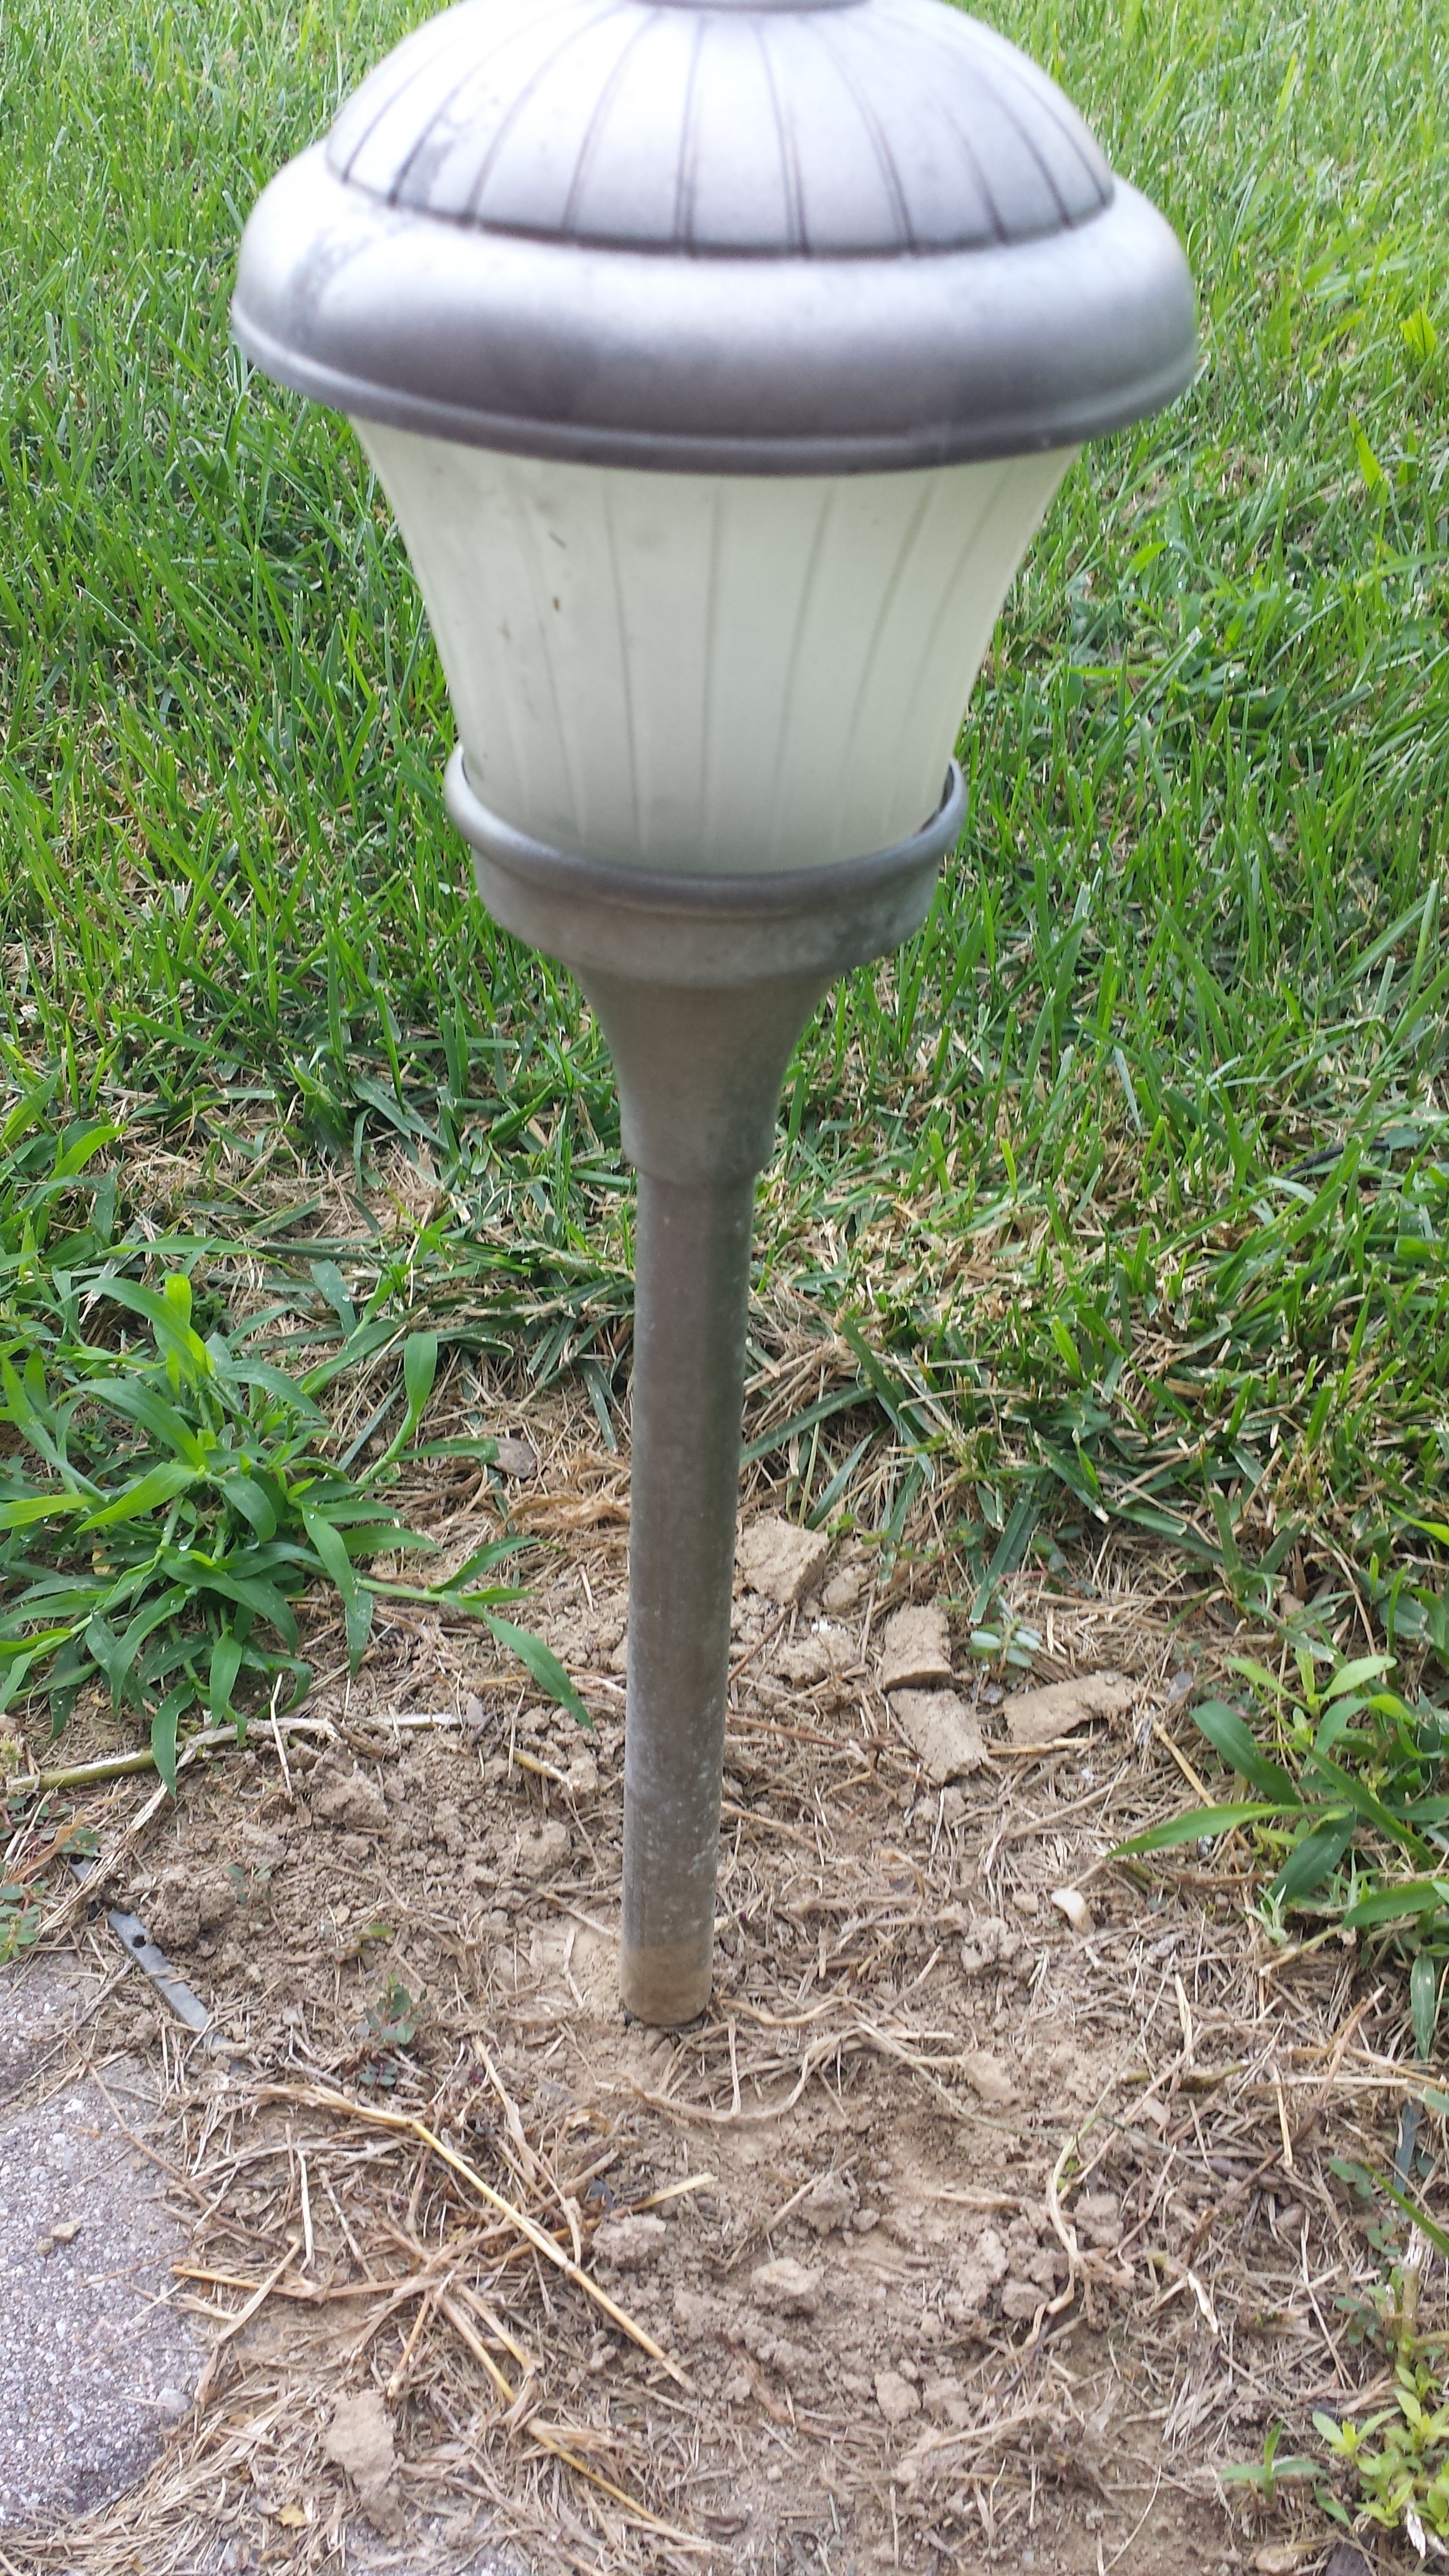
Another 3D printed win
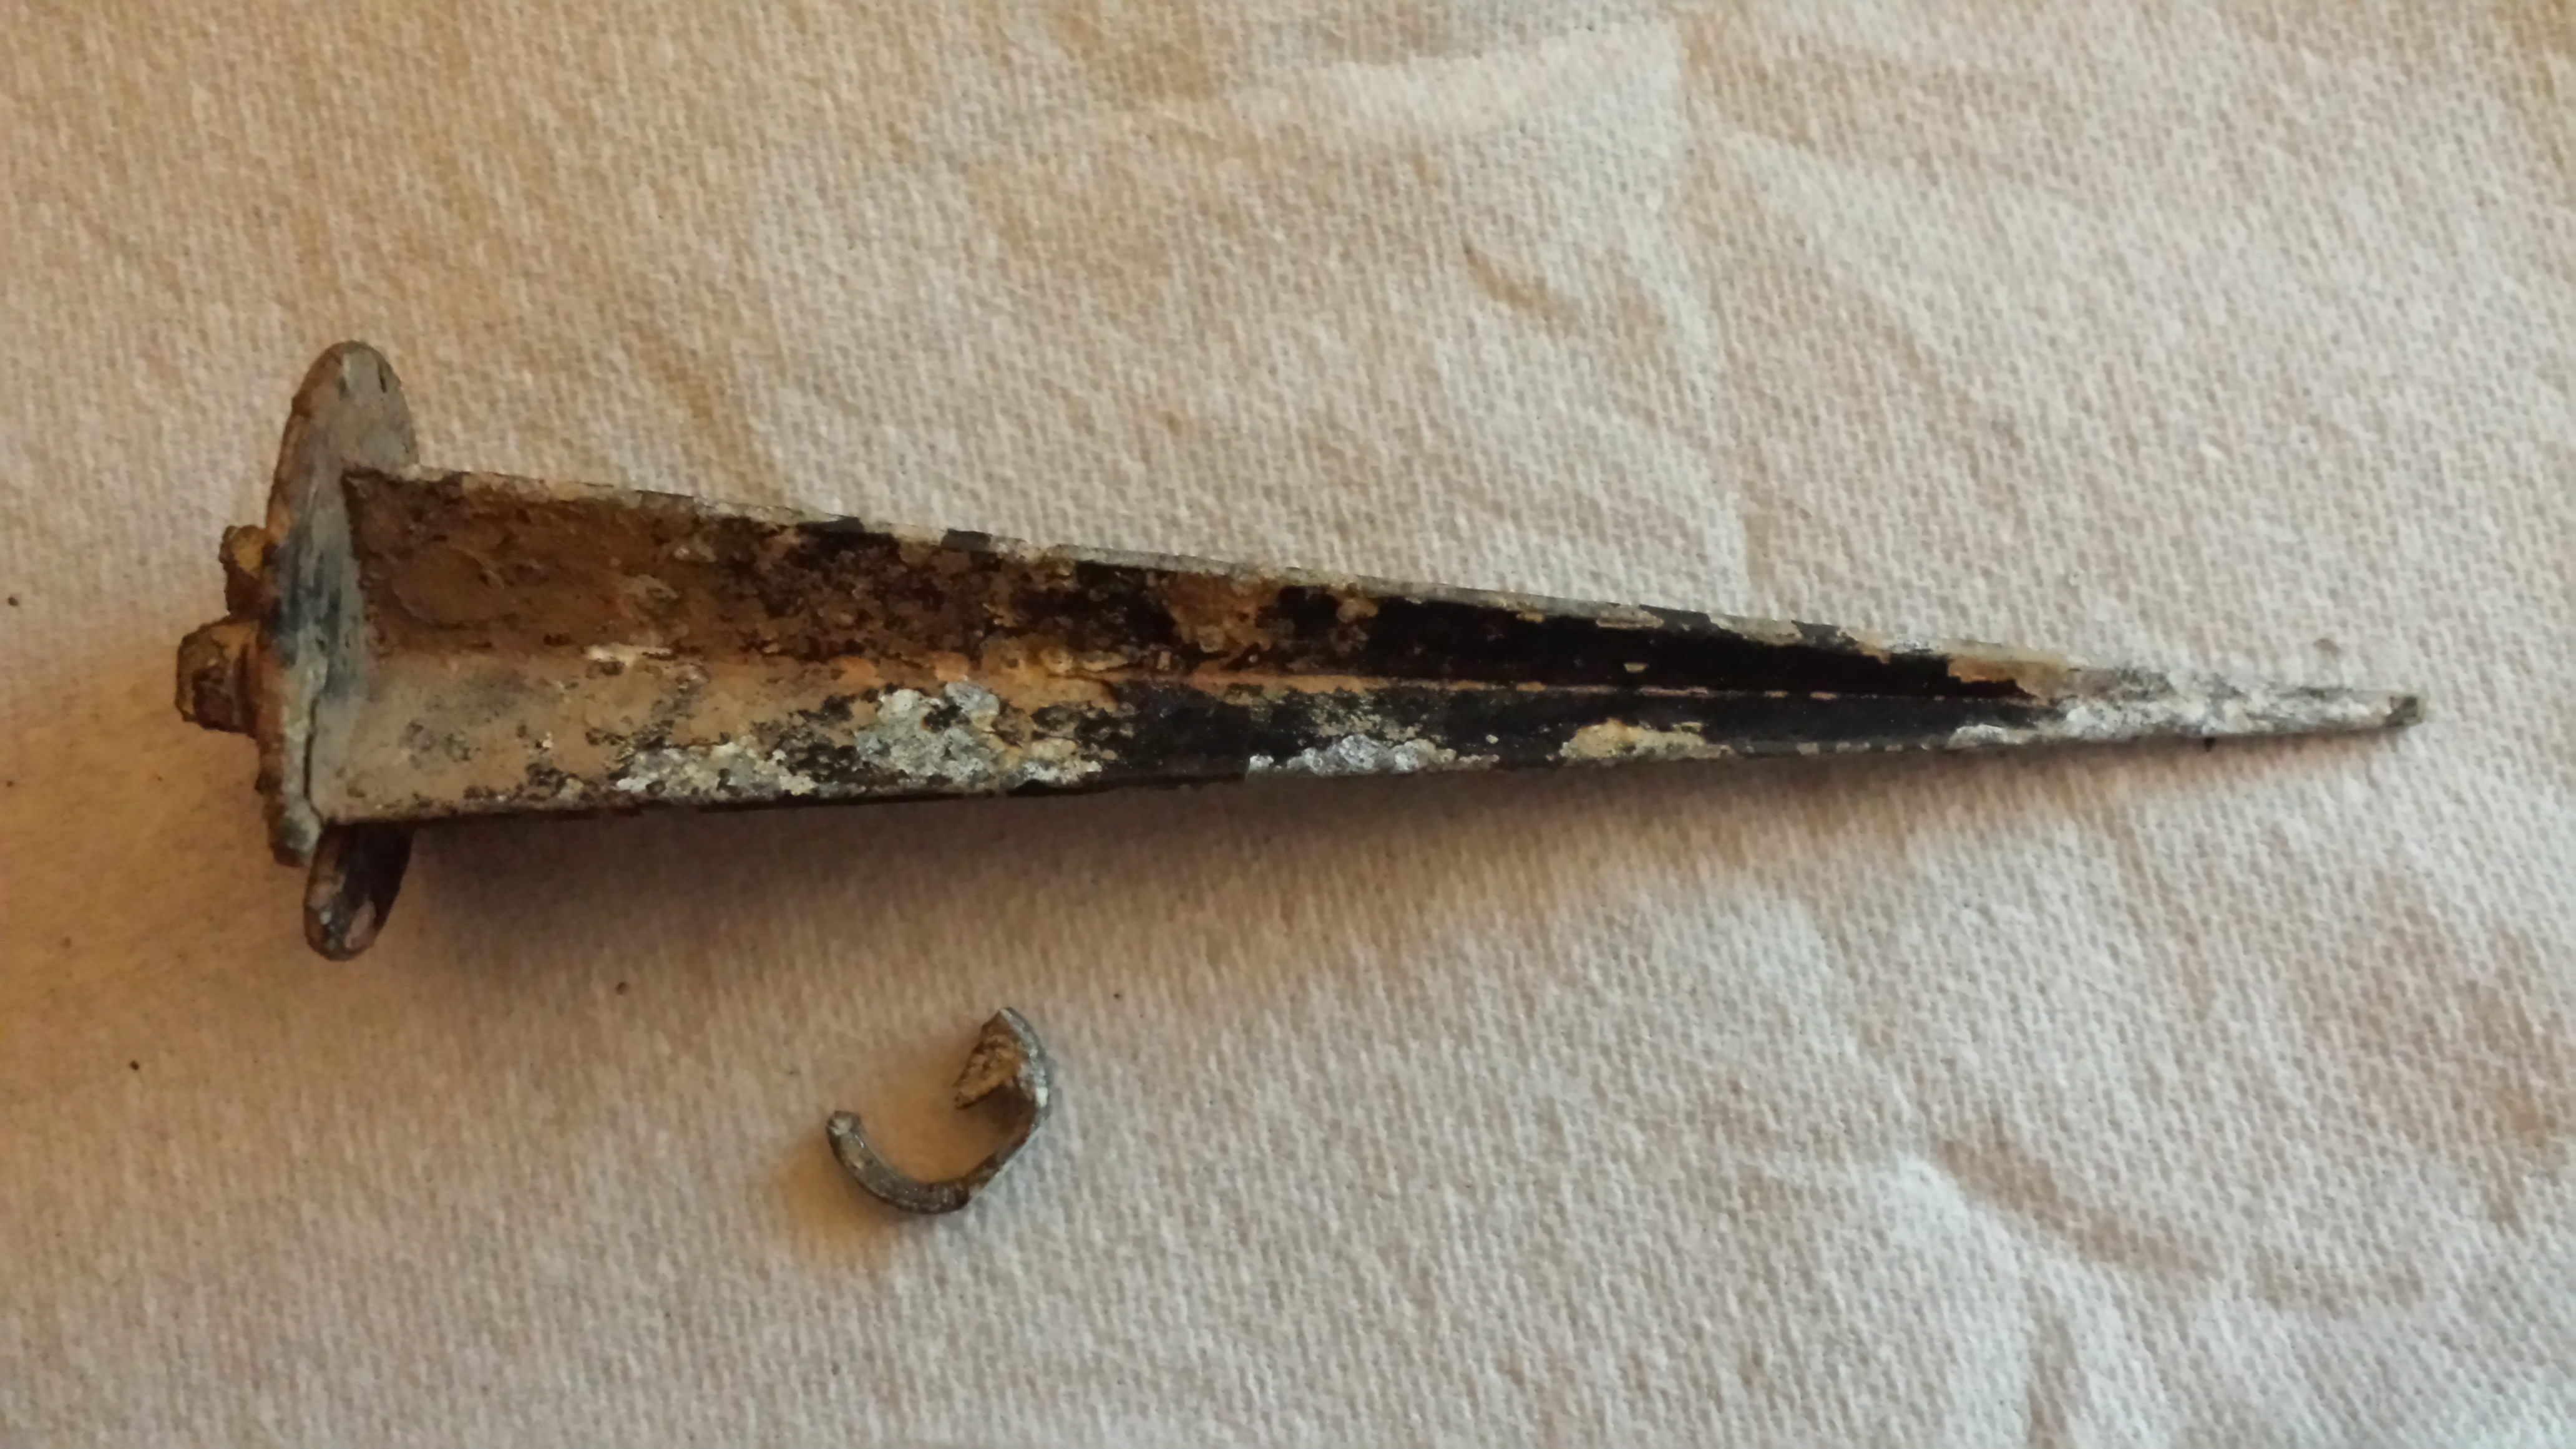
The walkway lighting that I have in the front of my house is a bit old. It is probably original to the house. The posts in the ground appear to be made from aluminum and have corroded and several of them have fallen down. Time to print some new ones!
I am getting quite quick at 3D design and replicating the existing post only took about 20mins.
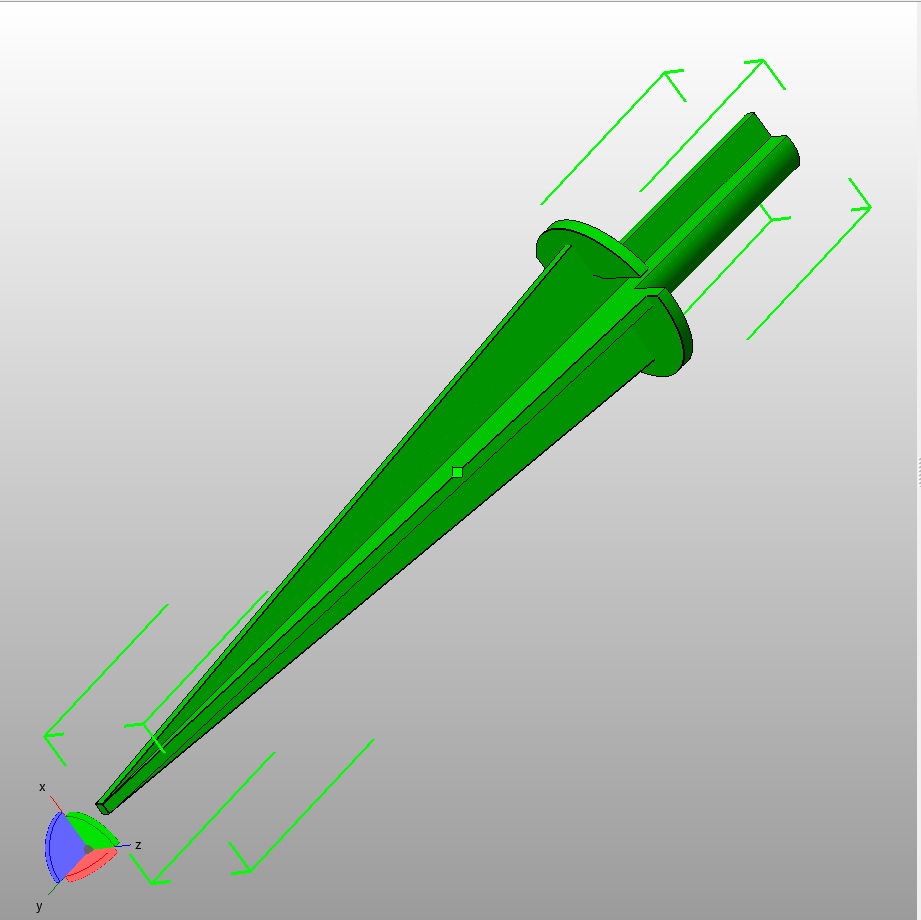
If you are familiar with my previous posts on the extrusion method here is the 2D sketch that I extruded from.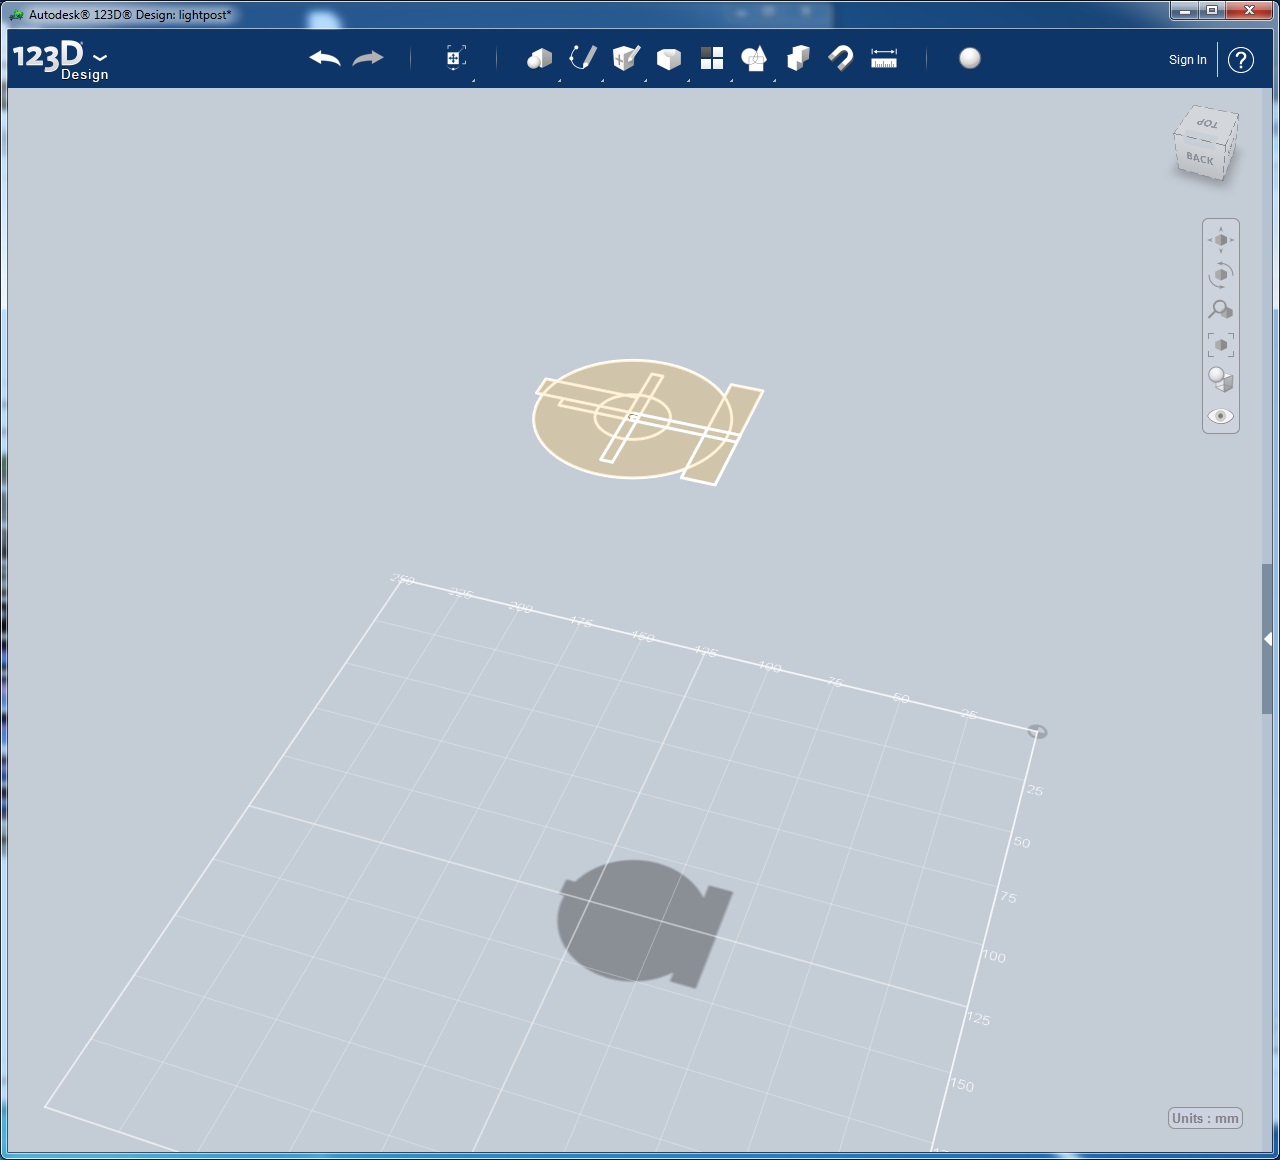 And here is the extruded result. I used the tweak tool to drag the bottom + shape into a point.
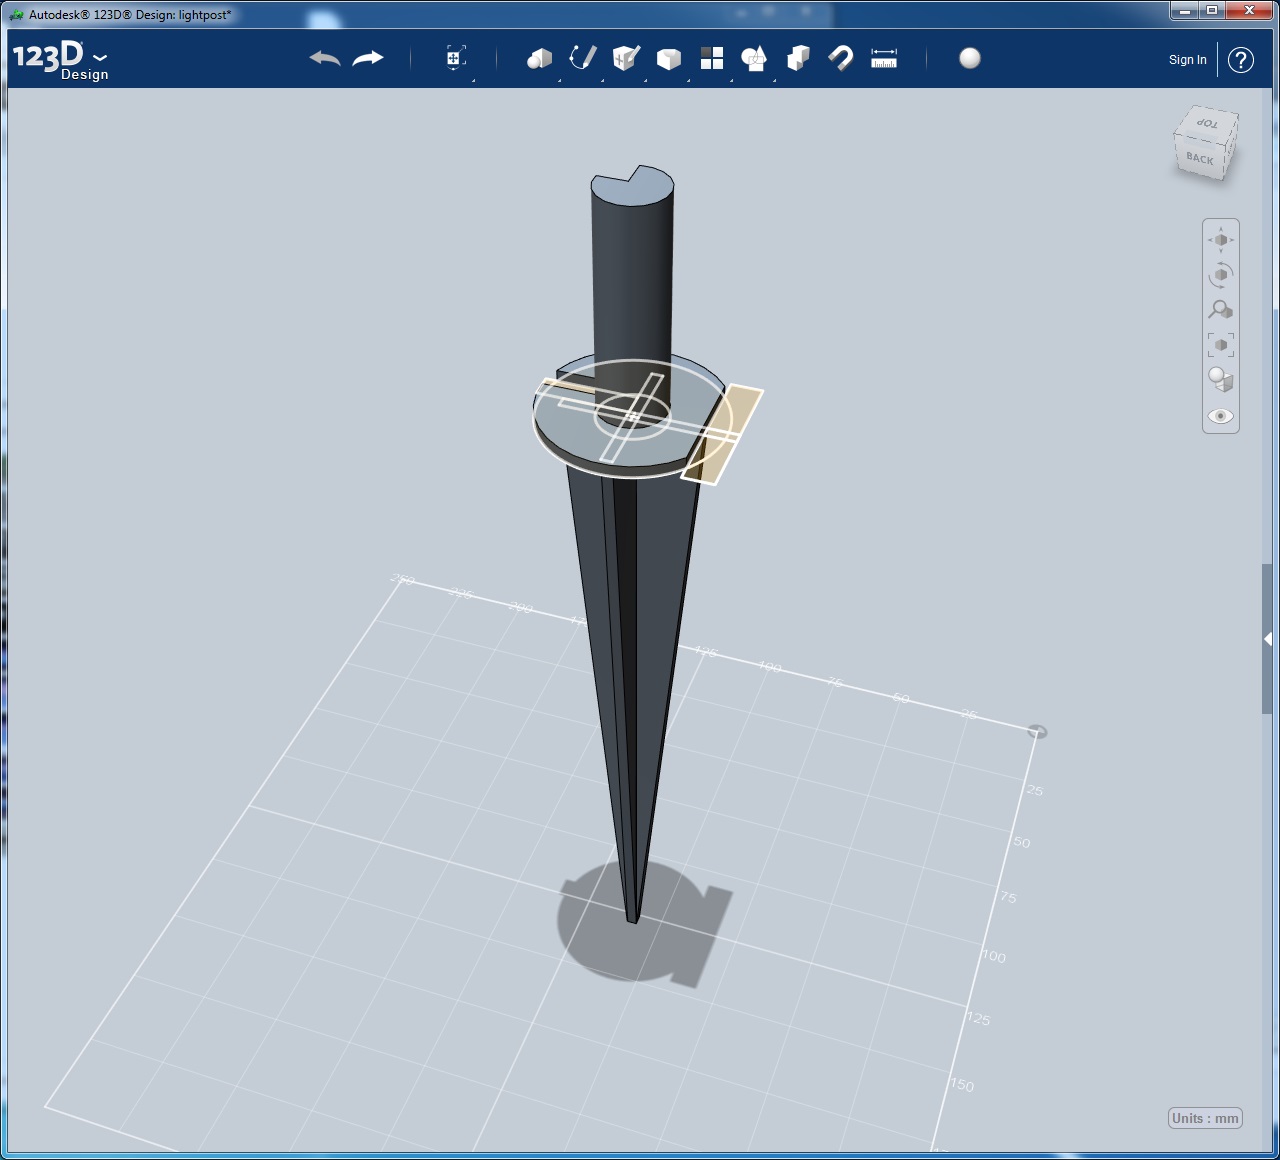 Off to the printer and here is the result
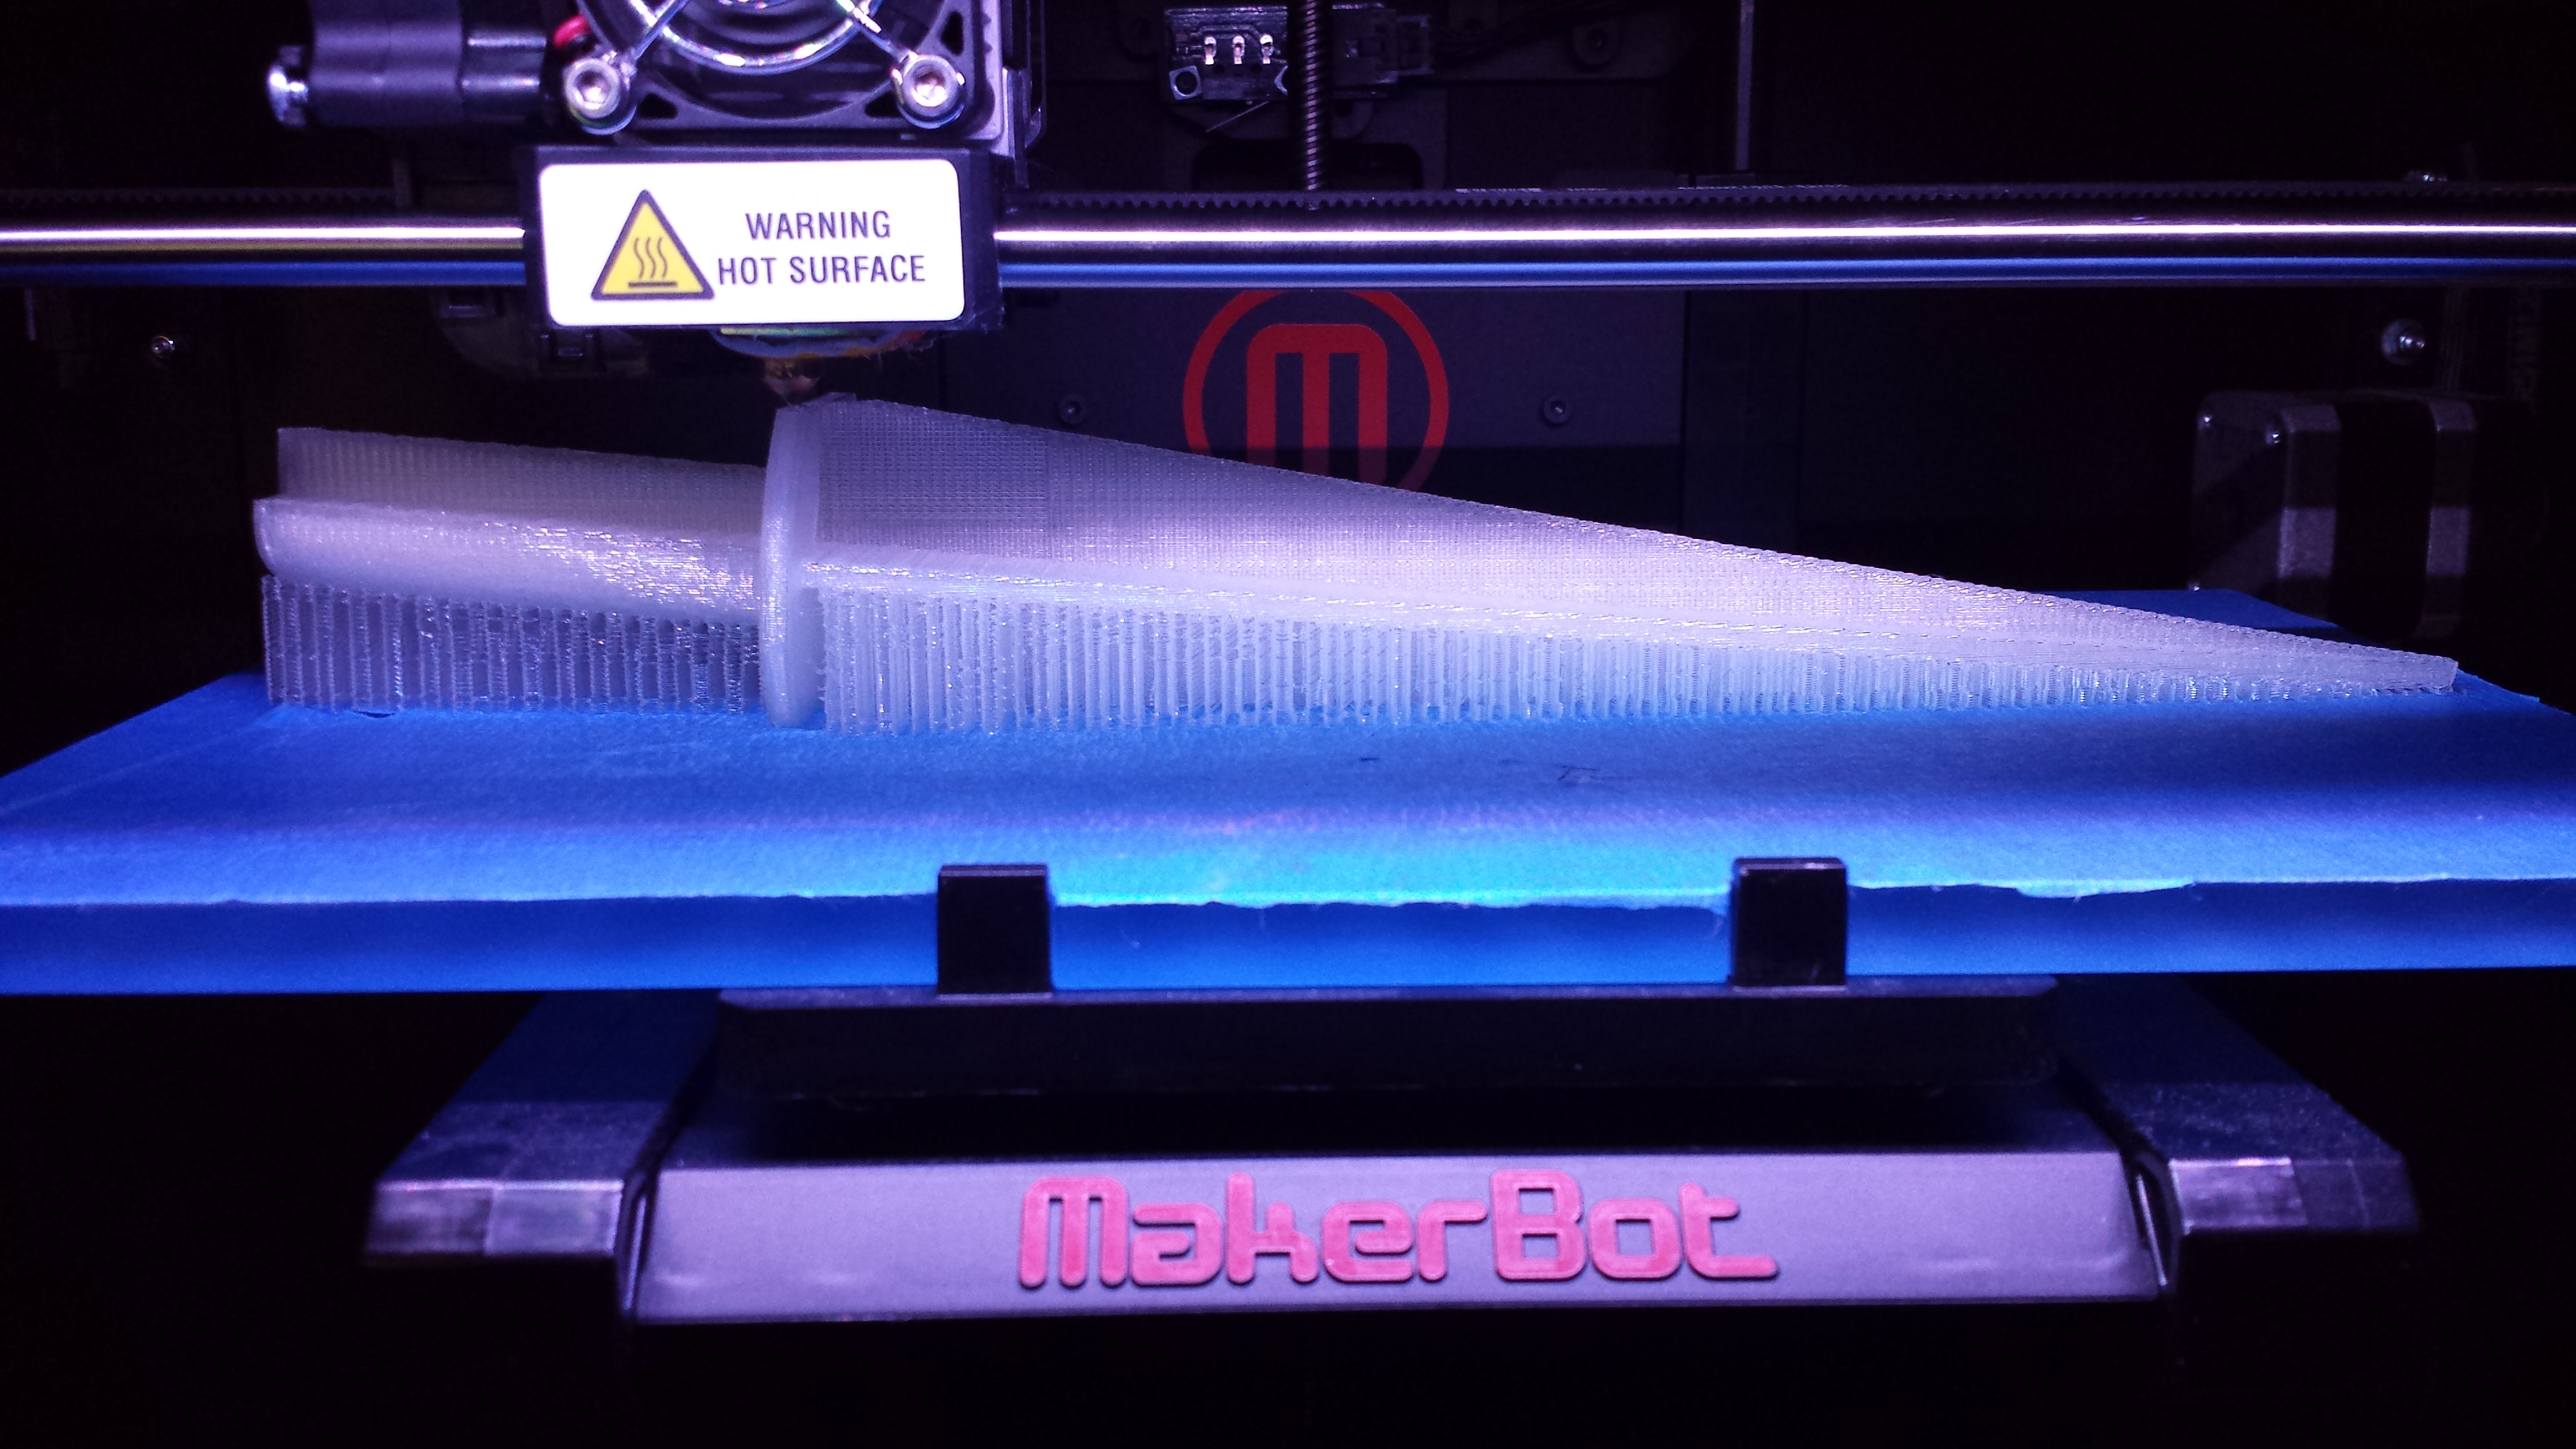
 Then installation. Nice!!!
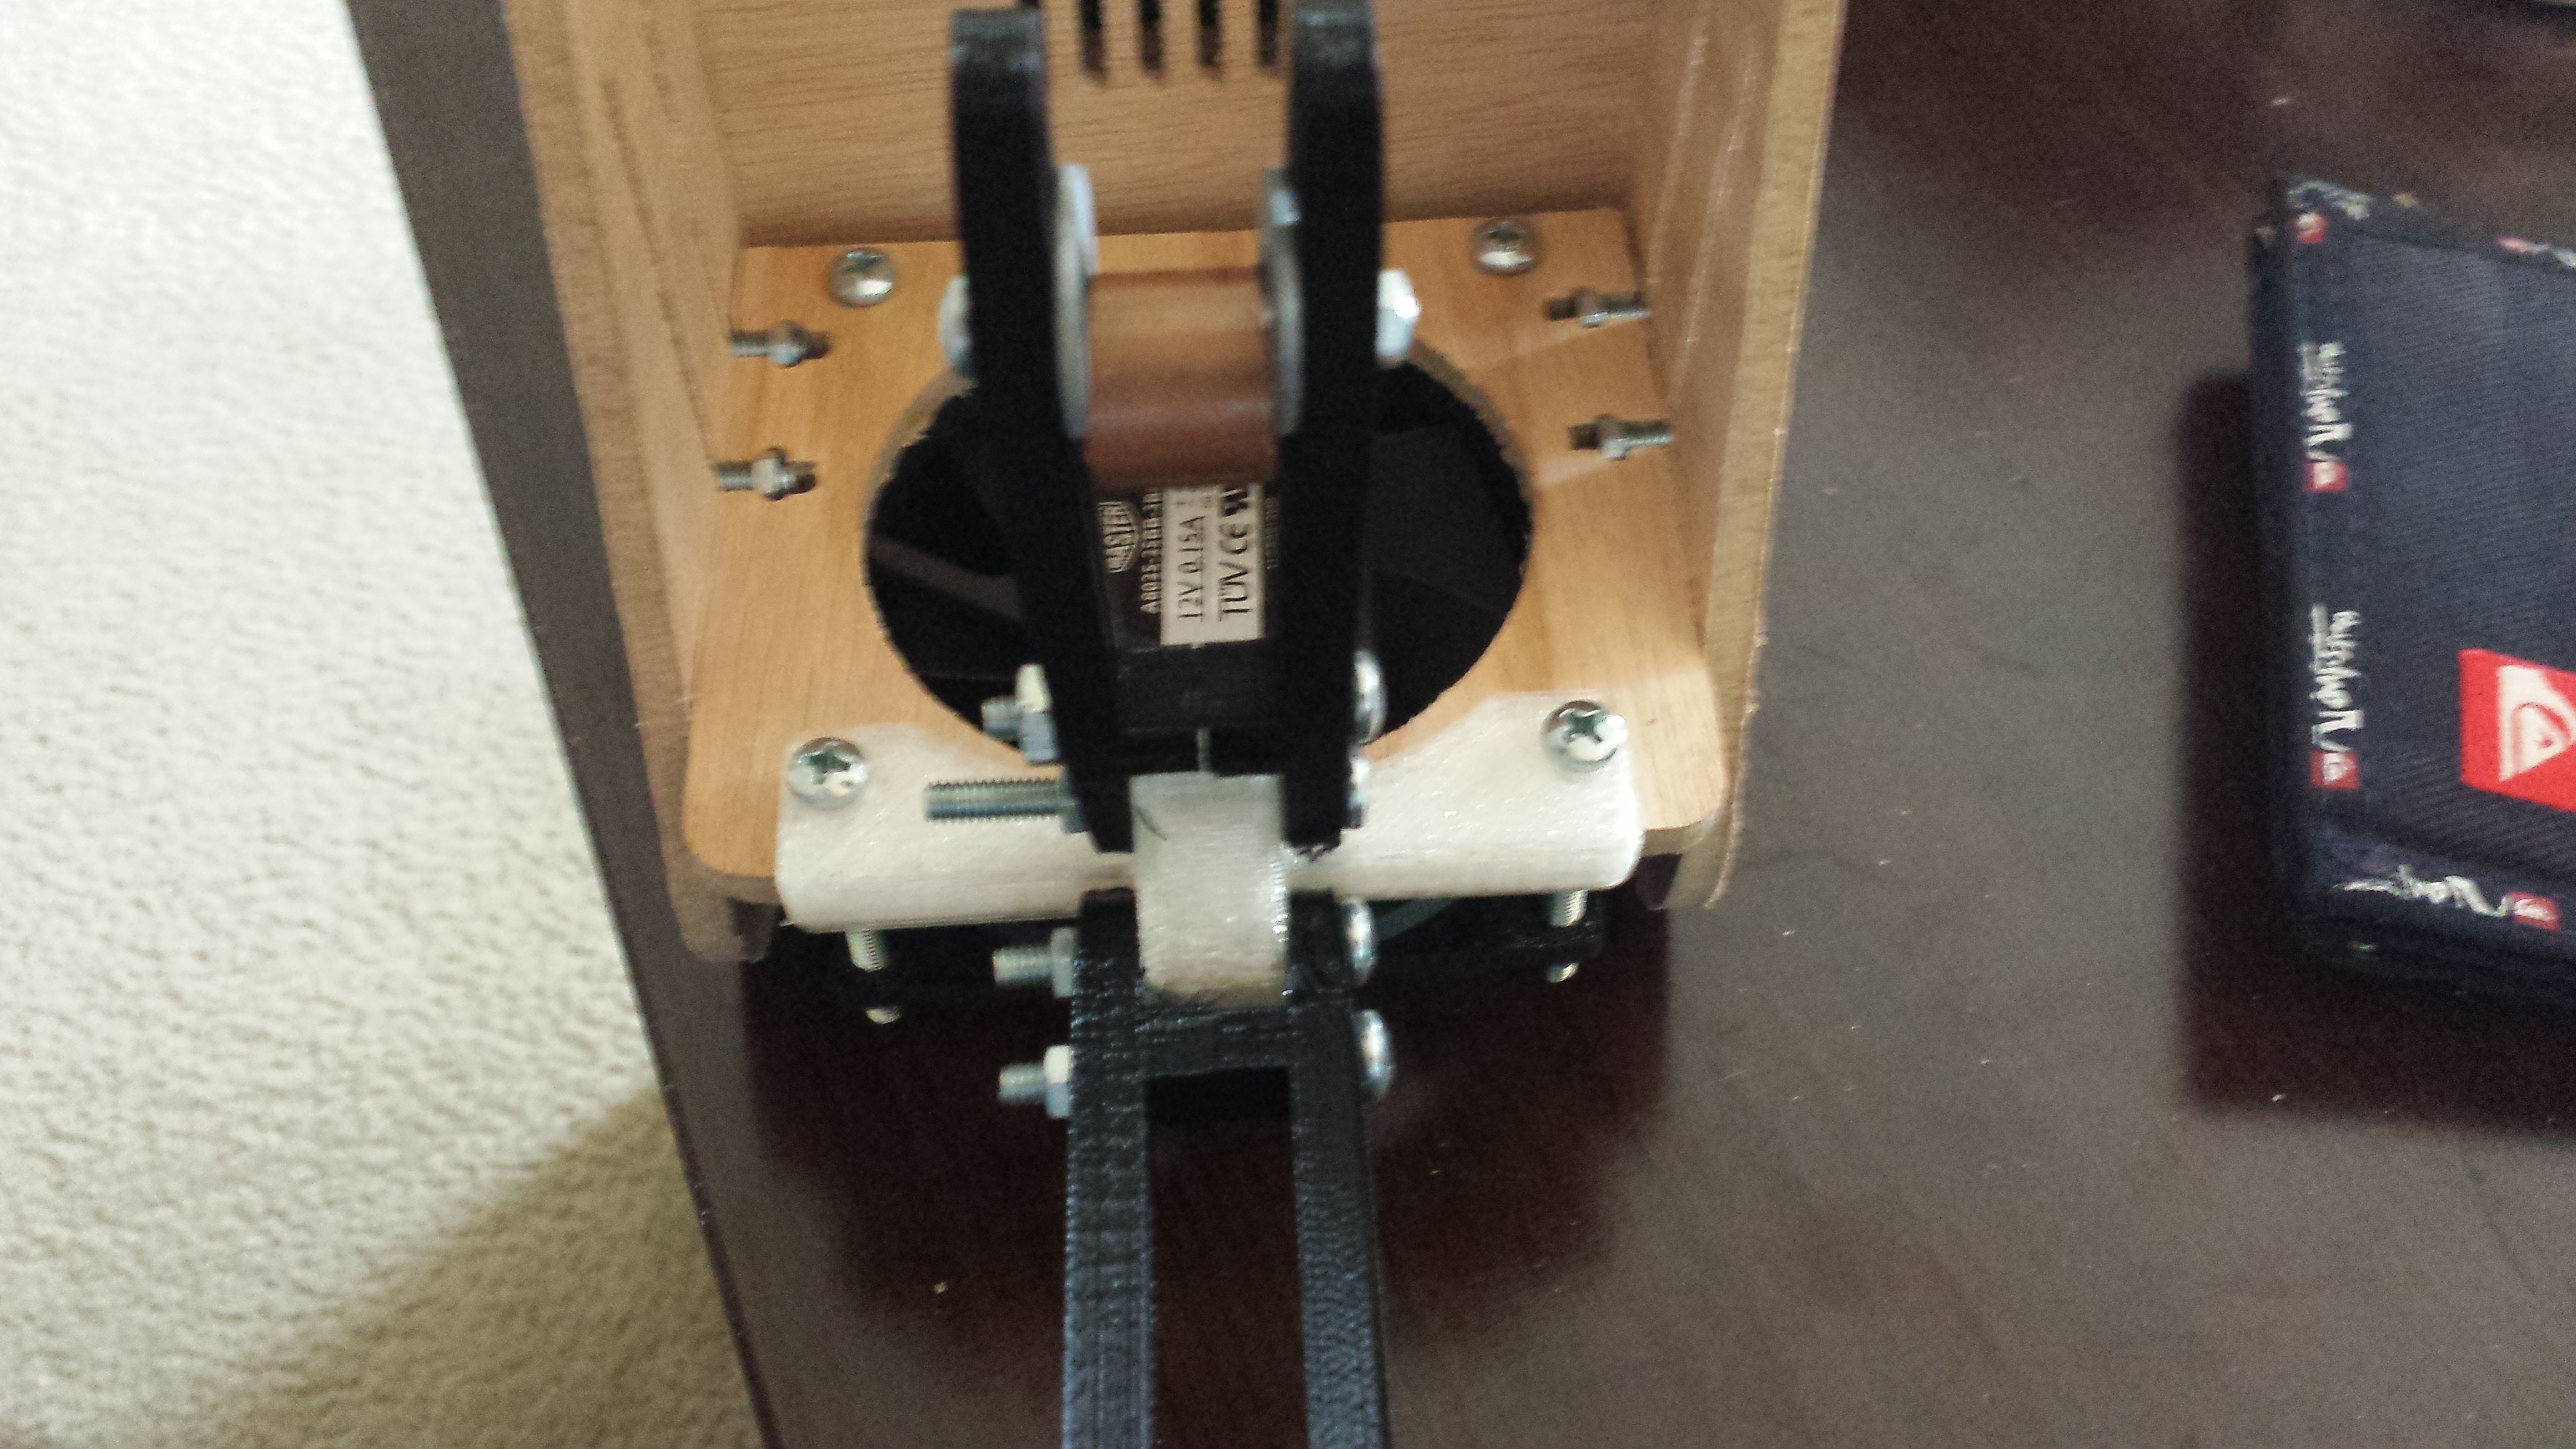
Filistruder First Test :-(
I finally got around to testing the Filistruder and let just say it could have gone better. At first I got a tangled mess of PLA. Apparently extruding PLA was not the best choice on the first run of extruding since it turns out to be much harder to extrude consistently. I decided to do PLA since that is what I use in the Replicator 2. The filament that comes out of the nozzle is VERY pliable. I suspect that I can reduce this some by lowering the temperature but not by much. By supporting the filament by had and monitoring it very closely I ended up making some filament that might be usable (although its probably not worth the trouble).
 On a positive note the filament that comes out is very clear and if I try really, hard supporting the filament by hand, it is consistent in color and shape. I am also surprised at how much filament is made from a small handful of pellets.
I think that I am going to have no choice setting up a filament puller similar to http://solidoodletips.wordpress.com/2013/05/07/filament-winder-intro he is using an optical sensor to gauge the speed at which the filament is being extruded to change the speed of the puller and spooler. This all seems like a lot of trouble but for now it is definitely worth it since making my own filament will reduce the price to 1/3 of the current price. I think that I may try to improve on the design by making the setup in a more vertical configuration since I have limited bench space. I also think that a wheel directly in front of the filistruder, something that has a high thermal mass like a big steel wheel, will help cool the filament in a much more consistent manor.
Ultimately I knew going in to this that this is not a consumer ready product but there is a lot of potential. The developers are actively working on improvement even while they are over run with activity in shipping out all the kickstarter rewards. So far the concept seems to be quite sound and I think that with some additions, making useable cheap filament should not bee too far away.
Summay of the last few weeks
Boo on me it’s been almost three weeks since my last post. If anyone is listening; Sorry! I have had a lot going on in the last few weeks here is a summary.
Raspberry Pi cases:
I got an order for 6 raspberry pi cases in several colors that have been keeping me (and my printer) busy recently. A friend of mine is going to the http://www.kansasfest.org/ and they will be doing something with raspberry pis. He posted in the forums if anyone wants a printed pi case for $8 and he got an order for 6.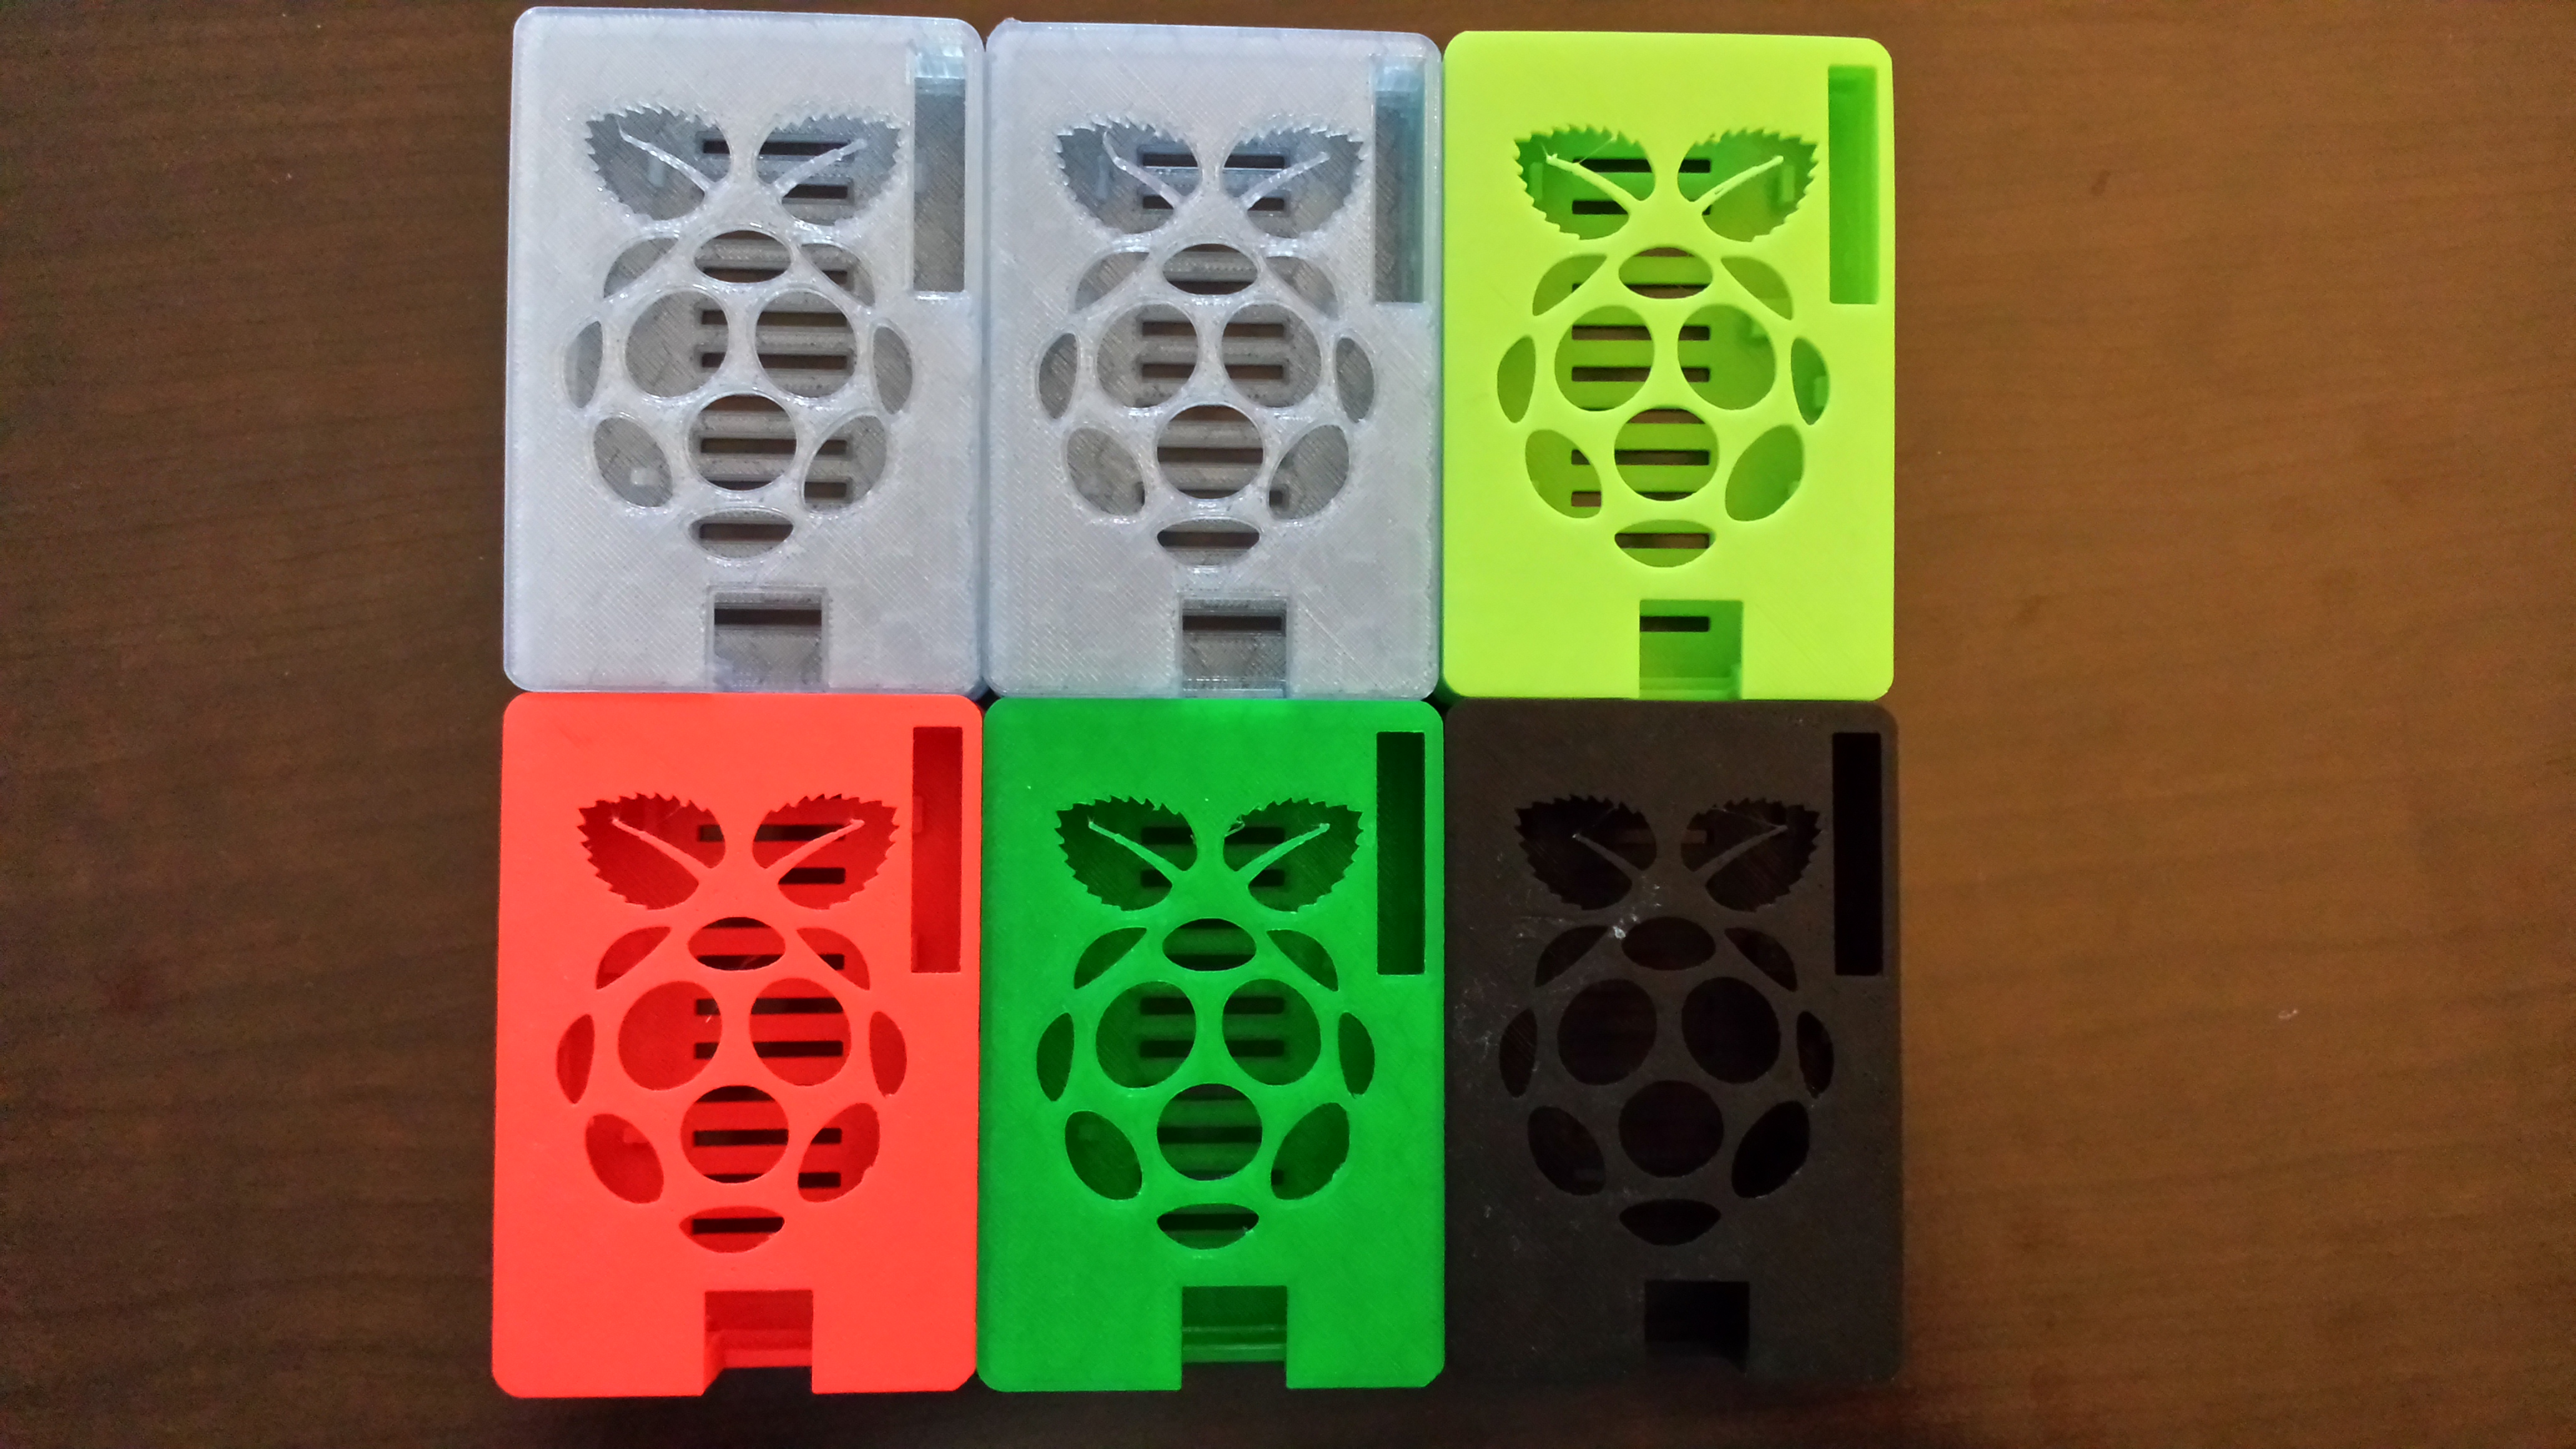
Filistruder:
I was able to print a hopper and a replacement part for one that broken when I was assembling. The hopper is actually an upgraded one that I found on the thingiverse and it is very nice. I am so far very happy with the design and it fits perfectly. I still have yet to extrude any filament but I hope to soon. I will post my results once I get it going.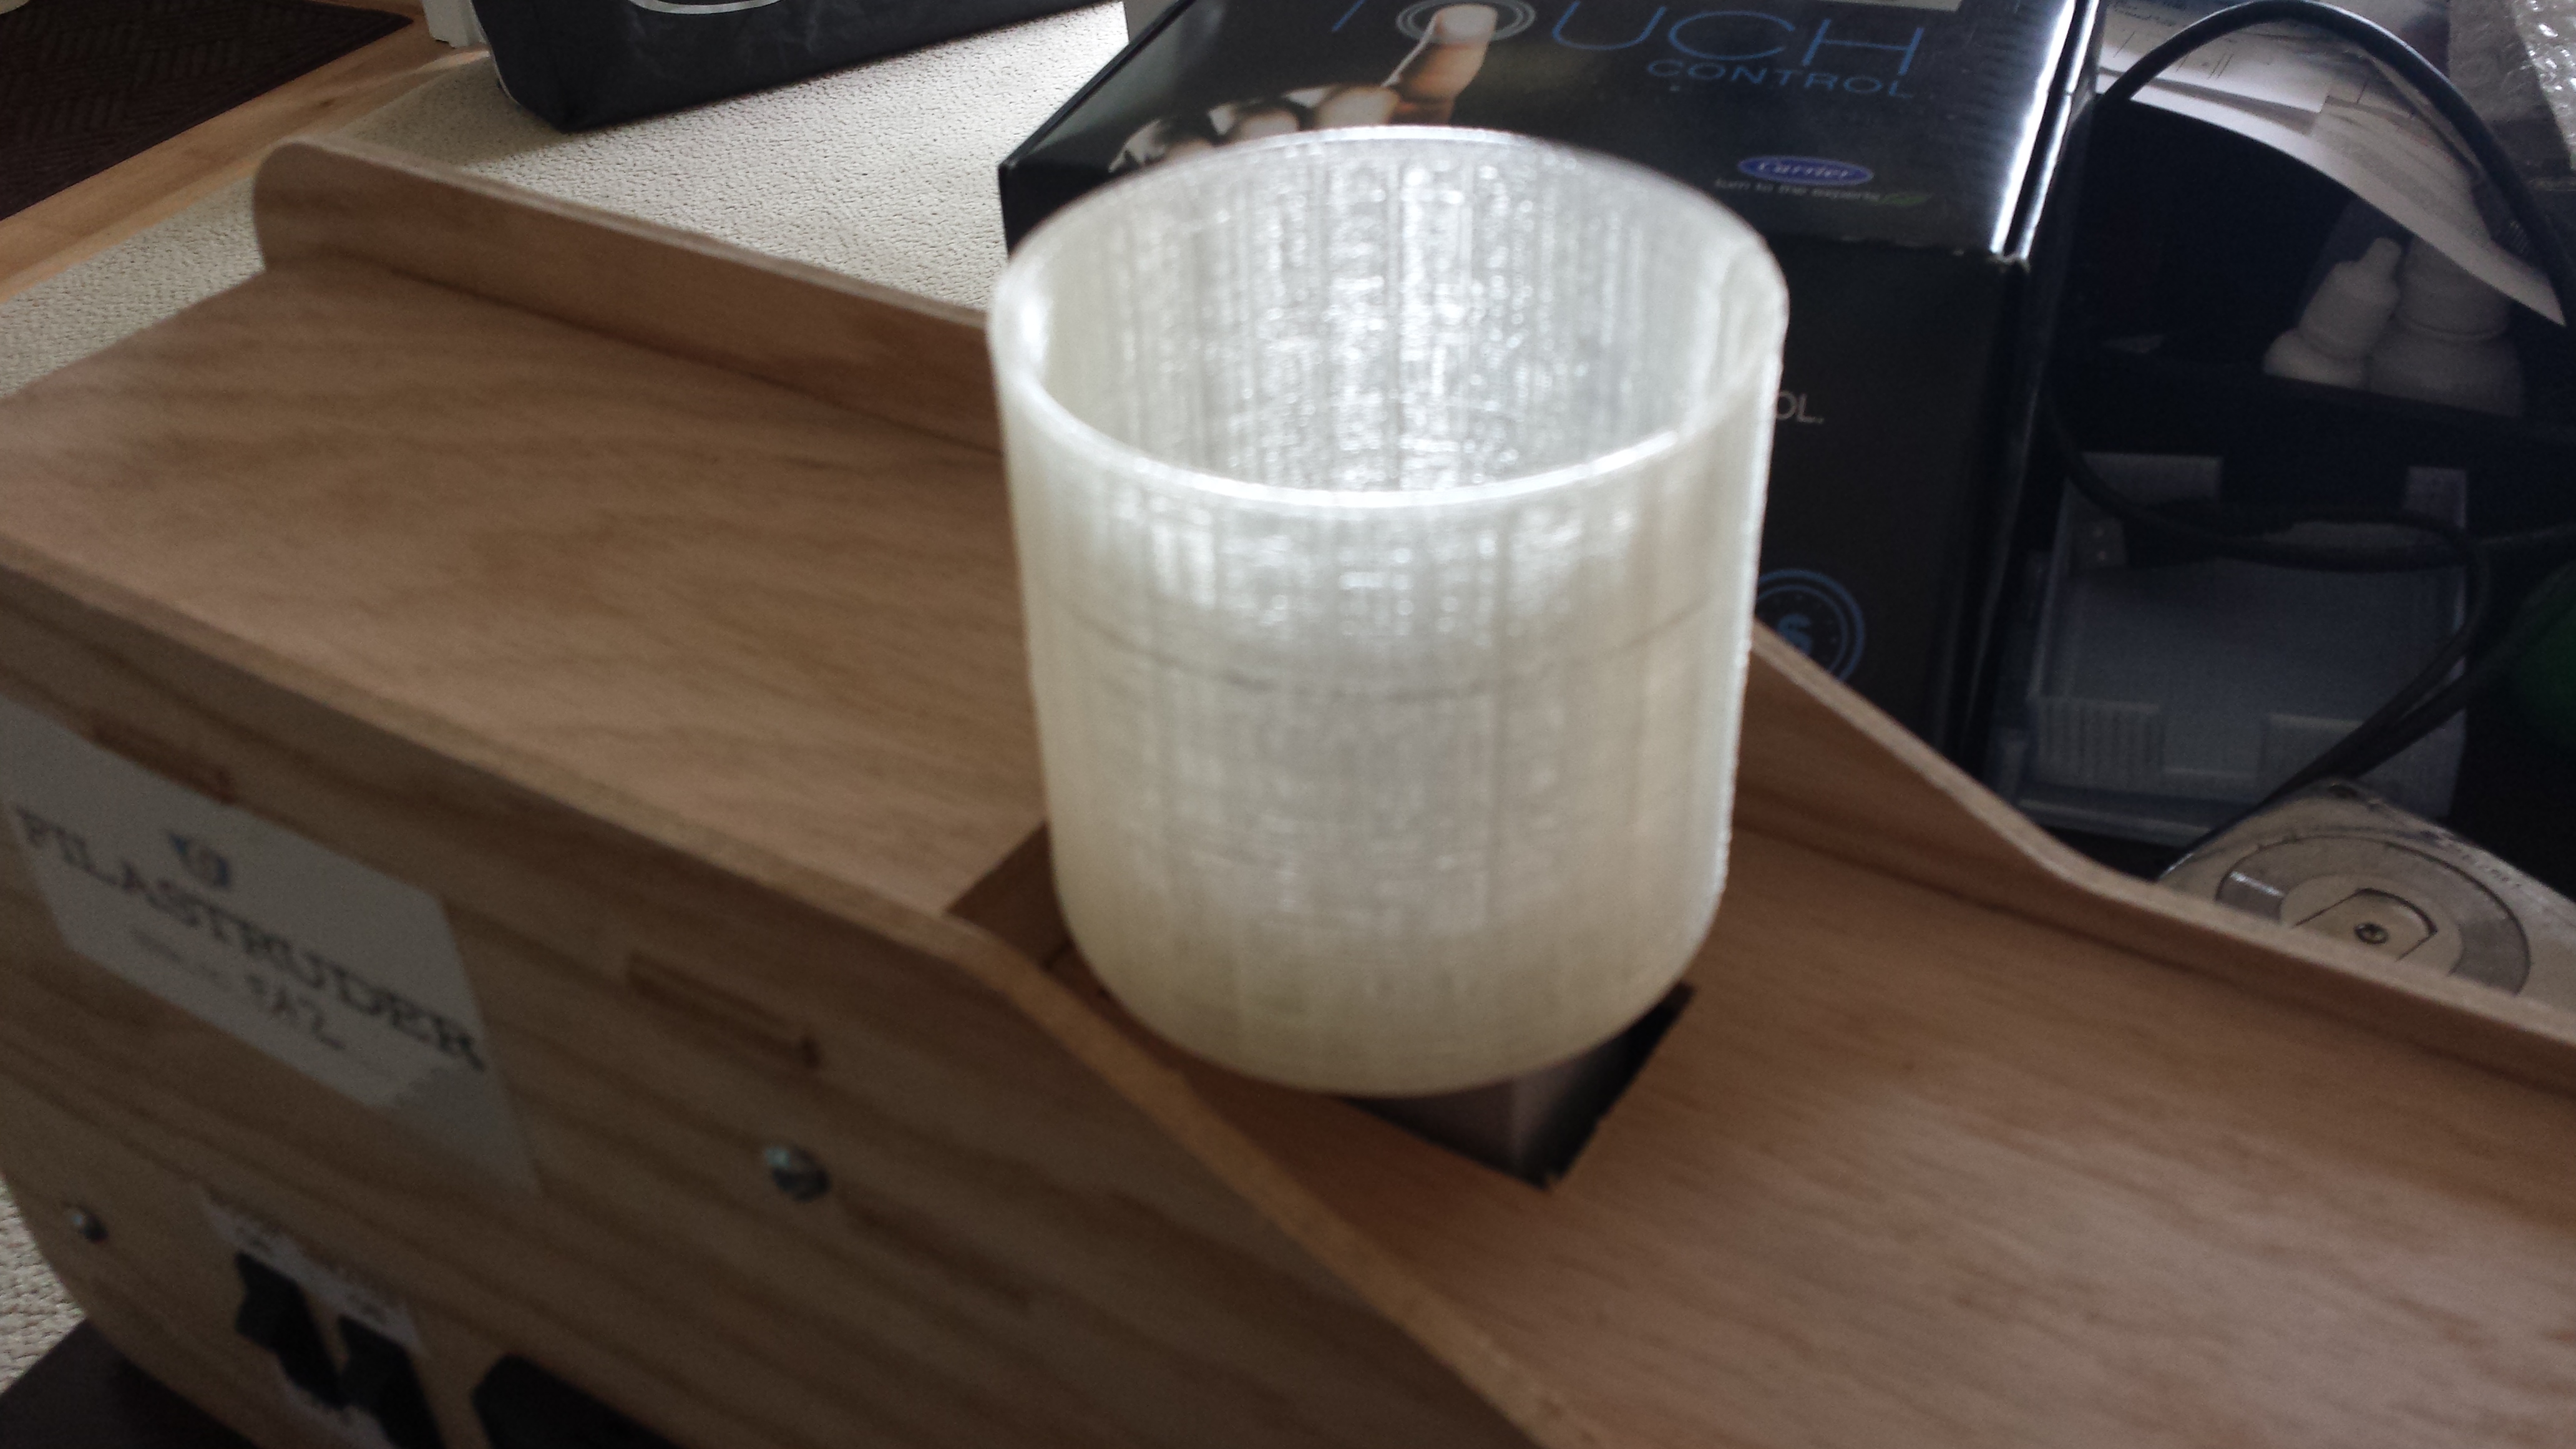

Free upgrade Replicator 2 filament extruder:
I finally received the free upgrade for the Replicator 2 filament extruder after waiting nearly 8 weeks (they said it would be 6). http://store.makerbot.com/extruder-upgrade.html?utm_source=MakerBot+Customers&utm_campaign=43f102128a-Replicator_2_Extruder_Upgrade_5_14_2013&utm_medium=email&utm_term=0_2a6be7f082-43f102128a-407817429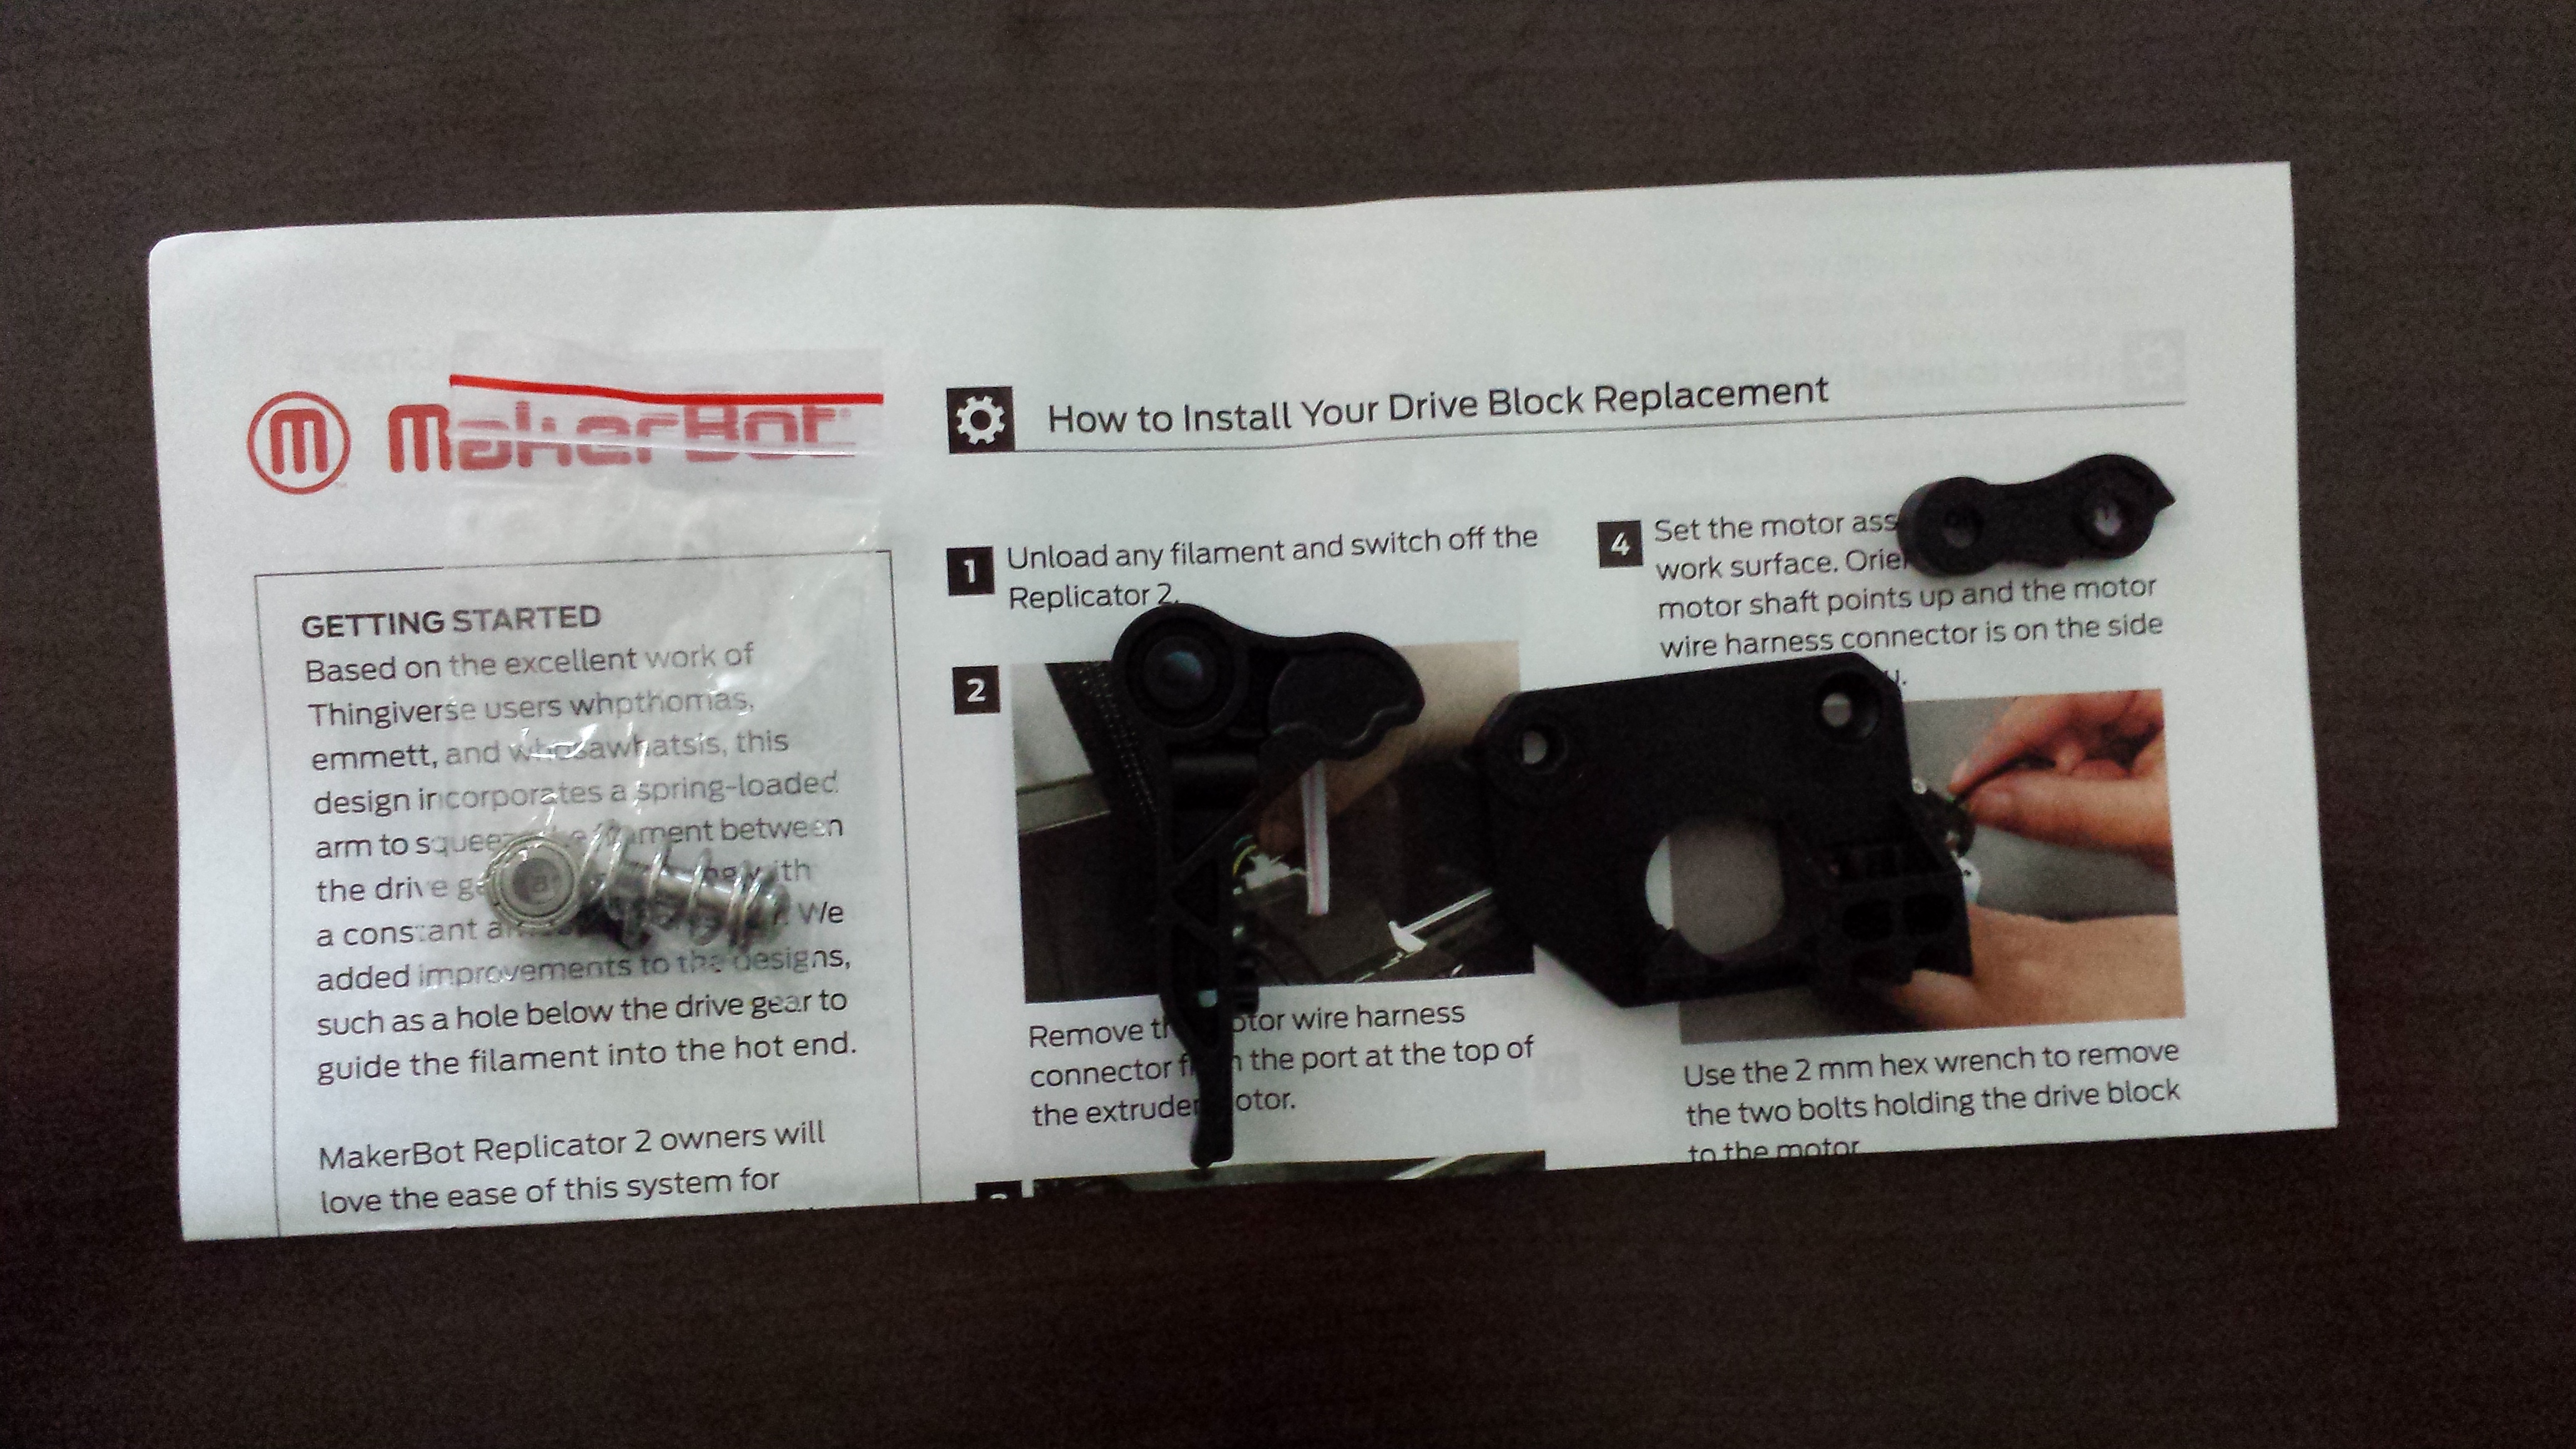
The installation was quite easy and it is working great. I have printed 3 pi cases with the new parts and everything is working fine so far.
More work from makexyz:
I got a few more orders from makexyz. This seems to be working out fine. I have made a few buck from these jobs but nothing to write home about. I never really thought I would make the big buck doing this and I only expected to supplement the cost of the printer. Any money I can get back for my investment is fine by me. Plus I enjoy doing the work (not so much the shipping and what not).
3D printing presentation on youtube:
It’s true I am on youtube http://www.youtube.com/watch?
KIFA 3D printing presentation:
I will be giving my presentation on 3D printing again to the Kent Island Federation of Arts at the KI Library on Sep 25, 6:30 PM – 8:30 PM. I am not sure if this is open to the public or not I will try to post back once I figure this out.
Wow this is a long post but that’s what I get for not posting for three weeks.
Reminder and slides: Intro to 3D printing and 3D design Fri, June 21, 7pm – 10pm @Unallocated Space
Just a reminder of the presentation that I will be giving
Intro to 3D printing and 3D design Fri, June 21, 7pm – 10pm @Unallocated Space
Also as promised (although a bit late) here are the slides I will be presenting if you want to get a sneak peak: Introduction to 3d Printing
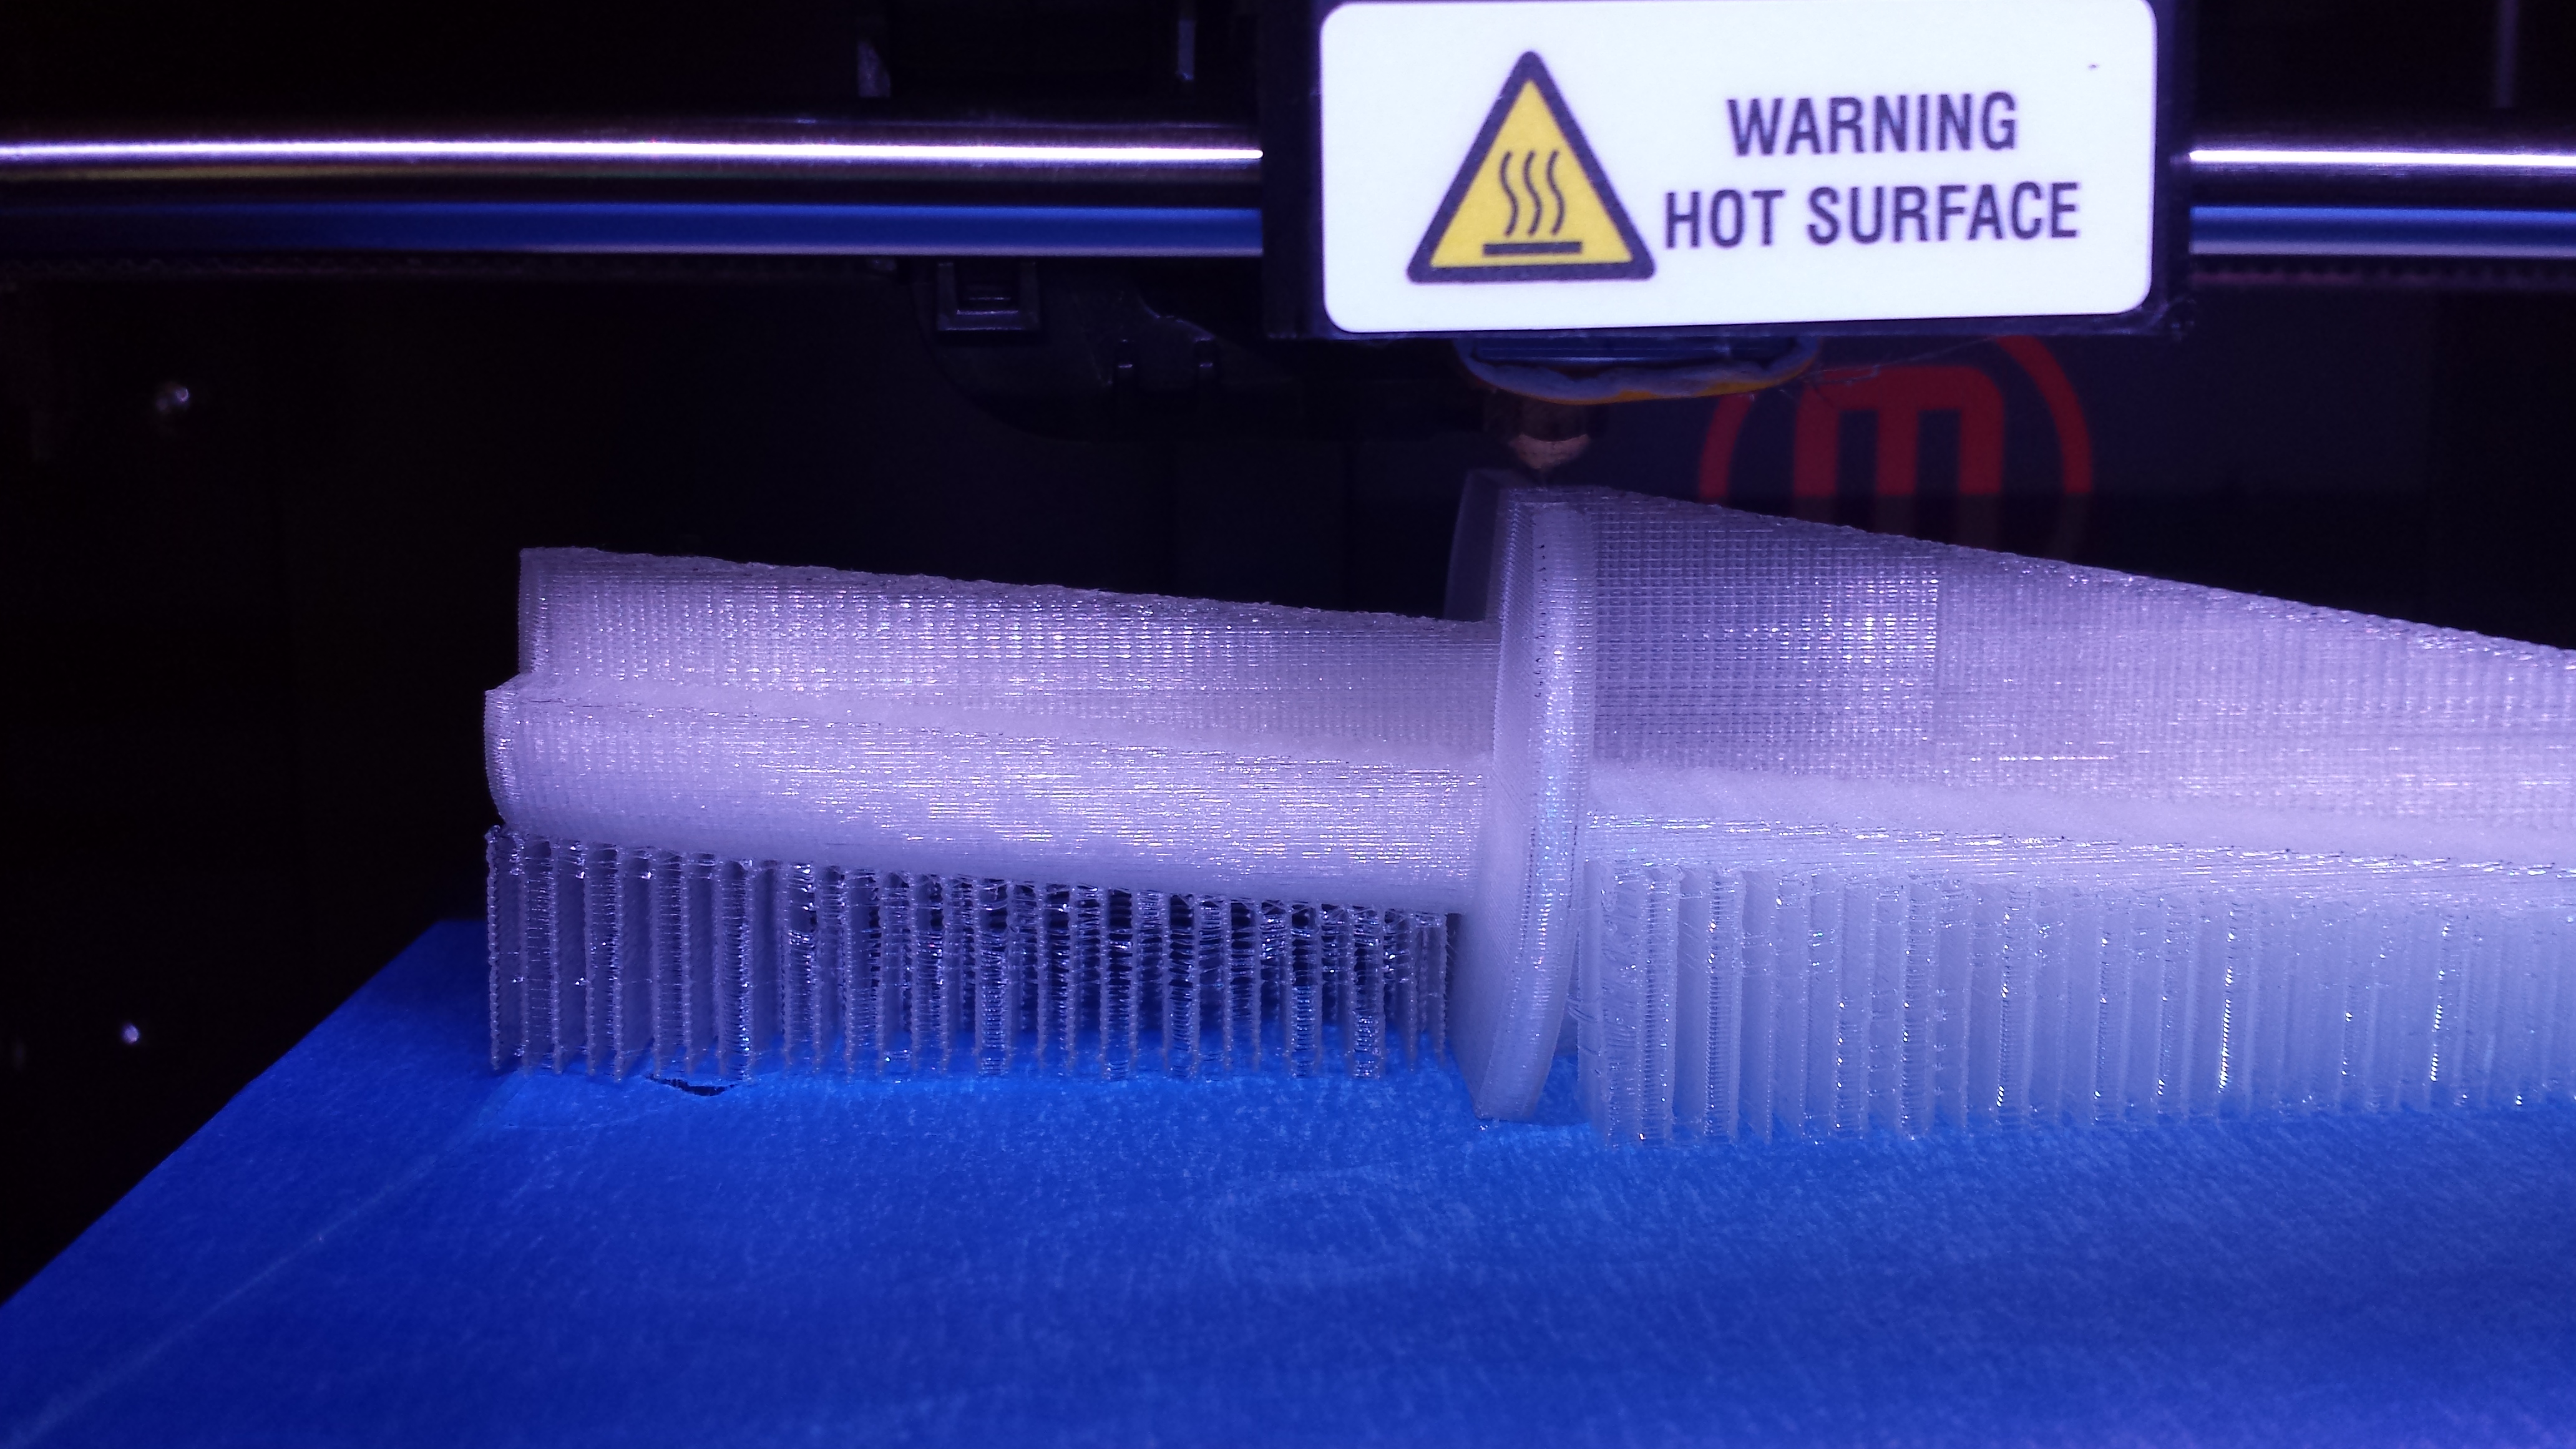
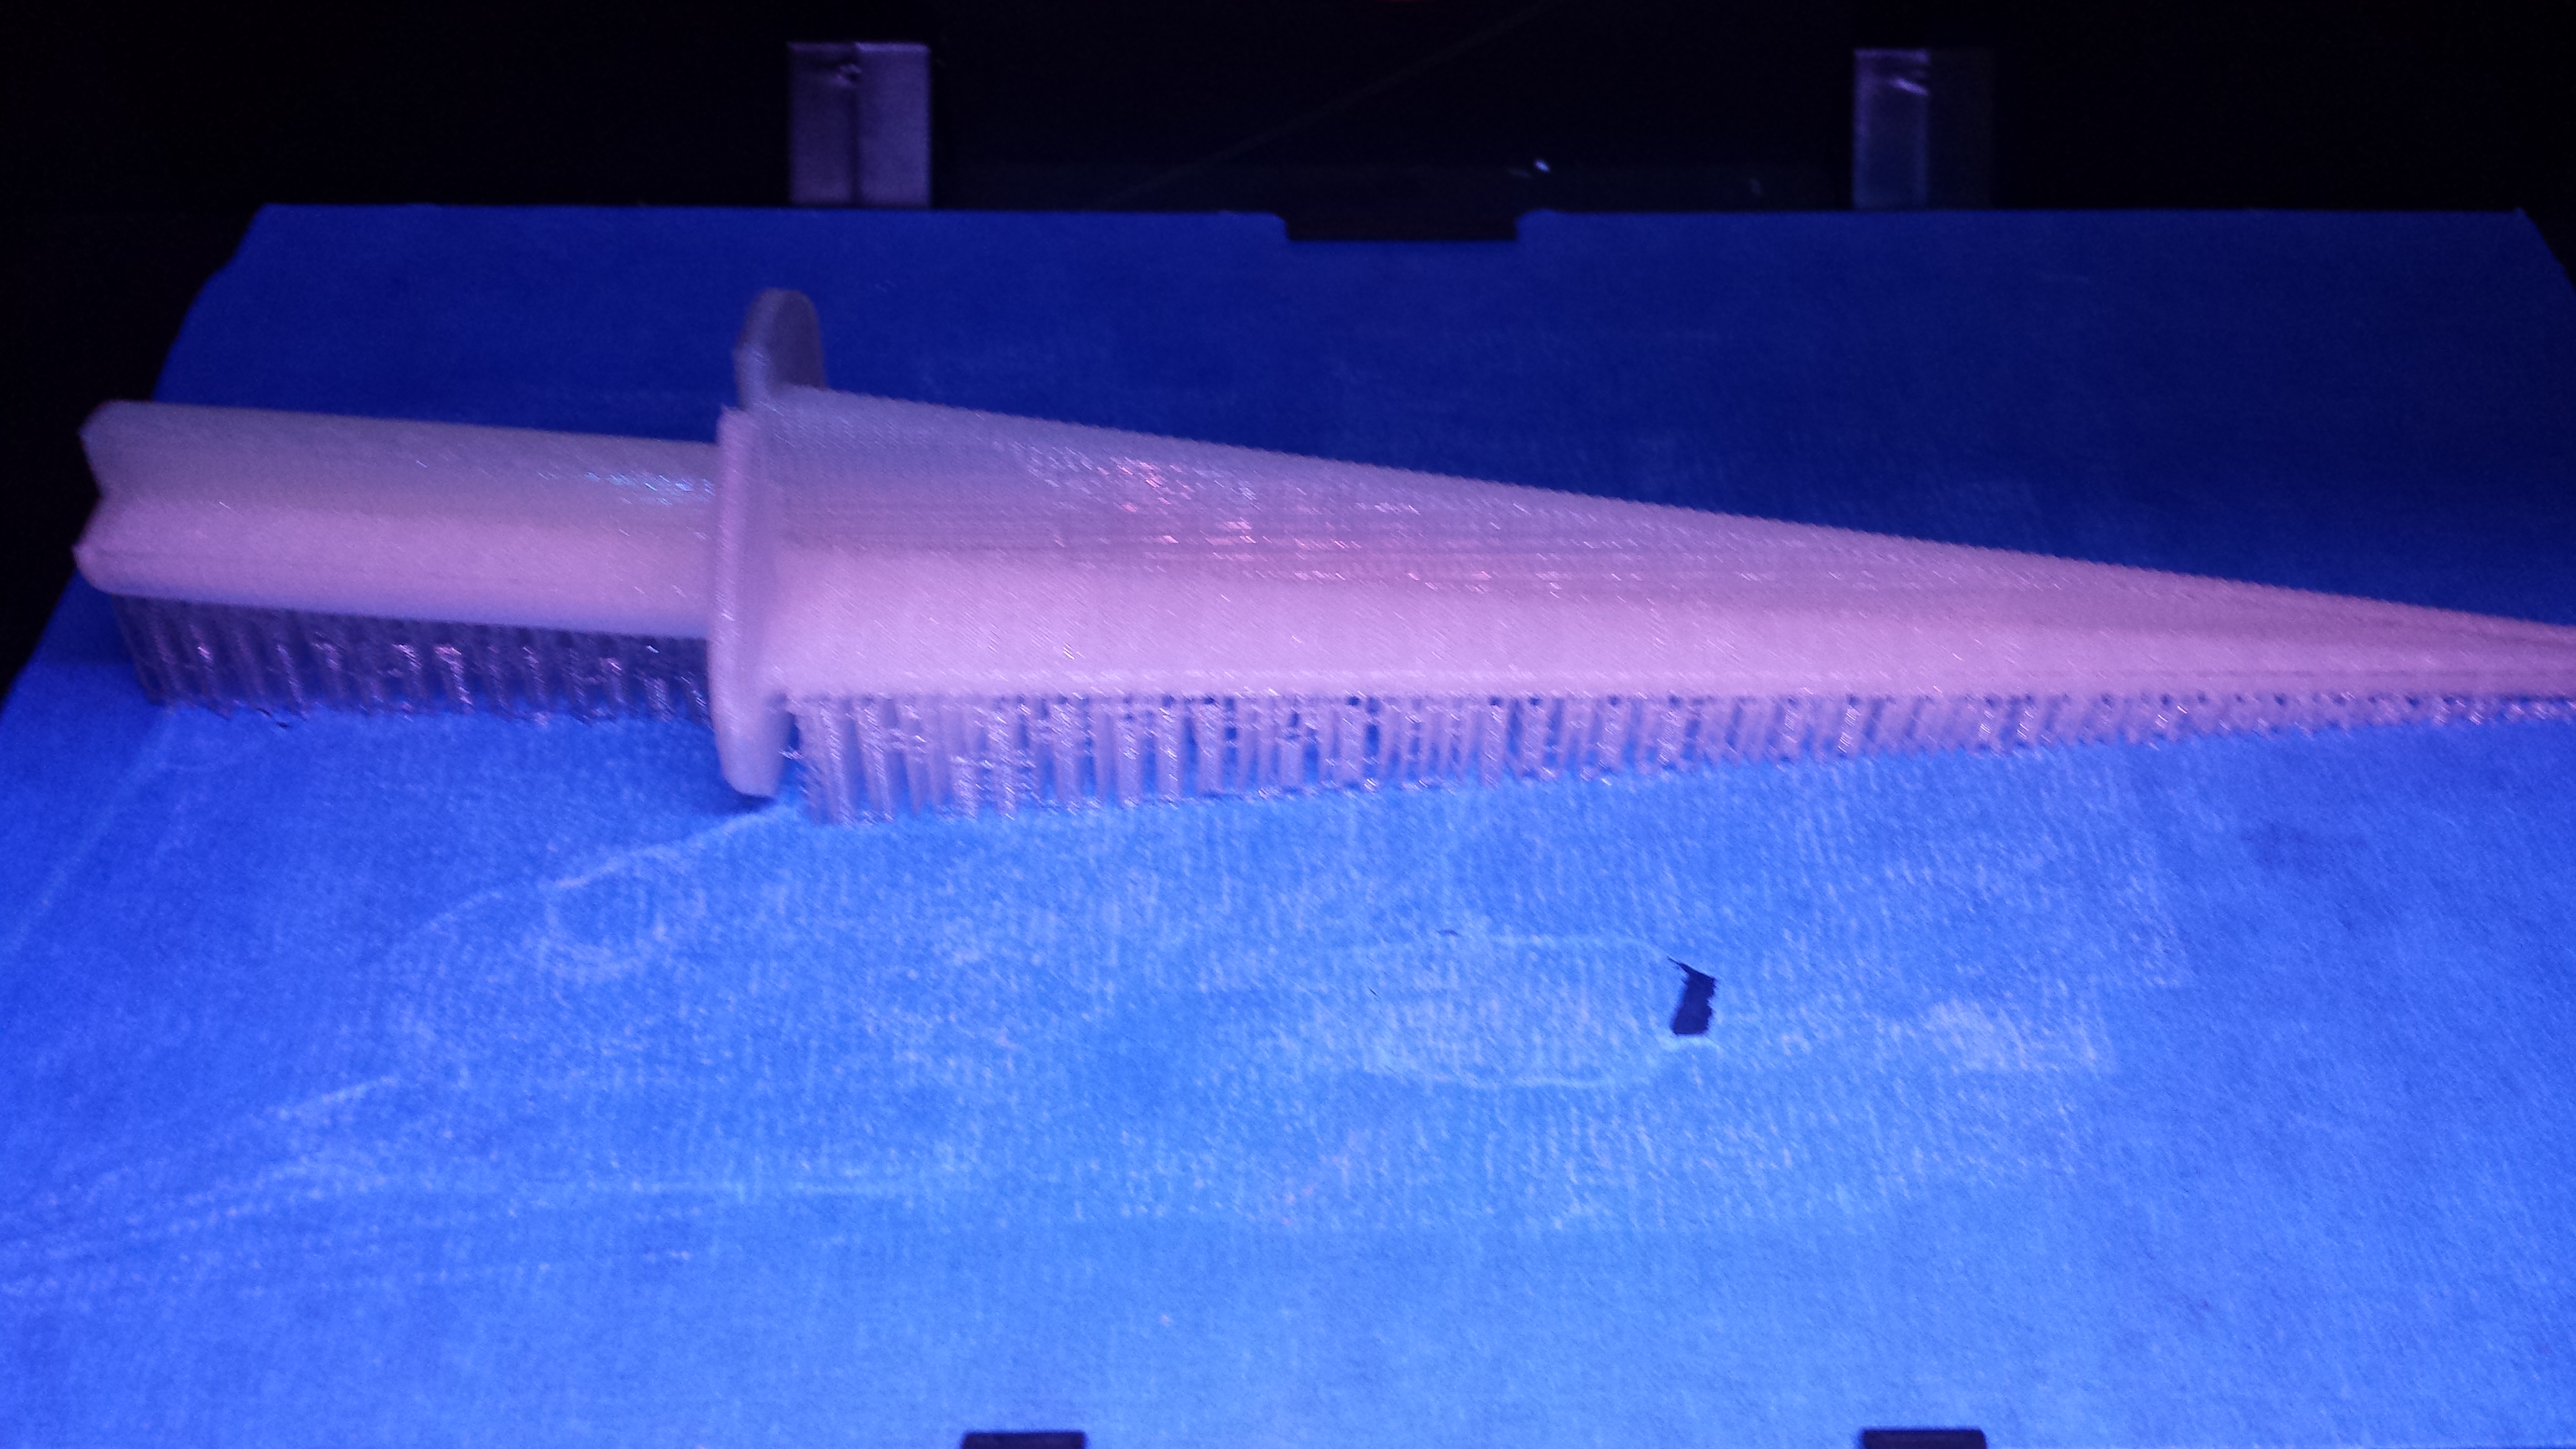
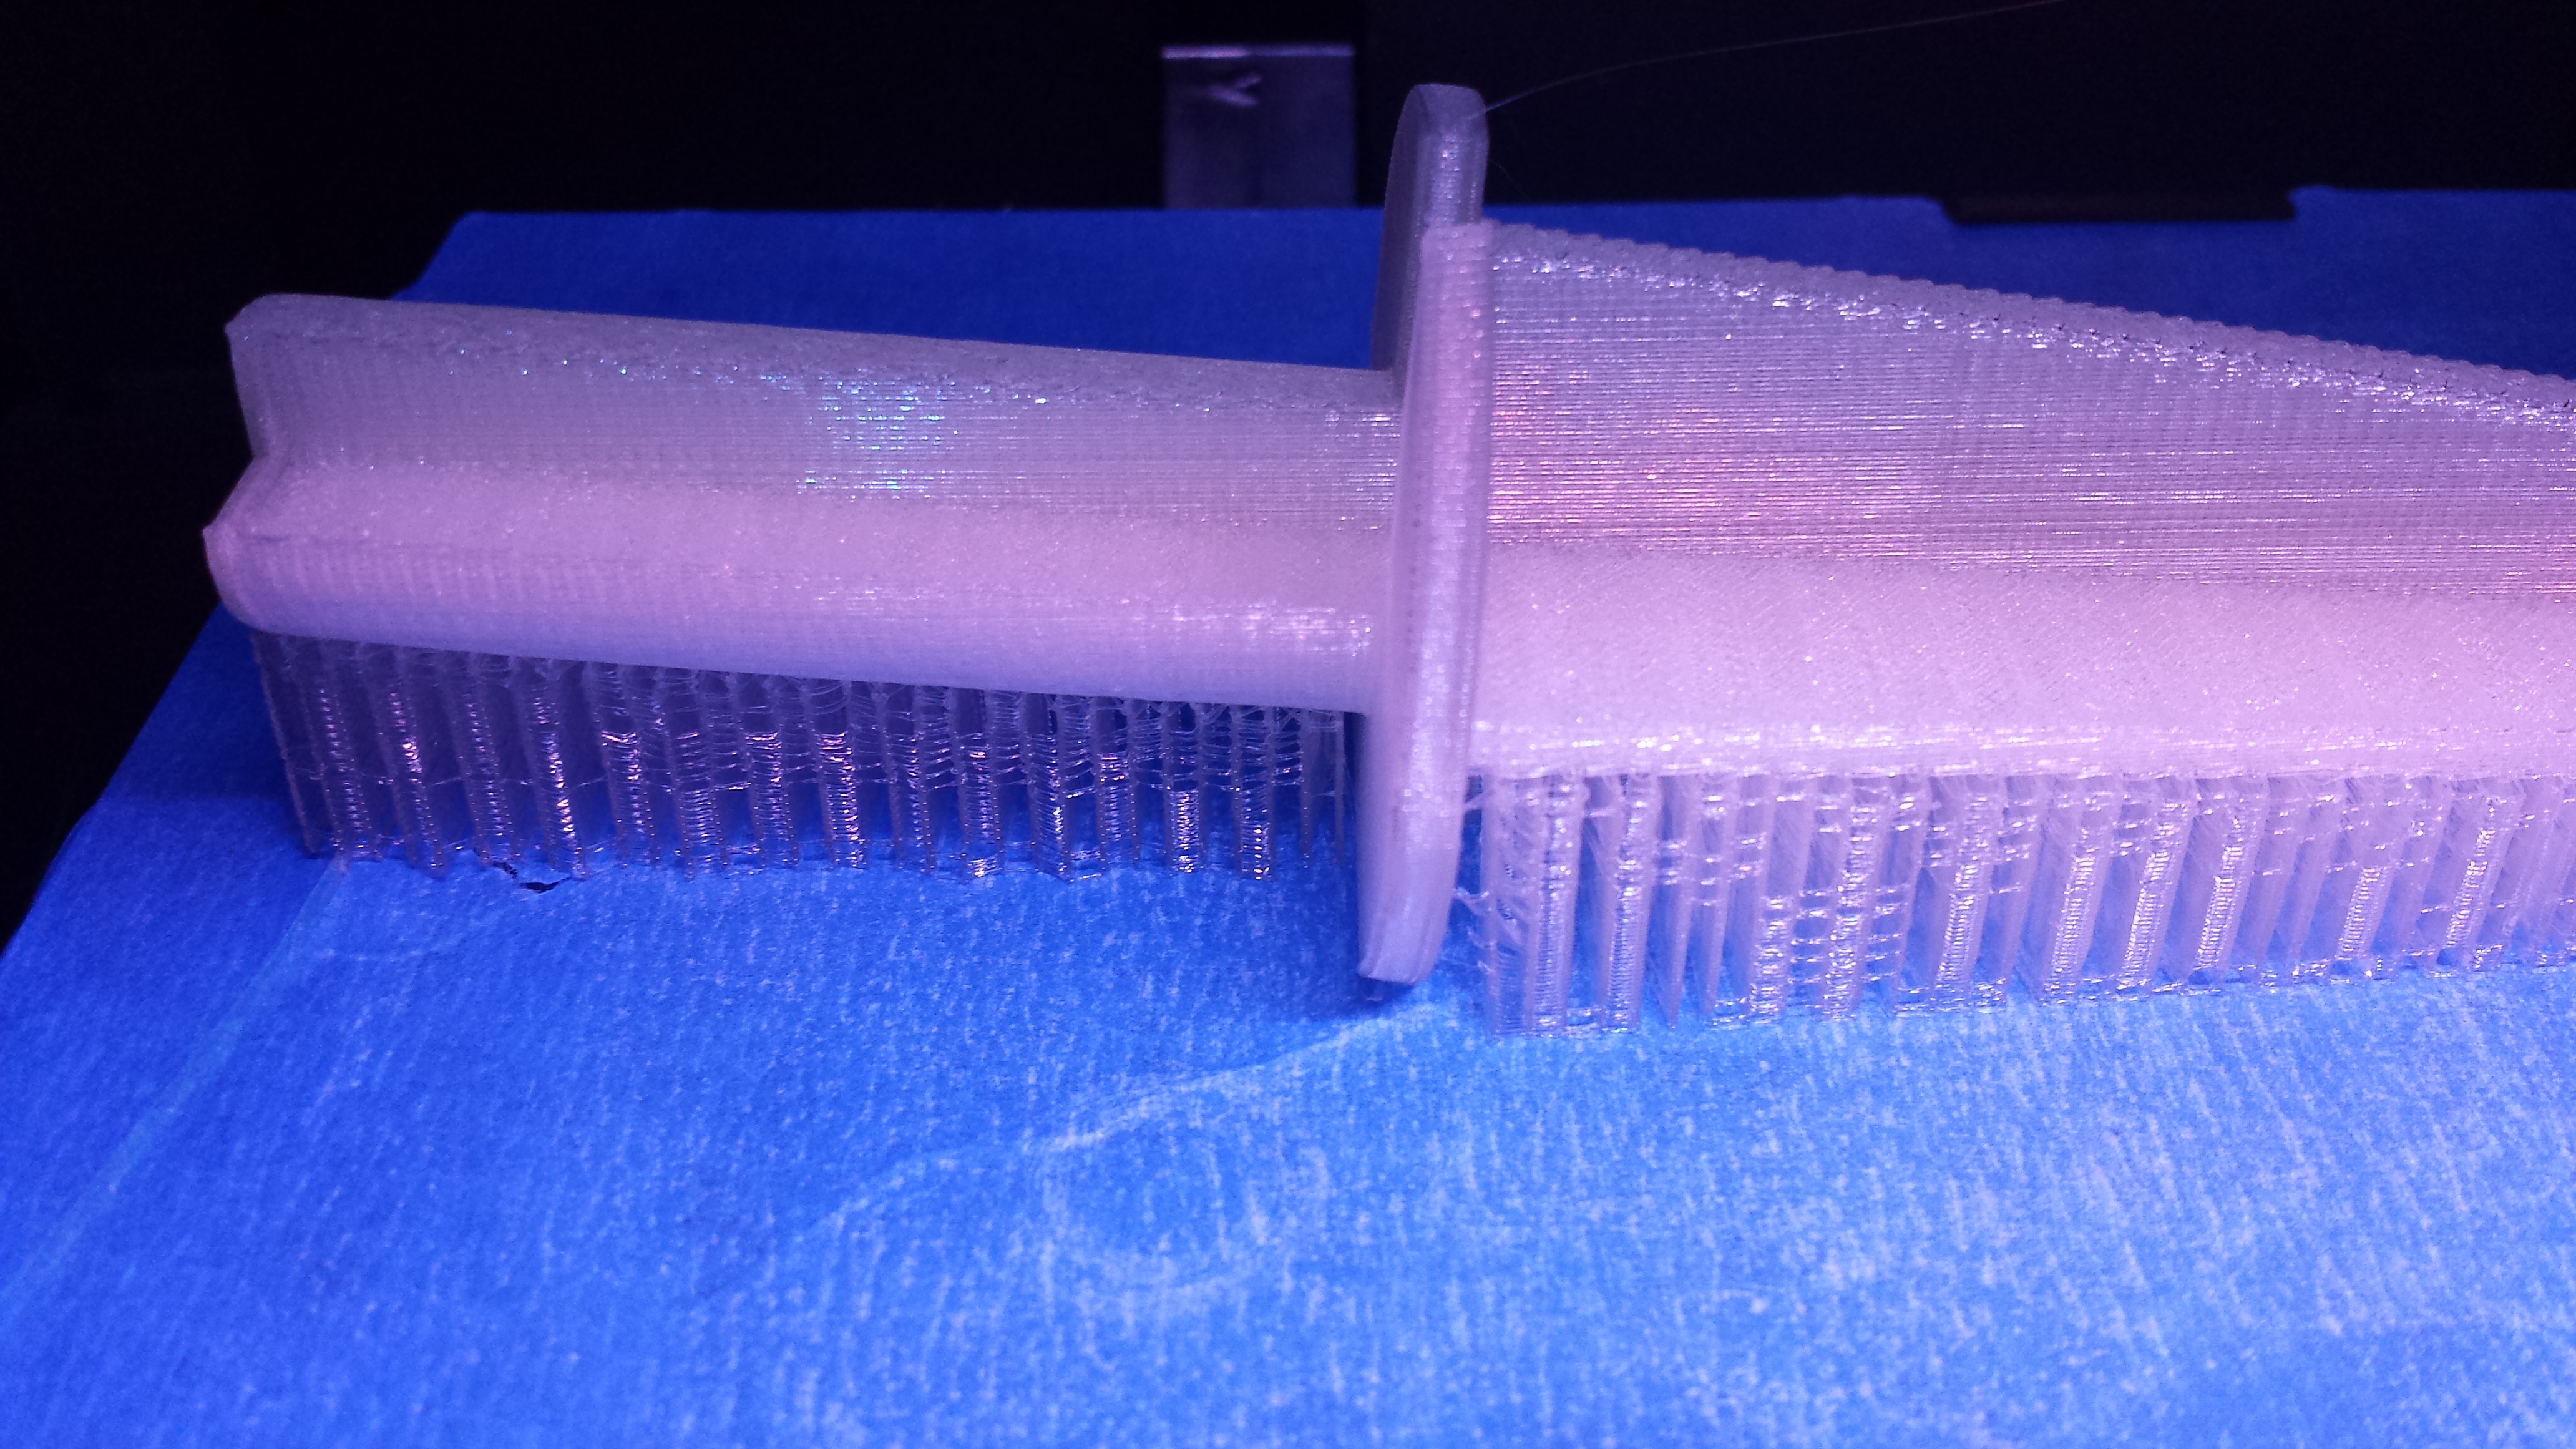
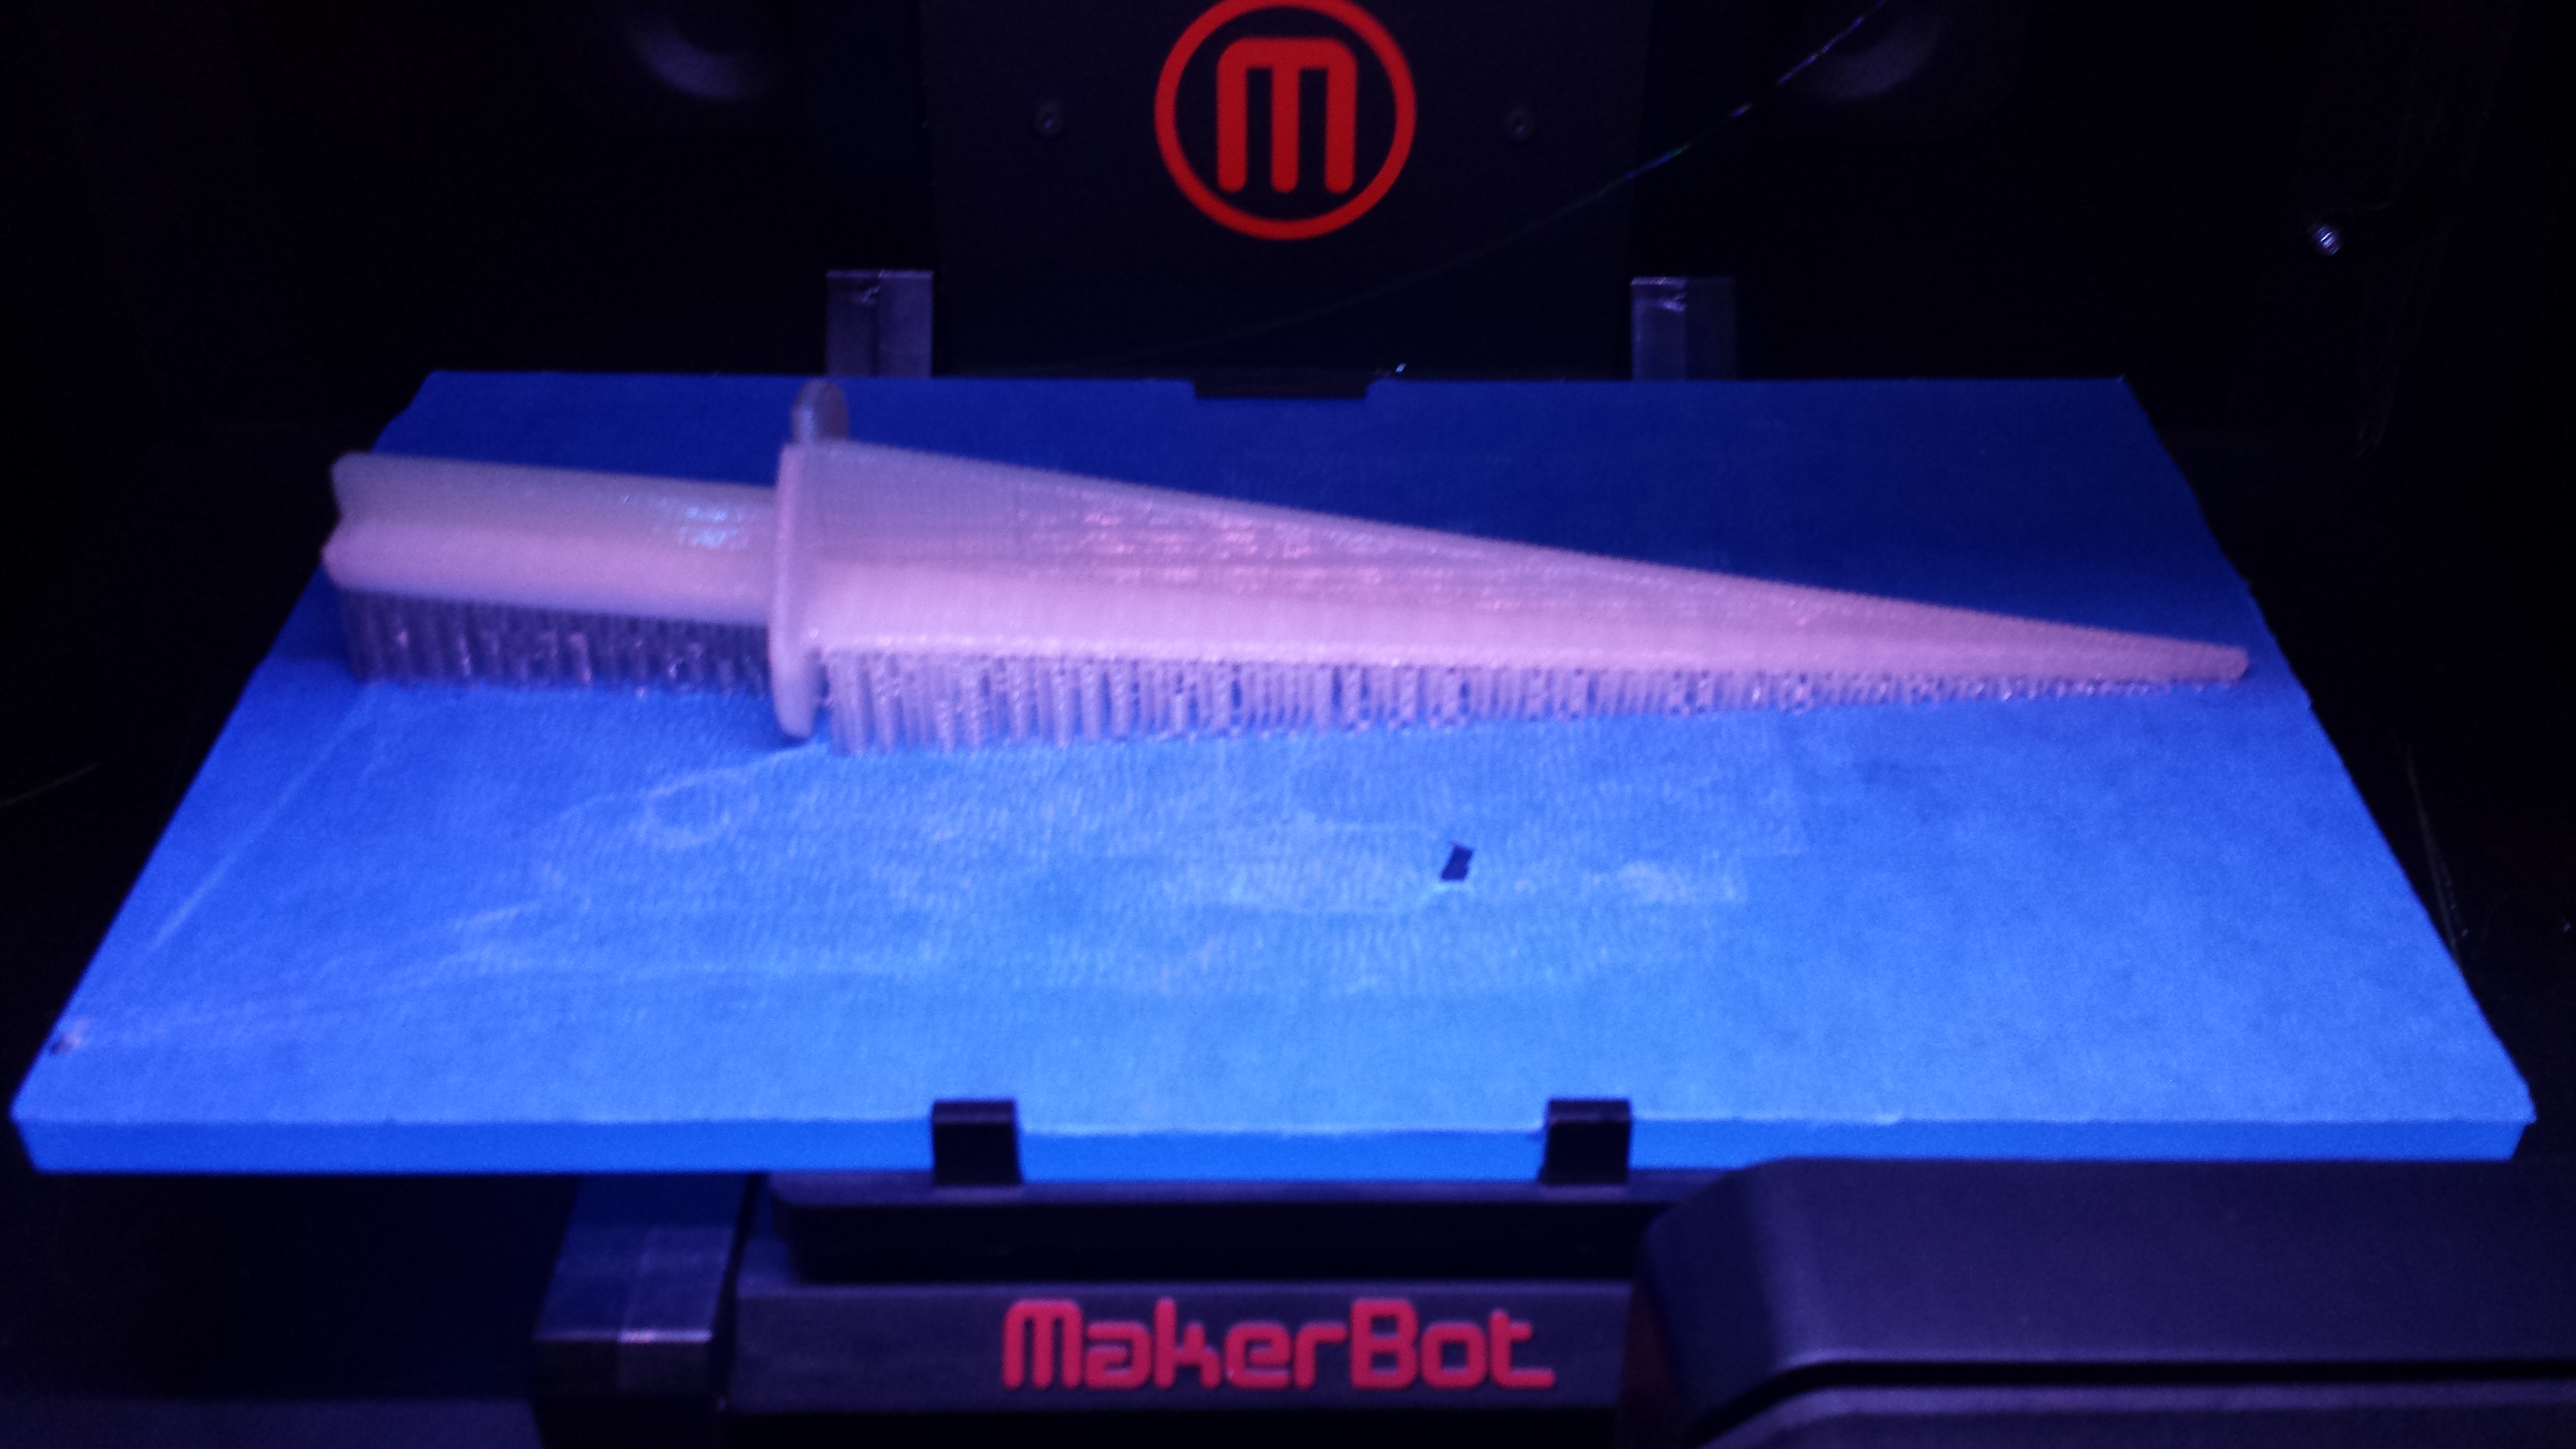
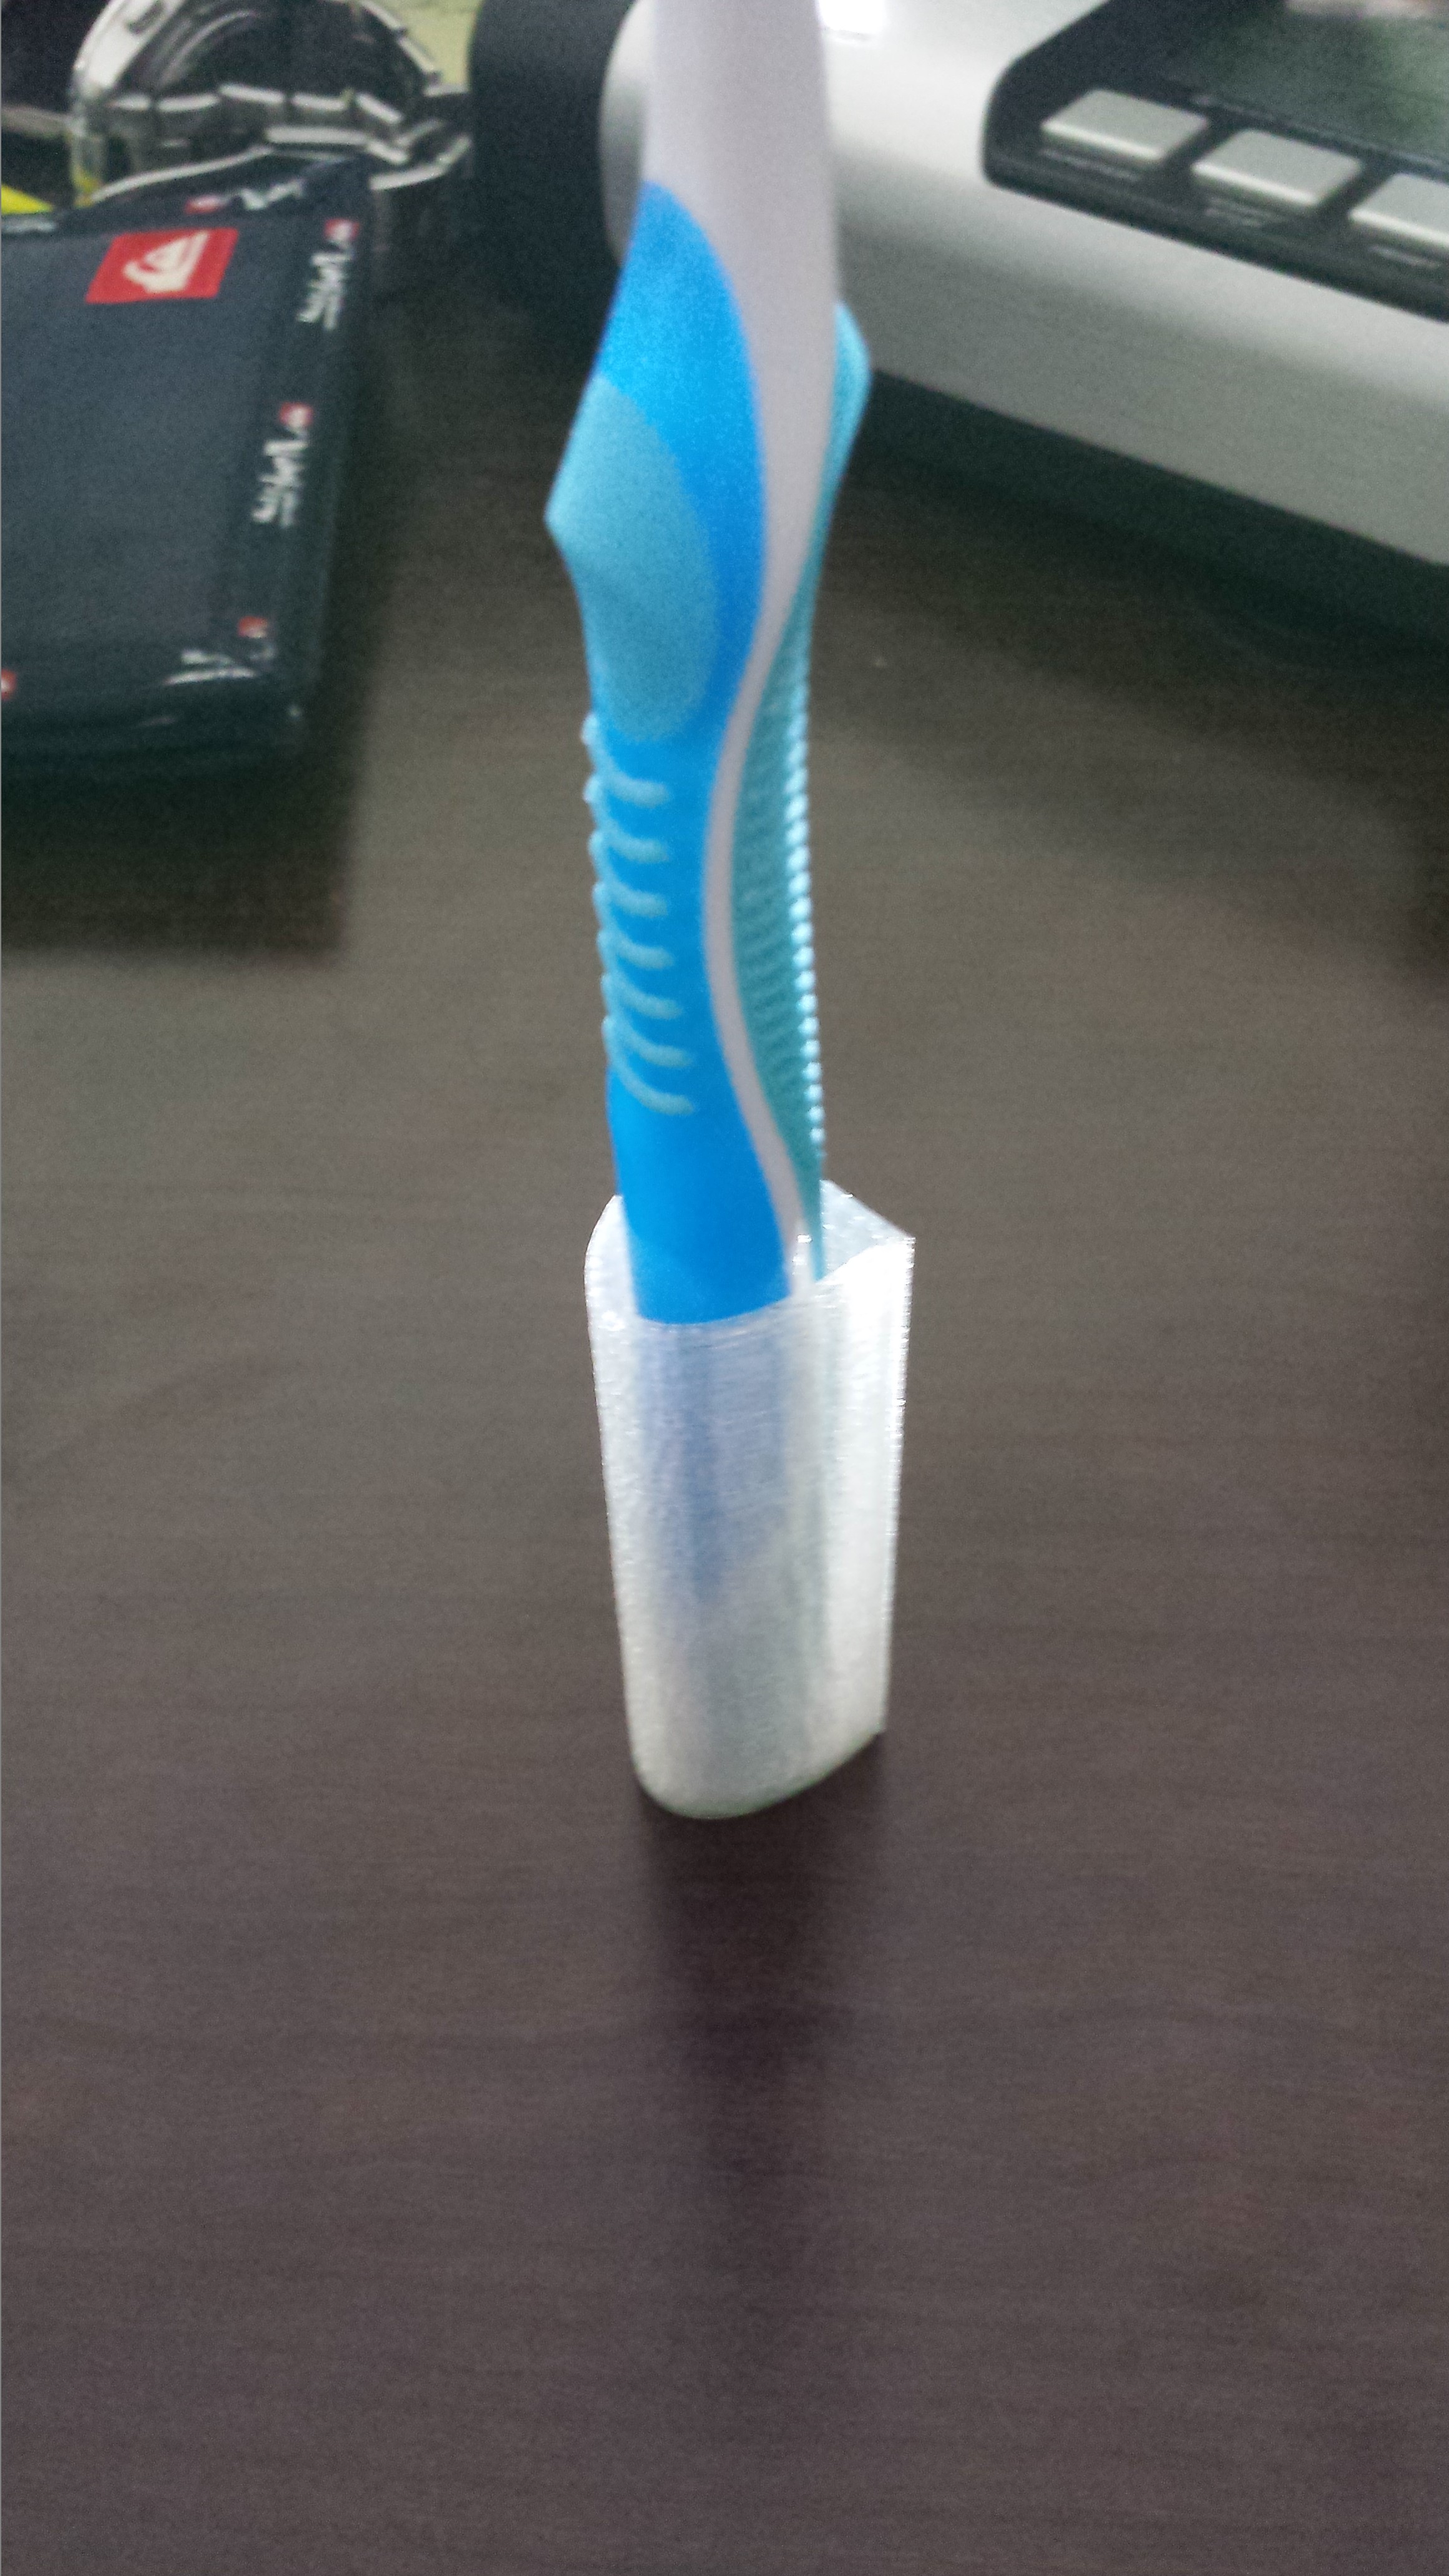
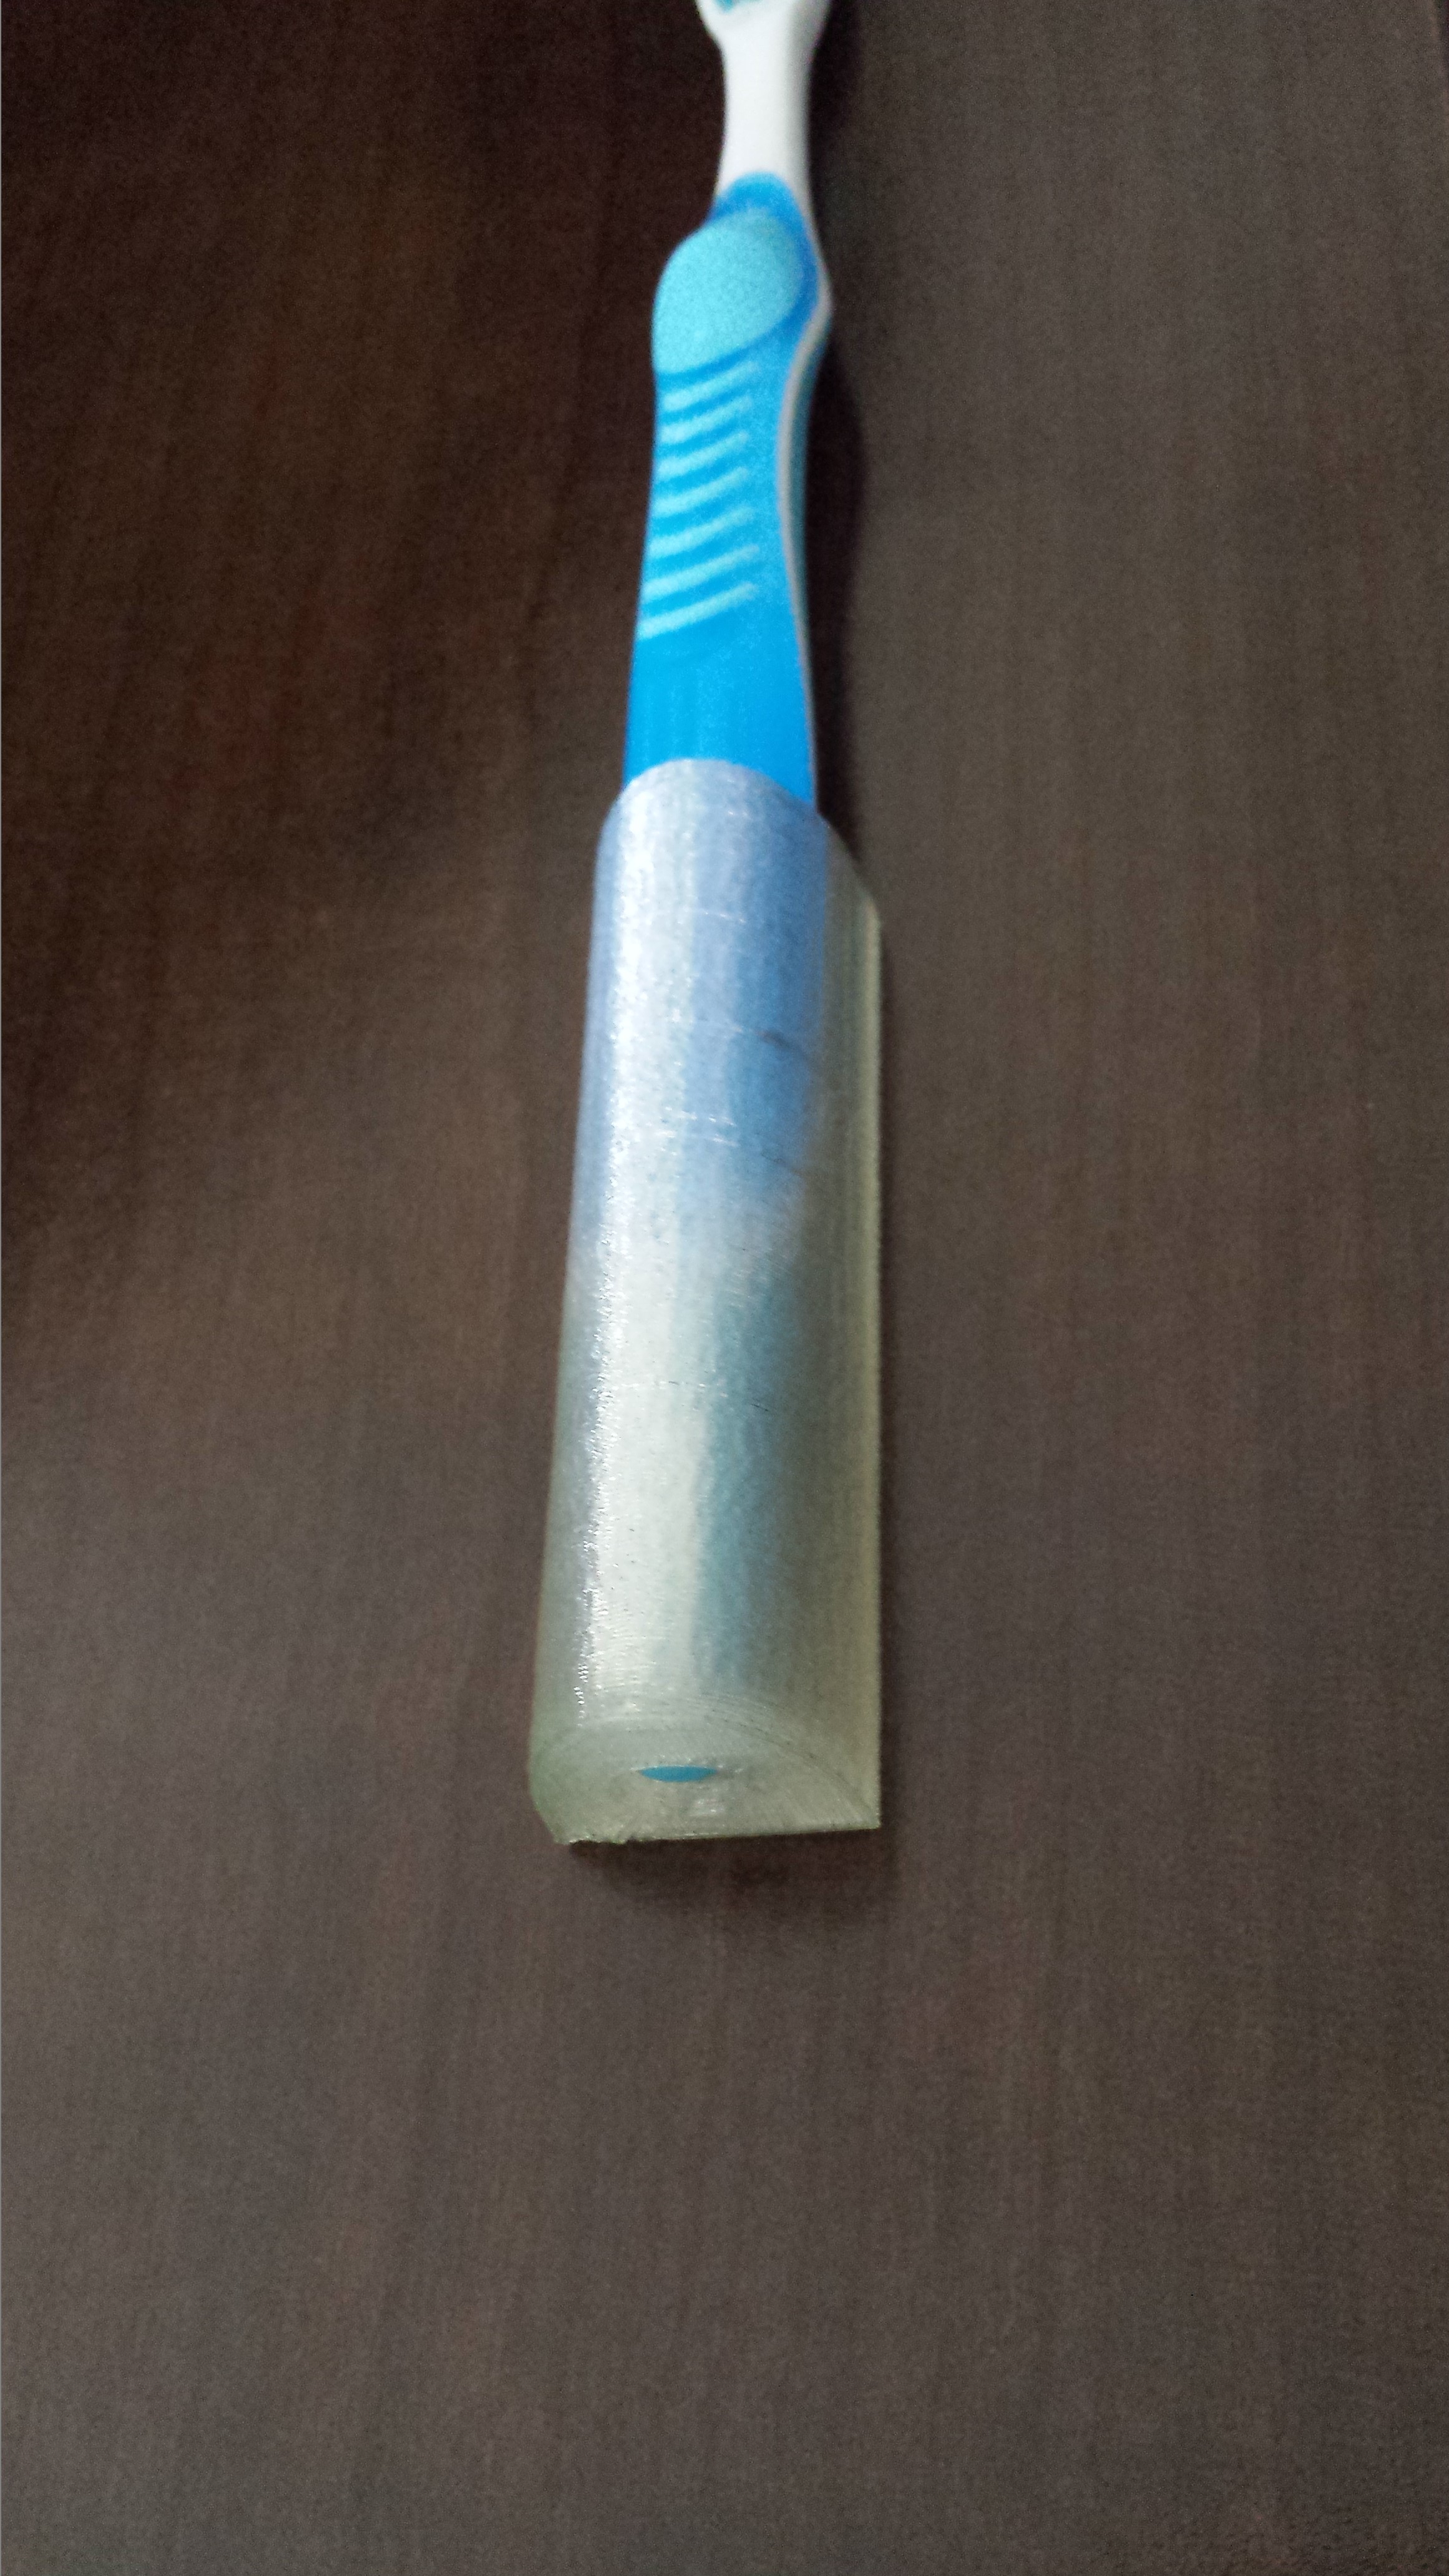
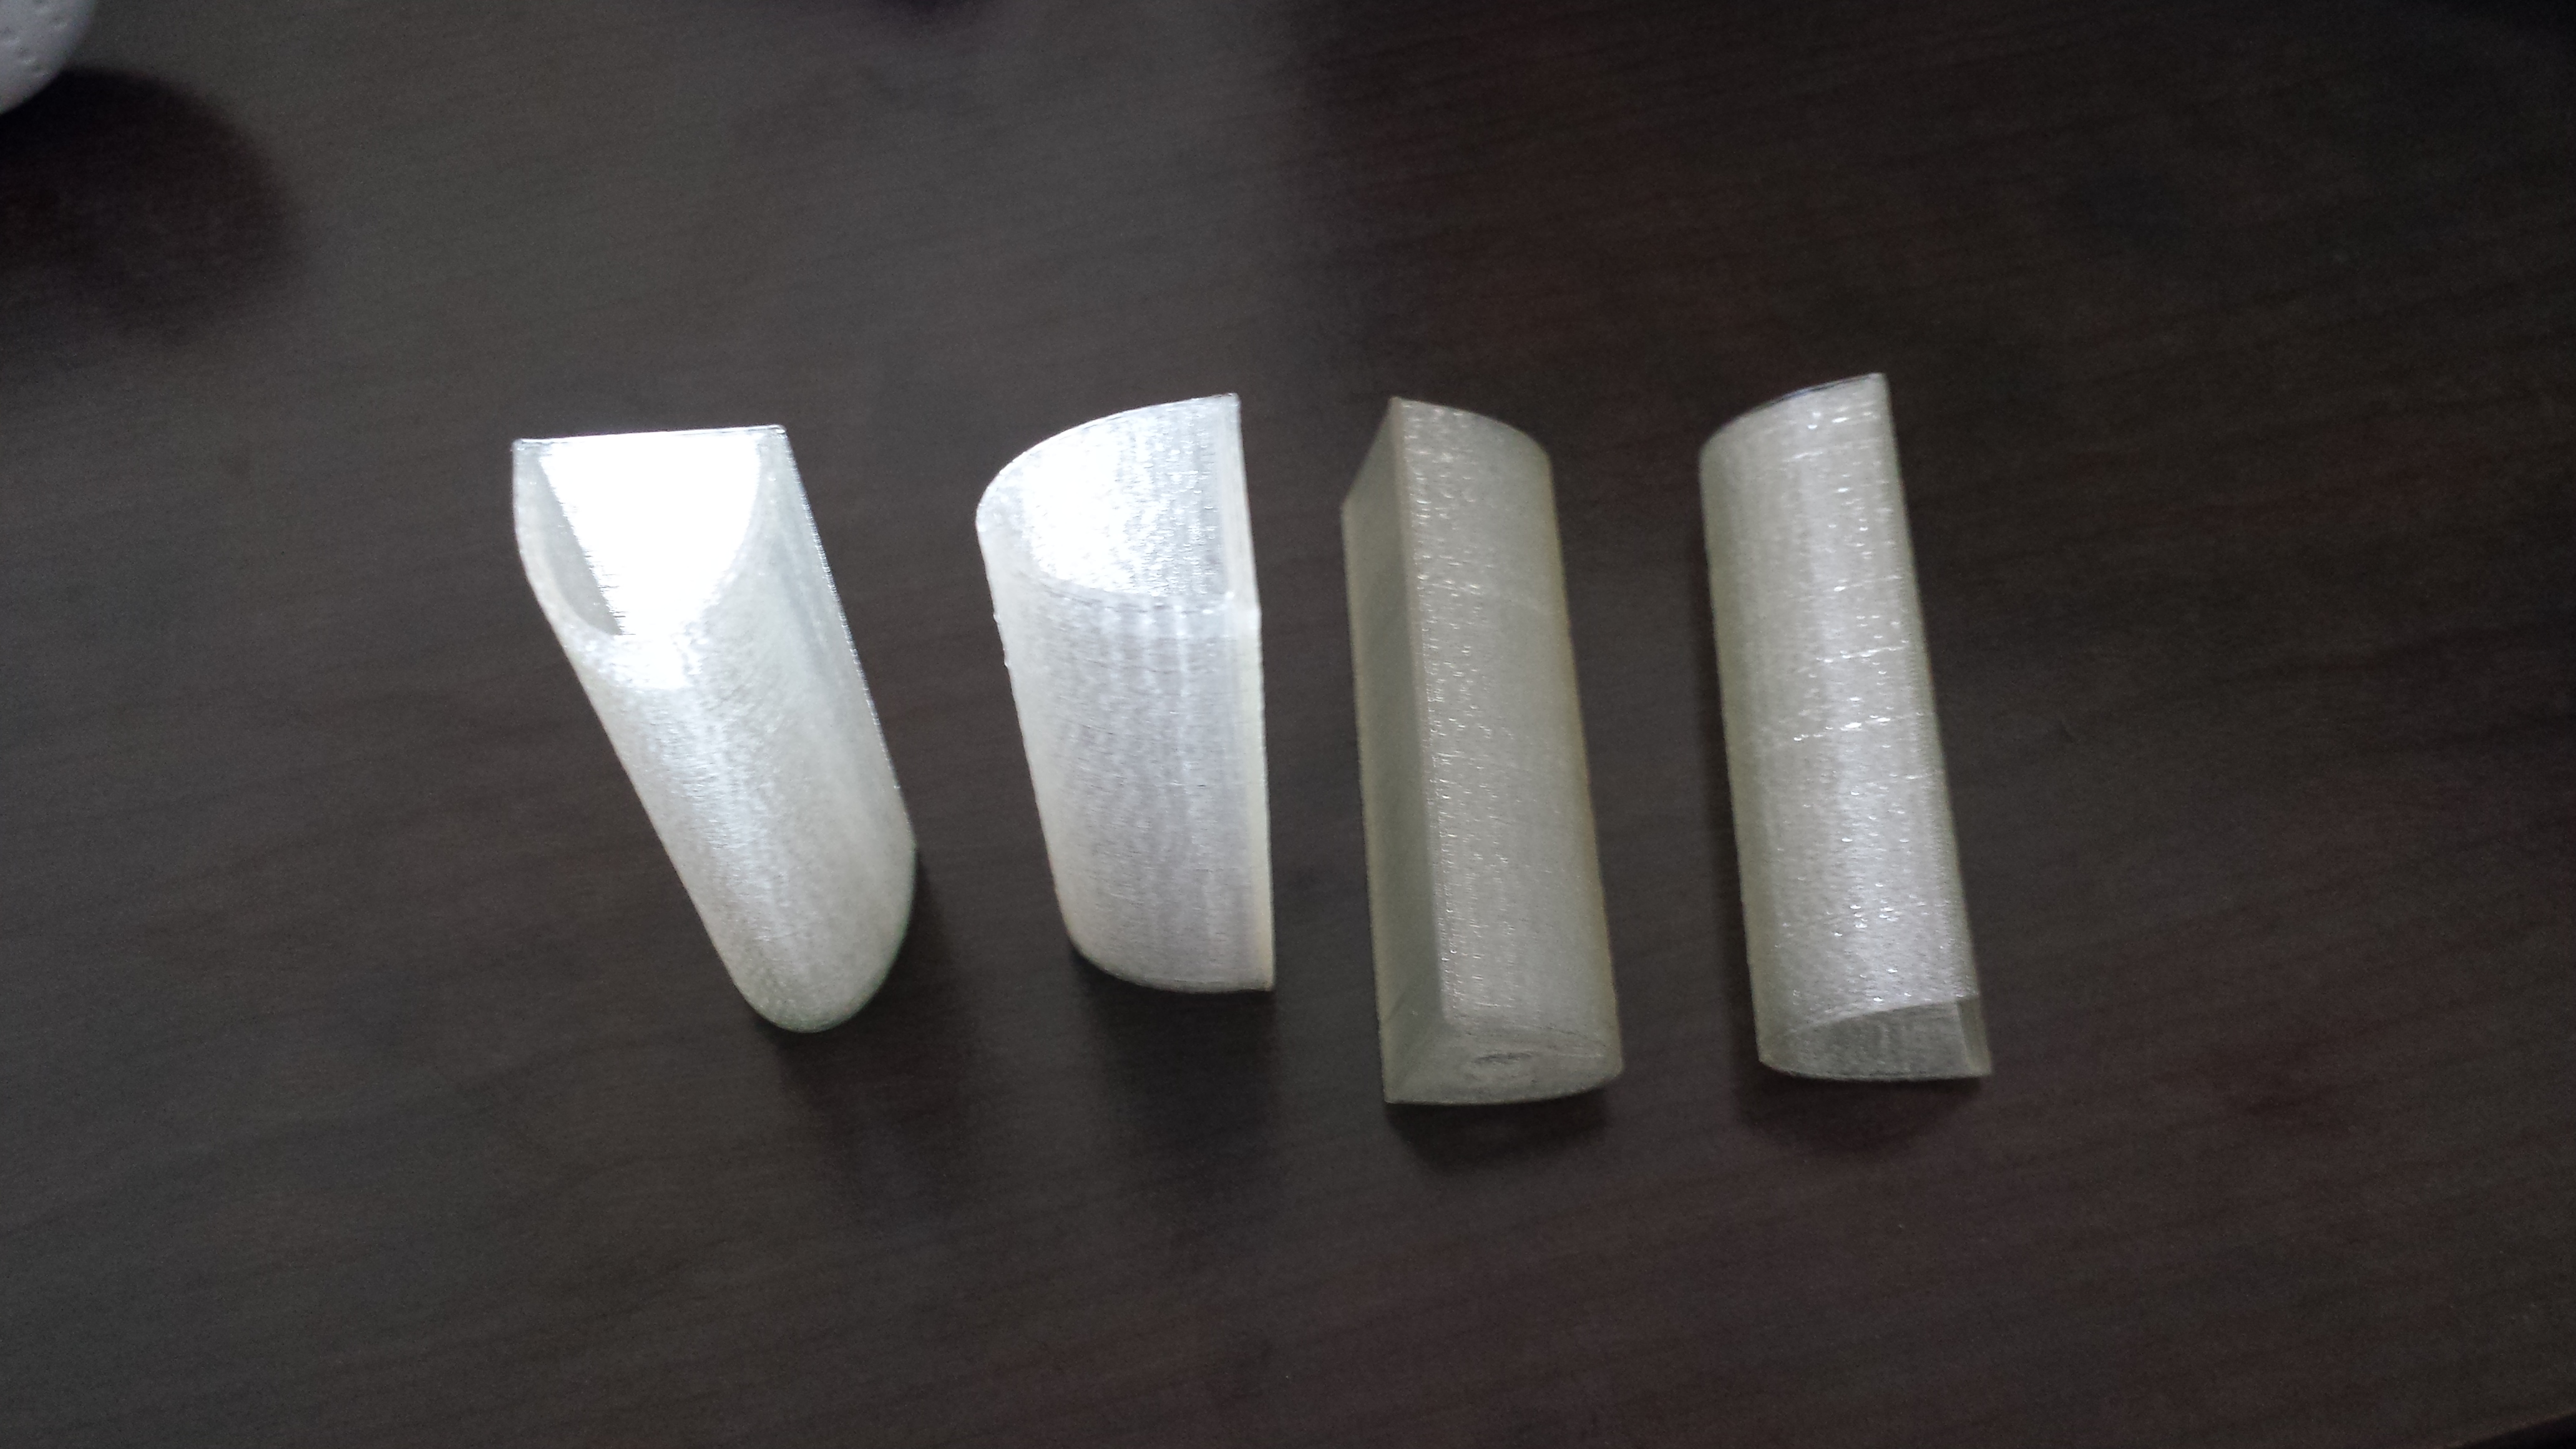
This is what a 3D printers is made for
I was recently over my parent’s house and my mom informed me she has purchased two toothbrush holders that stick on the back side of a medicine cabinet door. She paid $3.99 each plus $2 for shipping. This is obviously just silly. I told her to send them back.
It took me about 20 mins to design and 1h 20min to print.
More success with MakeXYZ.com
Haven’t posted in a while but I have been busy. I have been working on my presentation for the intro for 3D printing and I am almost done with those. I will post the files once I get the done.
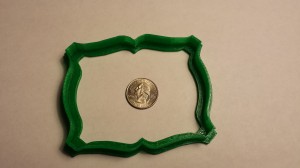
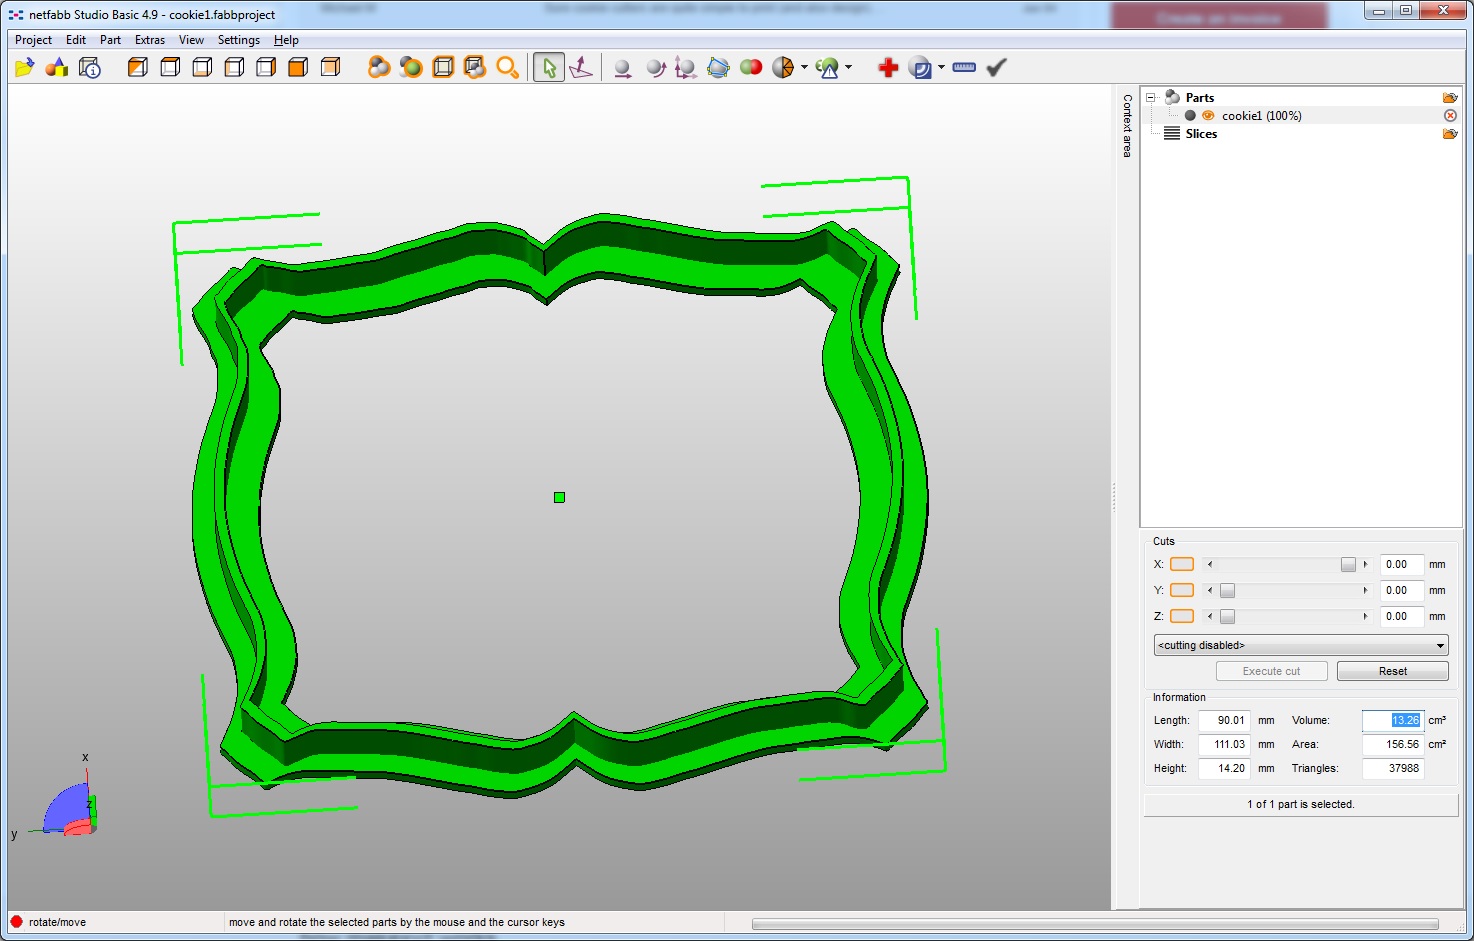
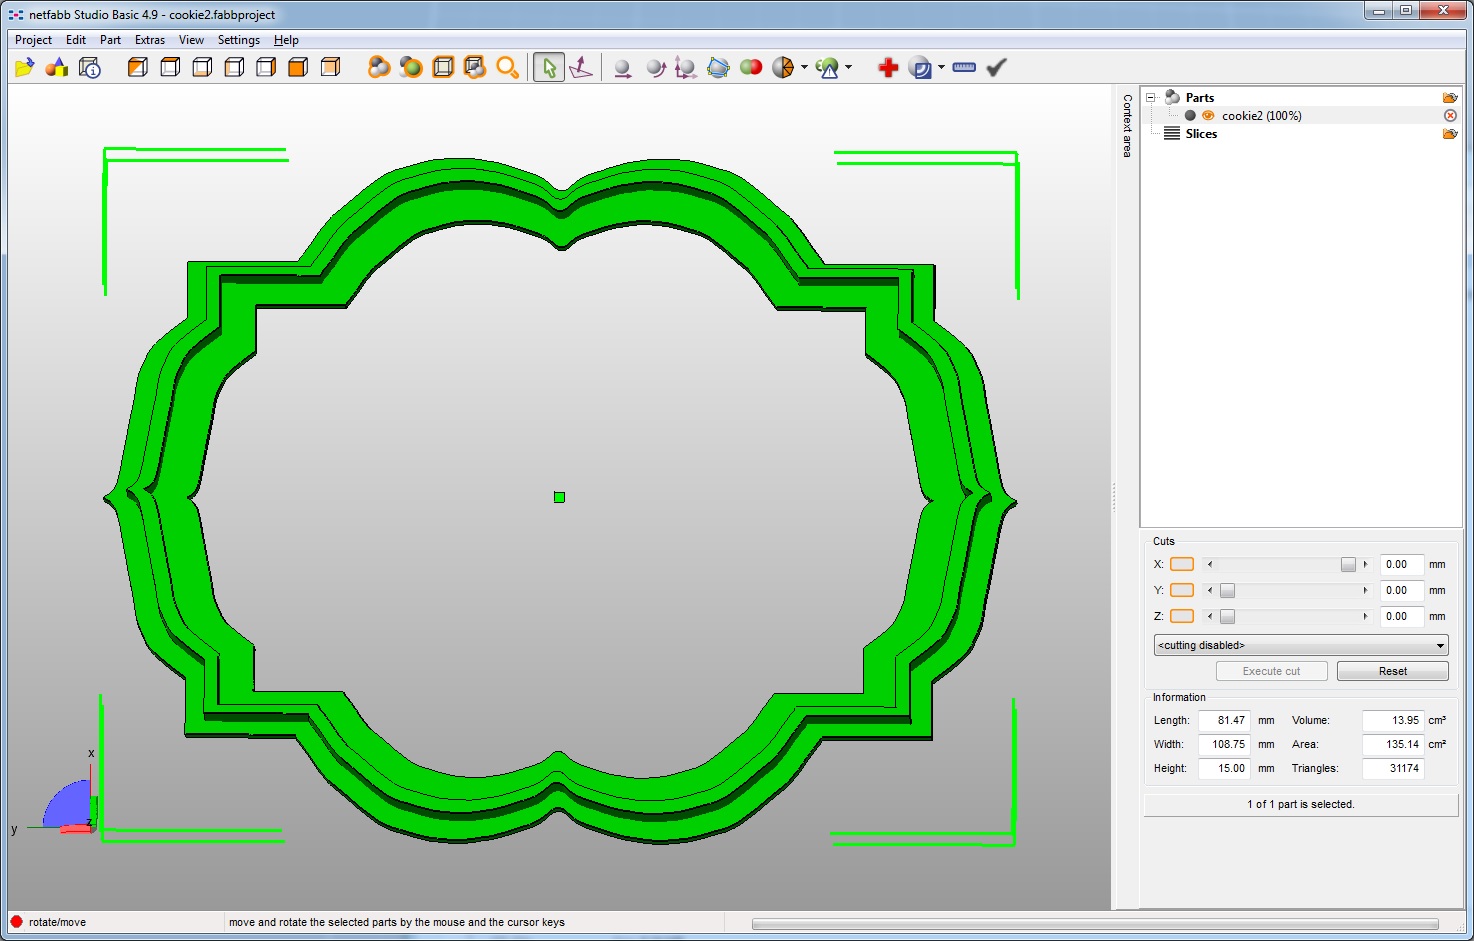
I made another successful order from http://www.makexyz.com/. This time it was for two custom cookie cutters. I designed them myself based on supplied photos. They came out great. I am thinking that a custom cookie cutter might be a quick and easy demonstration for the 3D printing presentation.
I have another order in the works to print a Mendel. This is fantastic I was looking forward to when I printed another printer with my printer (would this be considered 3D printer reproduction?).
Any way enjoy the cookie cutters.
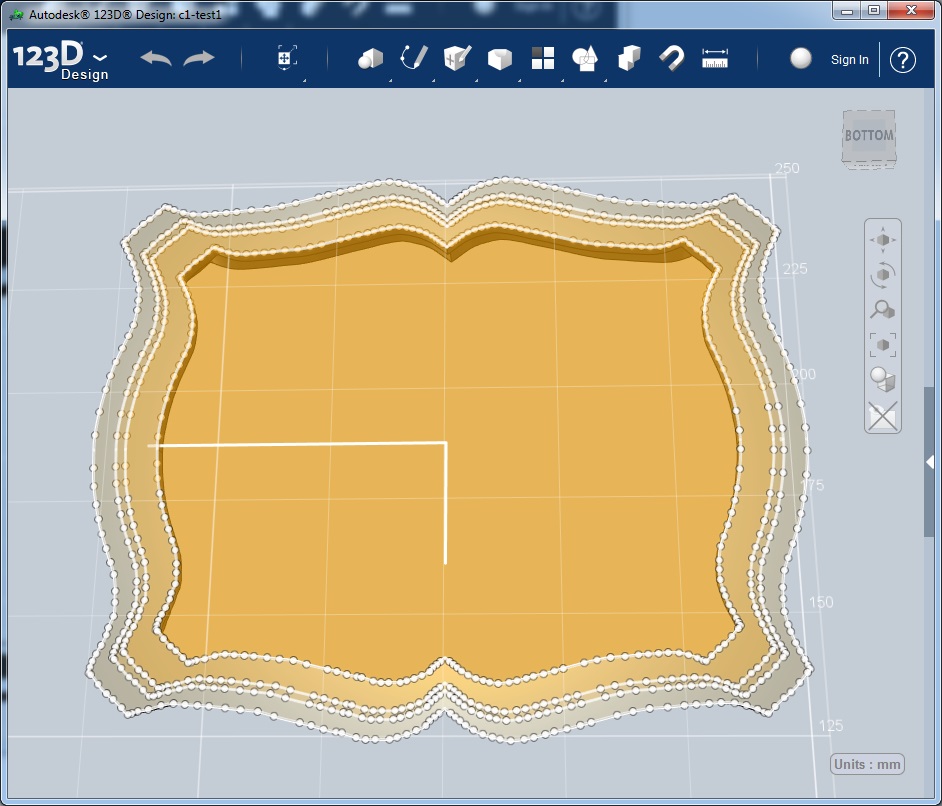
Step 1 is to sketch the design out. As you can see once I had one I just duplicated it and scaled to make 4 designs. Outer most and inner most define the flange around the top of the cutter for stability and a flat area to press on. the inner two define the cutter.
Step 2 extrude the design to the appropriate height: 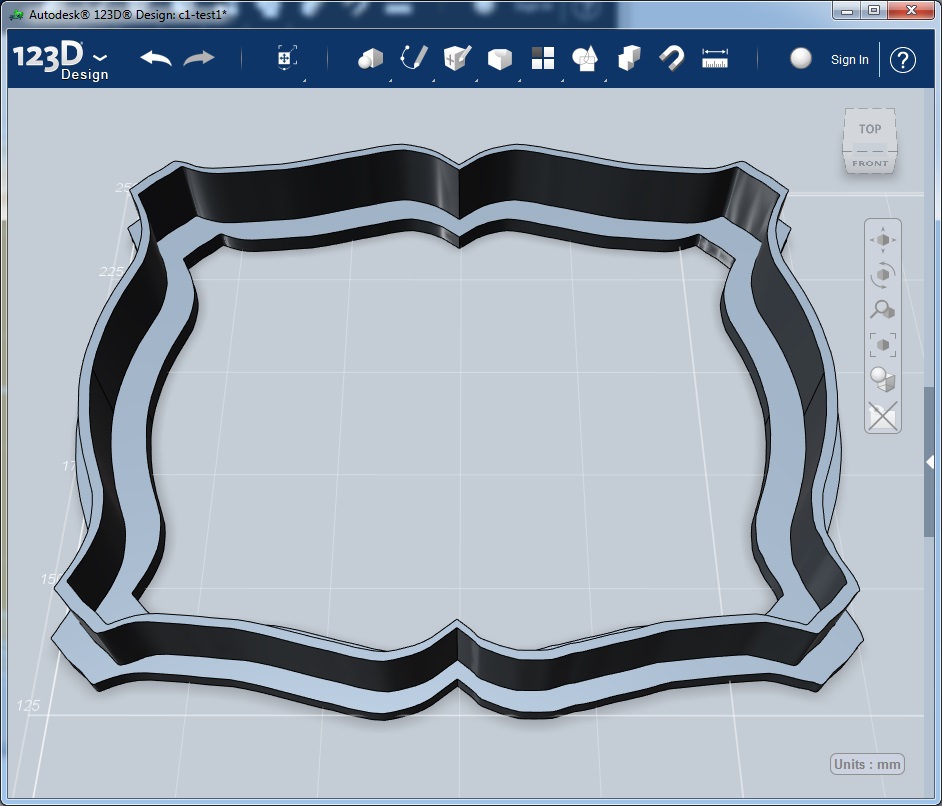
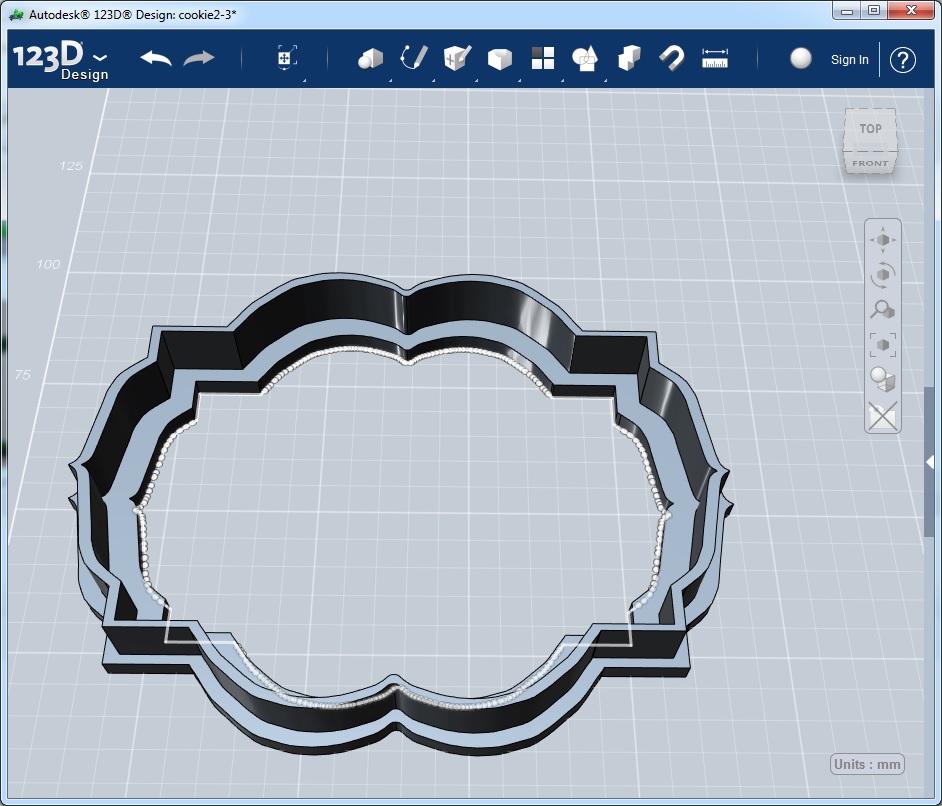
Now print:
As a side note I use netfabb studio (http://www.netfabb.com/) to calculate the volume here is what that looks like:
Intro to 3D printing and 3D design Fri, June 21, 7pm – 10pm @Unallocated Space
The local hackerspace Unallocated Space forums asked if anyone was willing to give a presentation on 3D printing and I accepted. Like all the events there it will be free to the public (donations accepted). If you like what I am doing here come by and listen to what I have to say. Here are the details of the event.
Event: Introduction to 3D printing and 3D design
When:Fri, June 21, 7pm – 10pm
Where:Unallocated Space (map)
Description: This will be an introduction to 3D printing and 3D design. I will give a brief overview of 3D printers, printer technology and printing services. Most of the presentation will be on the uses of the free software Autodesk 123D design. I will demonstrate how to get started with generating a 3D model that can be created with a 3D printer. This presentation will focus mostly on technical drawing (since I am not an artist). Time permitting we will walk through the design of an actual object. I will bring along my Makerbot 2 for visual reference and hopefully some instant 3D gratification.
Agenda:
- What is 3D printing
- 3D printers
- Getting started 3D printing
- Introduction to Autodesk 123D design
- Simple object design walk-through
- Demonstration of design of an object
About me: I have had a MakerBot 2 for about 6 months now and have been documenting my experiences here http://3dprintmd.com/print . I have experimented with quite a few free 3d design programs and found Autodesk 123d design to have all the features needed and it is the easiest to use. I have had some success in providing 3D printing as a service through makexyz.com and directly selling designed and printer objects. I would consider myself a 3D printer enthusiast (not quite an expert yet). My professional experience is as an IT consultant specializing as a windows, high availability, data protection and virtualization SME. I have been an electronics hobbyist for the last 10-15 years.
Suggested items (not required):
- PC (123D only supports Mac or Windows)
- Autodesk 123d design (free). Download here http://www.123dapp.com/design