I posted a while ago about the kick starter I backed the Spark Core. I finally got around to making it useful. Stick with me this is a long post.
The Problem:
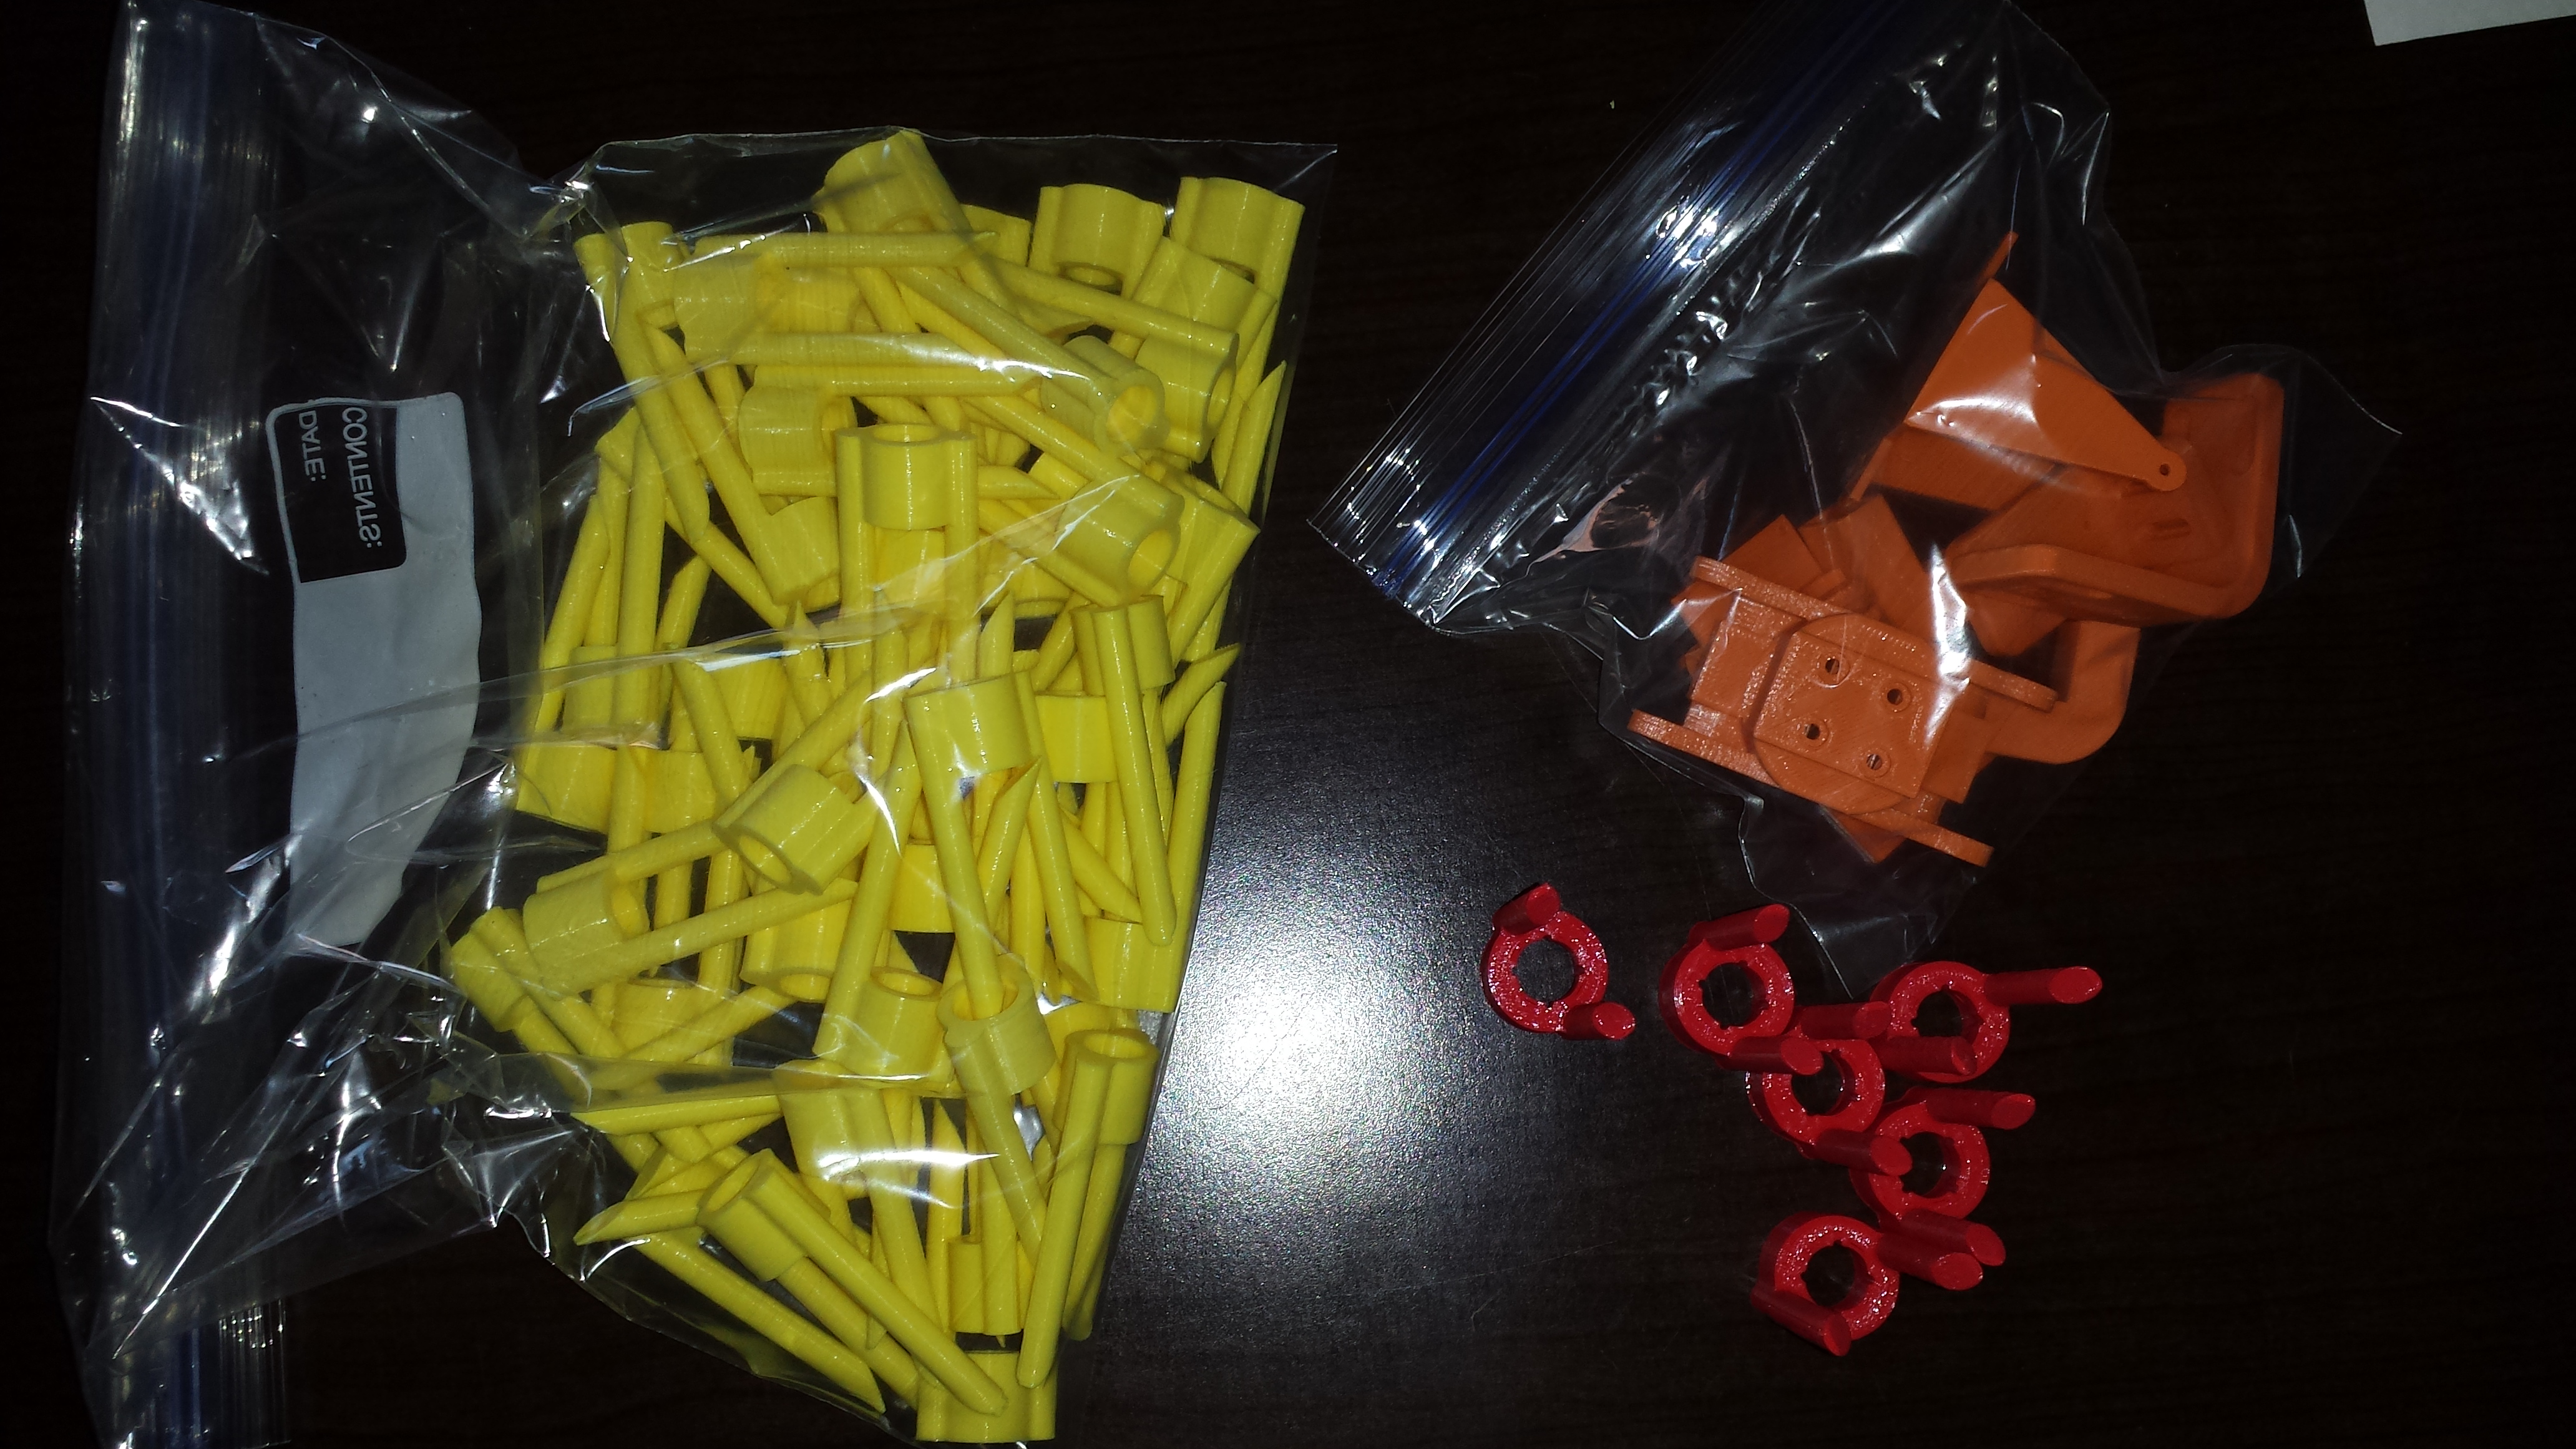
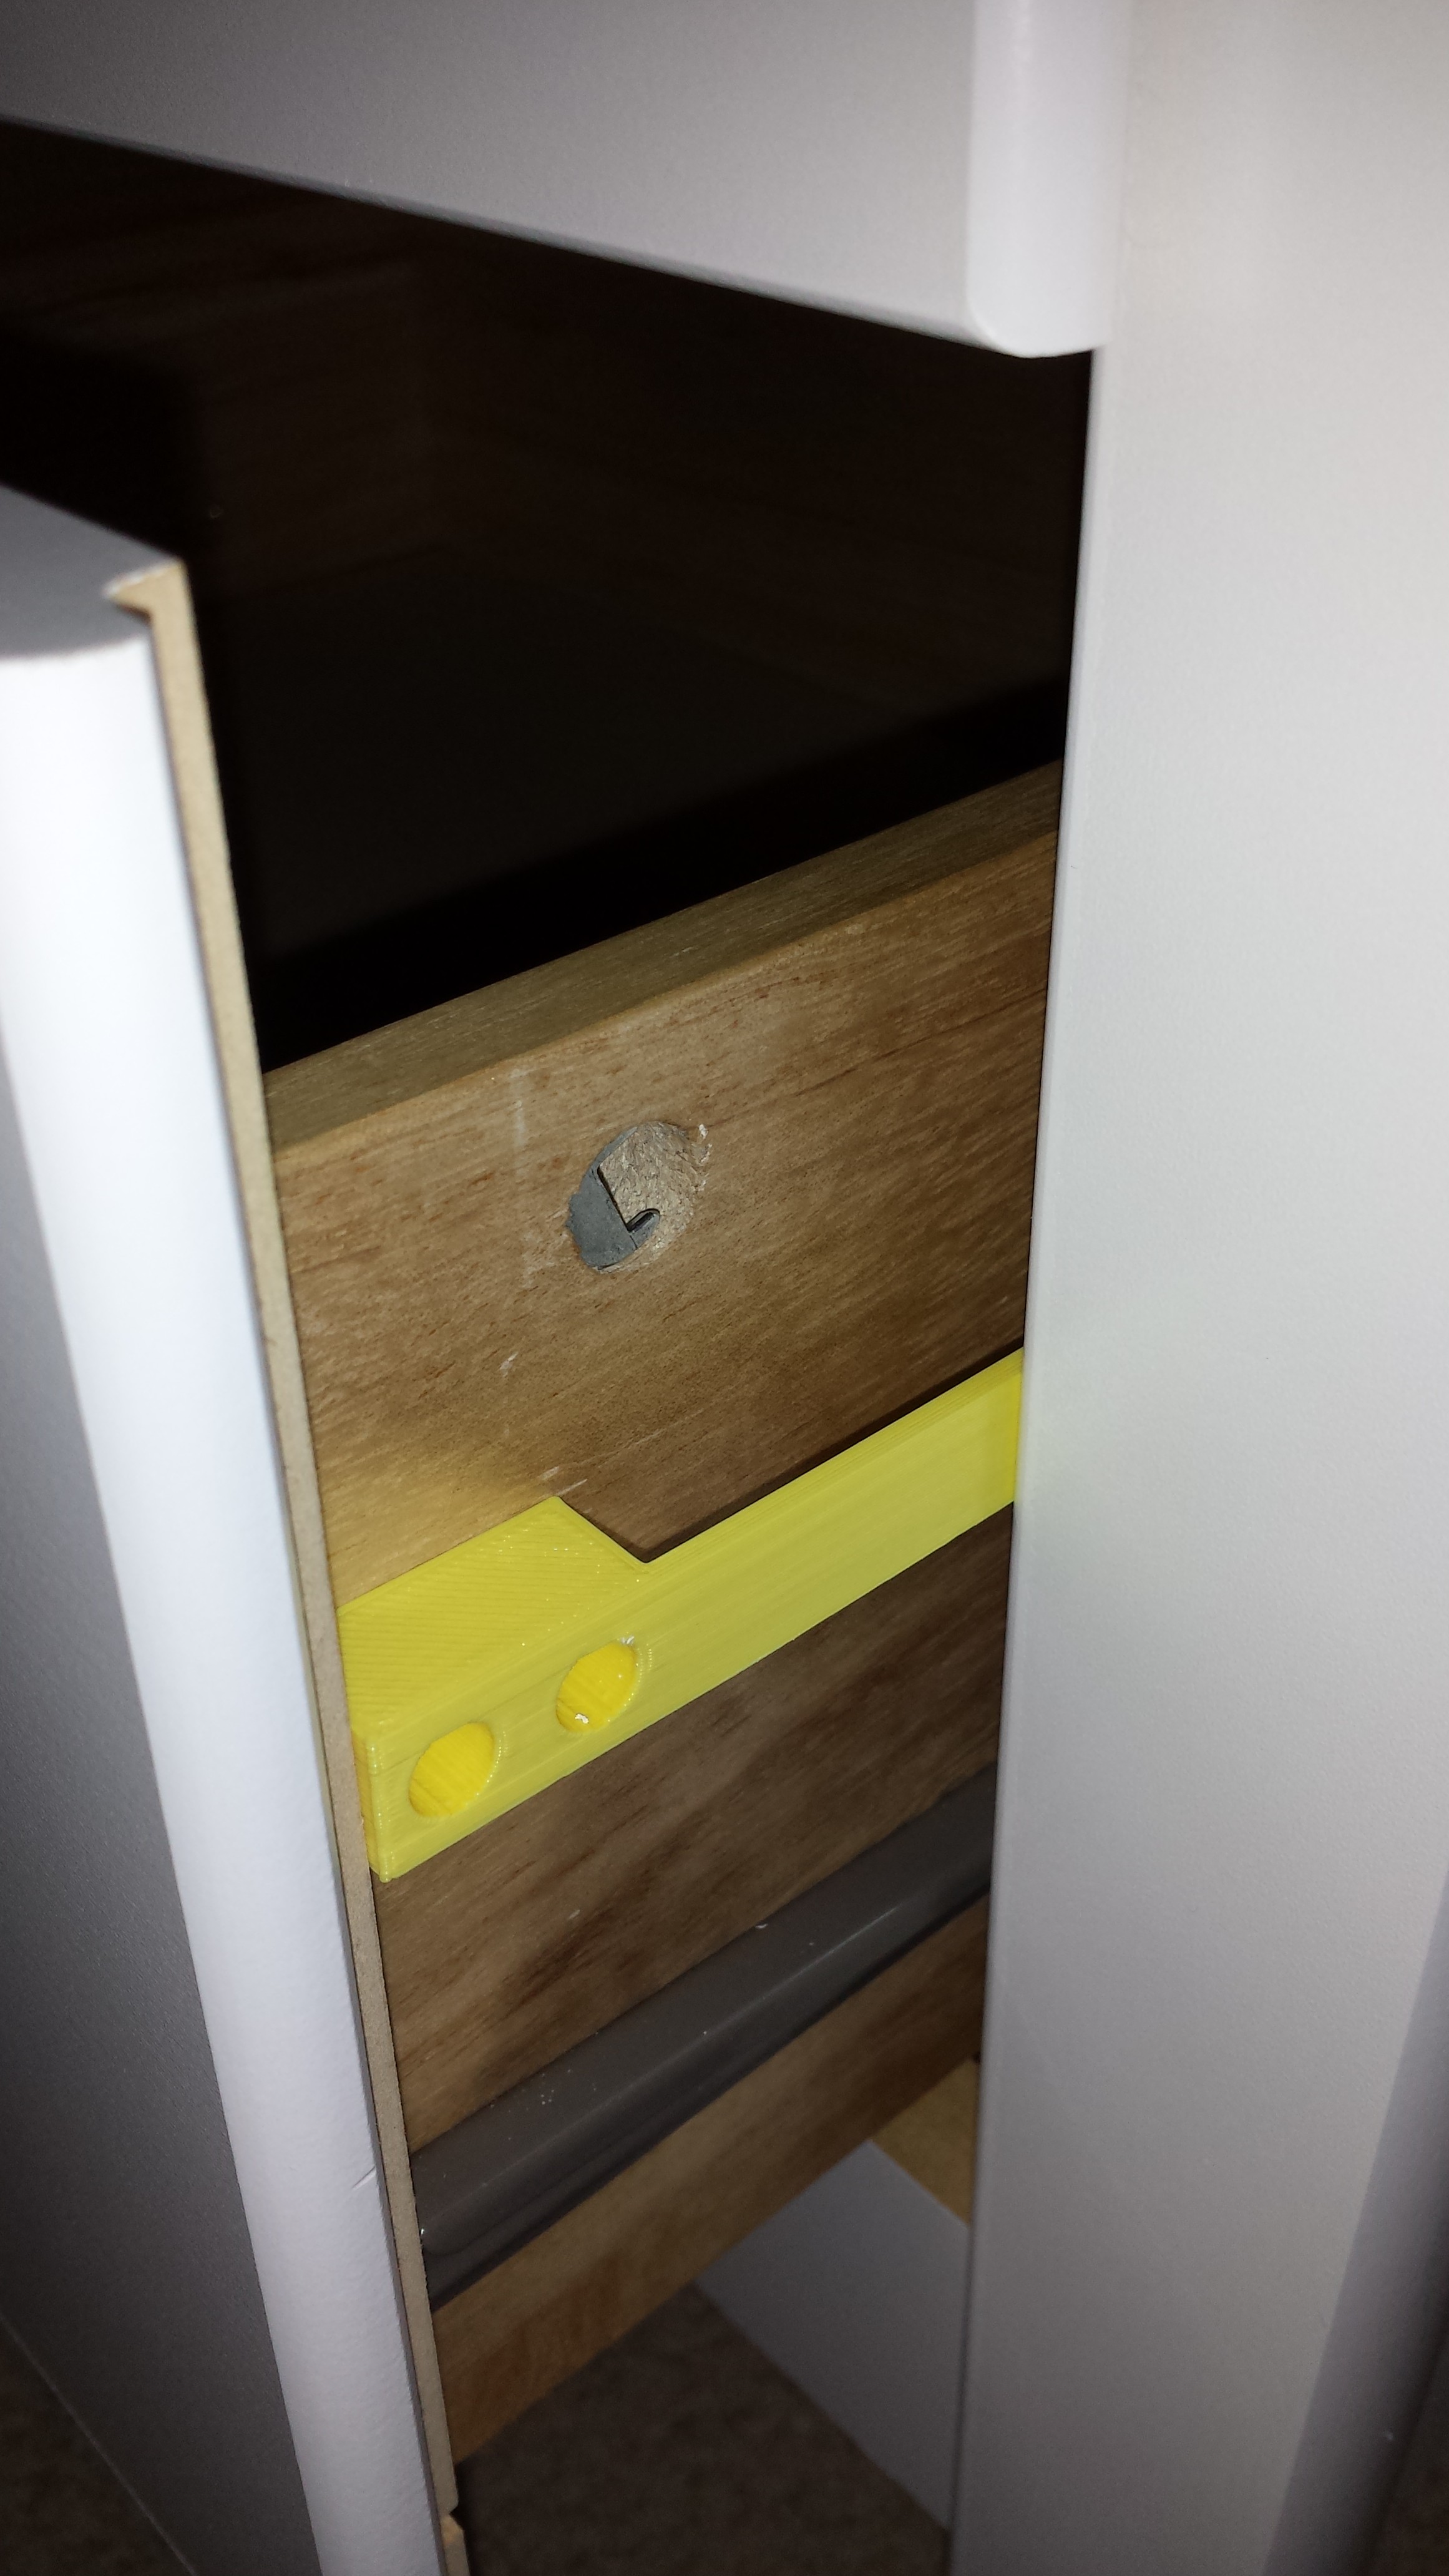
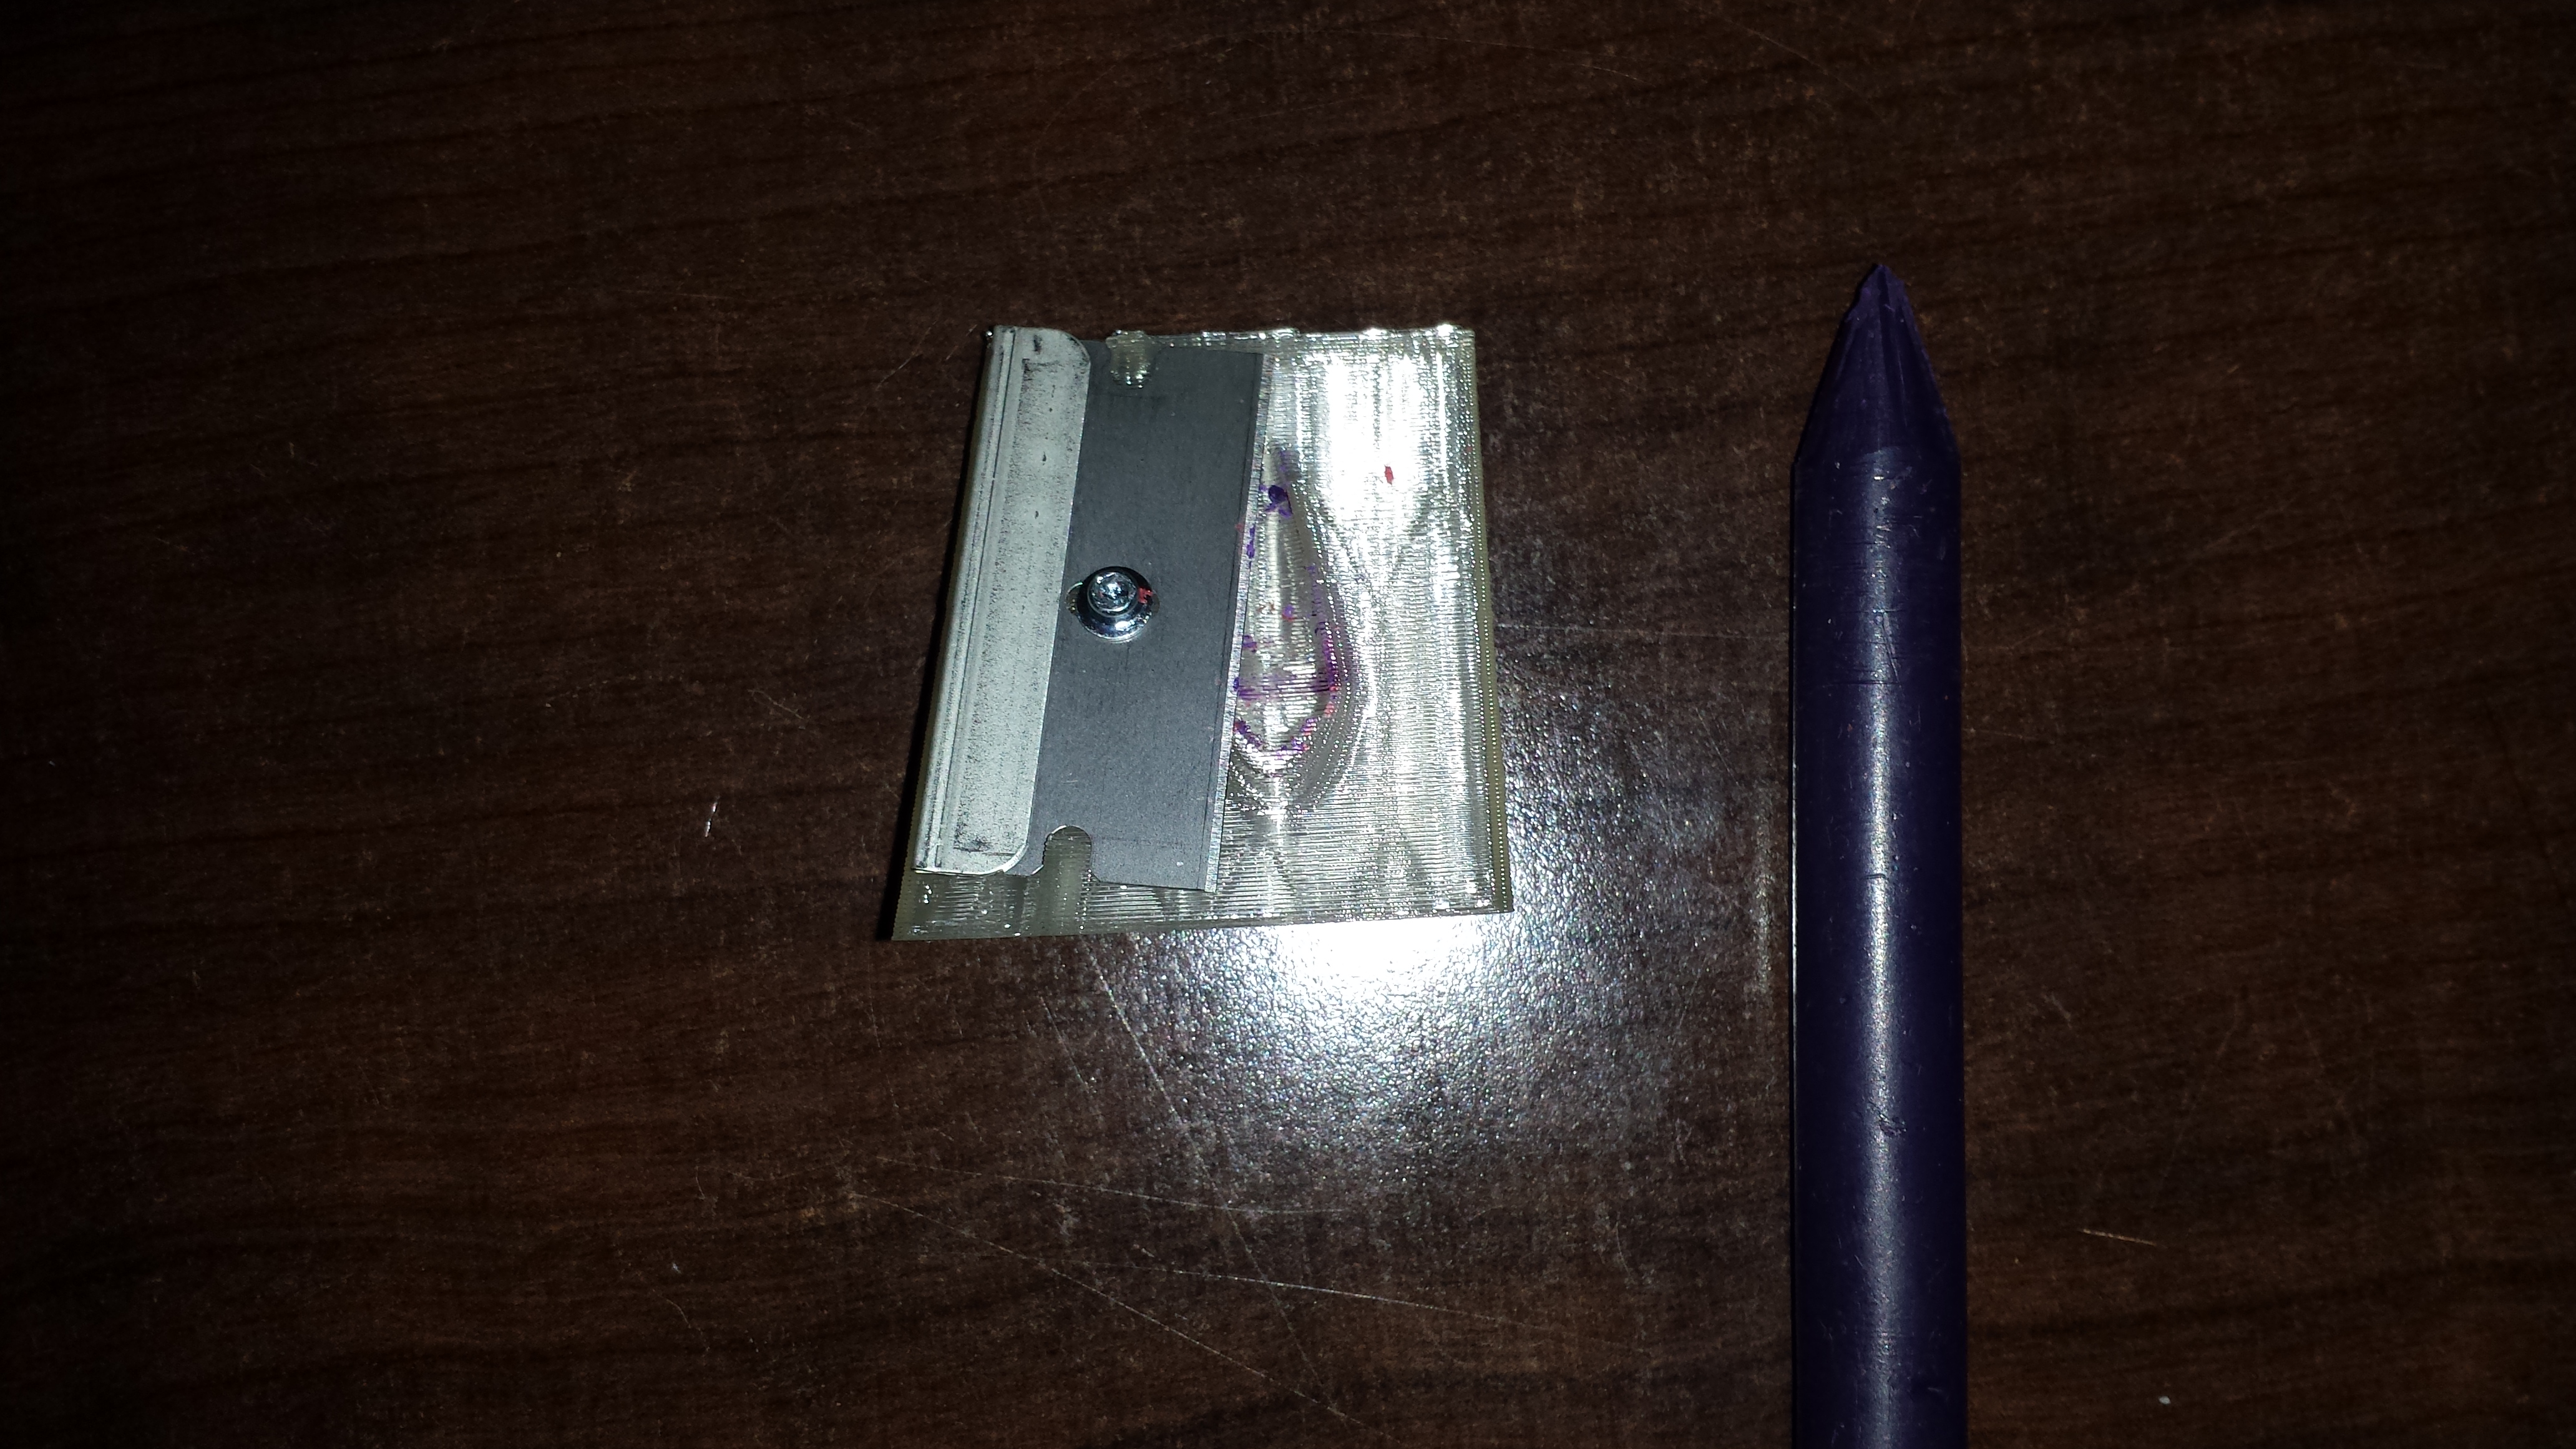
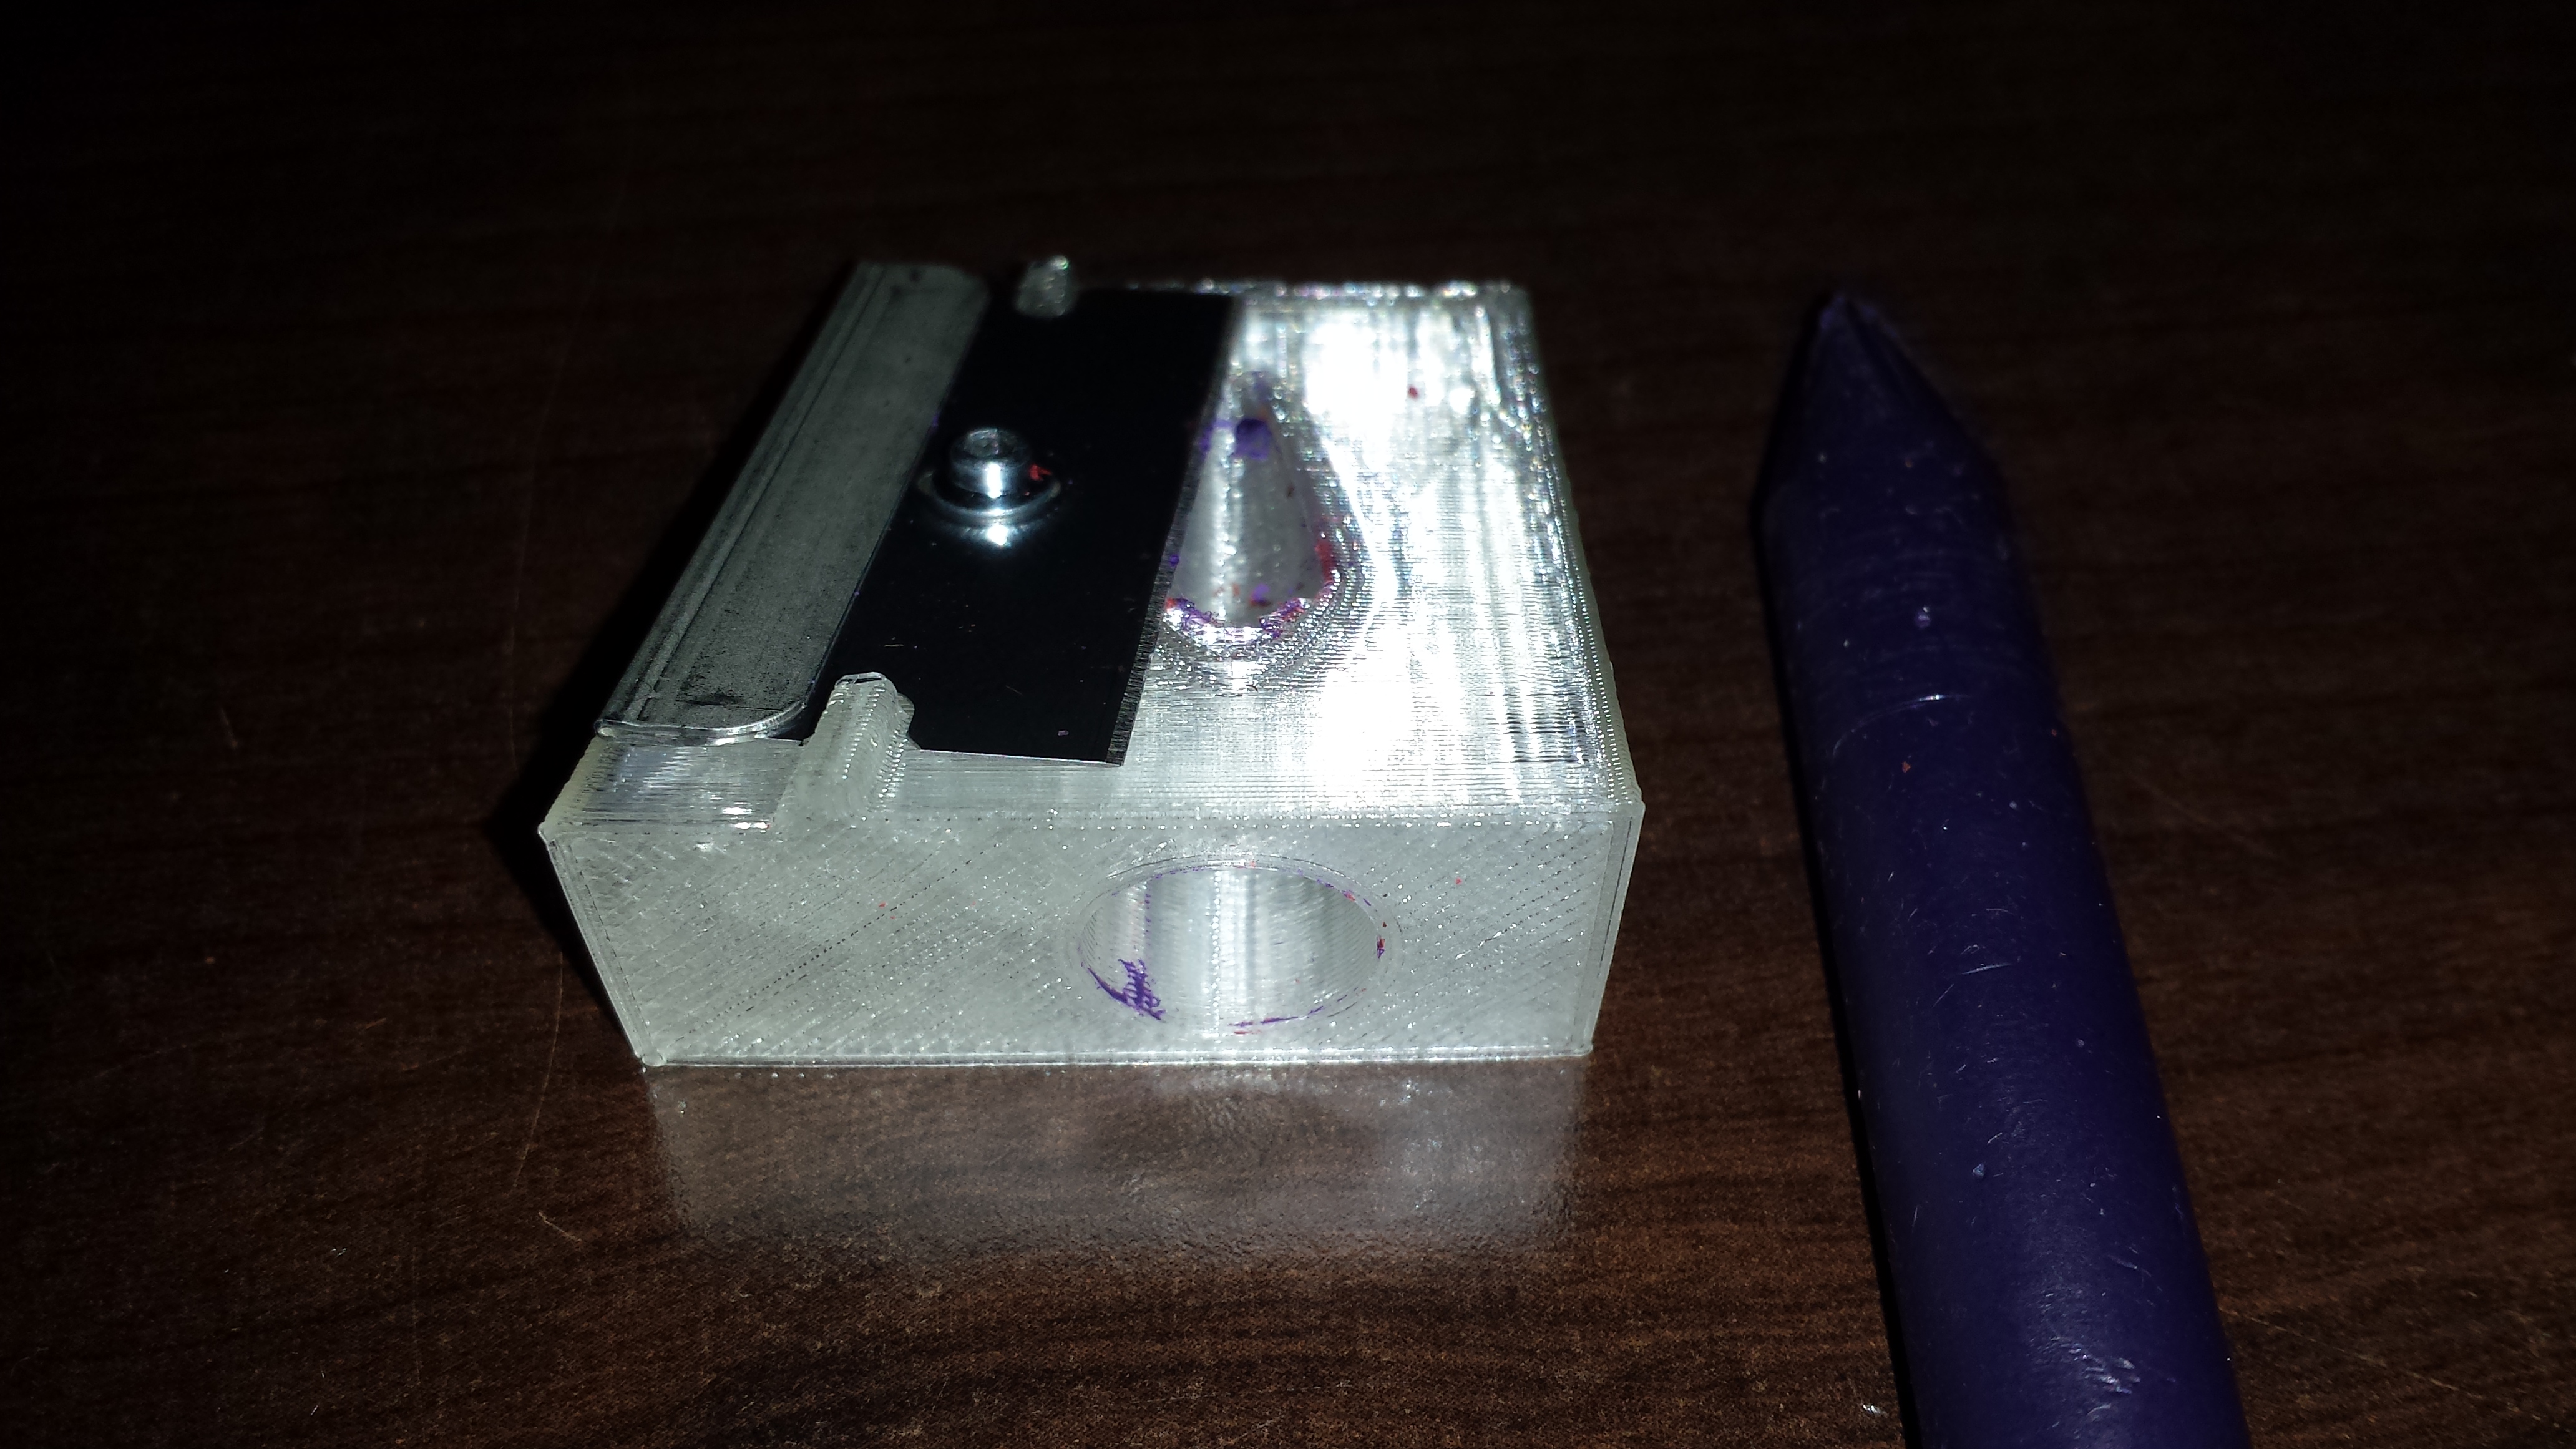
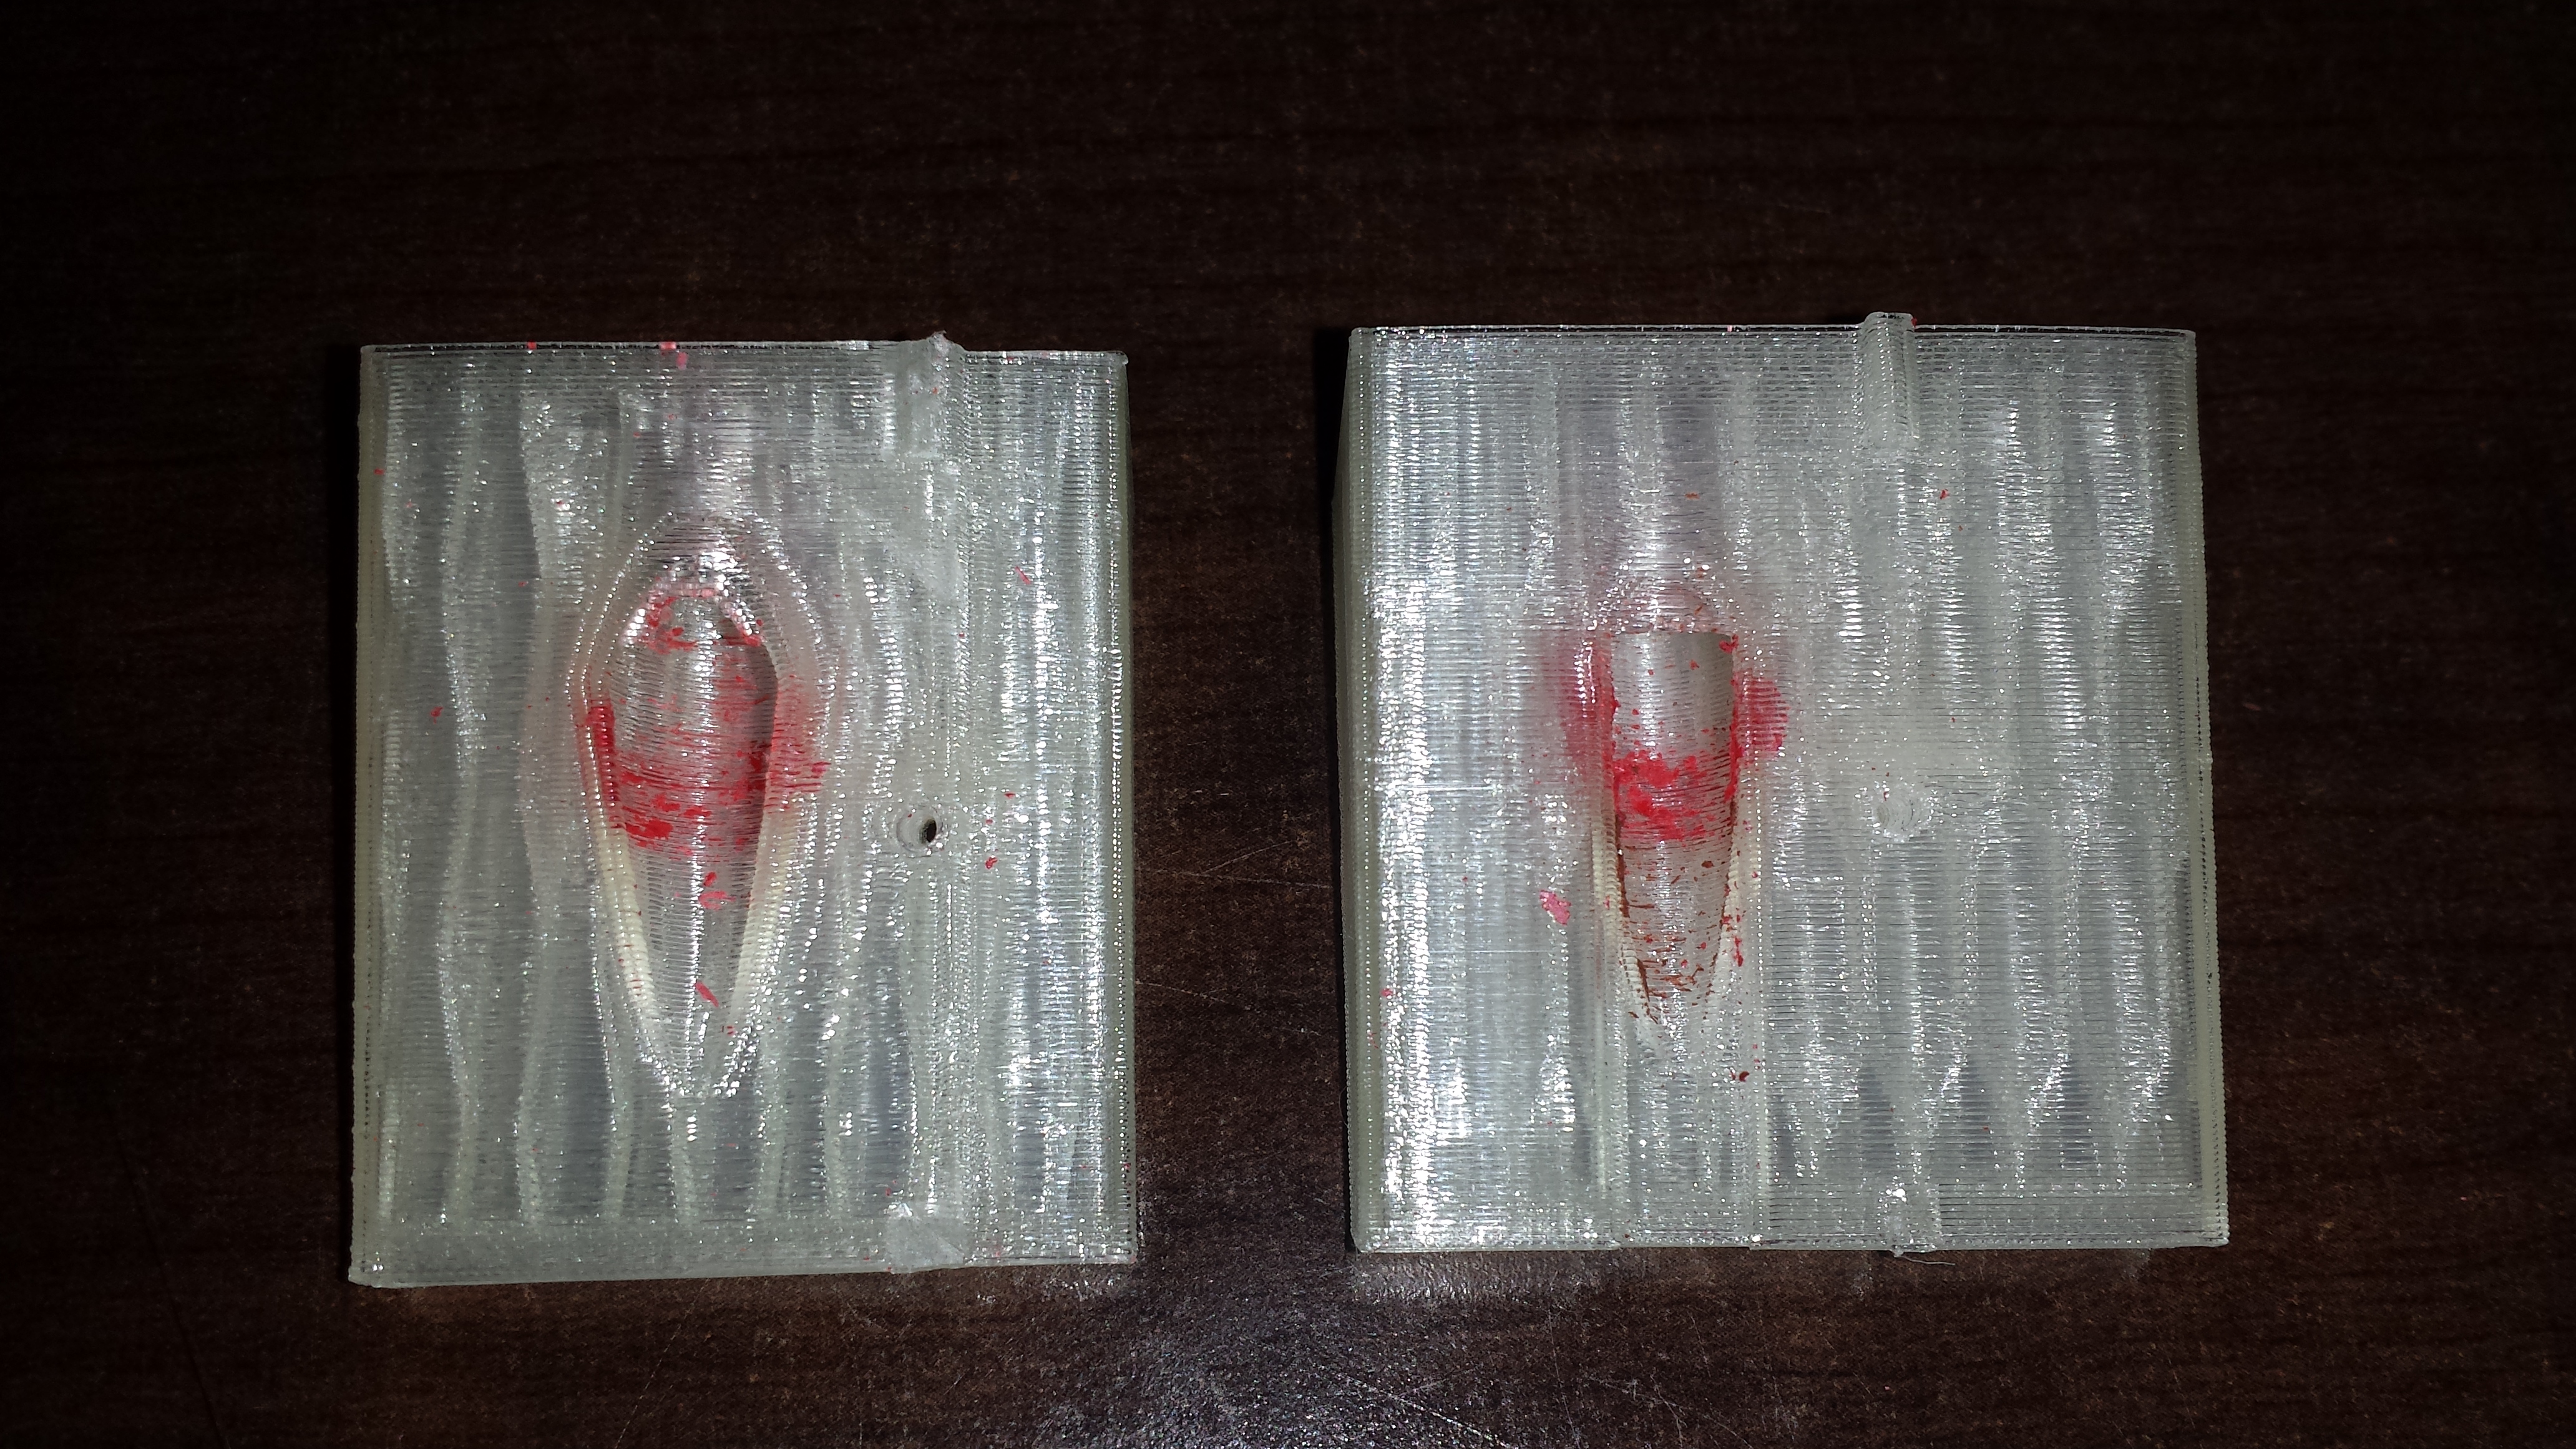
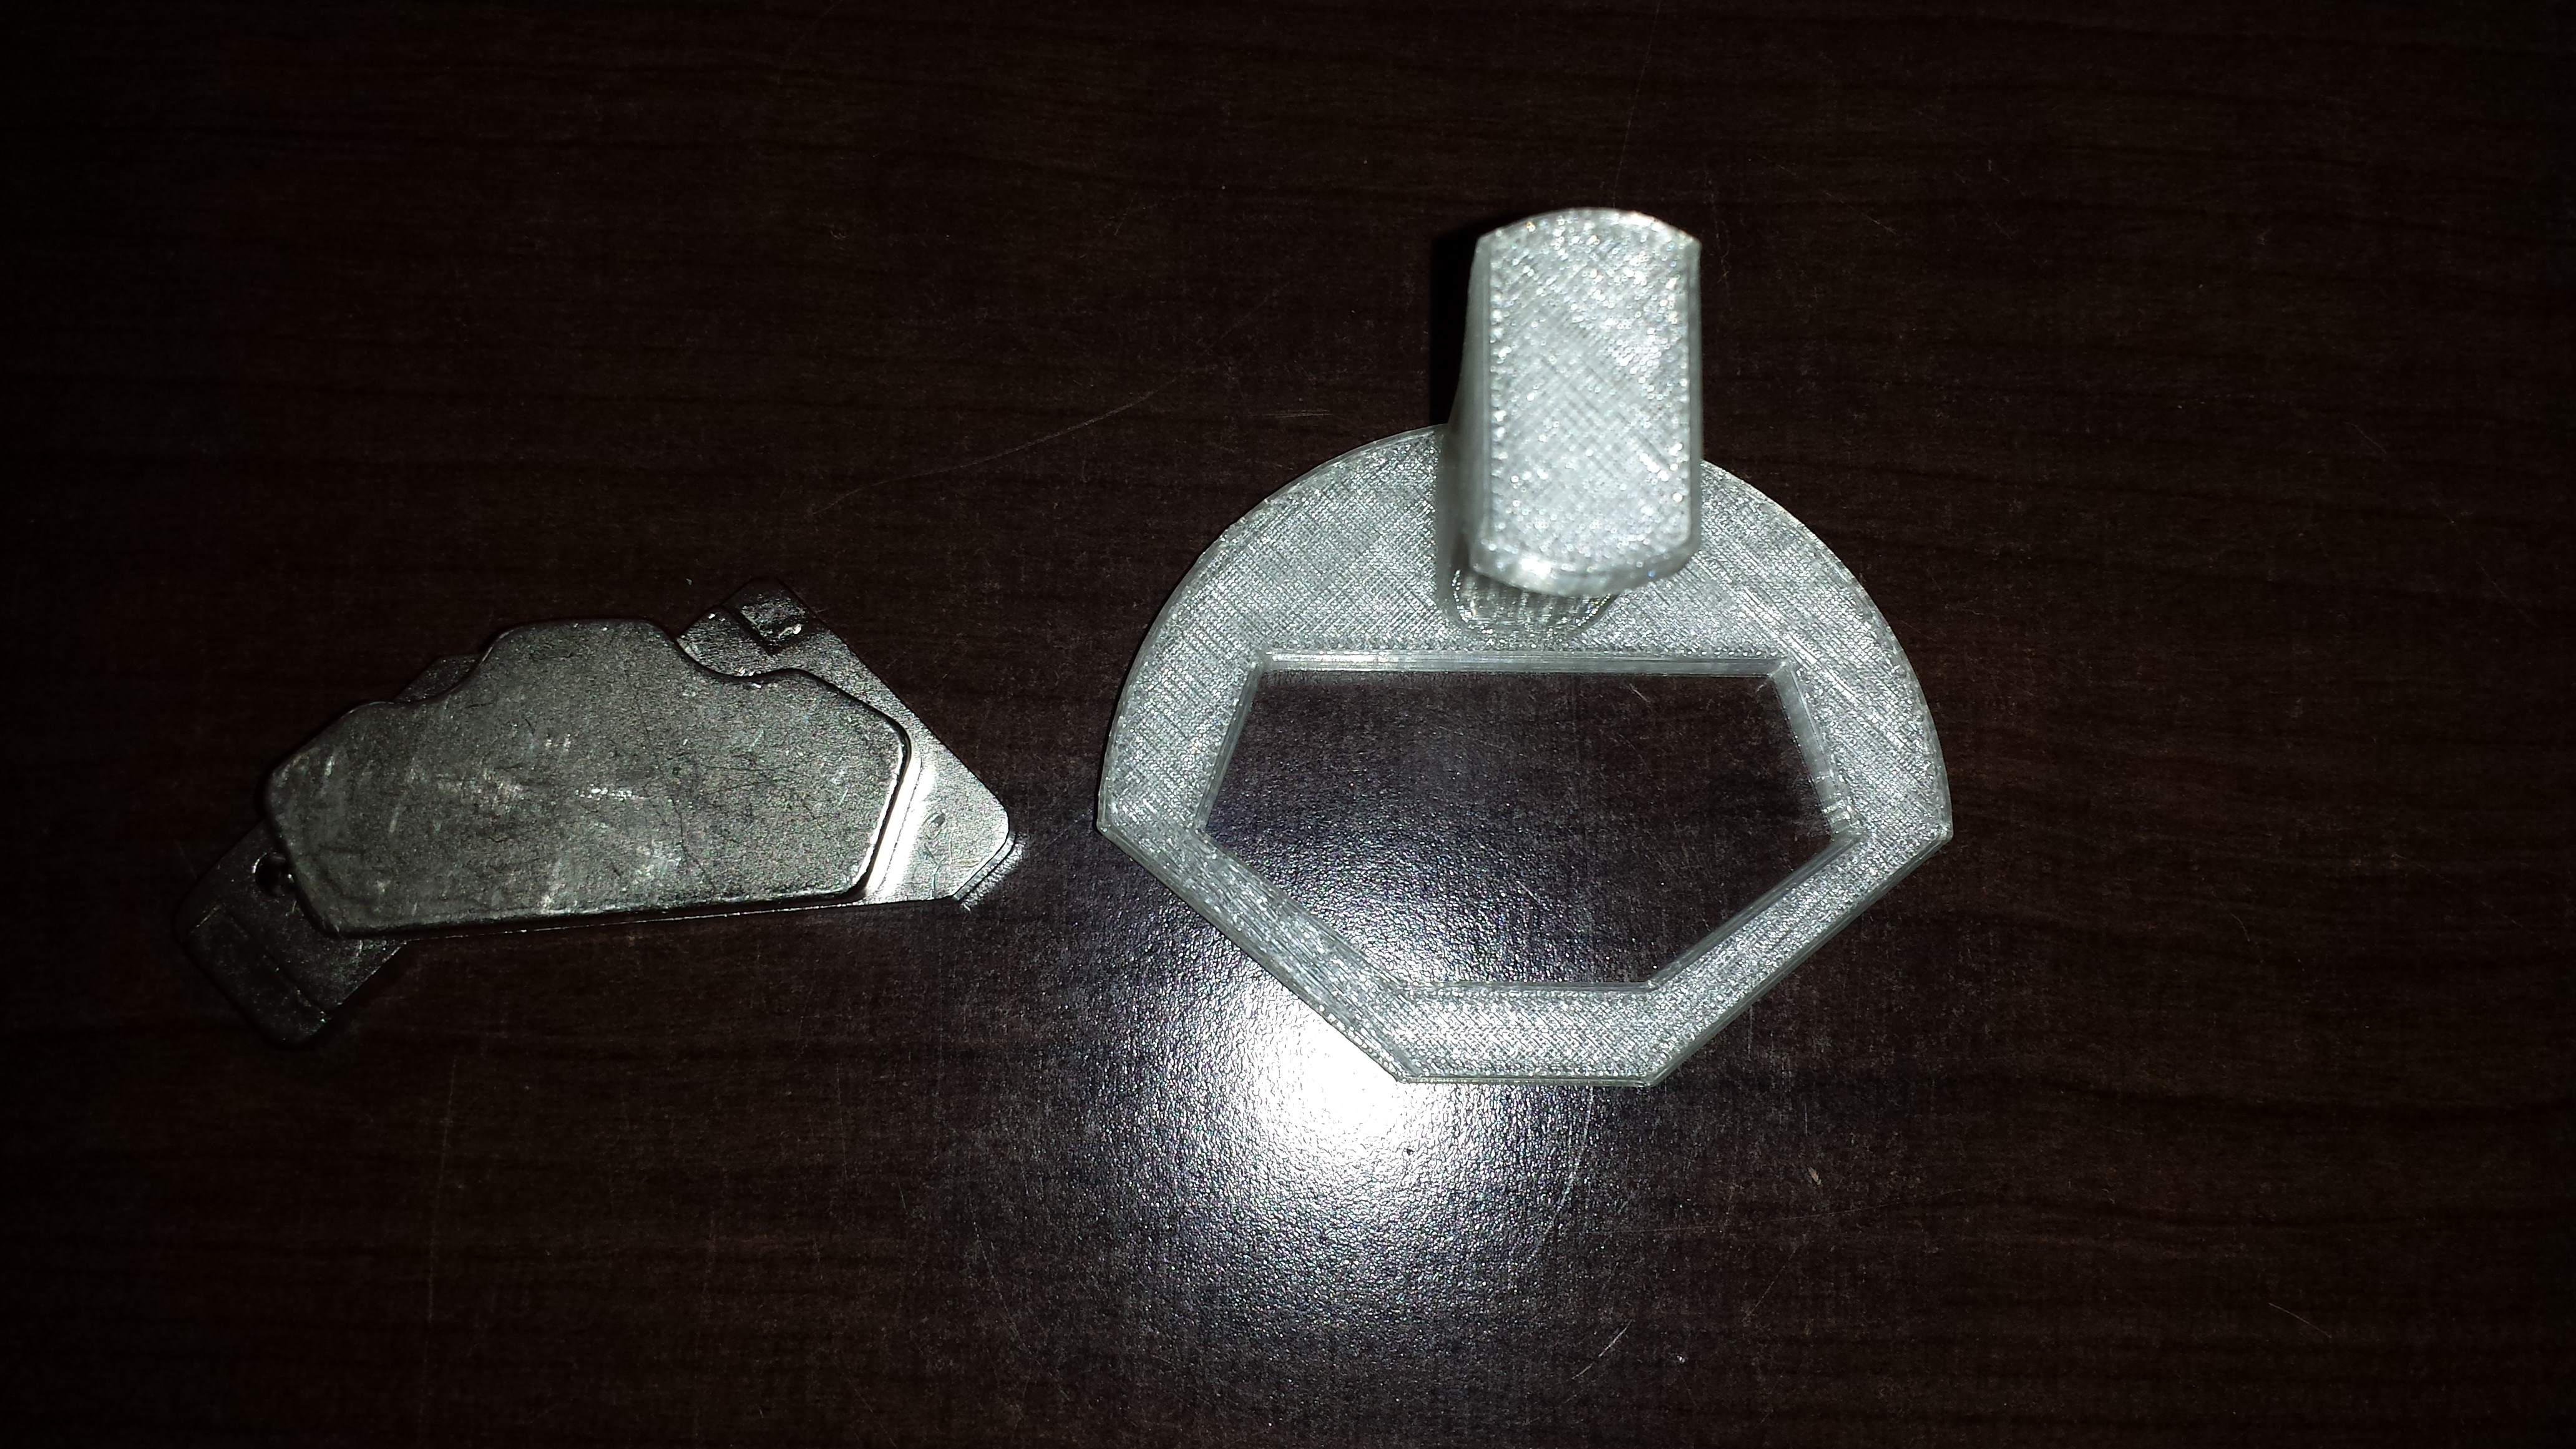
Over the last few months one of my filament spools kersploded
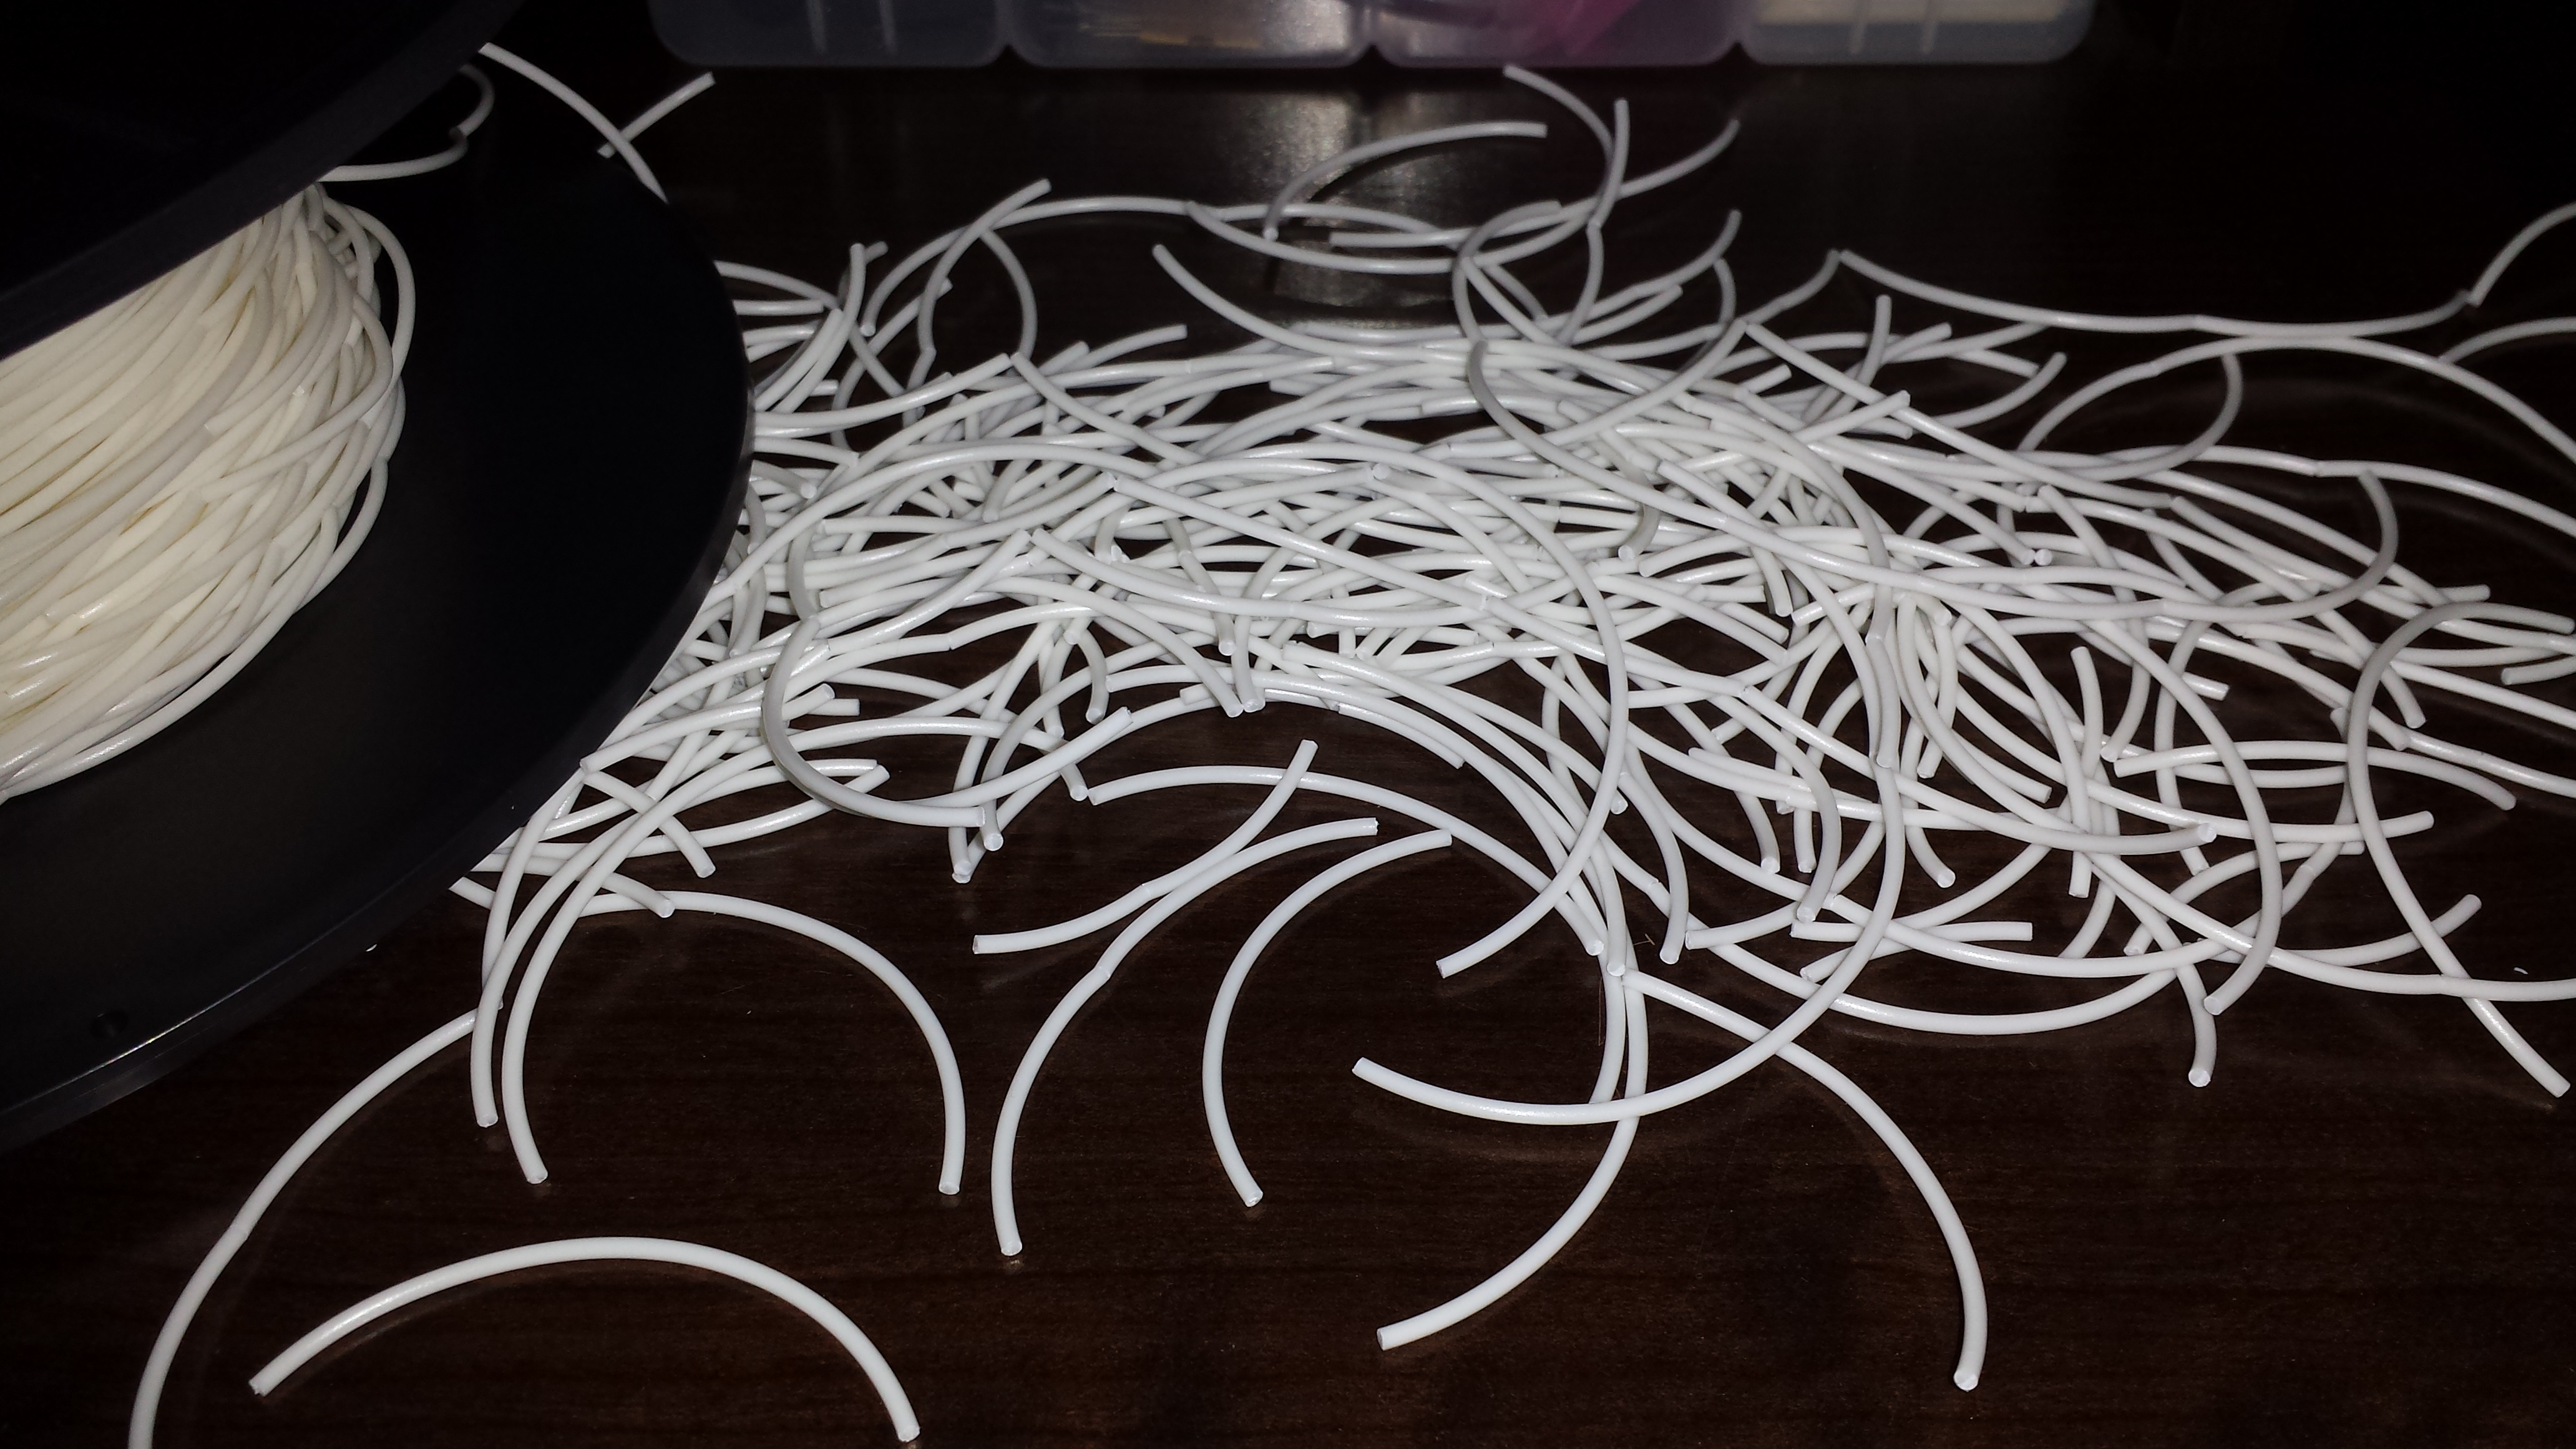 Turns out that humidity causes PLA to become brittle and break apart like this especially when its on a small diameter spool. I always new that PLA was susceptible to humidity but I generally ignored it so I guess I deserve this. Now based on a suggestion on how better to store my PLA. https://groups.google.com/d/topic/makerbot/Rdx2ZnJeQzs/discussion
long story short I am now using this http://www.westmarine.com/buy/iris-usa-inc–62-8-qt-water-tight-storage-box-clear–14018642
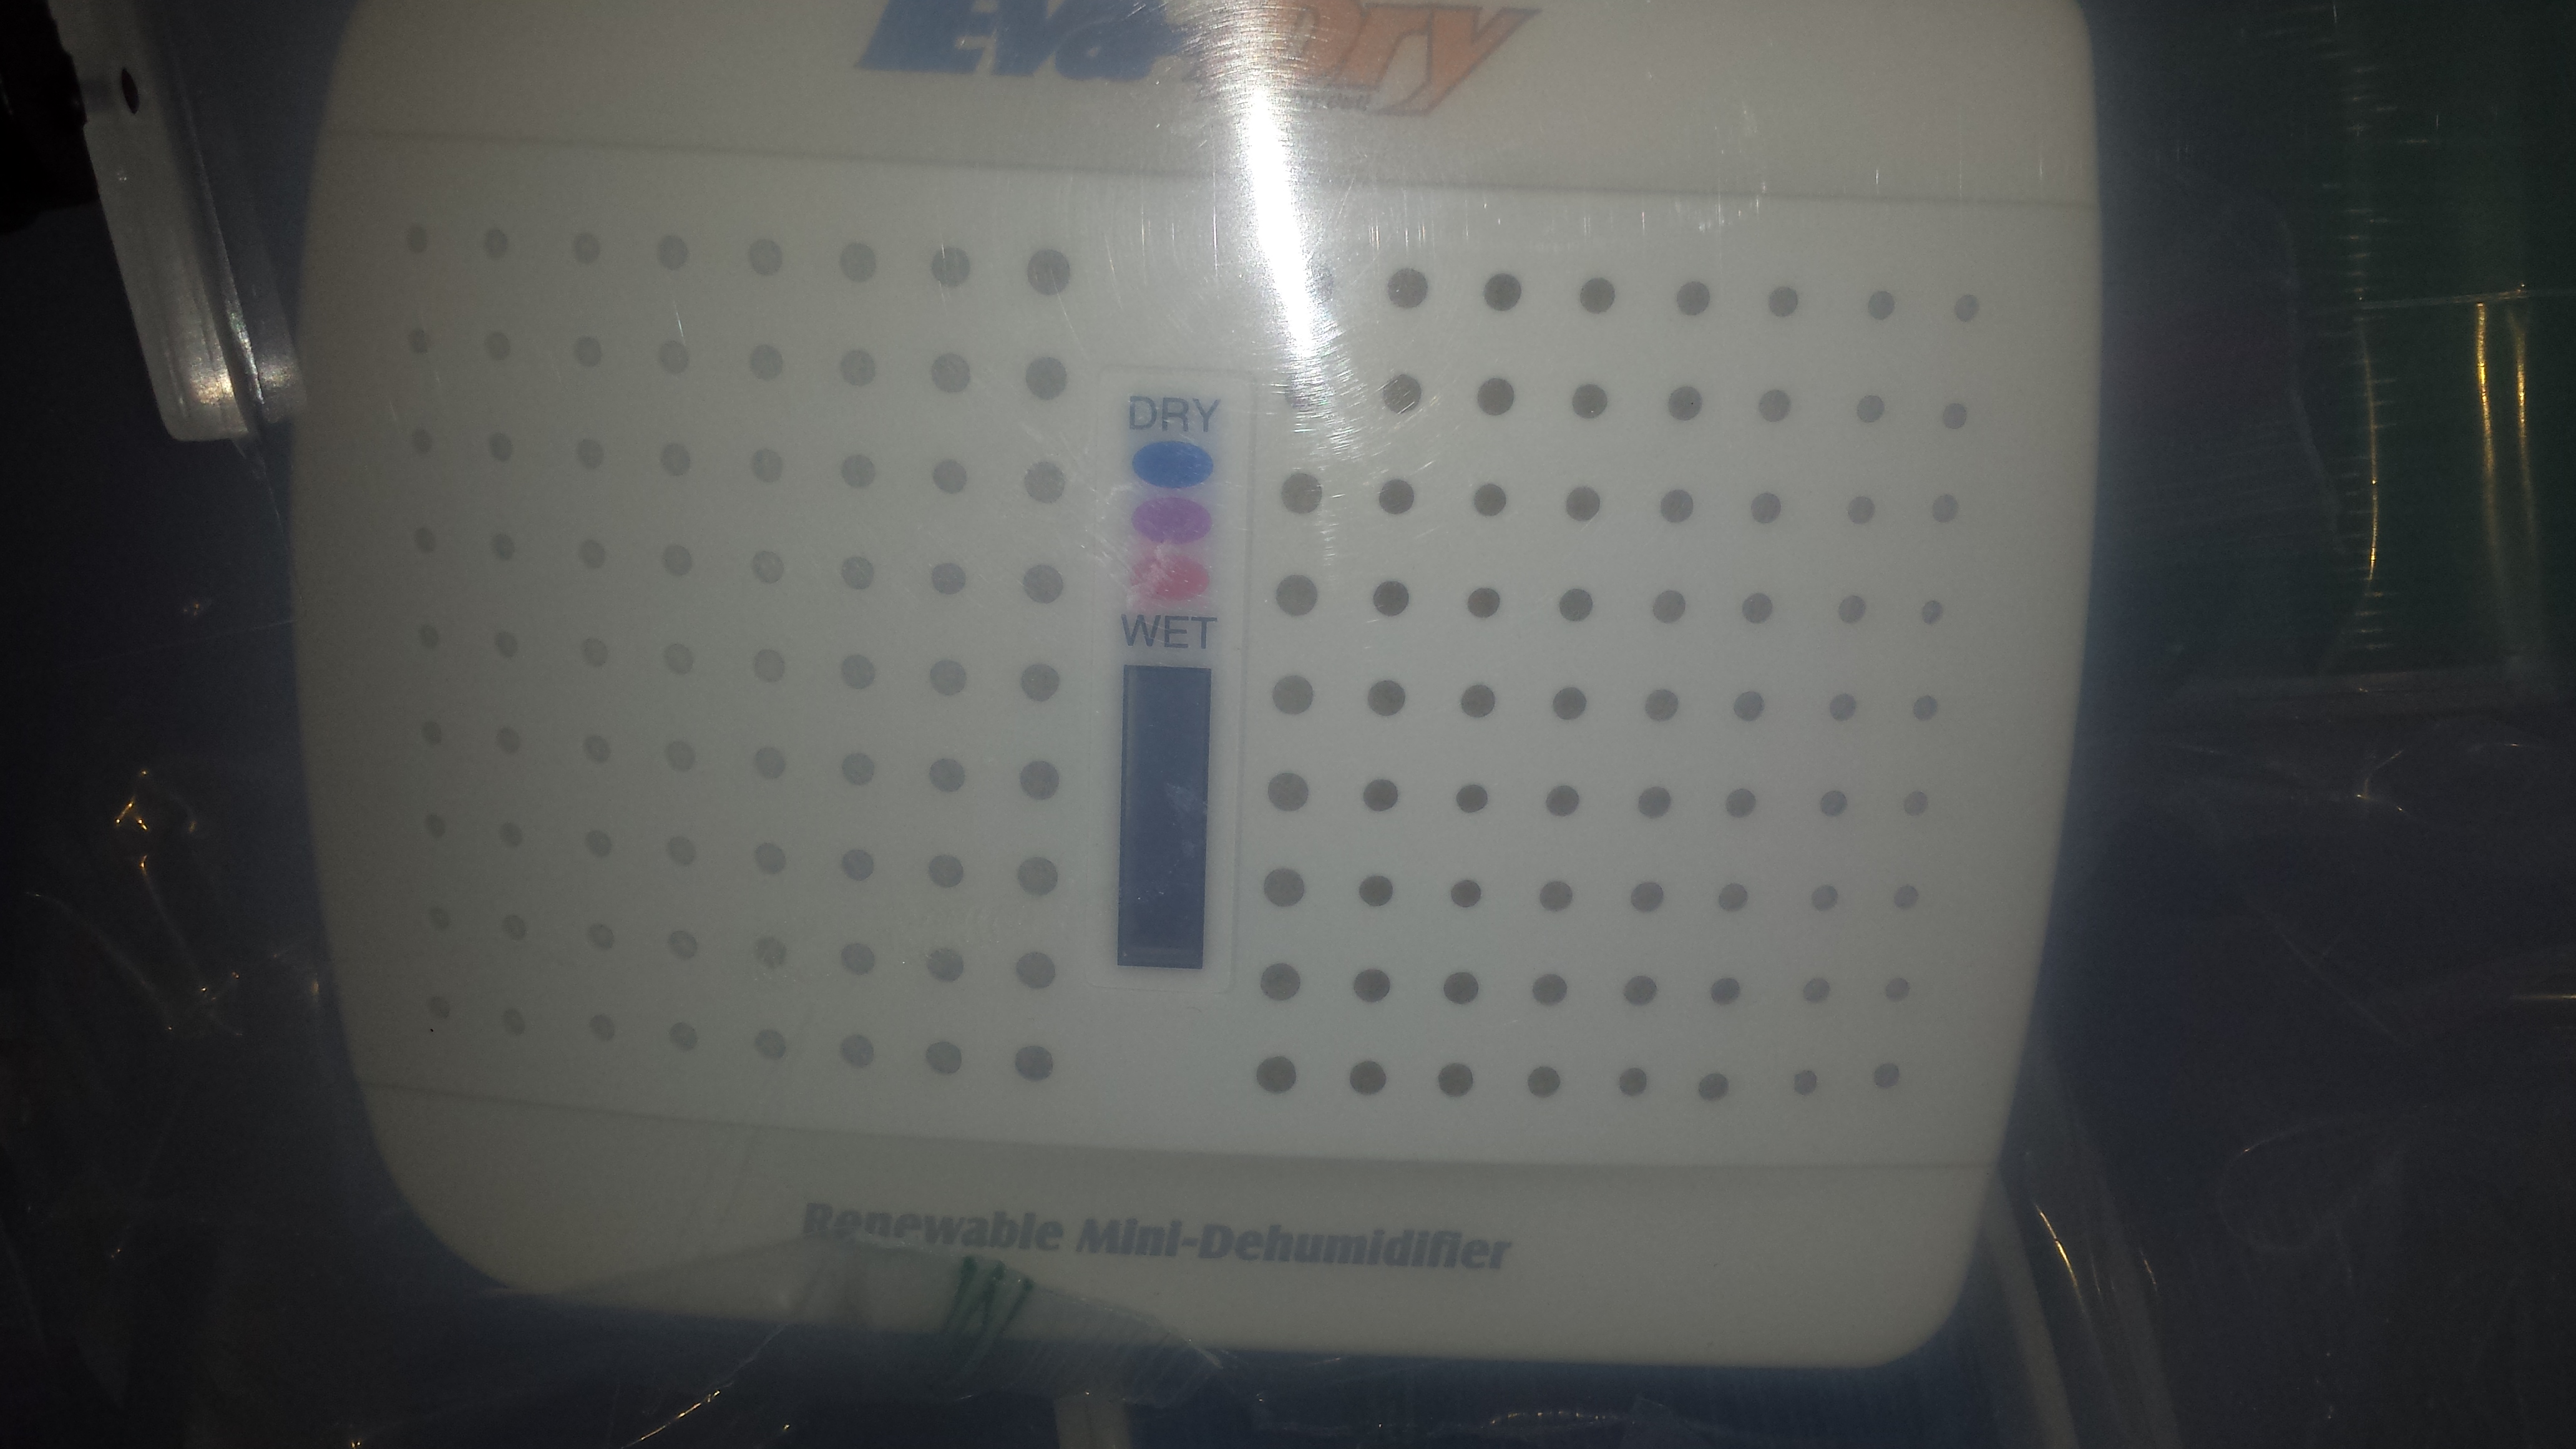
 I also put two of these in the box http://amzn.com/B000H0XFCS
 And to monitor the humidity levels one of these http://amzn.com/B0013BKDO8
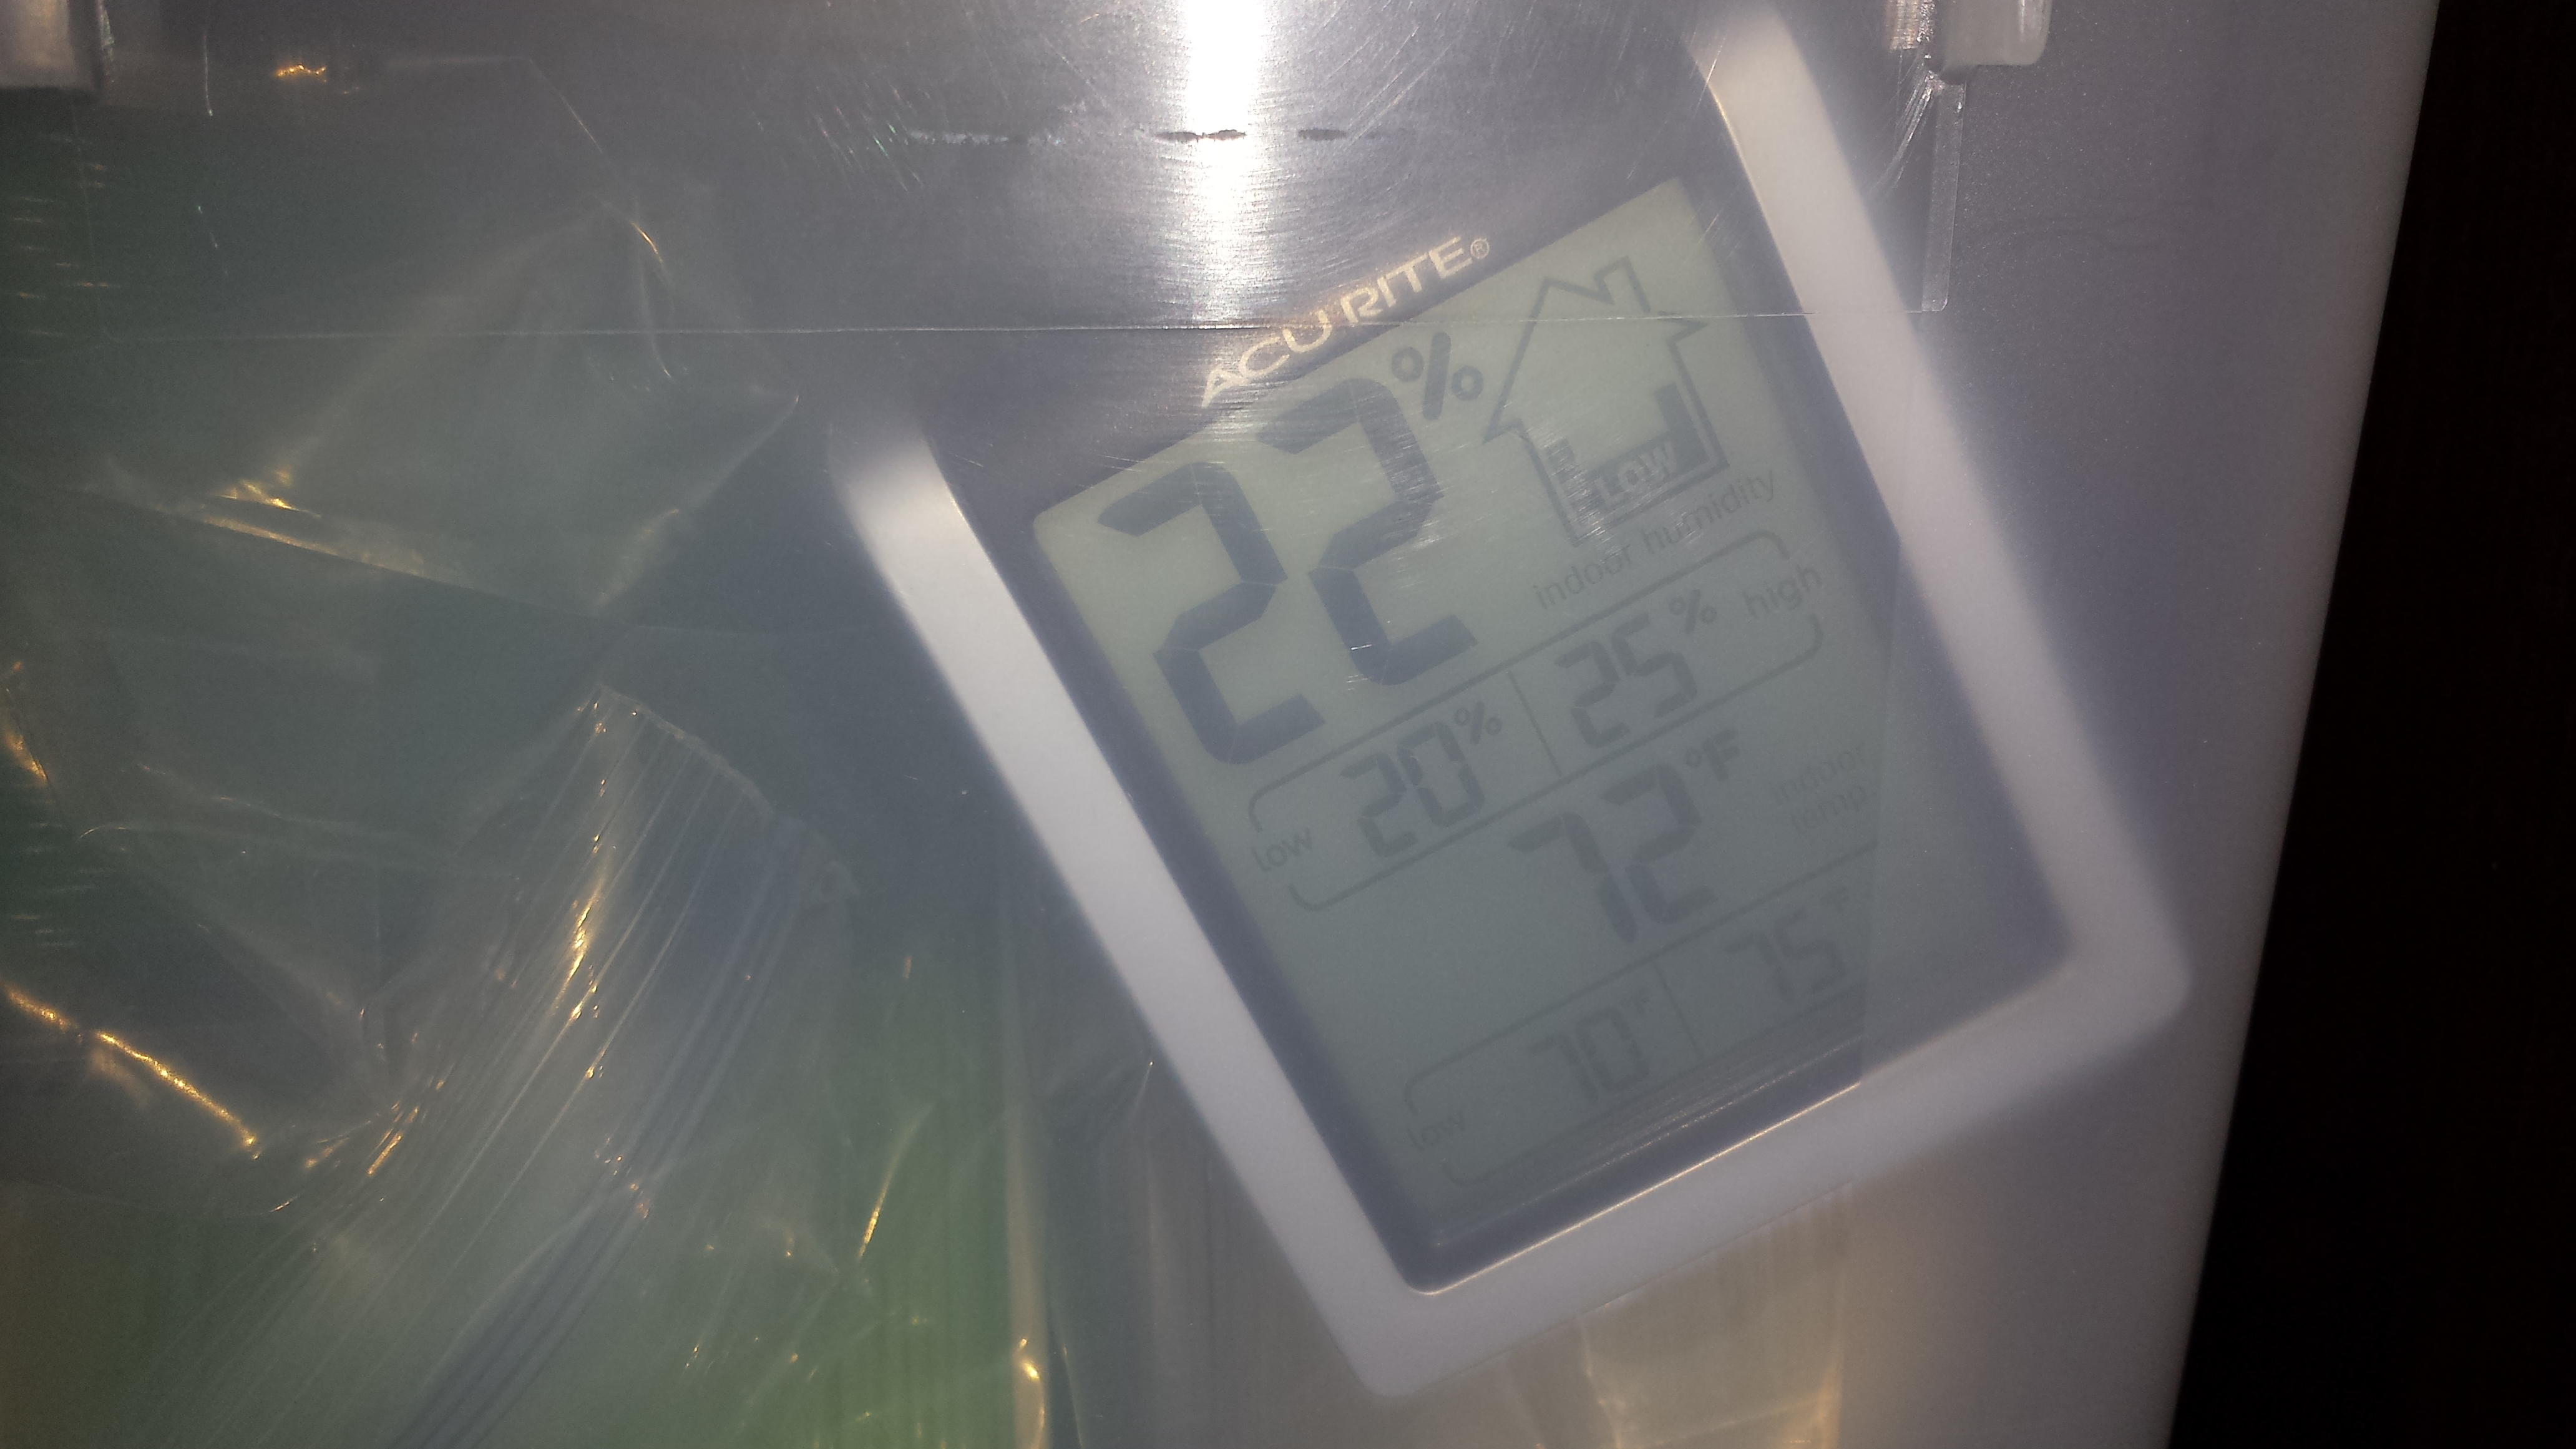
Not bad. The box started out at a startling 45% humidity and quickly dropped to 20-22%. Since I was monitoring the levels manually I though why not make a wireless sensor to monitor the levels auto-magically.
The Solution
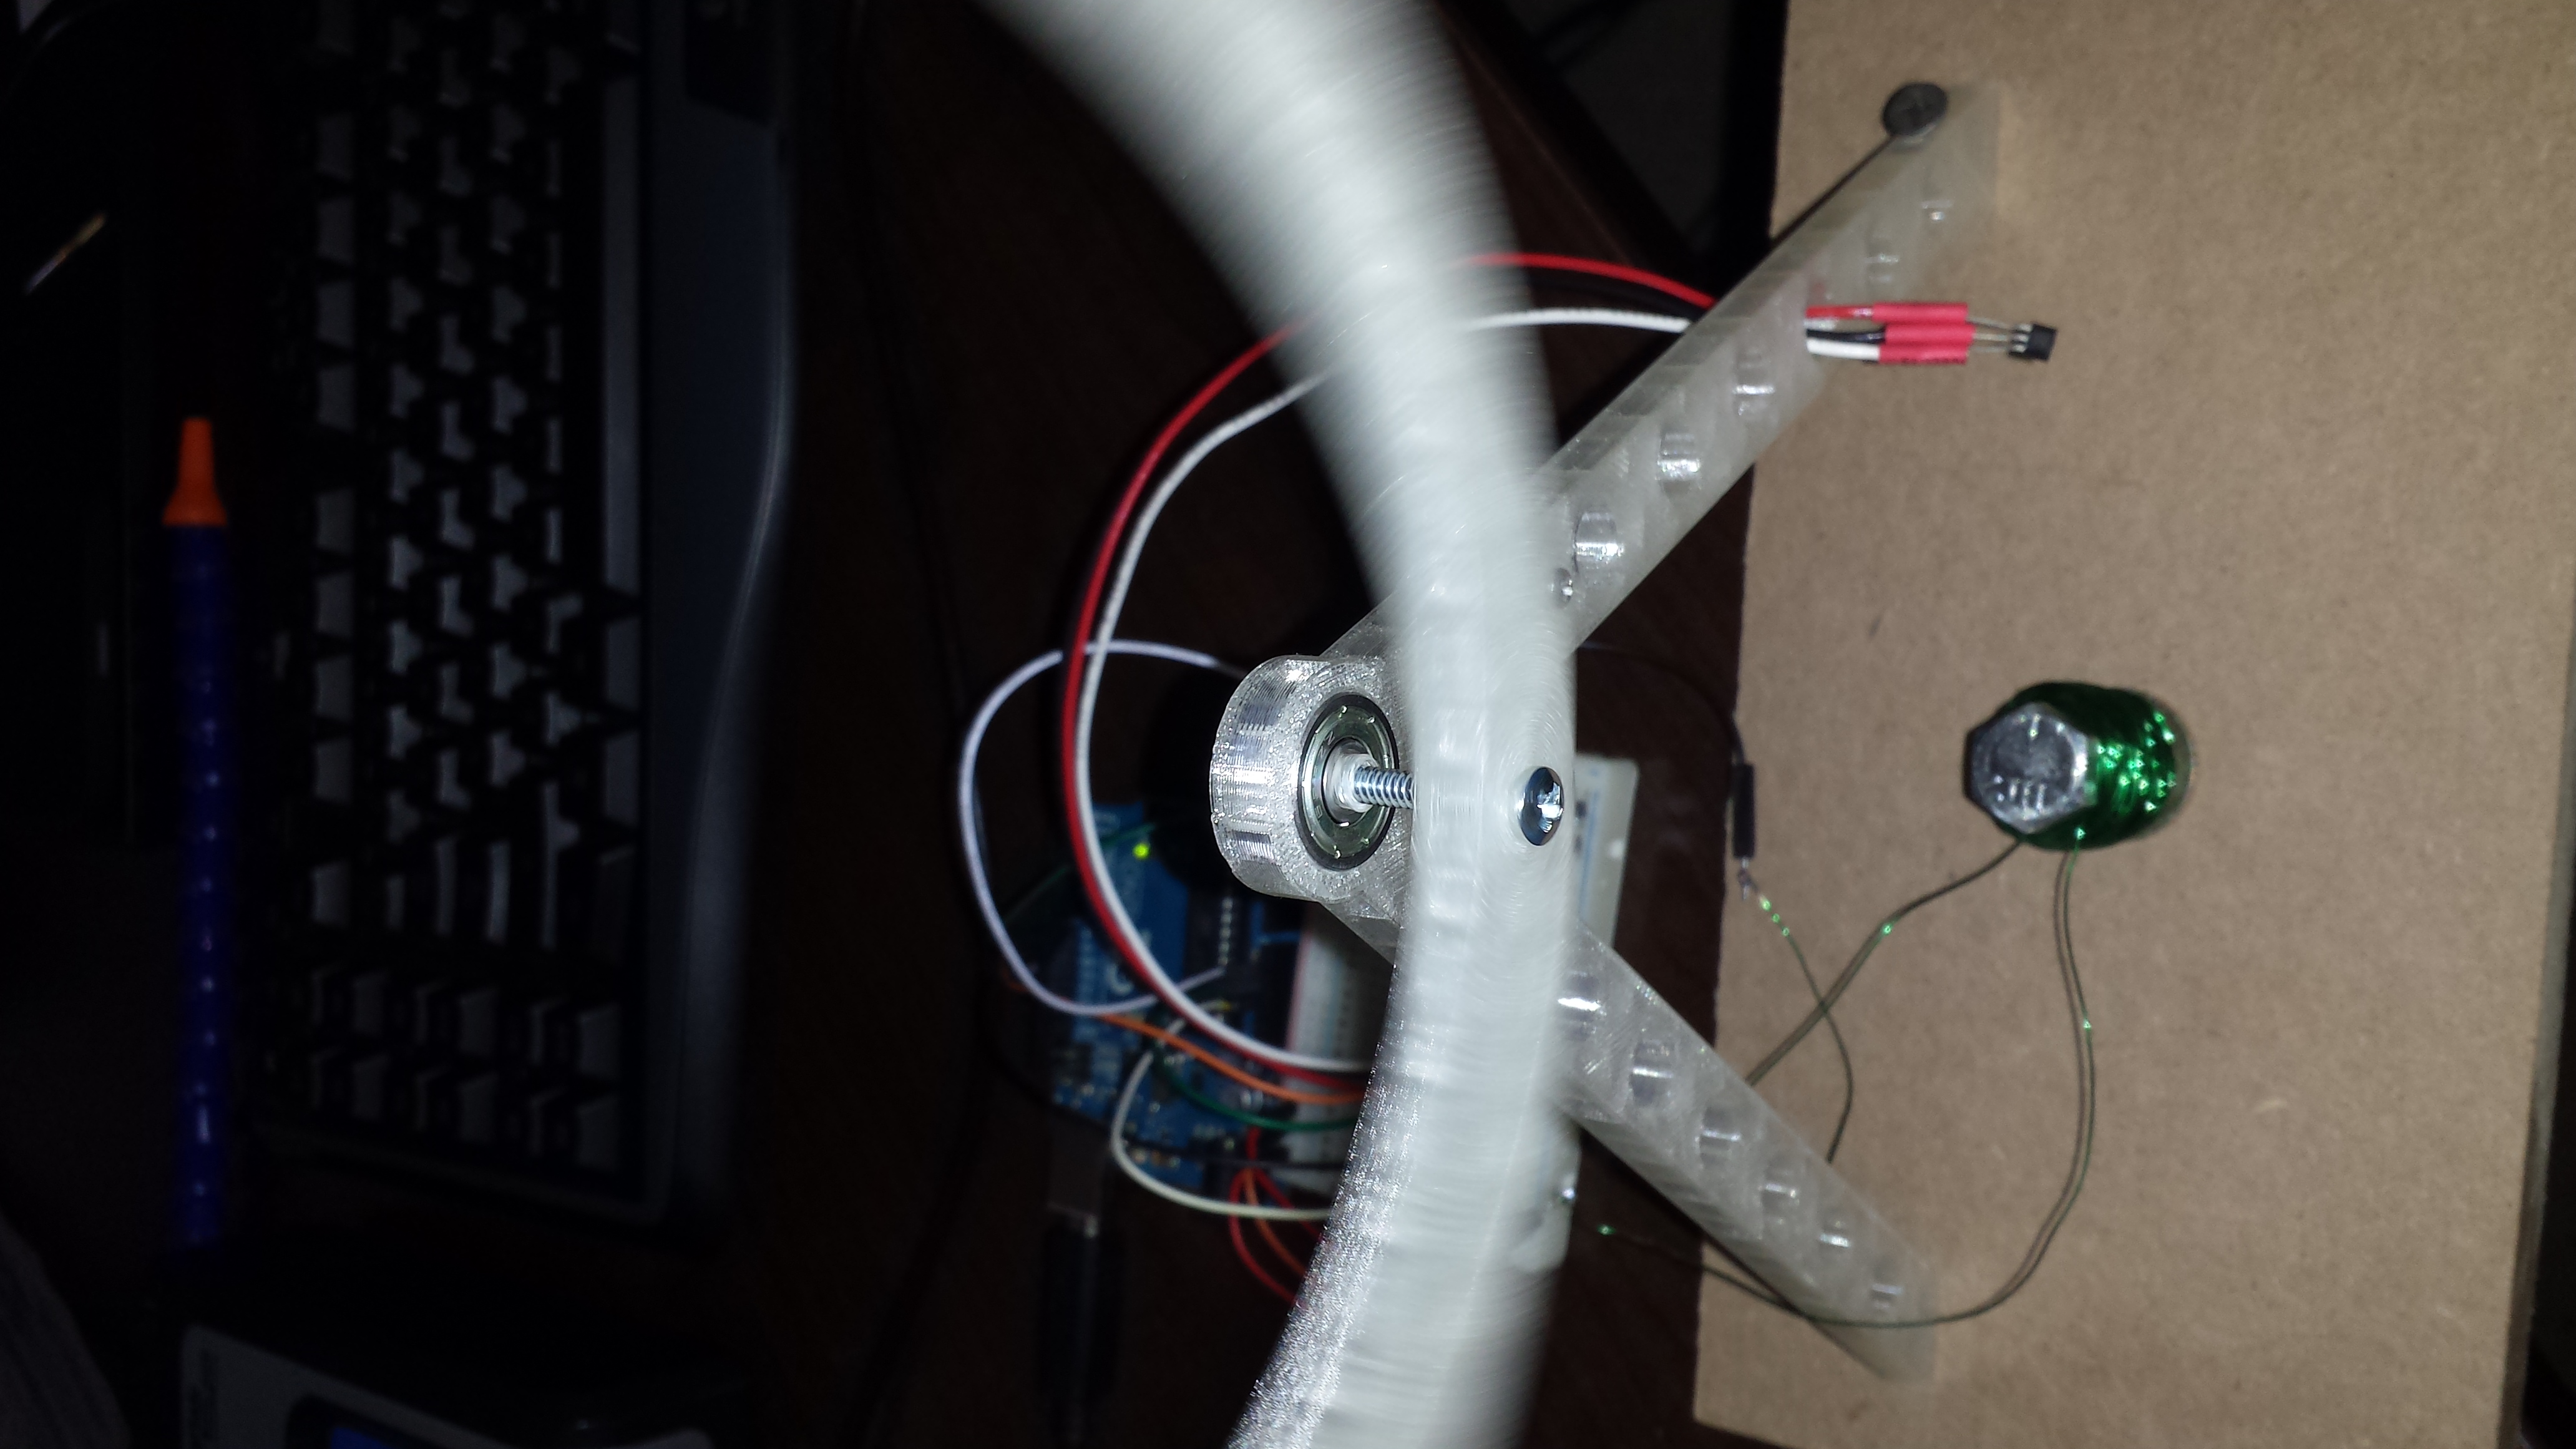
This brings me back to my spark core I mentioned earlier. I went bought one of these https://www.sparkfun.com/products/10167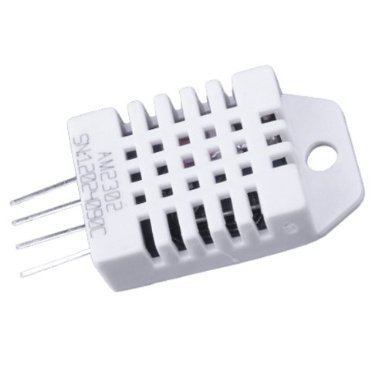
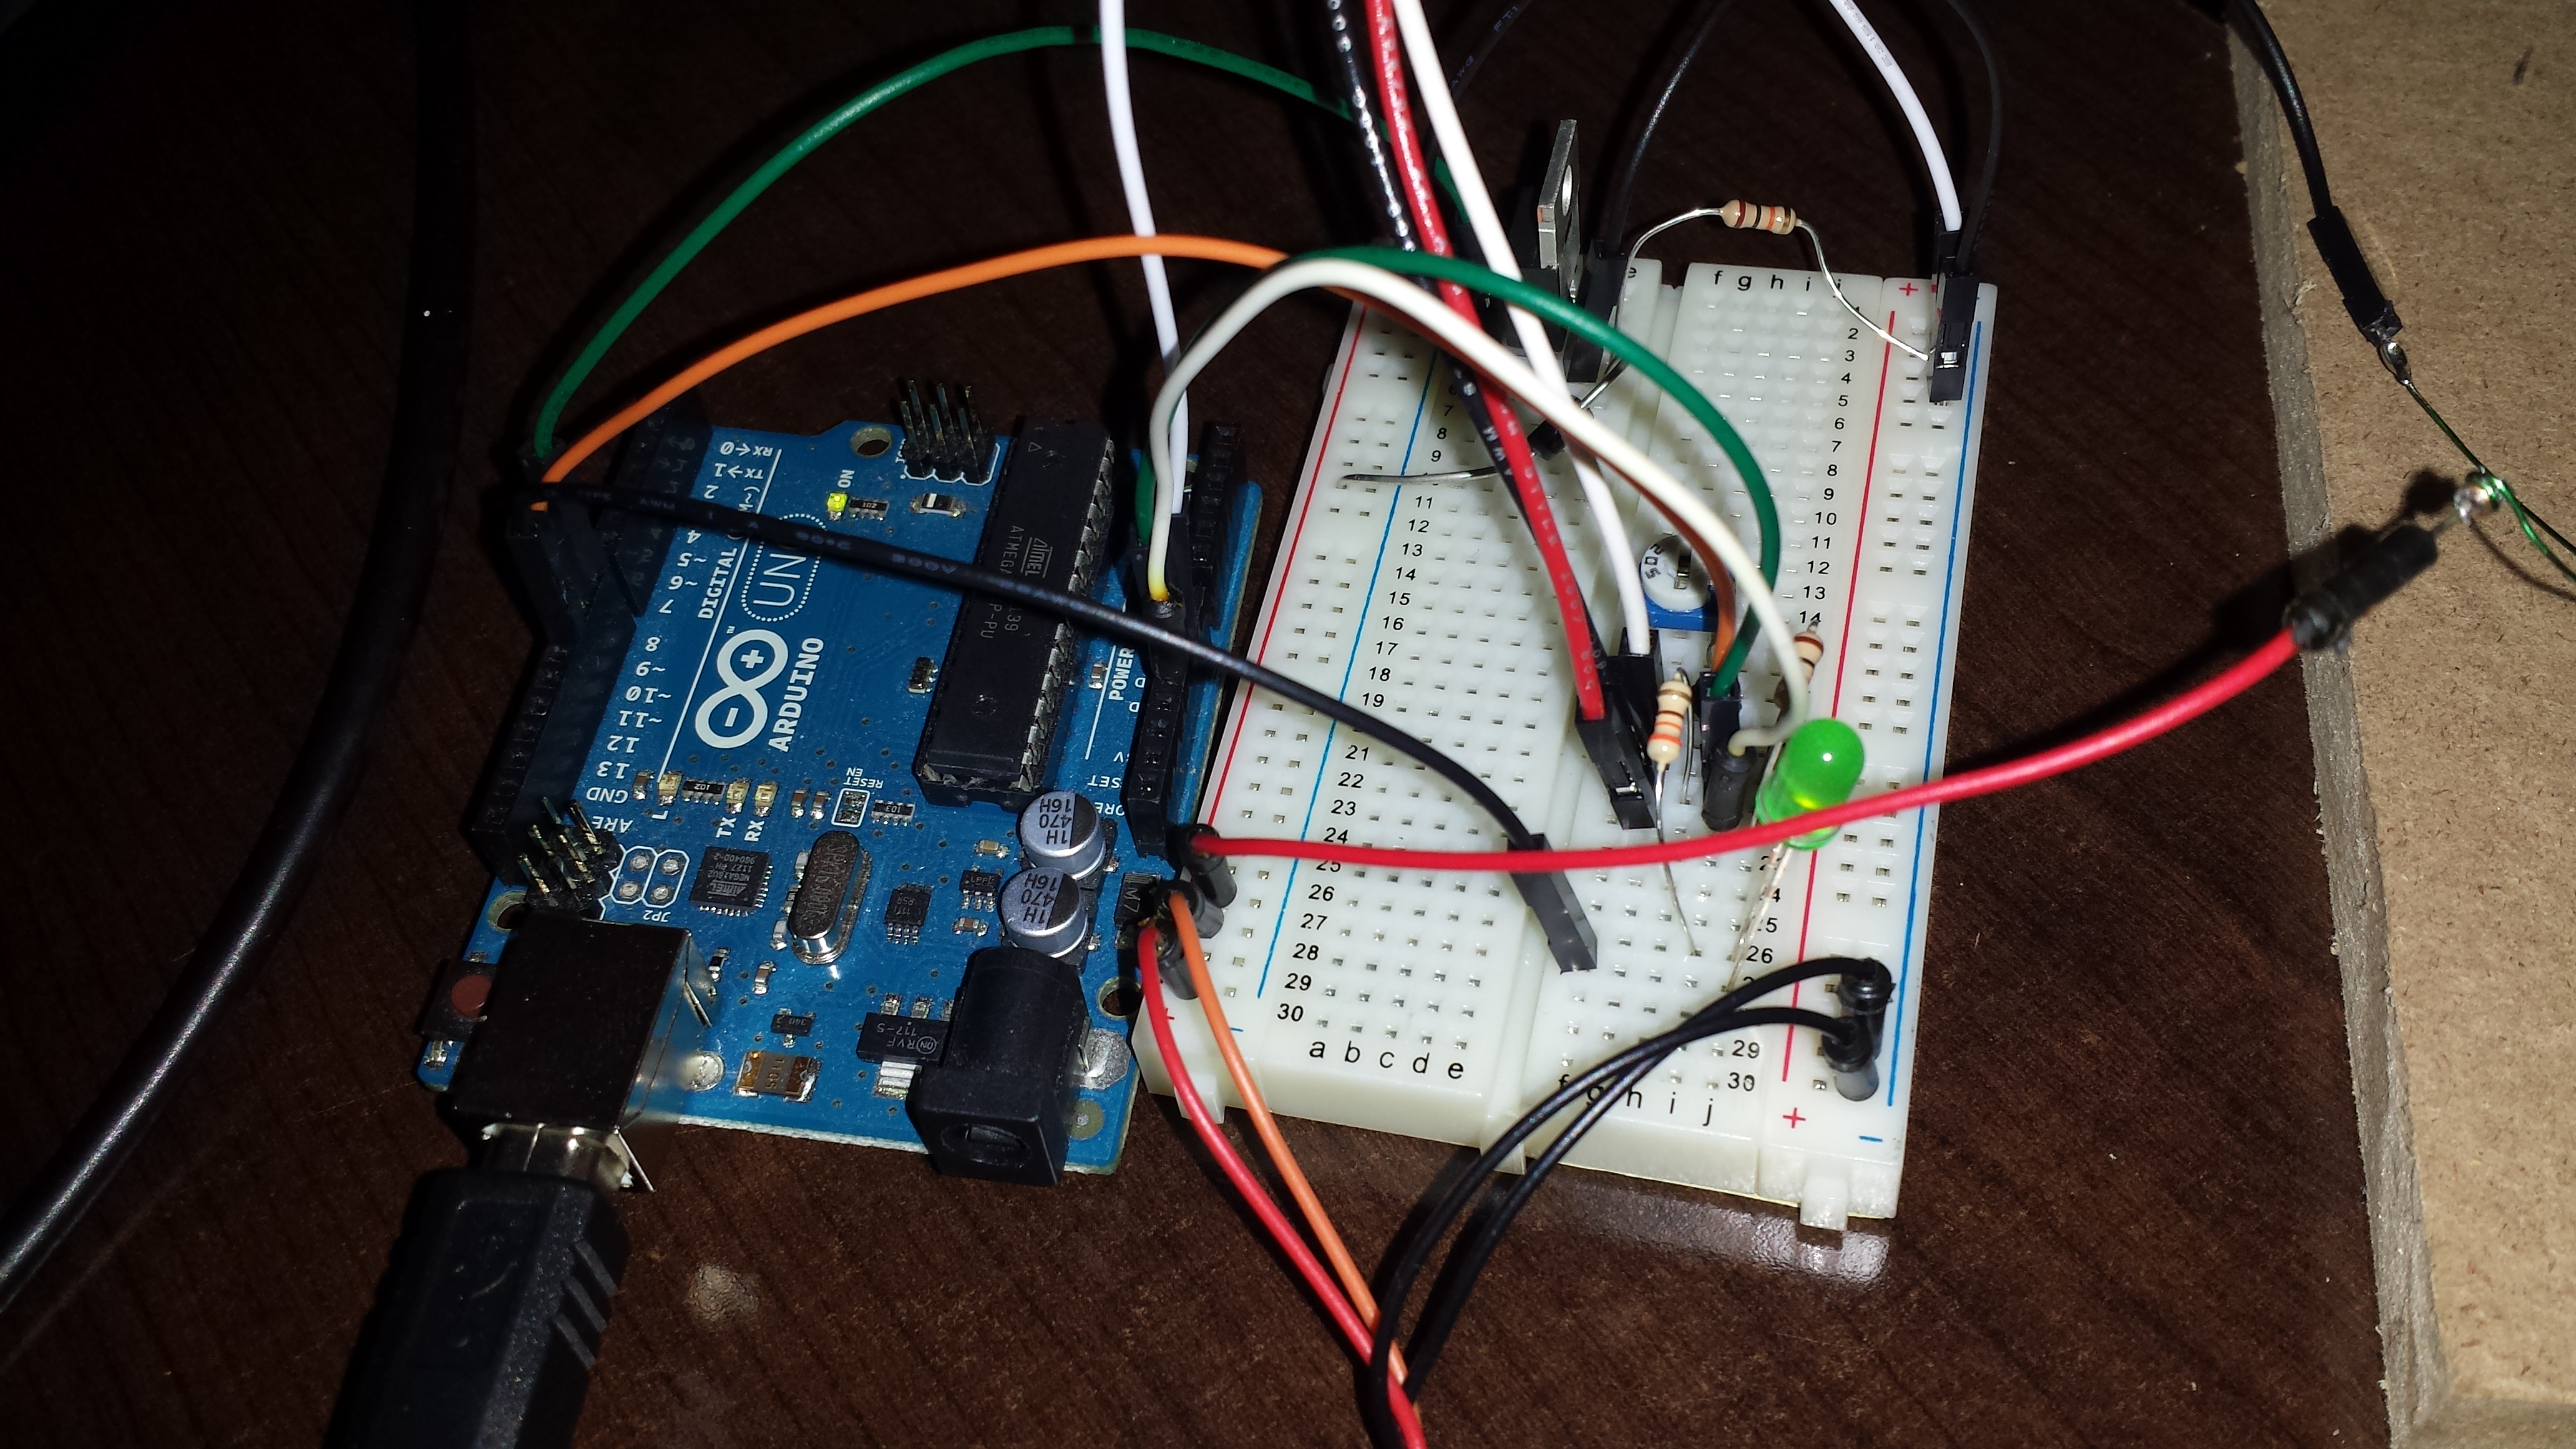
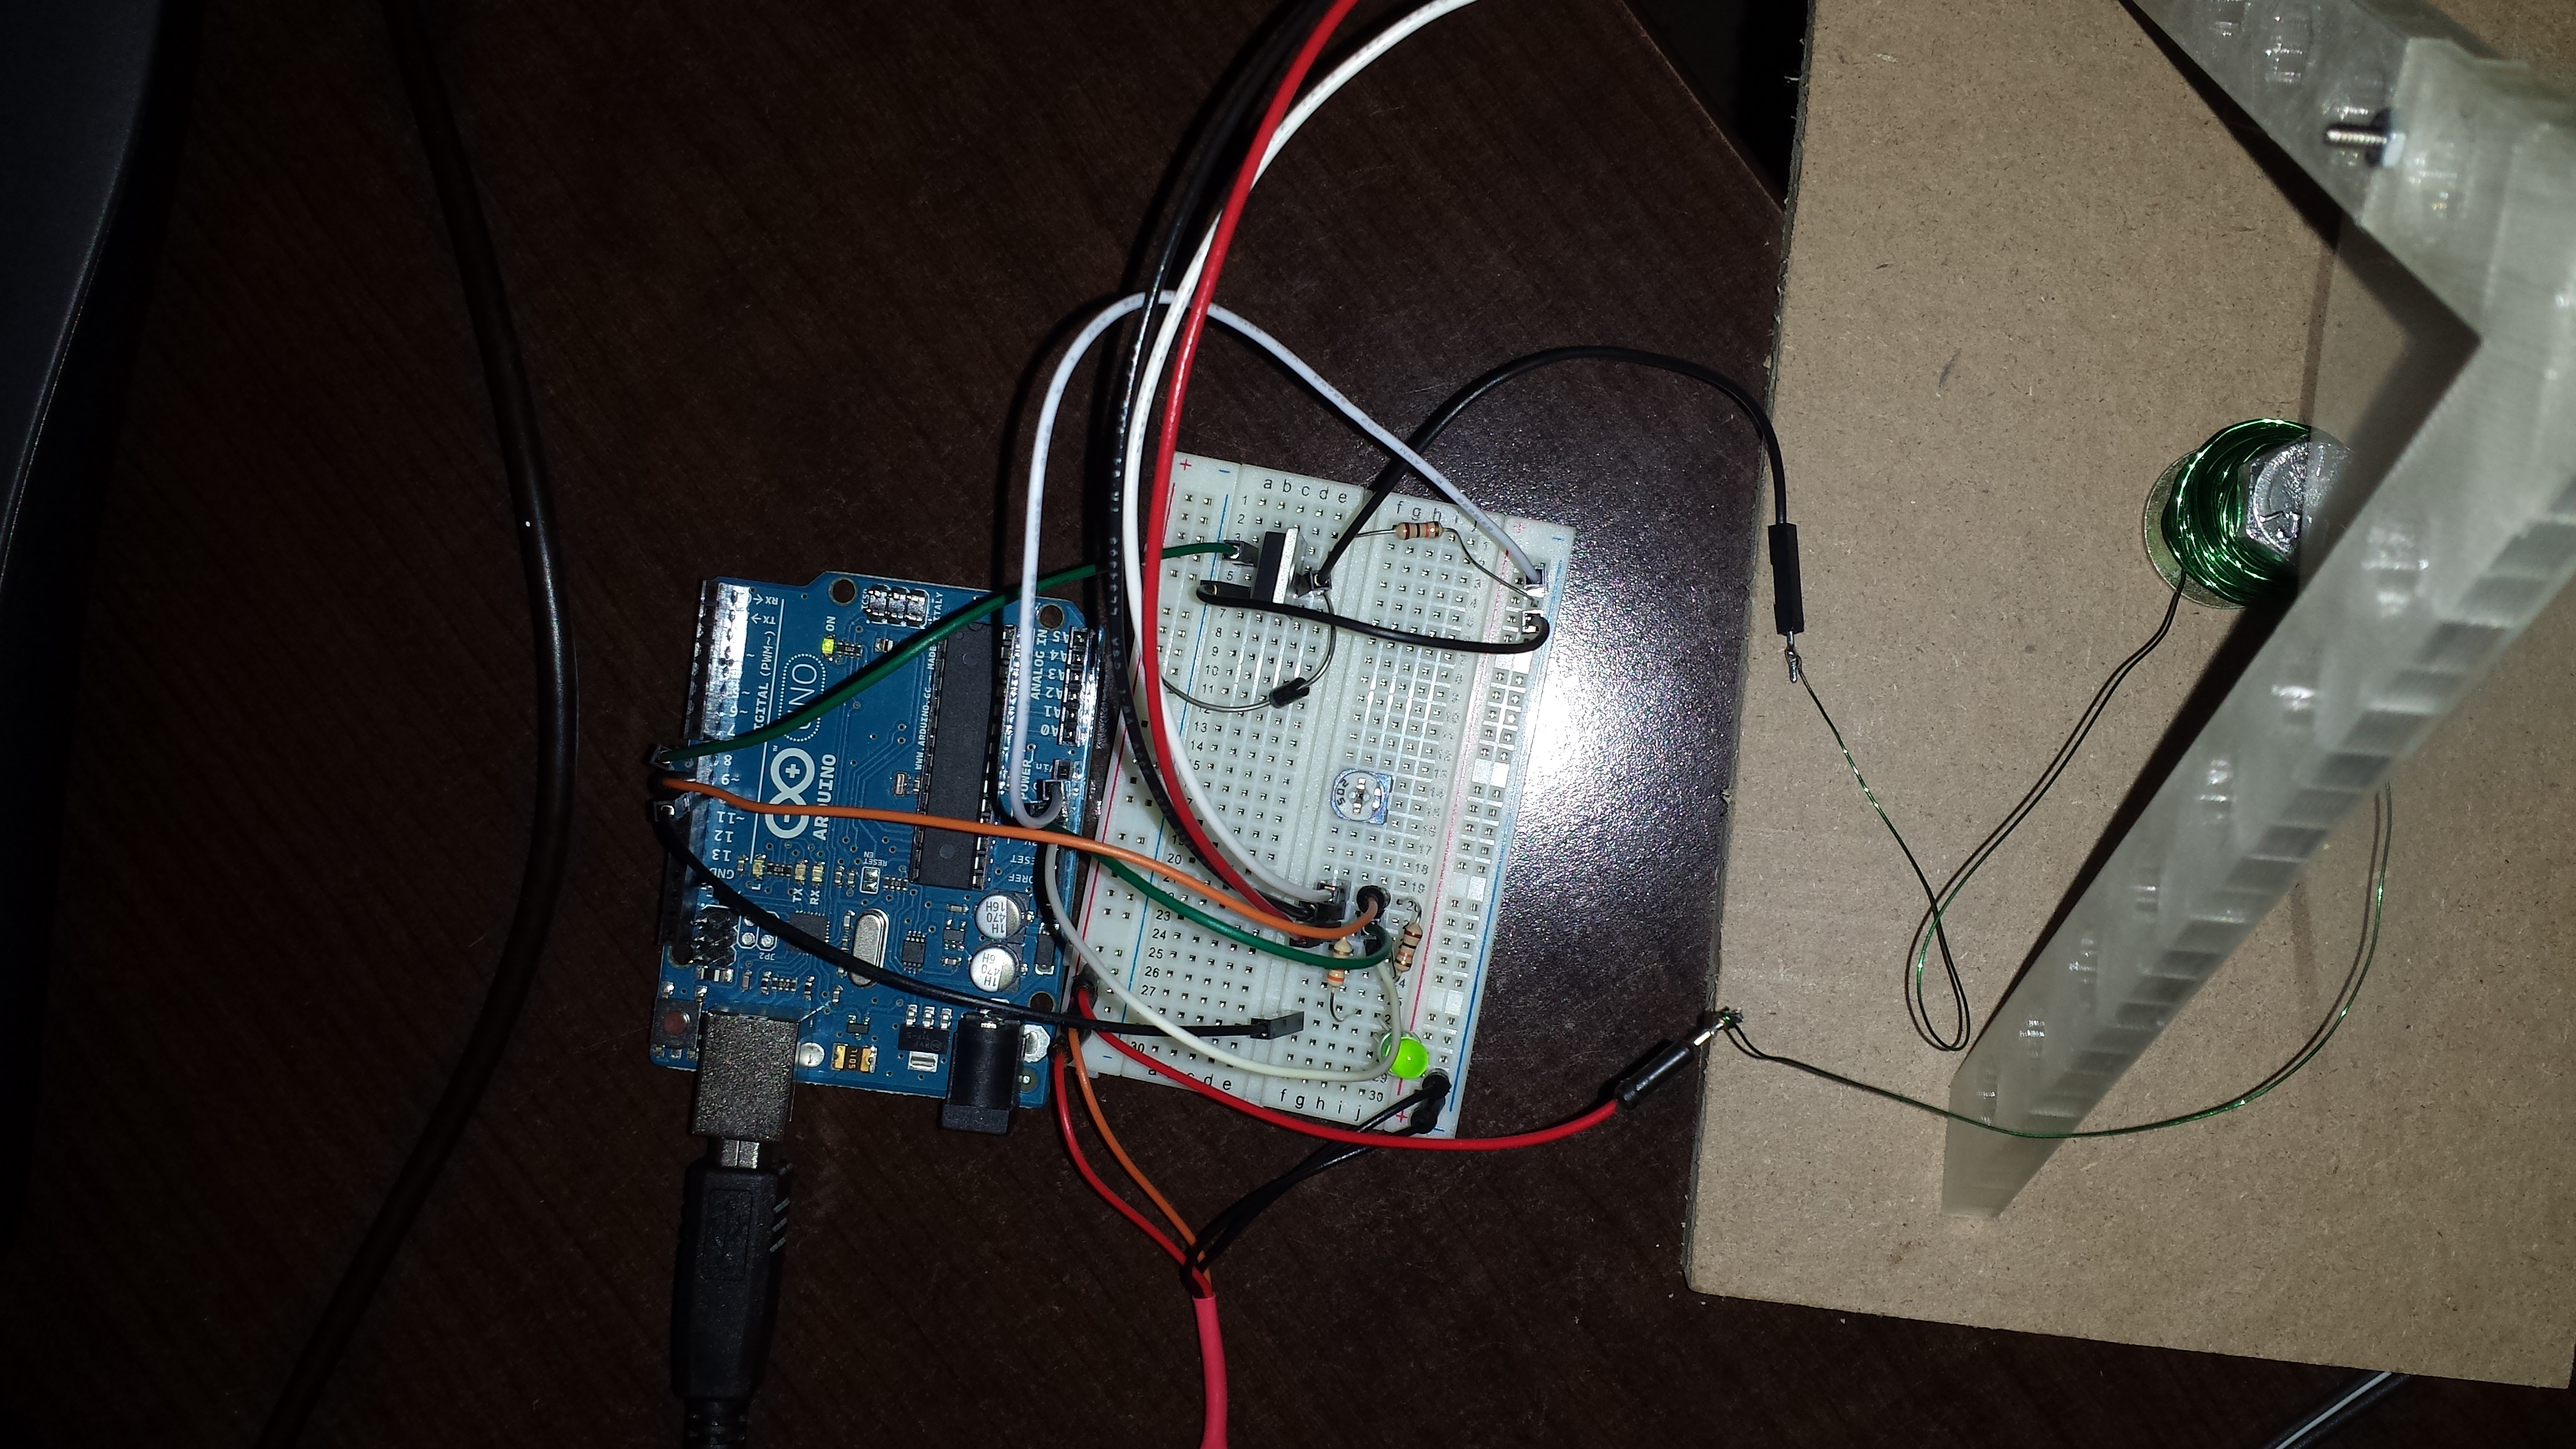
For the sensing part and quickly and easily plopped it on a breadboard. 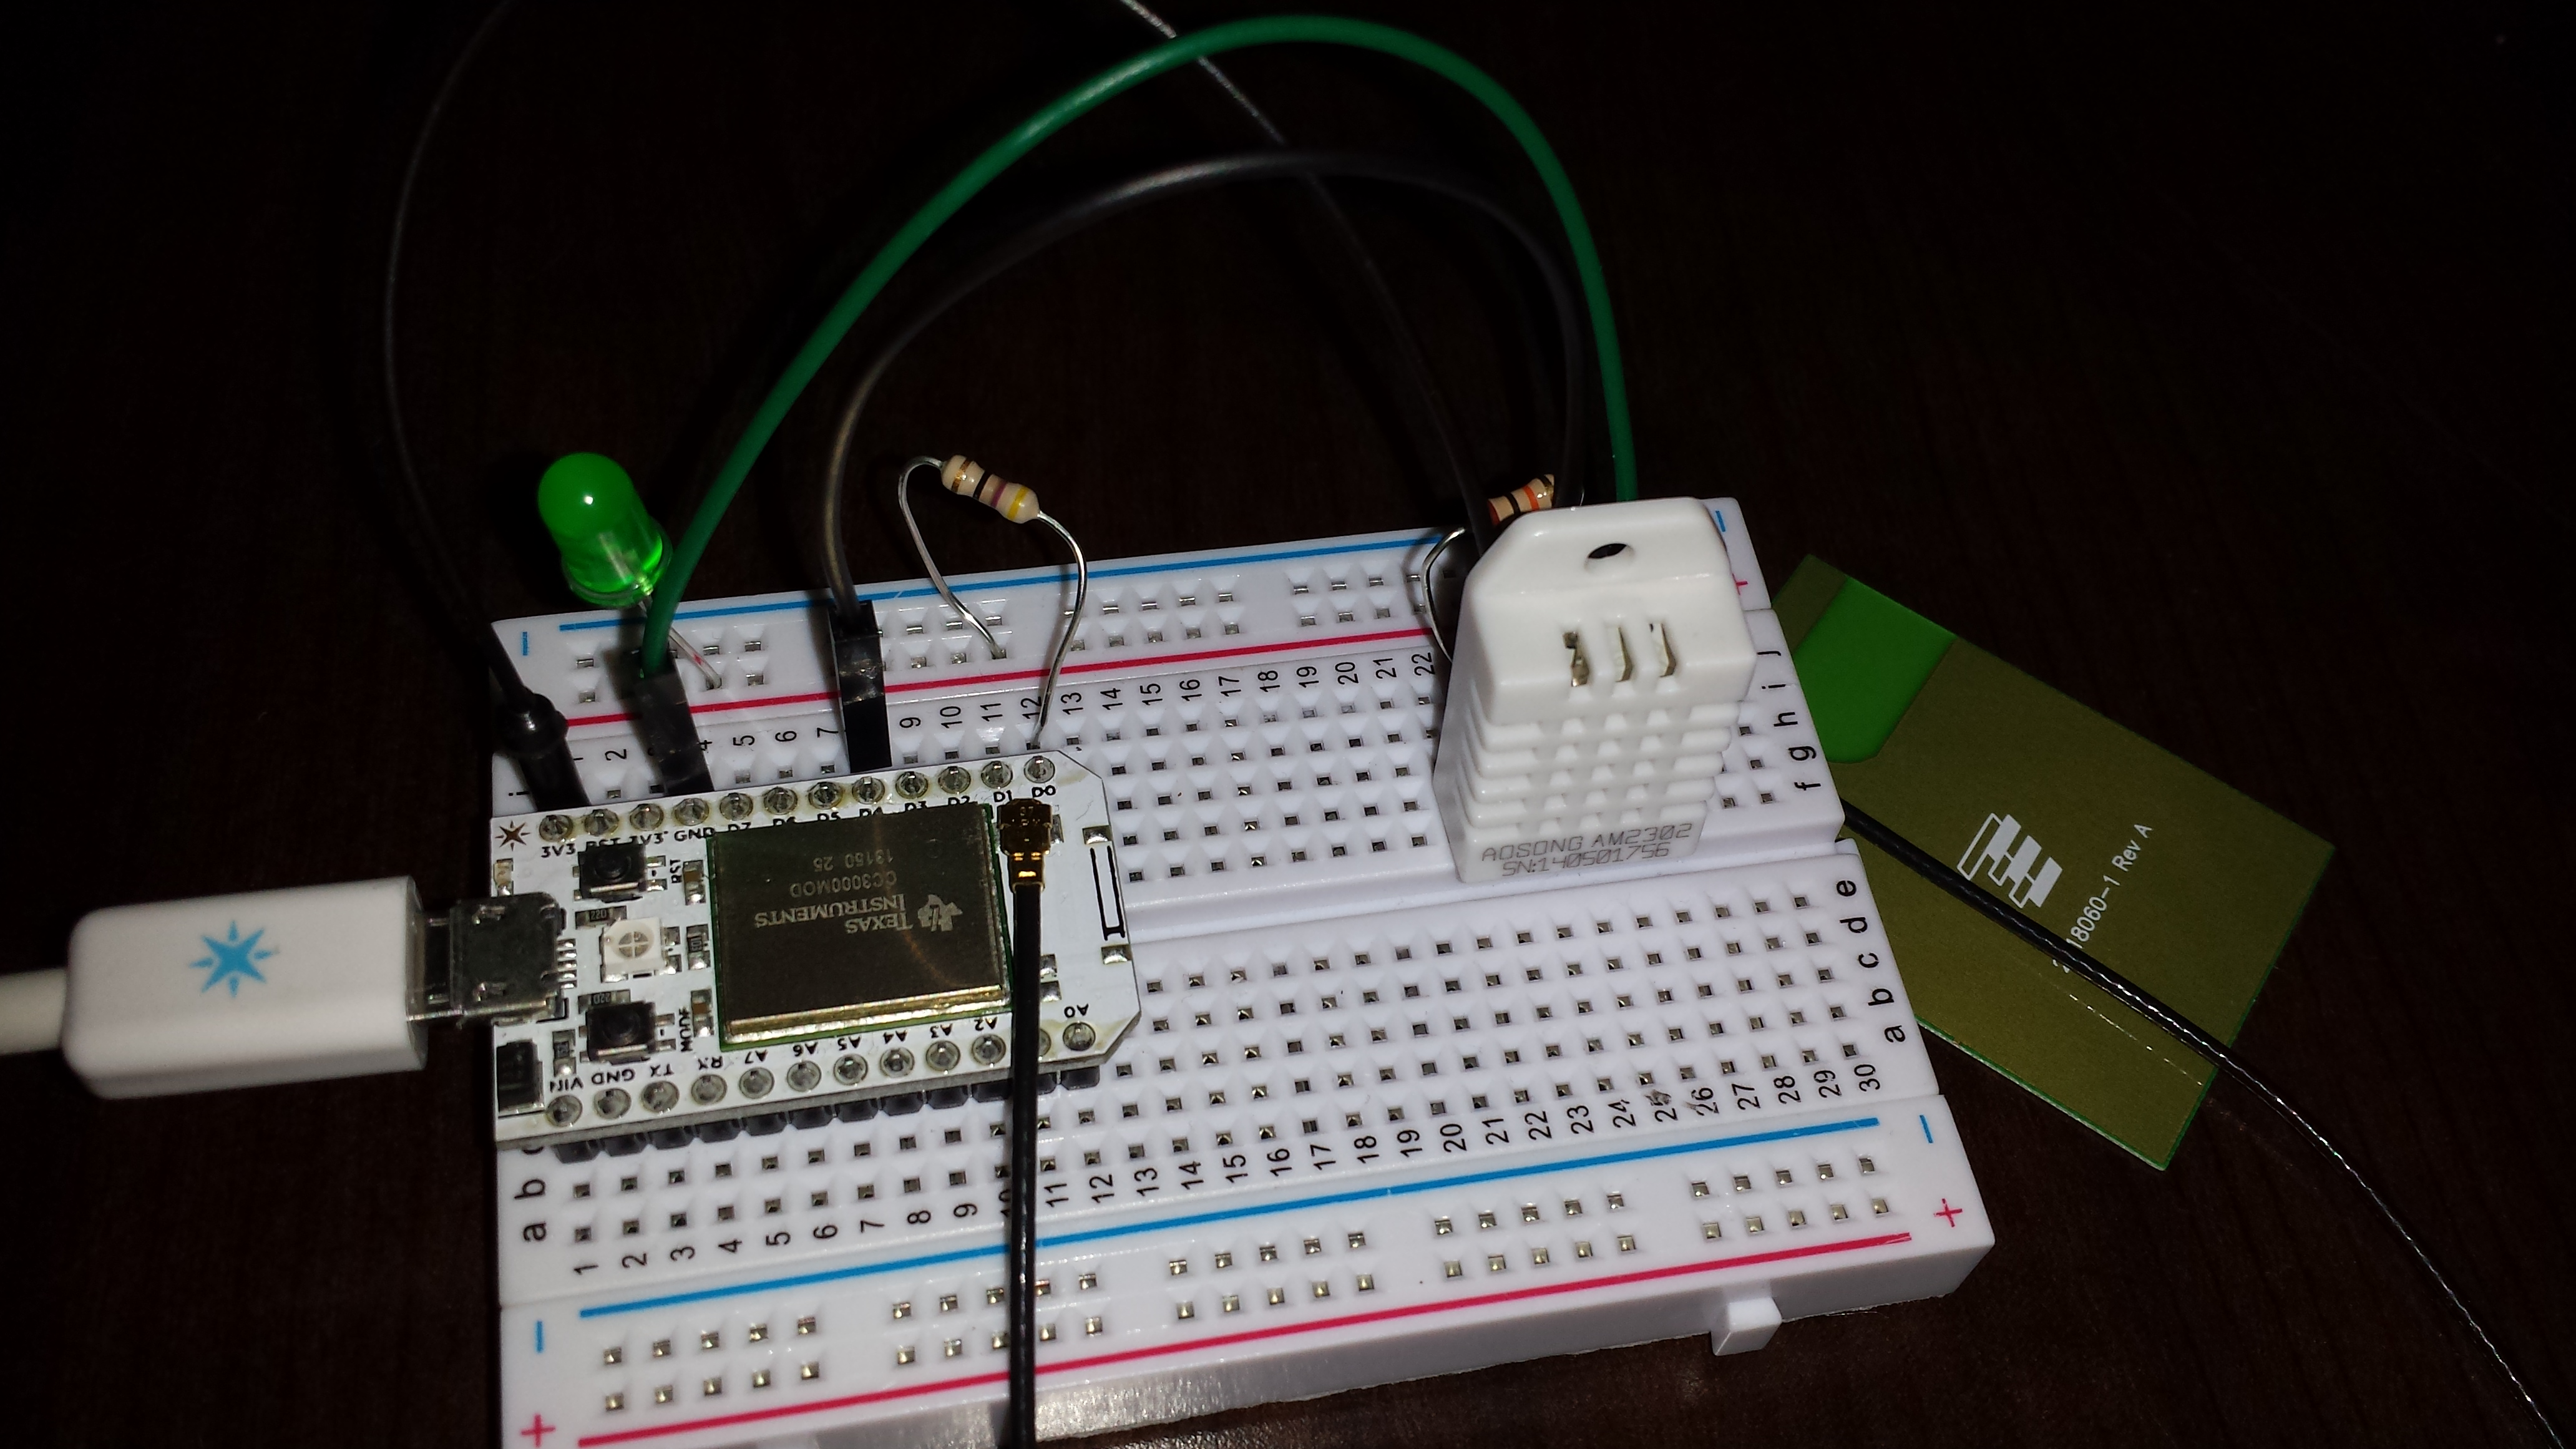 I connected this to a 10 ah battery I have to make it wireless.
 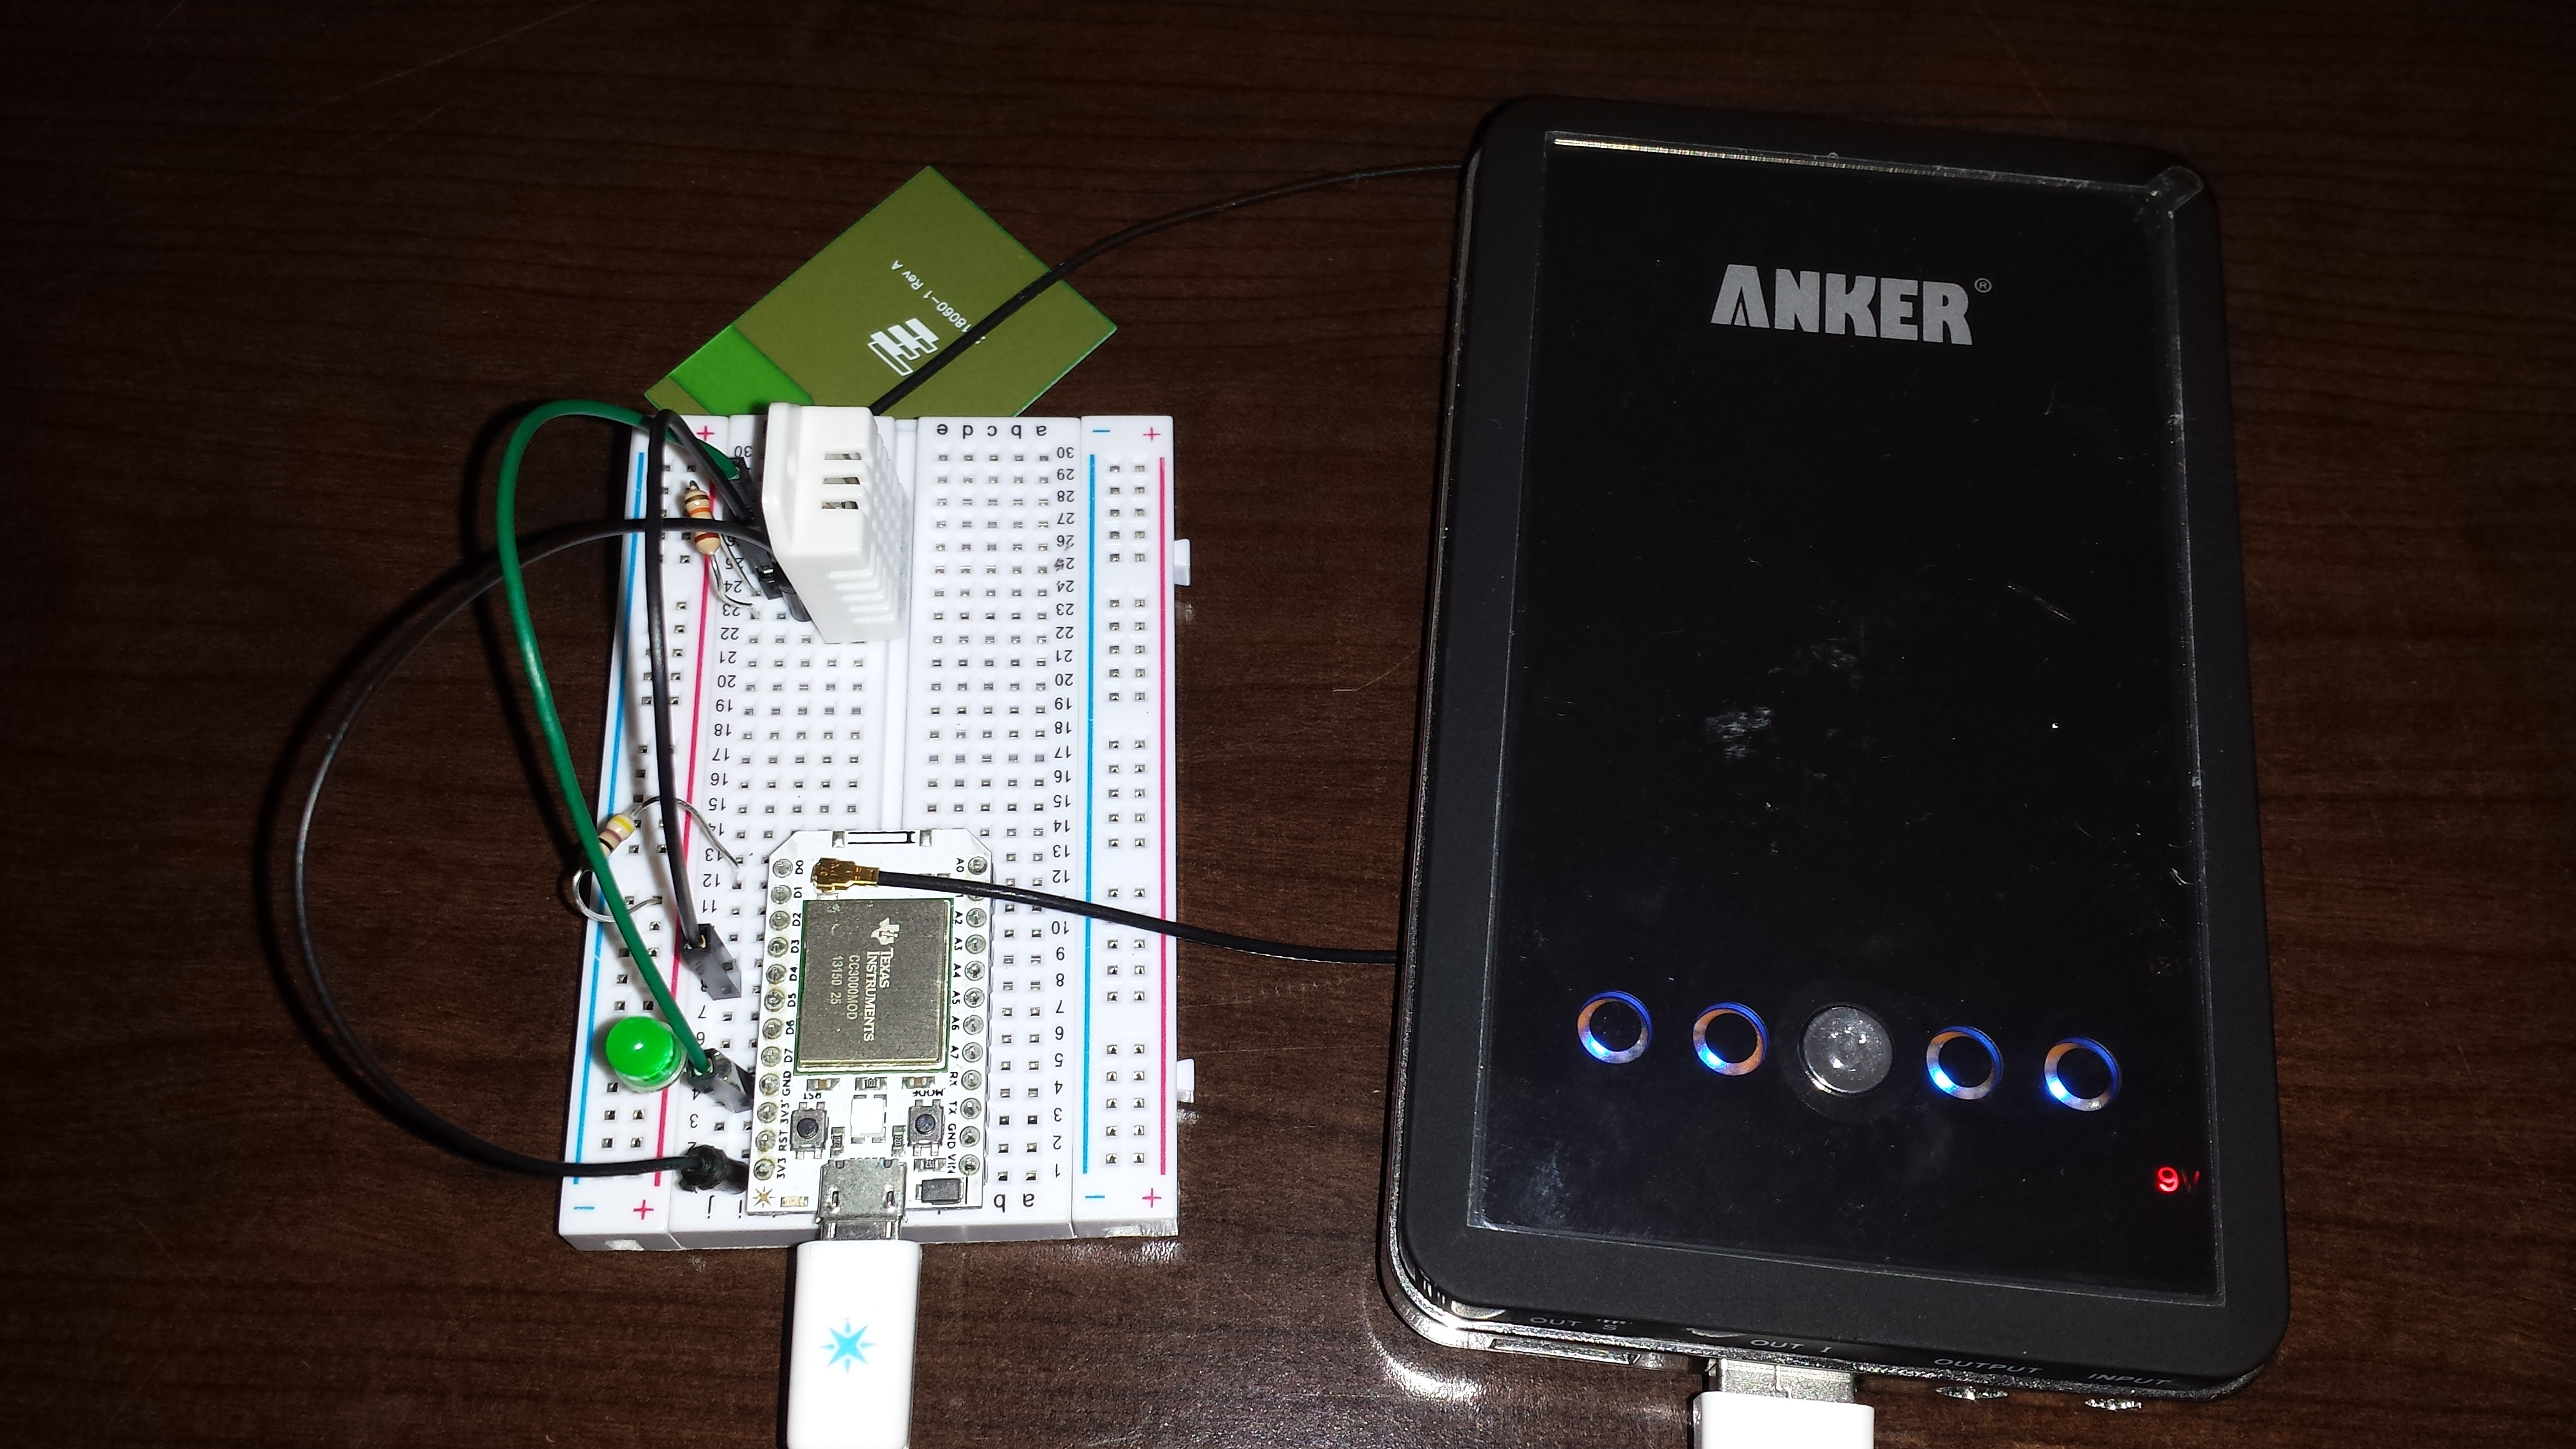 Then uploaded some code.
// This #include statement was automatically added by the Spark IDE.
#include "idDHT22/idDHT22.h"
#include ;
// declaration for DHT11 handler
int idDHT22pin = D4; //Digital pin for comunications
void dht22_wrapper(); // must be declared before the lib initialization
// DHT instantiate
idDHT22 DHT22(idDHT22pin, dht22_wrapper);
char message[50];
double Humidity =0;
double degF = 0;
double degC = 0;
double DewPoint = 0;
double DewPointSlow = 0;
int result;
int led = 0;
void setup()
{
pinMode(led, OUTPUT);
Spark.variable("message", &message, STRING);
Spark.variable("Humidity", &Humidity, DOUBLE);
Spark.variable("degF", °F, DOUBLE);
Spark.variable("degC", °C, DOUBLE);
Spark.variable("DewPoint", &DewPoint, DOUBLE);
Spark.variable("DewPointSlow", &DewPointSlow, DOUBLE);
}
// This wrapper is in charge of calling
// mus be defined like this for the lib work
void dht22_wrapper() {
DHT22.isrCallback();
}
void loop()
{
digitalWrite(led, HIGH); // turn the LED on (HIGH is the voltage level)
DHT22.acquire();
while (DHT22.acquiring());
result = DHT22.getStatus();
switch (result)
{
case IDDHTLIB_OK:
//Serial.println("OK");
break;
case IDDHTLIB_ERROR_CHECKSUM:
//Serial.println("Error\n\r\tChecksum error");
break;
case IDDHTLIB_ERROR_ISR_TIMEOUT:
//Serial.println("Error\n\r\tISR Time out error");
break;
case IDDHTLIB_ERROR_RESPONSE_TIMEOUT:
//Serial.println("Error\n\r\tResponse time out error");
break;
case IDDHTLIB_ERROR_DATA_TIMEOUT:
//Serial.println("Error\n\r\tData time out error");
break;
case IDDHTLIB_ERROR_ACQUIRING:
//Serial.println("Error\n\r\tAcquiring");
break;
case IDDHTLIB_ERROR_DELTA:
//Serial.println("Error\n\r\tDelta time to small");
break;
case IDDHTLIB_ERROR_NOTSTARTED:
//Serial.println("Error\n\r\tNot started");
break;
default:
//Serial.println("Unknown error");
break;
}
Humidity = DHT22.getHumidity();
degF = DHT22.getFahrenheit();
degC = DHT22.getCelsius();
DewPoint = DHT22.getDewPoint();
DewPointSlow = DHT22.getDewPointSlow();
sprintf(message, "{\"Humidity\":%f,\"degF\":%f,\"degC\":%f,\"DewPoint\":%f,\"DewPointSlow\":%f}", Humidity, degF,degC,DewPoint,DewPointSlow);
digitalWrite(led, LOW); // turn the LED off by making the voltage LOW
delay(30000);
}
Ok great now to get the data. This is where the Spark Core is cool. The Spark.variable makes that var available via the web api.
Very cool. Now to the logging part.
Initially I tried using google docs per this post https://community.spark.io/t/example-logging-and-graphing-data-from-your-spark-core-using-google/2929 but I was having problems. I will continue to make this work as I like the idea of making the data available anywhere.
In the mean time I setup my pc to log the data using powershell
#put you id and access token in the url string
$url = "https://api.spark.io/v1/devices/xxxx Core ID xxxxxx/message?access_token=xxxx Access Token xxxxx"

while($true){

    # First we create the request.
    $HTTP_Request = [System.Net.WebRequest]::Create($url)

    # We then get a response from the site.
    $HTTP_Response = $HTTP_Request.GetResponse()

    # We then get the HTTP code as an integer.
    $HTTP_Status = [int]$HTTP_Response.StatusCode

    If ($HTTP_Status -eq 200) {
        Write-Host "Site is OK!"
    }
    Else {
        Write-Host "The Site may be down, please check!"
    }


    $requestStream = $HTTP_Response.GetResponseStream()
    $readStream = new-object System.IO.StreamReader $requestStream
    $wrs = $readStream.ReadToEnd()
    $readStream.Close()


    $data = $wrs|ConvertFrom-Json

    $data = ((($data.result.Split(",")).replace("}","")).replace("{","")).split(":")

    $Humidity = $data[1]
    $degF = $data[3]
    $degC = $data[5]
    $DewPoint = $data[7]
    $DewPointSlow = $data[9]

    $object = New-Object –TypeName PSObject
    $object | Add-Member –MemberType NoteProperty –Name date –Value (Get-Date)
    $object | Add-Member –MemberType NoteProperty –Name Humidity –Value $Humidity
    $object | Add-Member –MemberType NoteProperty –Name degF –Value $degF
    $object | Add-Member –MemberType NoteProperty –Name degC –Value $degC
    $object | Add-Member –MemberType NoteProperty –Name DewPoint –Value $DewPoint
    $object | Add-Member –MemberType NoteProperty –Name DewPointSlowC –Value $DewPointSlow

    $object |Export-Csv "C:\TempatureData.csv" -Append

    # Finally, we clean up the http request by closing it.
    $HTTP_Response.Close()

    Start-Sleep -Seconds 600
}
This code logs the date and the data into a csv.
| date | Humidity | degF | degC | DewPoint | DewPointSlowC |
| 7/6/2014 11:48 | 38.700001 | 73.4 | 23 | 8.177205 | 8.207732 |
| 7/6/2014 11:58 | 38.700001 | 73.4 | 23 | 8.177205 | 8.207732 |
| 7/6/2014 12:08 | 39.599998 | 73.76 | 23.2 | 8.694606 | 8.725507 |
| 7/6/2014 12:18 | 39 | 73.76 | 23.2 | 8.469035 | 8.499937 |
| 7/6/2014 12:28 | 38.599998 | 74.3 | 23.5 | 8.583681 | 8.615134 |
| 7/6/2014 12:38 | 38.599998 | 73.76 | 23.2 | 8.31695 | 8.347849 |
| 7/6/2014 12:48 | 37.5 | 73.76 | 23.2 | 7.89145 | 7.922324 |
| 7/6/2014 12:58 | 31.299999 | 73.58 | 23.1 | 5.177949 | 5.207903 |
Now I just need to place this in the box and I can remotely monitor and log the conditions in my filament storage box.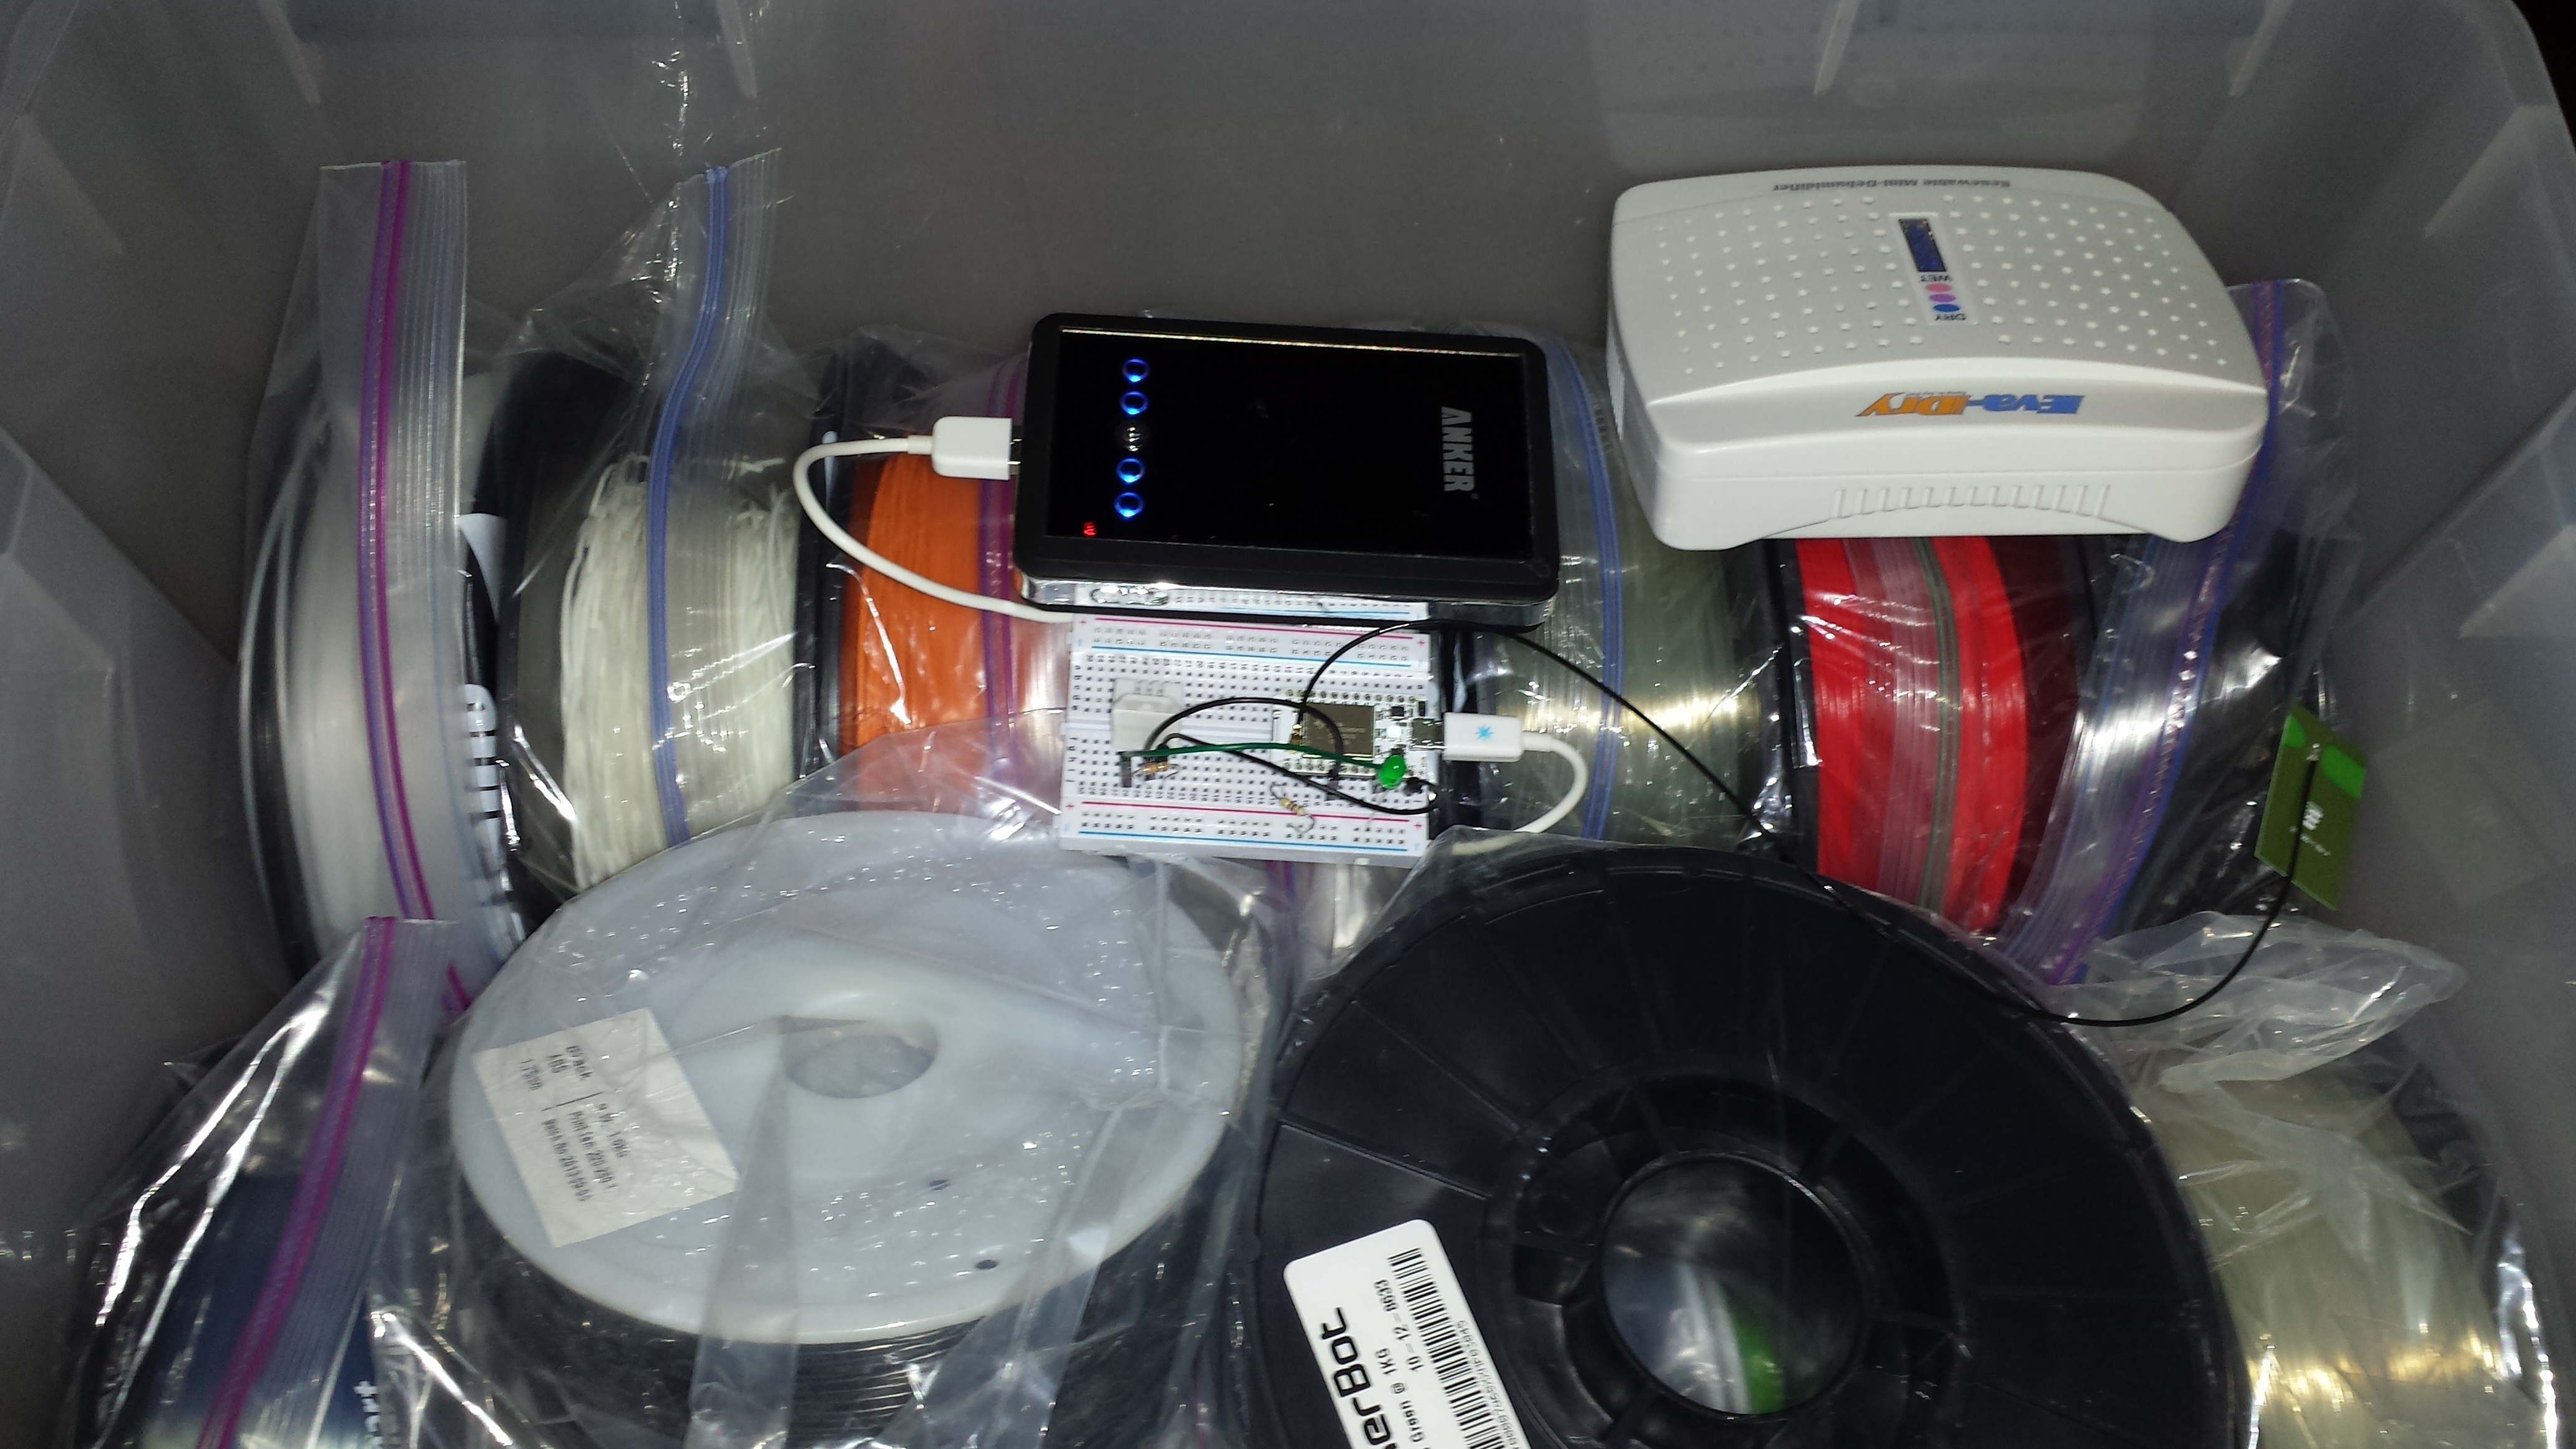
Build of Materials
| Item | Location | Price |
| Spark Core /u.fl connector | https://www.spark.io/ | $39 |
| 2.4GHz Antenna – Adhesive (U.FL connector) | https://www.sparkfun.com/products/11320 | $4.95 |
| Humidity and Temperature Sensor – RHT03 | https://www.sparkfun.com/products/10167 | $9.95 |
| Breadboard – Self-Adhesive (White) | https://www.sparkfun.com/products/12002 | $4.95 |
| 10k ohm resistor | ||
| small led (optional) | ||
| 470 ohm resistor (optional) | ||
| Jumper wires |
There you have it. This is just a quick and dirty solution. I am sure it can be done cheaper and easier. This was done with the items I already had on hand with the exception of the DHT22.