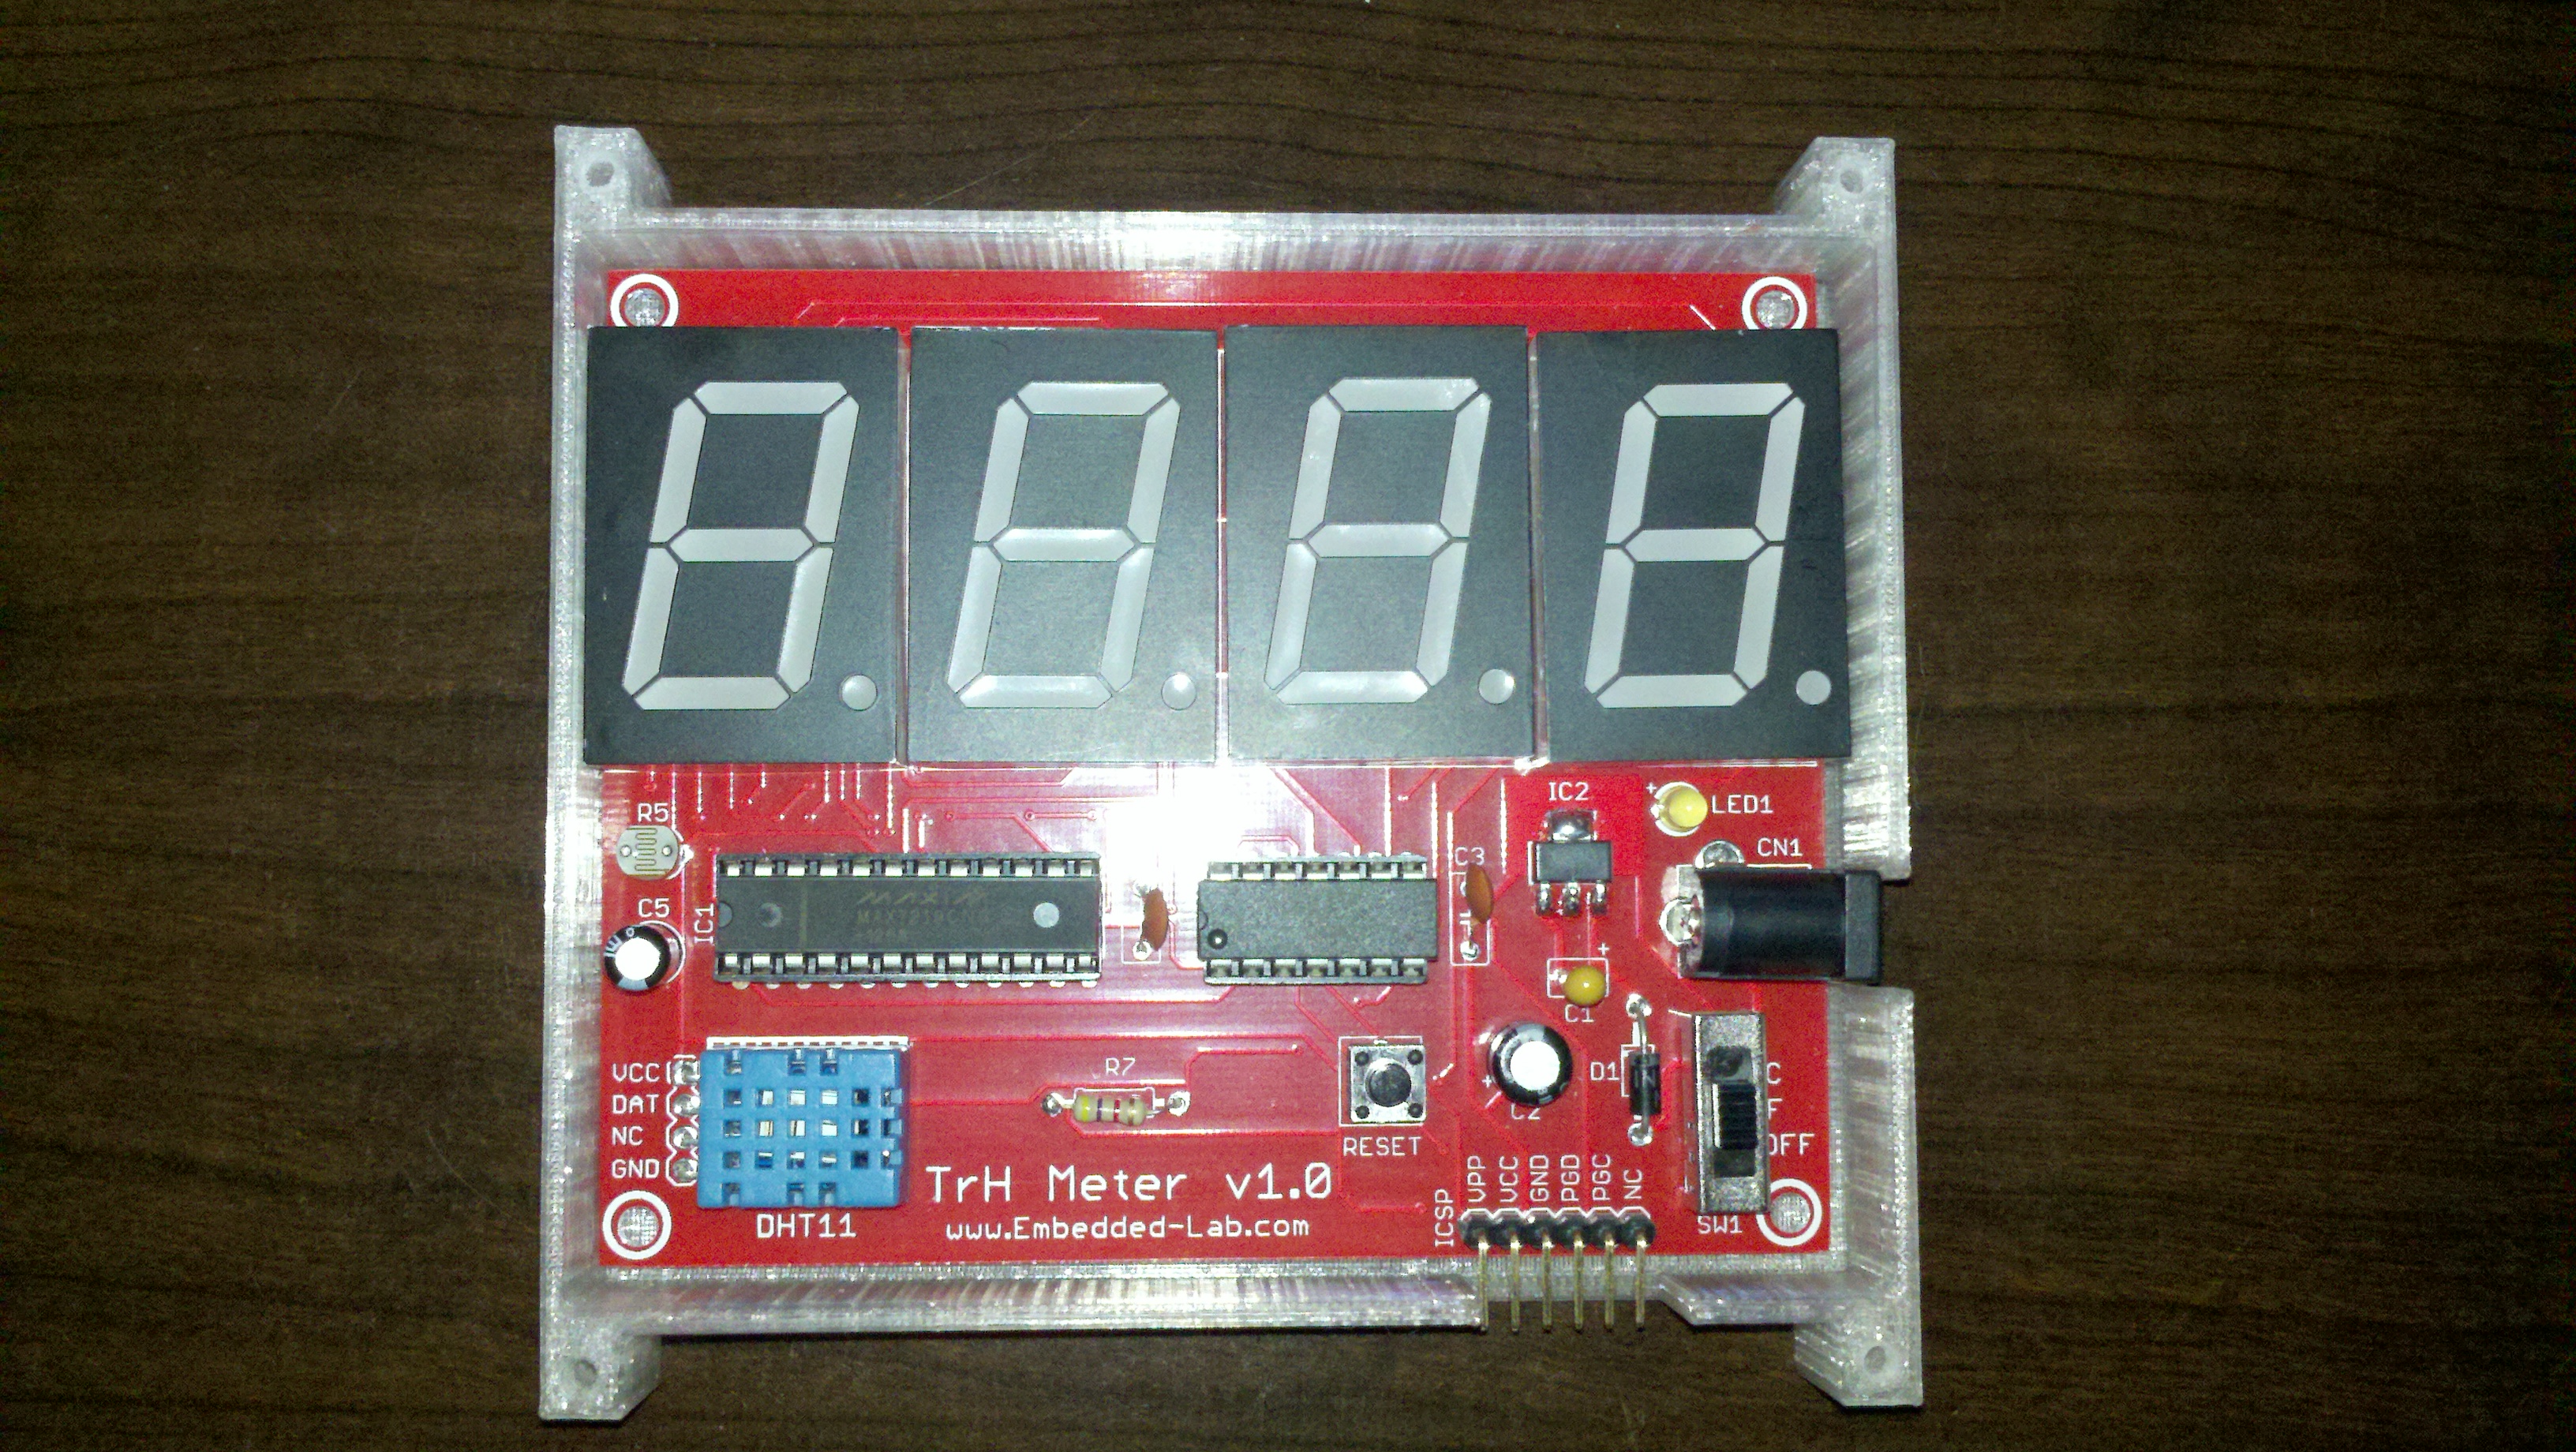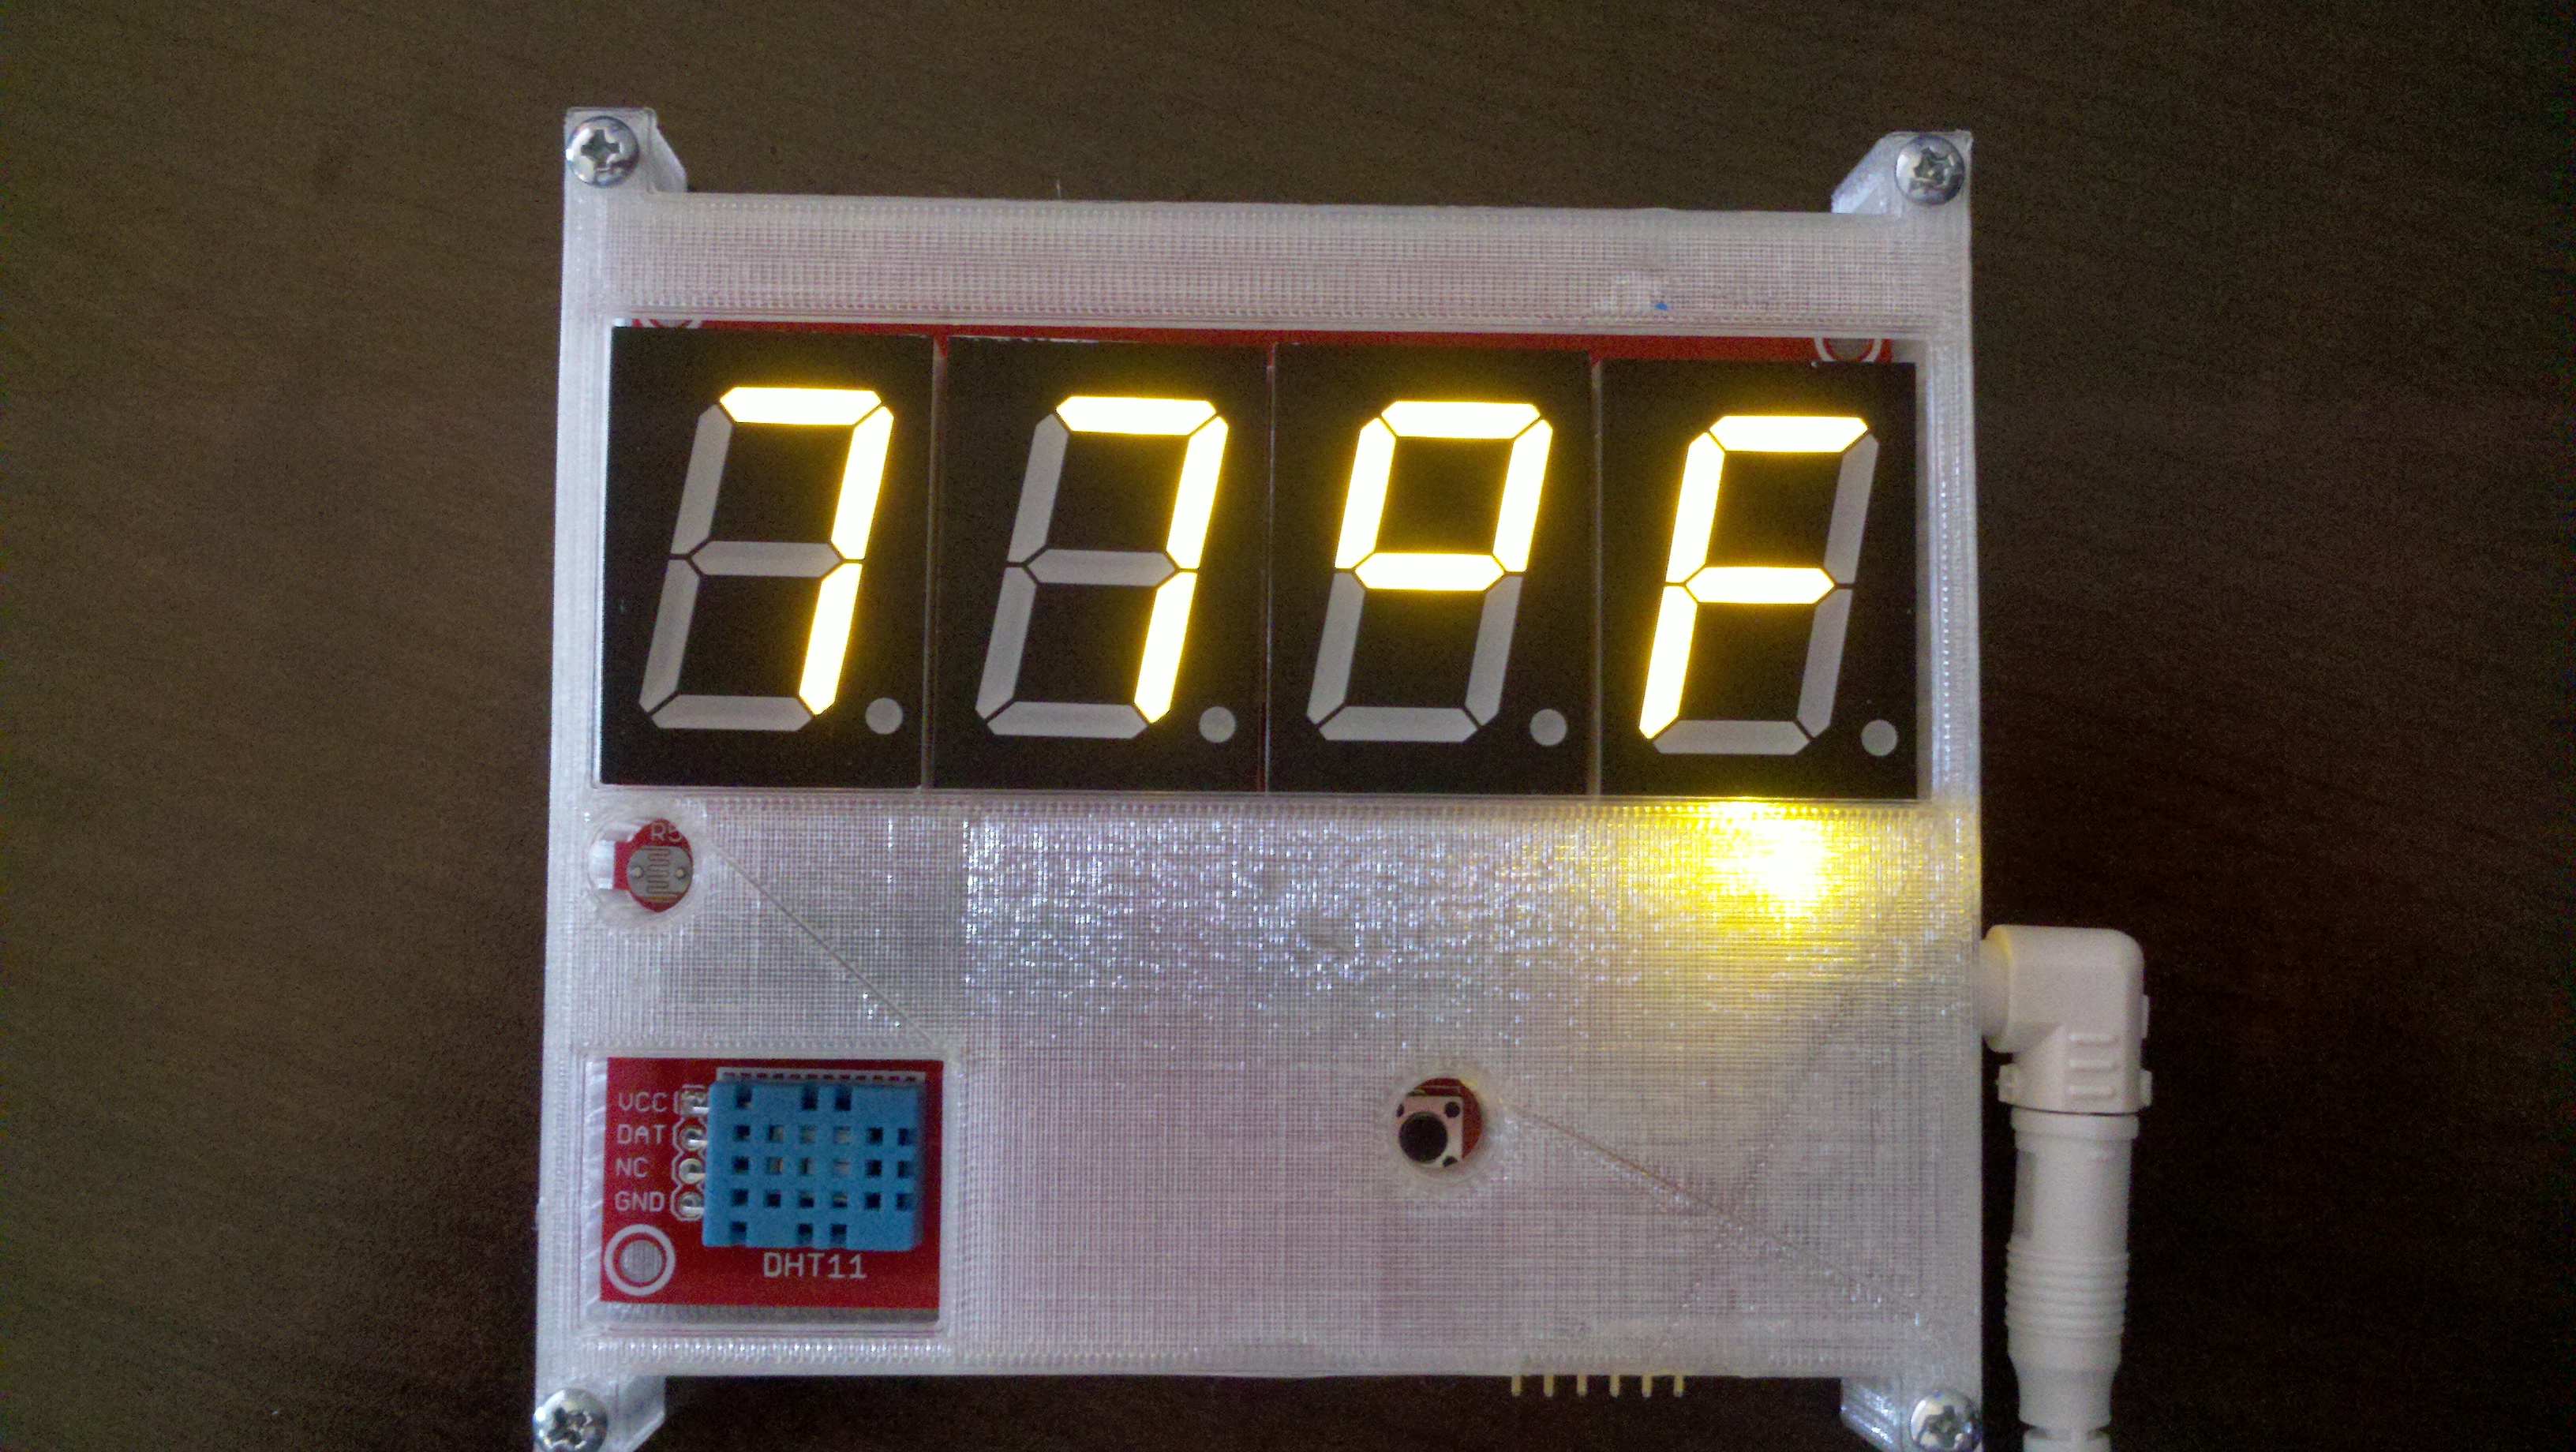
I am happy to report success with creating a 3D Printed Case for the TrH Meter from previous posts. This is the first 3D object that I made from scratch! I published it on the Thingiverse http://www.thingiverse.com/thing:62990. I must say that once I watched the Ben Heckendorn video the design became really easy. I highly recommend the video http://i.materialise.com/blog/entry/tips-and-tricks-by-ben-heck-how-to-use-autodesk-123d-design if you want to do a box similar. My total design time was about 4 hours and the print took 2 hours (top and bottom).
I did also design another case/box for a friends electronics project (maybe another post on that one too) and that only took about 2hrs. I suspect the next one will be even faster.
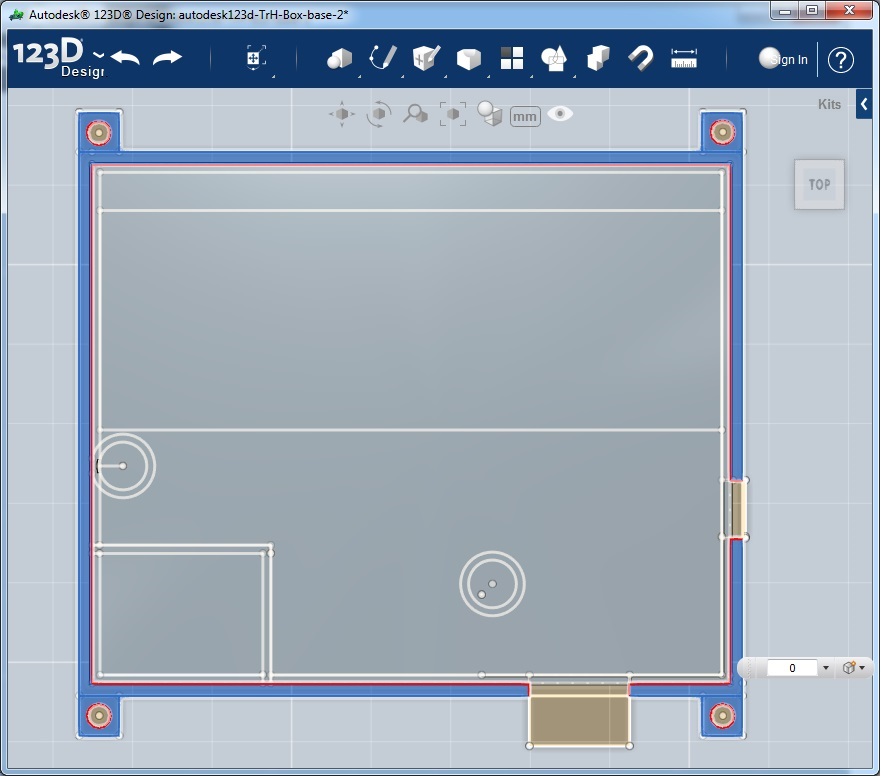
Here is a screenshot of my base. This is all the dimensions of all the features of the box. Think of this as a 3D object that is squished and flattened into a 2D object. Make sure that you save this off because you will need it again for the bottom. If you find you need to make changes it’s a good idea to save off back to the base so that you are working off the same file for the top and bottom.

The drawing is relatively easy to do using the Sketch (2D) menu. This is just a series of squares lines and circles
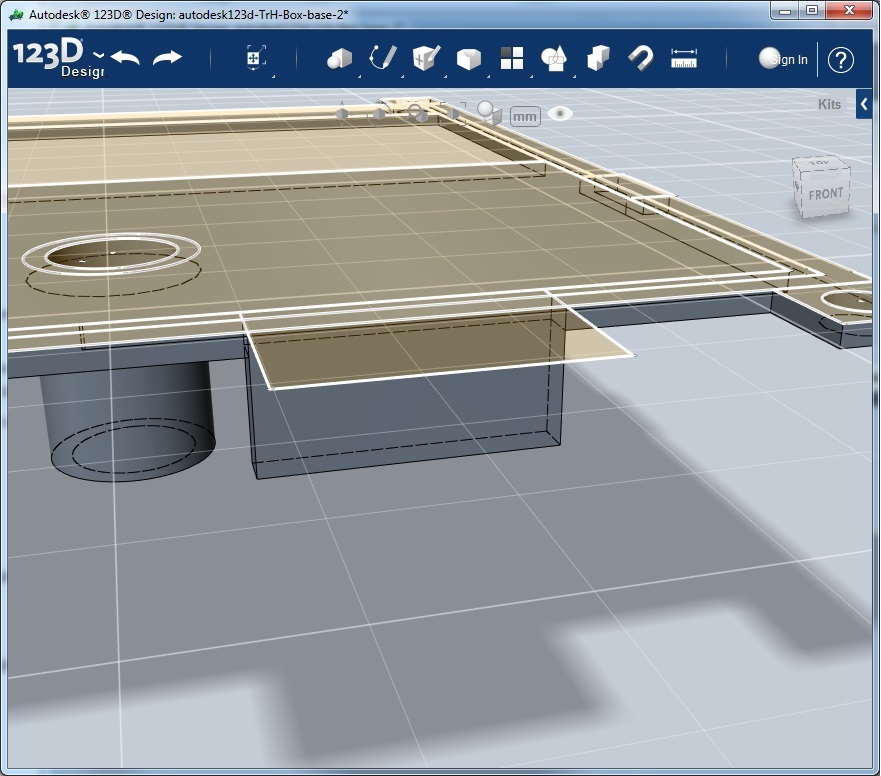
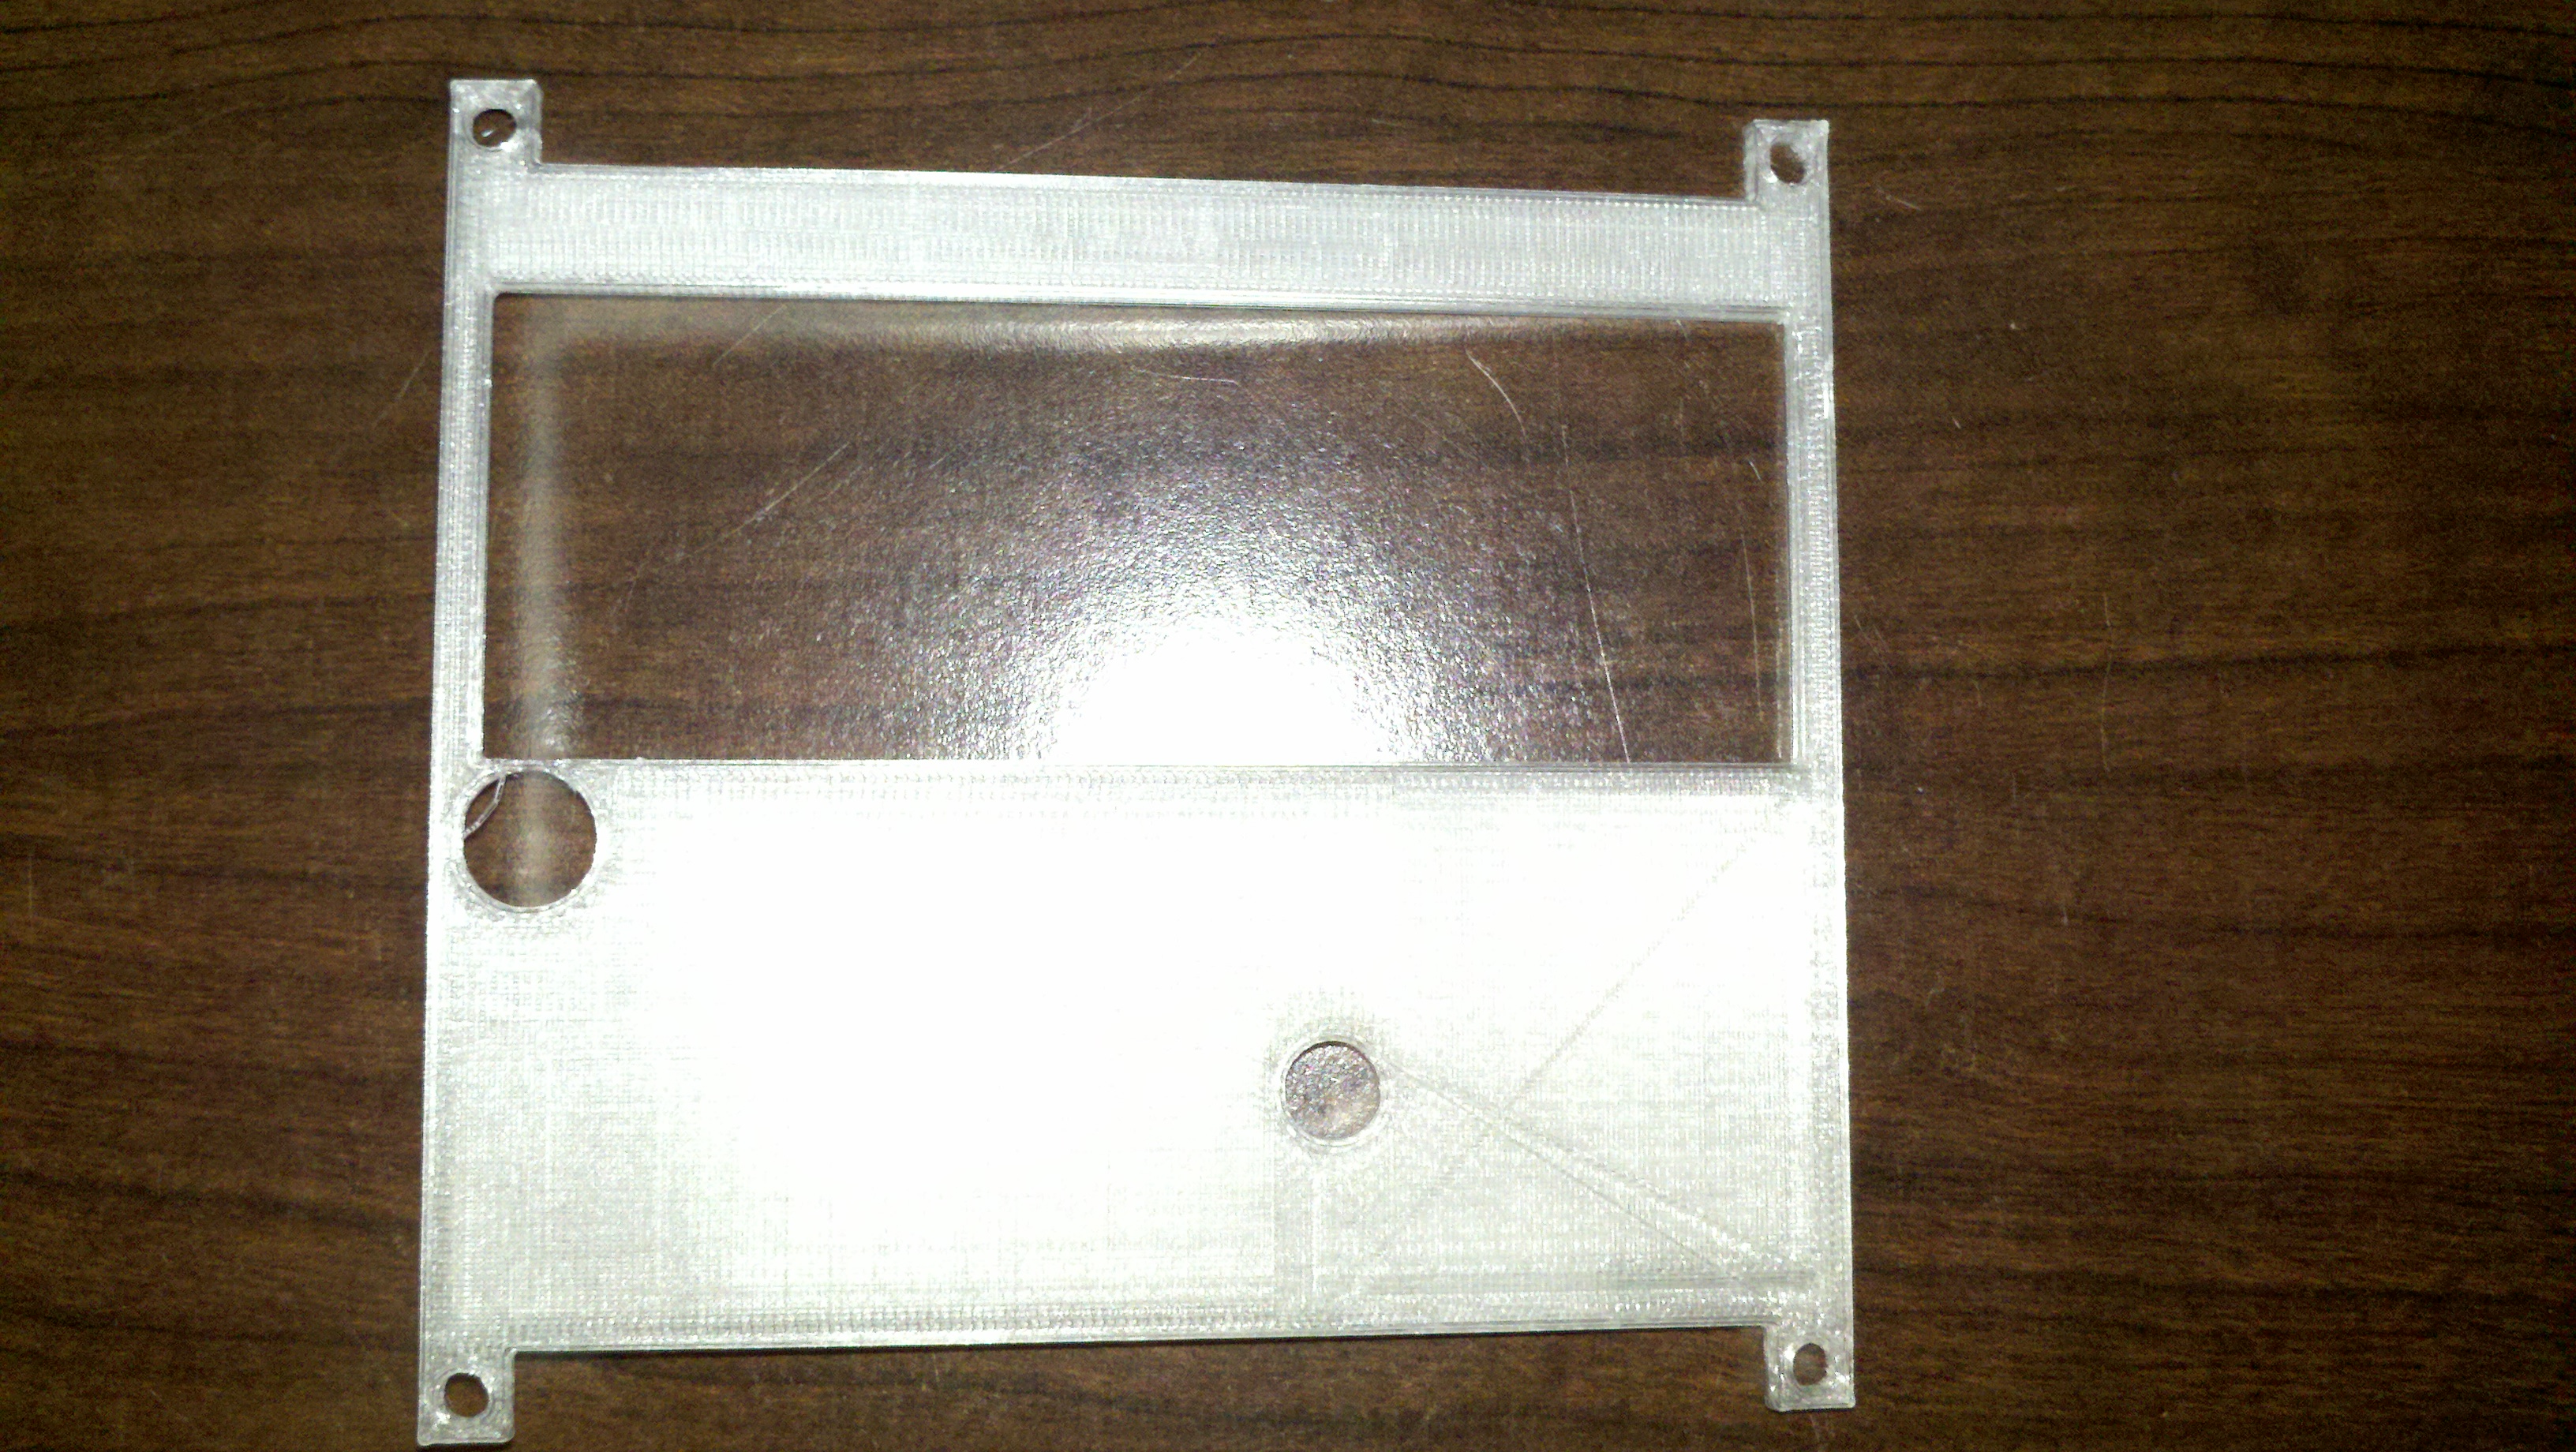
For clarity I thought I would point out some of the features of this base. There is an “air” space between the PCB and the walls of the box I have highlighted them here:
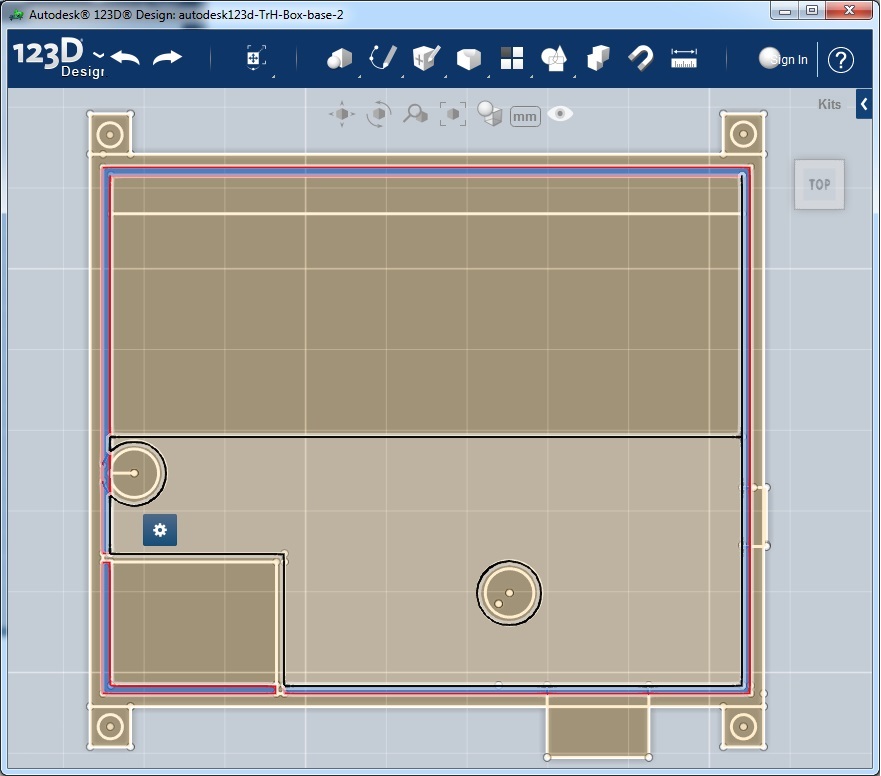
Highlighted here are the outer wall that will extruded up to make the sides of the box
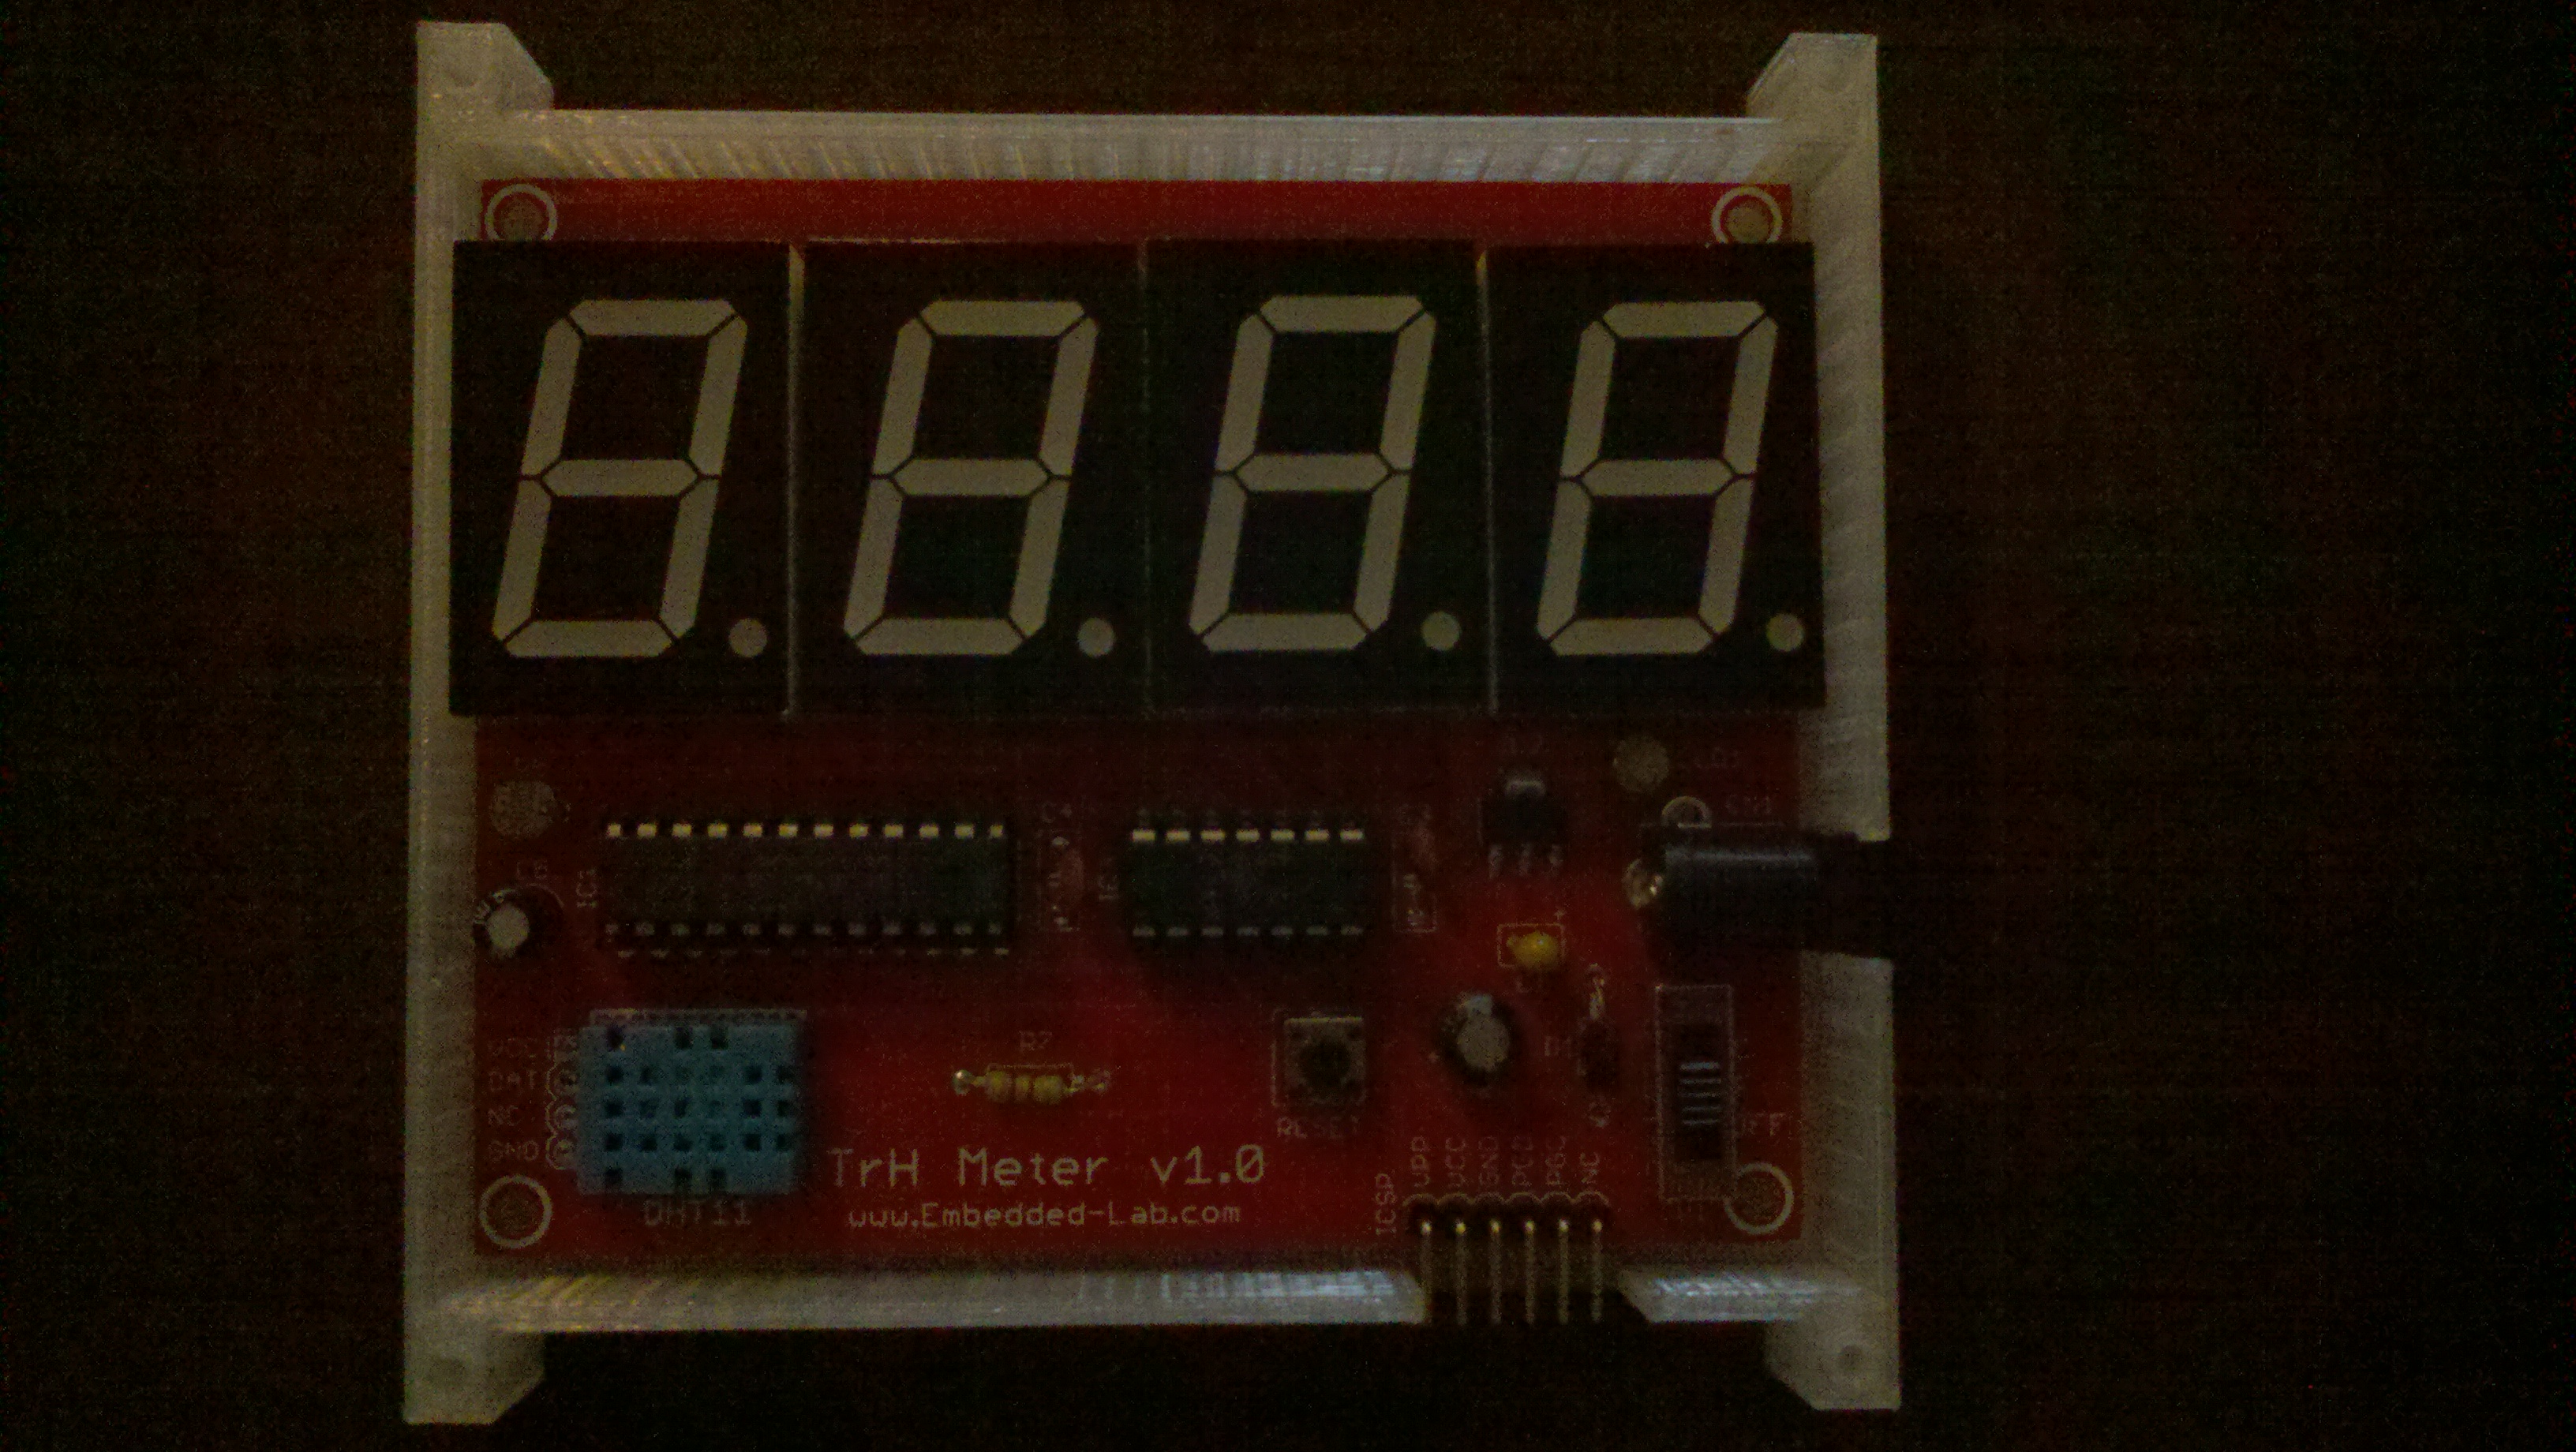
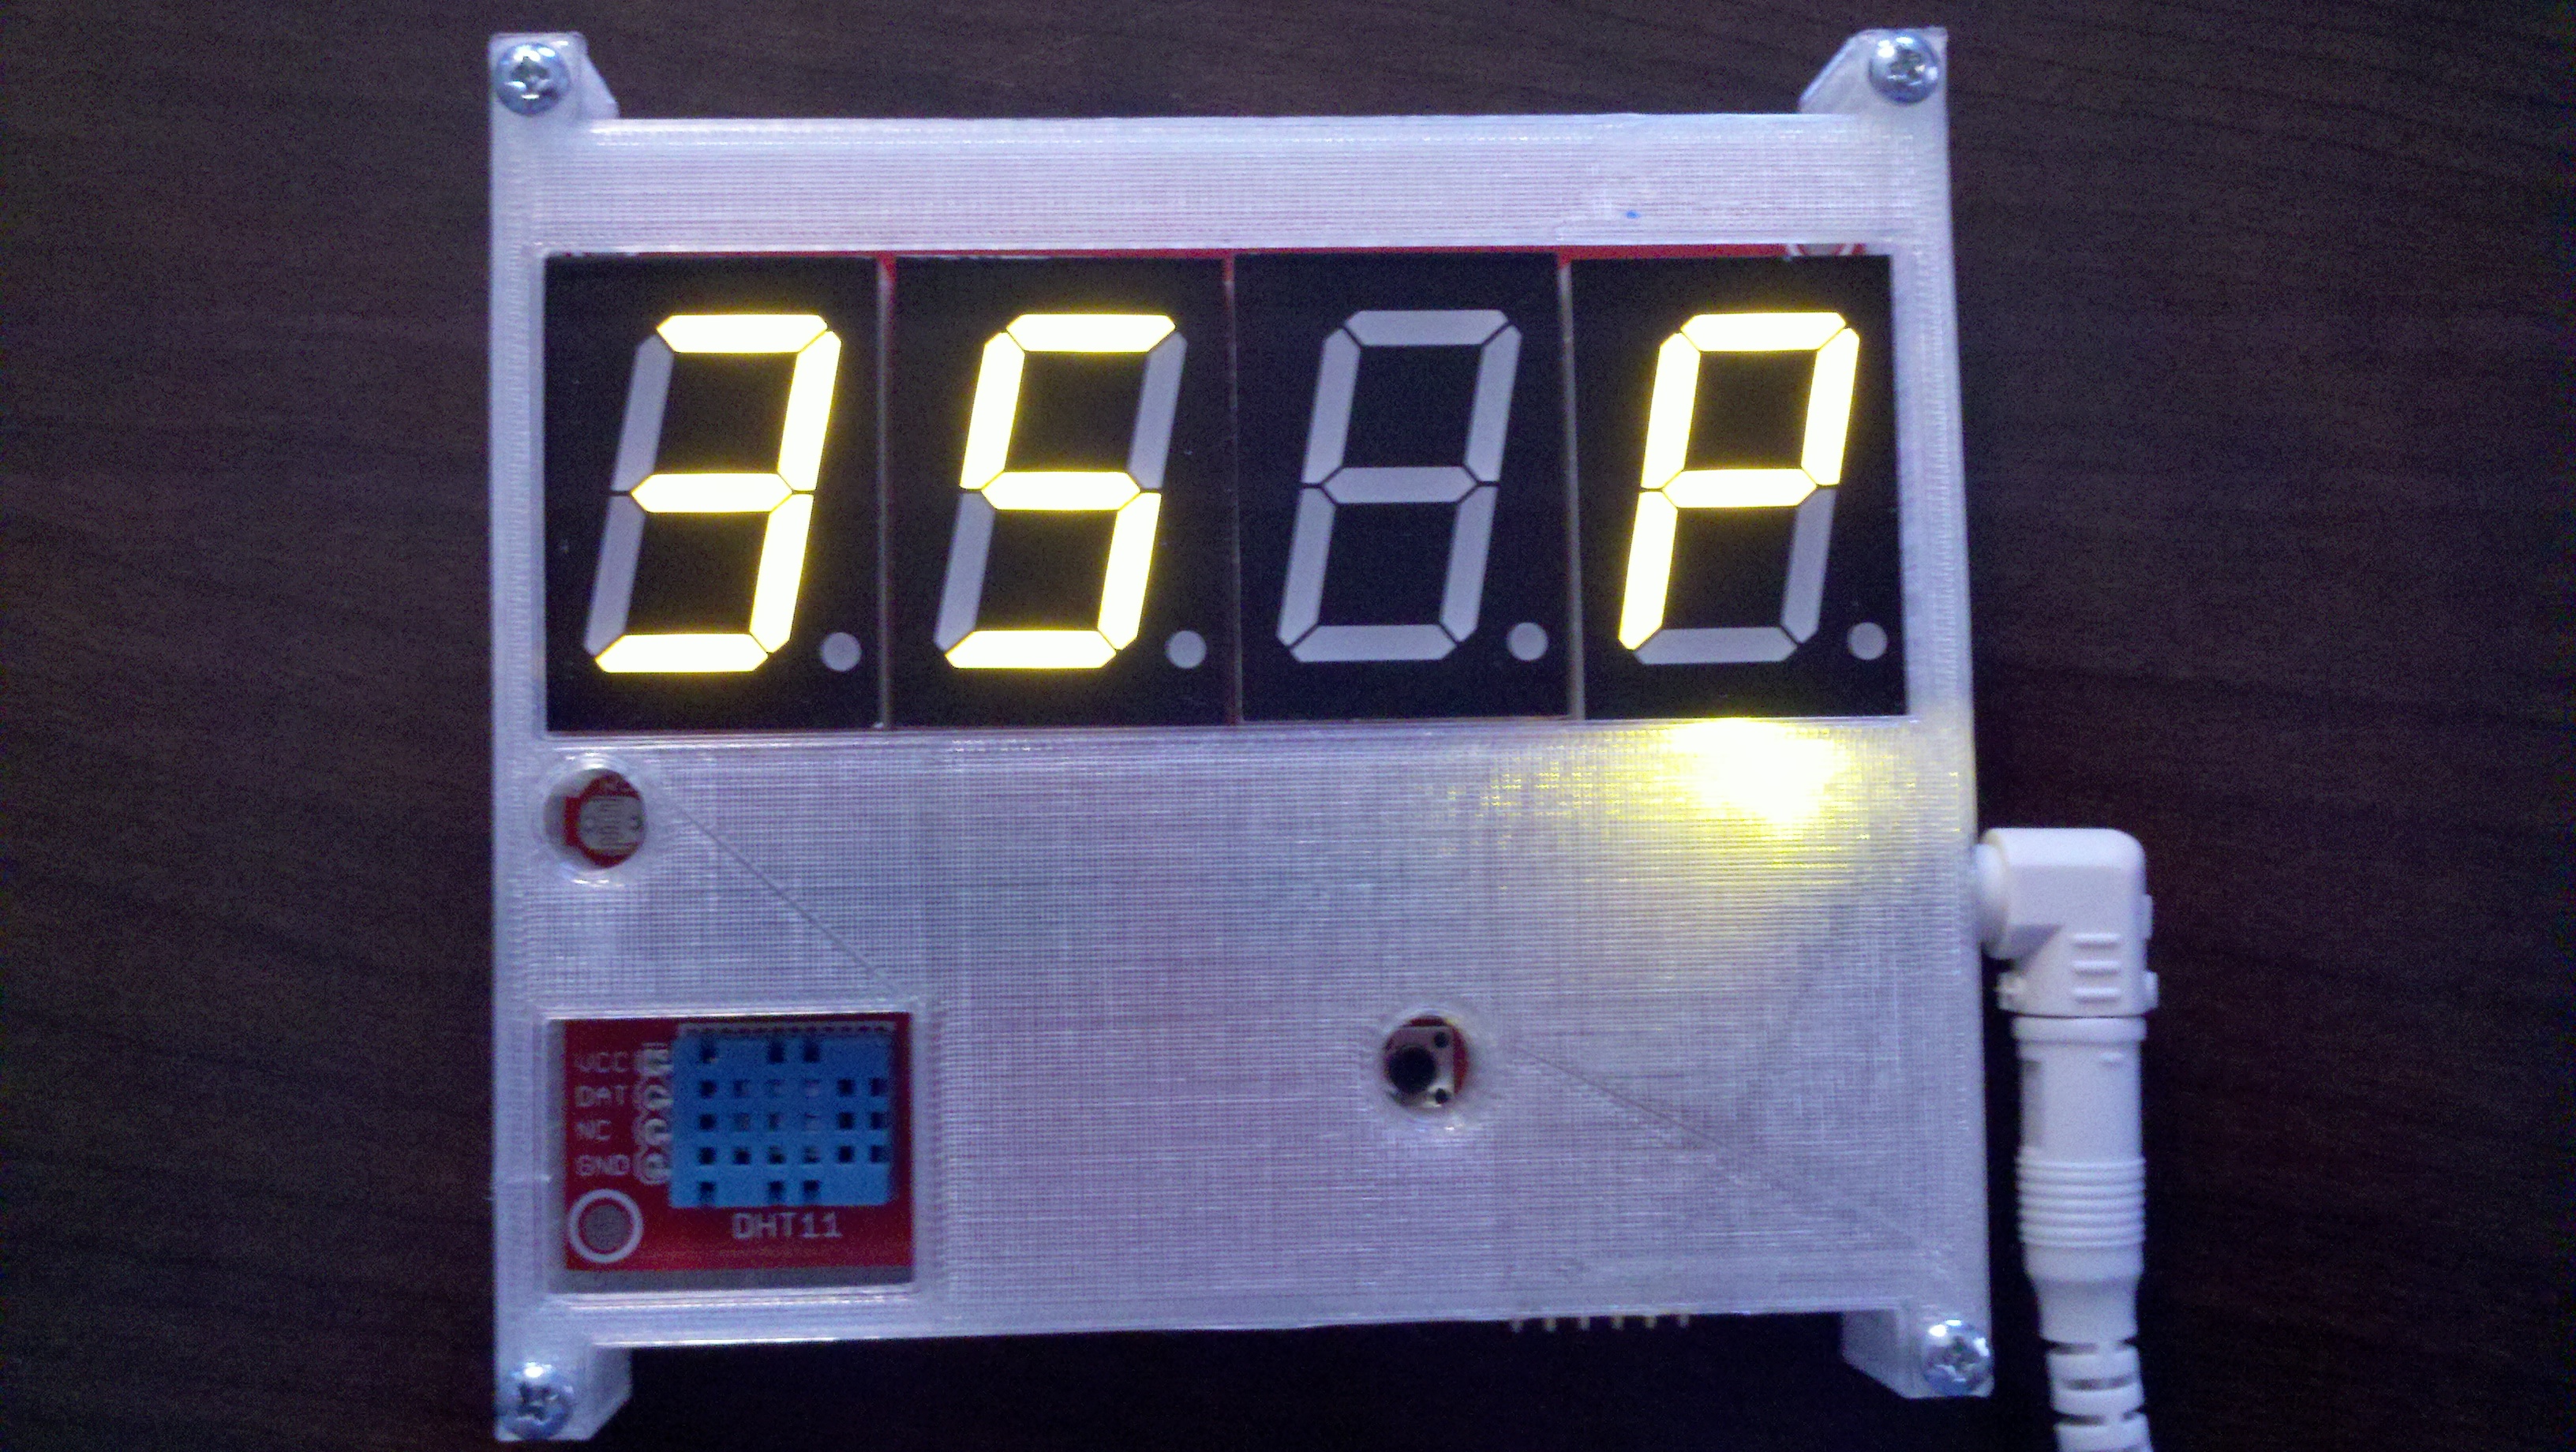
The holes in the middle are for the reset button and for the light sensor. The 7 seg displays will dim when it’s dark so you are not blinded by them.
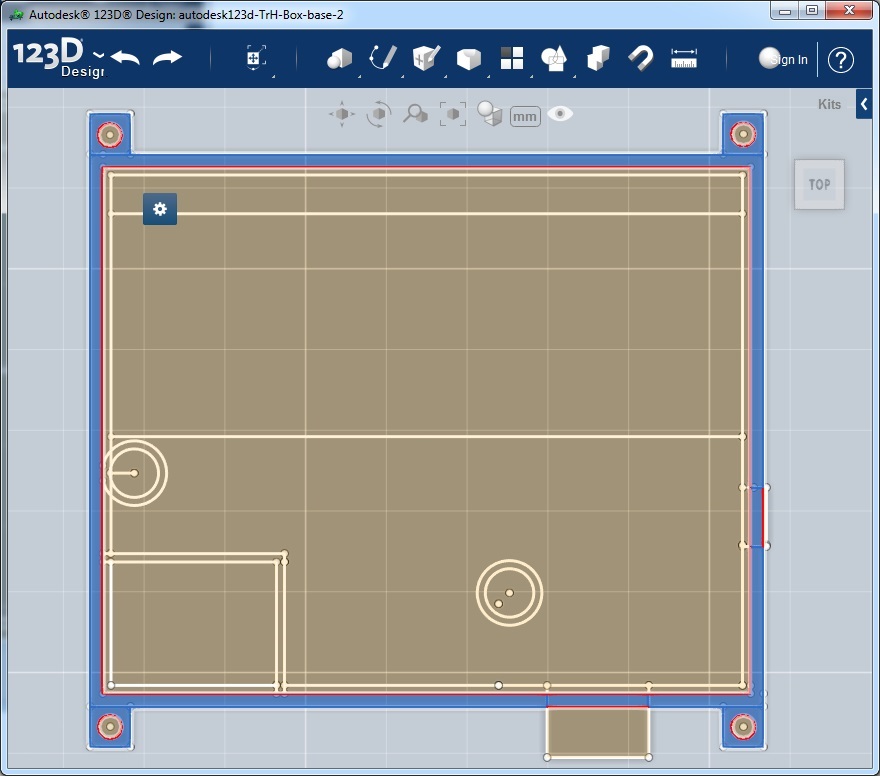
Step two is to start the extrusion. You need to extrude common components together. This does take a bit of thought since you can only extrude a part once (which is no big deal).
Here I am extruding the underside of the PCB
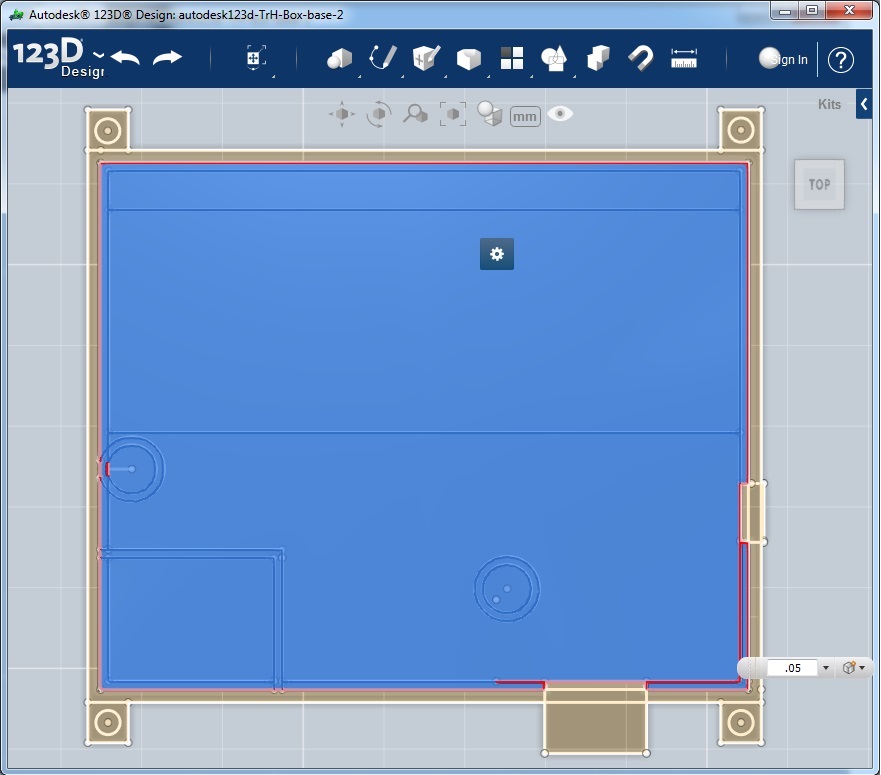
And here is the result. It’s difficult to see but this is a 3D of the base that is .05 inch tall
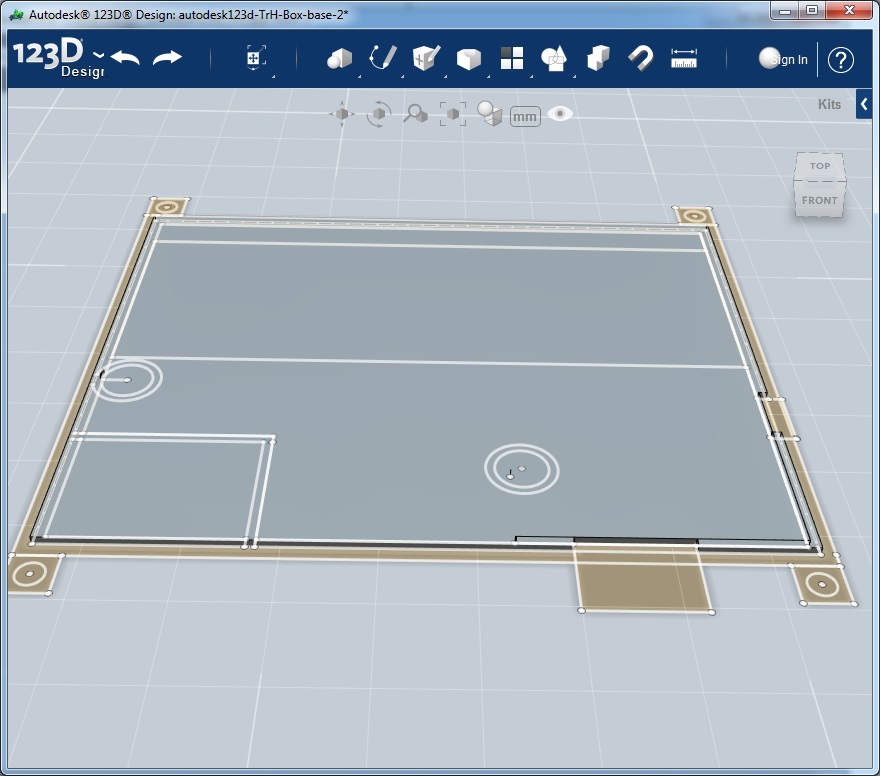
The next step is extruding the sides of the box. Notice that I do NOT have select two pieces on the side as those are the bottom part of the holes for the power and serial connection which I want to be a different height.
Now it’s starting to look like a box
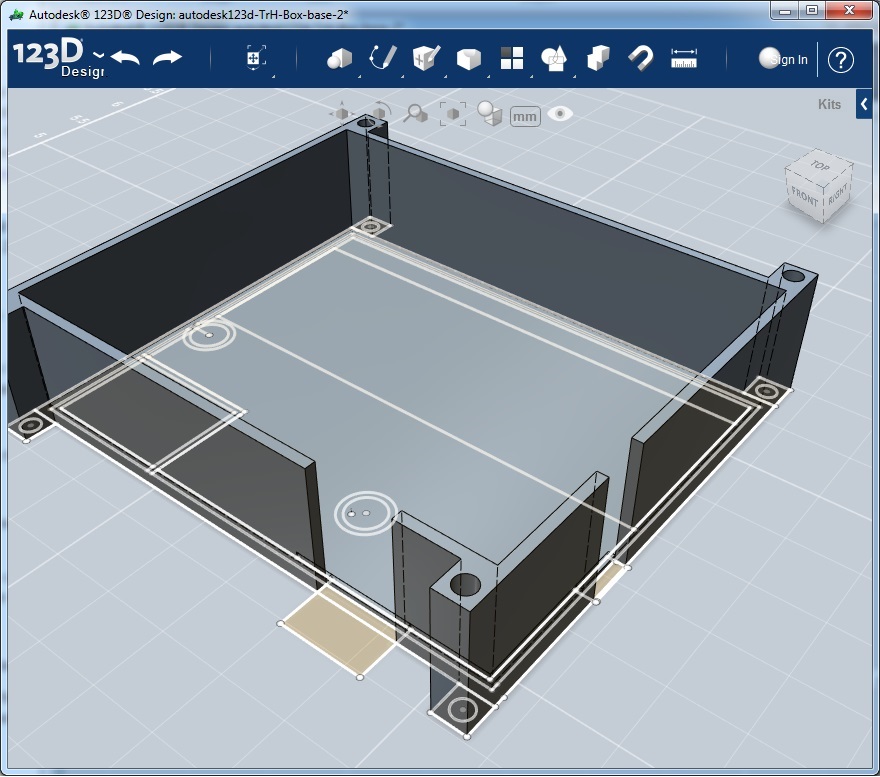
And finally with the pieces under the holes extruded.

We can we can send this to the printer by selecting everything and exporting it to .stl. And while that’s printing we can move on to the top.
Start again from the base, this time we are going to extrude in the negative (-) direction. Essentially extruding down towards the bottom (which extruded up towards the top).
Here is a shot of my first print where I forgot to extrude down. You can see that the protrusions are sticking up from the box. Oops.
Here is first extrude

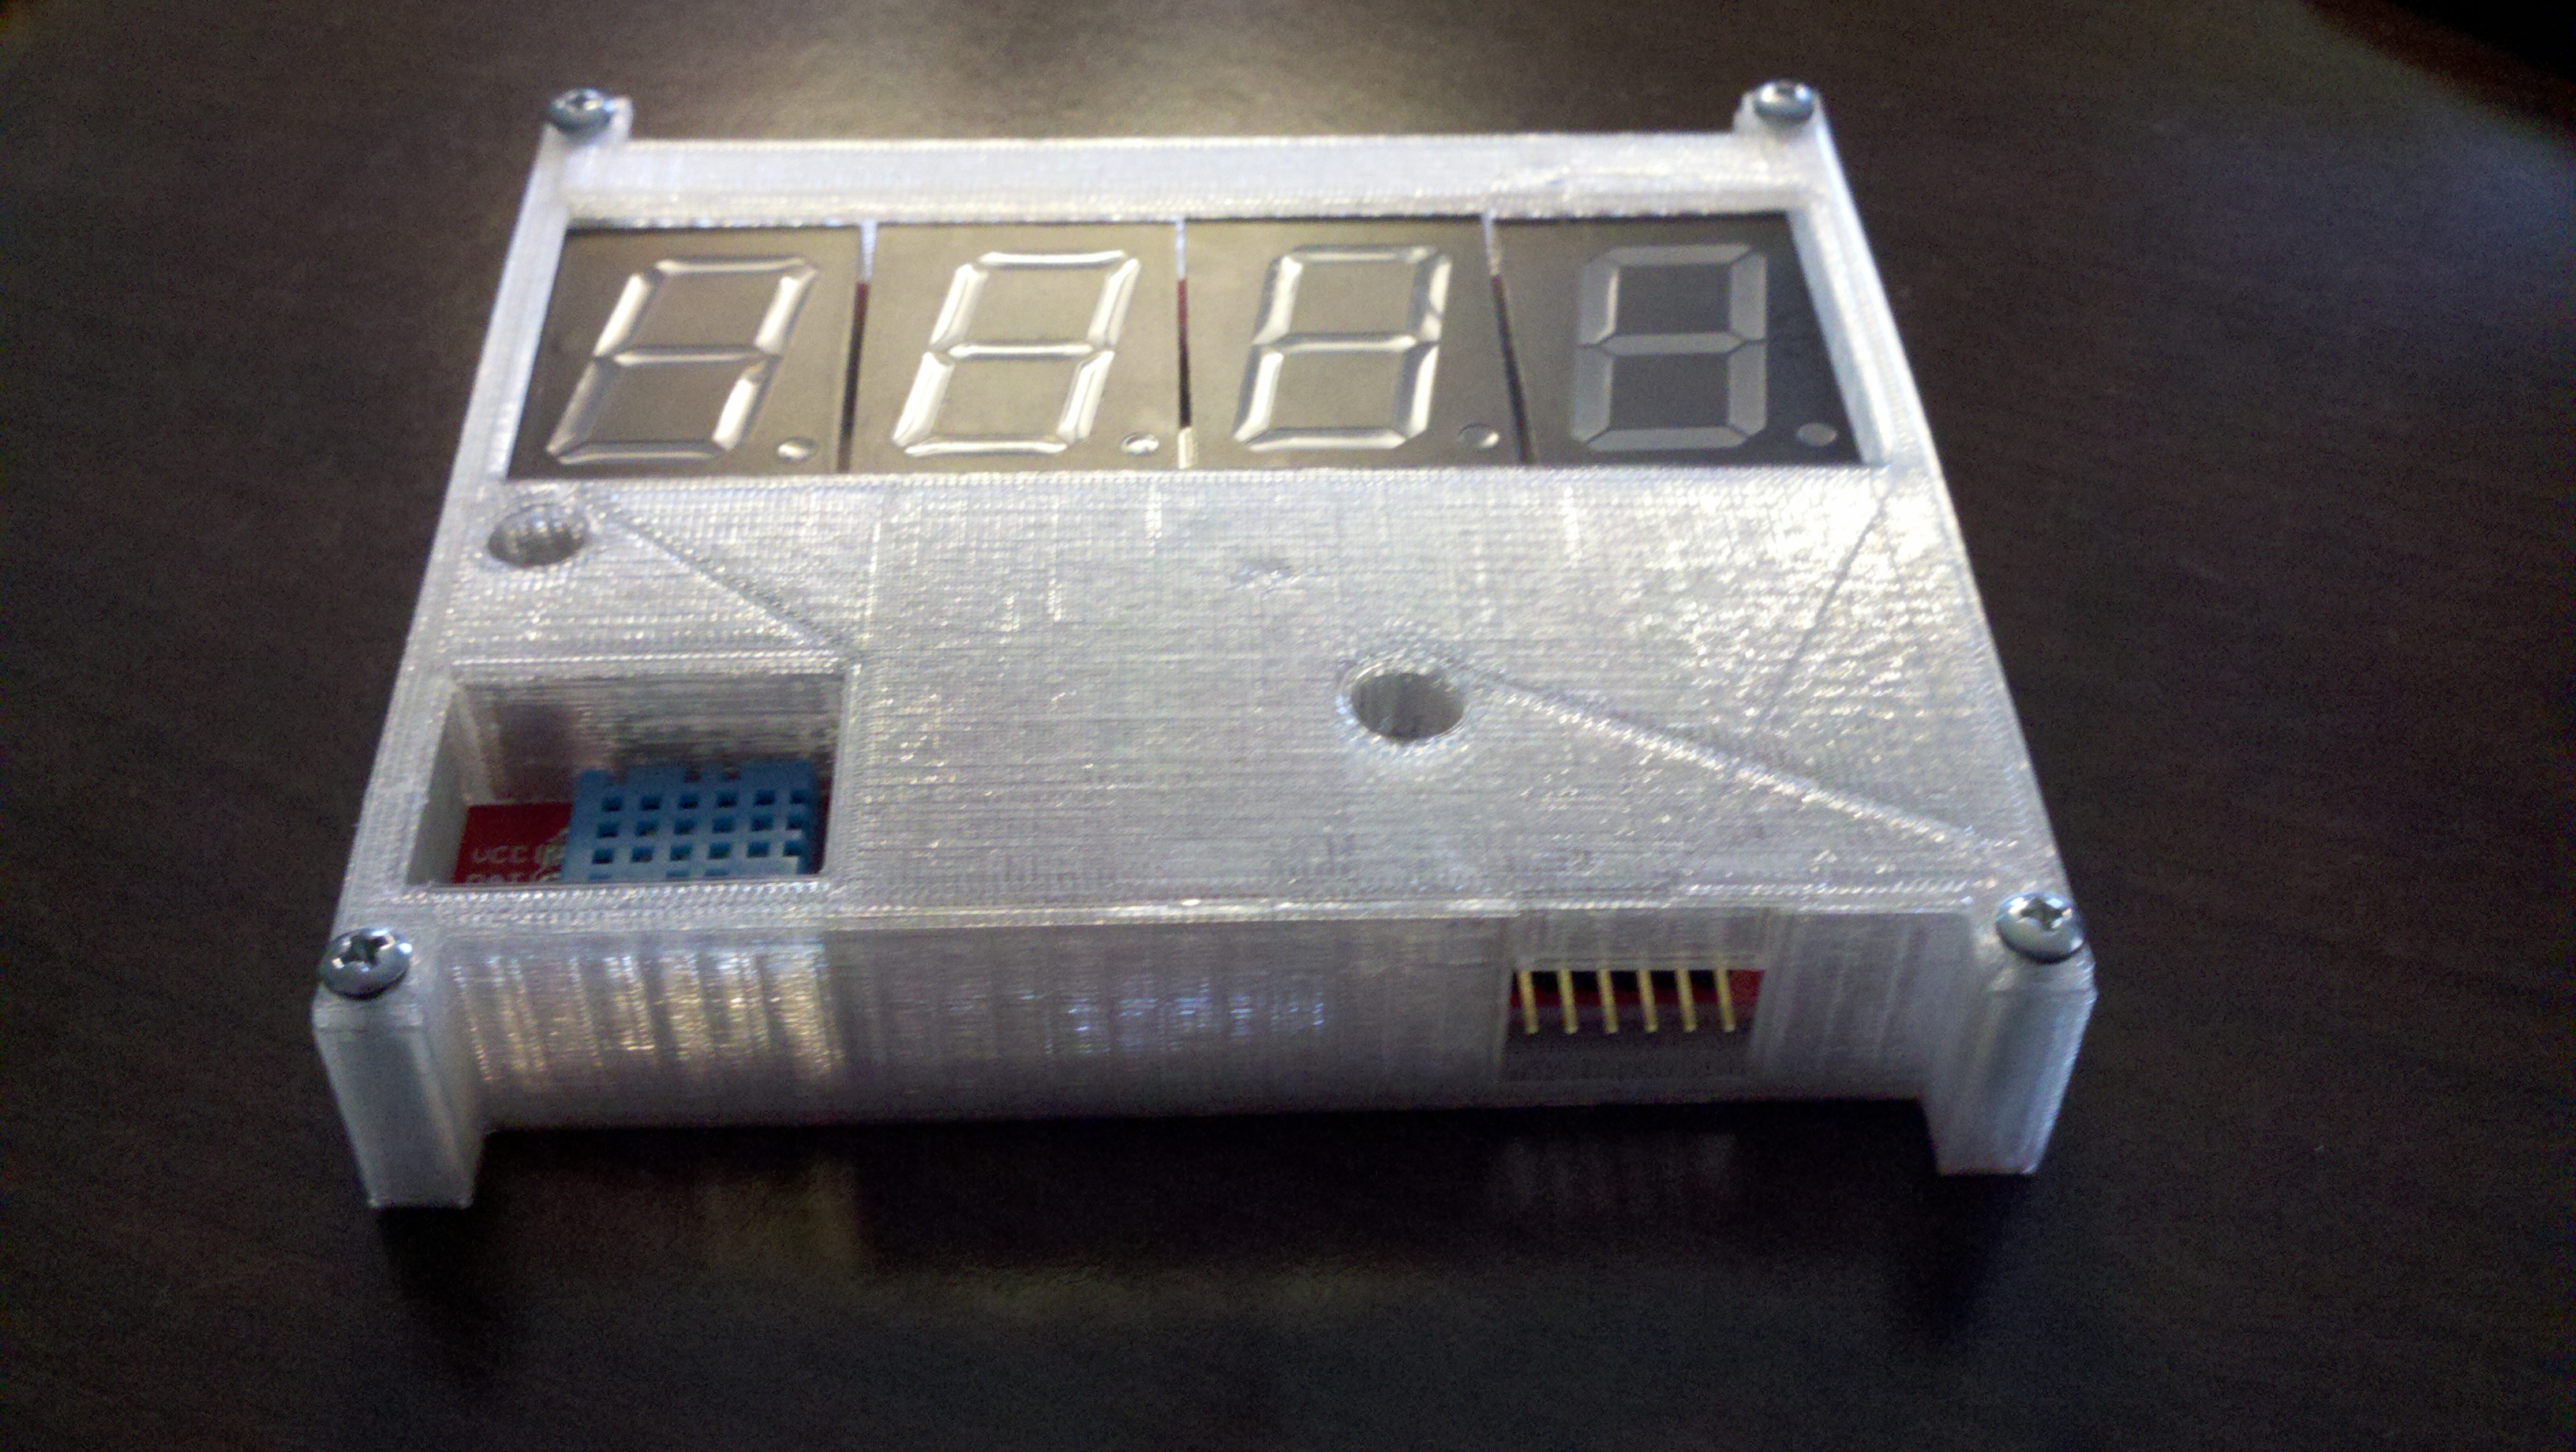
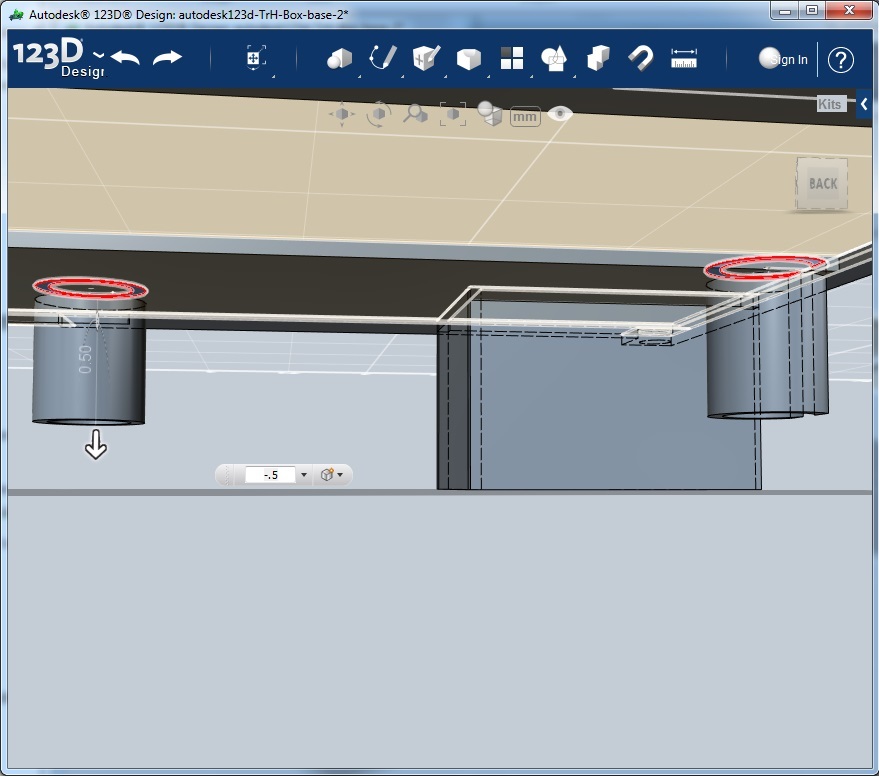
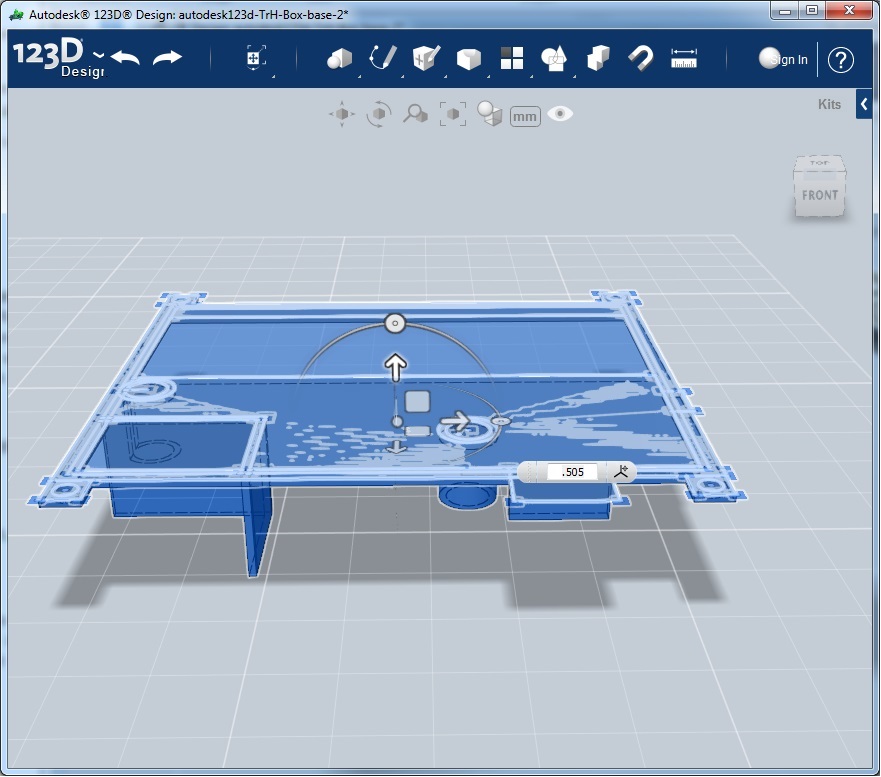
Next is a small area that encloses off the temperature and humidity sensor from the other components and leaves it open to the front from measurement. Remember when entering the extrude dimension to add the first extrusion to the distance you actually want it to protrude. For example my top most piece is .05 inc thick and I want the protrusion to stick down .5 inch you need to extrude to .505 to get the correct depth.

Next I extrude the holes that surround the reset button and the light sensor (that dims the 7 seg displays when it’s dark)
Then finally the top part of the hole to make the serial connection just a small sliver of a hole on the side of the box.
Now we need to move the thing back to the ground plane. To do this select the whole thing and click move. Grab the up arrow on the movement directional and drag up. This will allow you to type the number in. This number is the maximum amount you extruded into the negative. In my case it was .505.
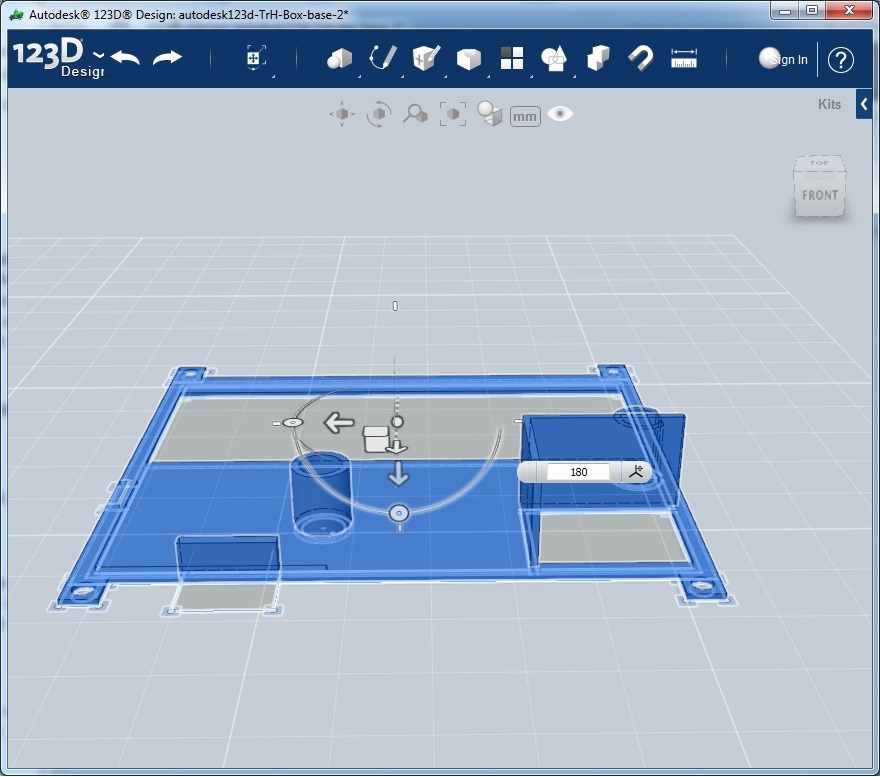
Then we need to rotate the thing 180deg for printing. Select the whole thing again and click move. This time grab the circle above the up arrow and rotate it. Again the box will appear to allow you to type 180 deg.
Sweet! Hopefully by now the bottom is done printing (mine took 1h 23 min). Peal that thing off and send the top to the printer.
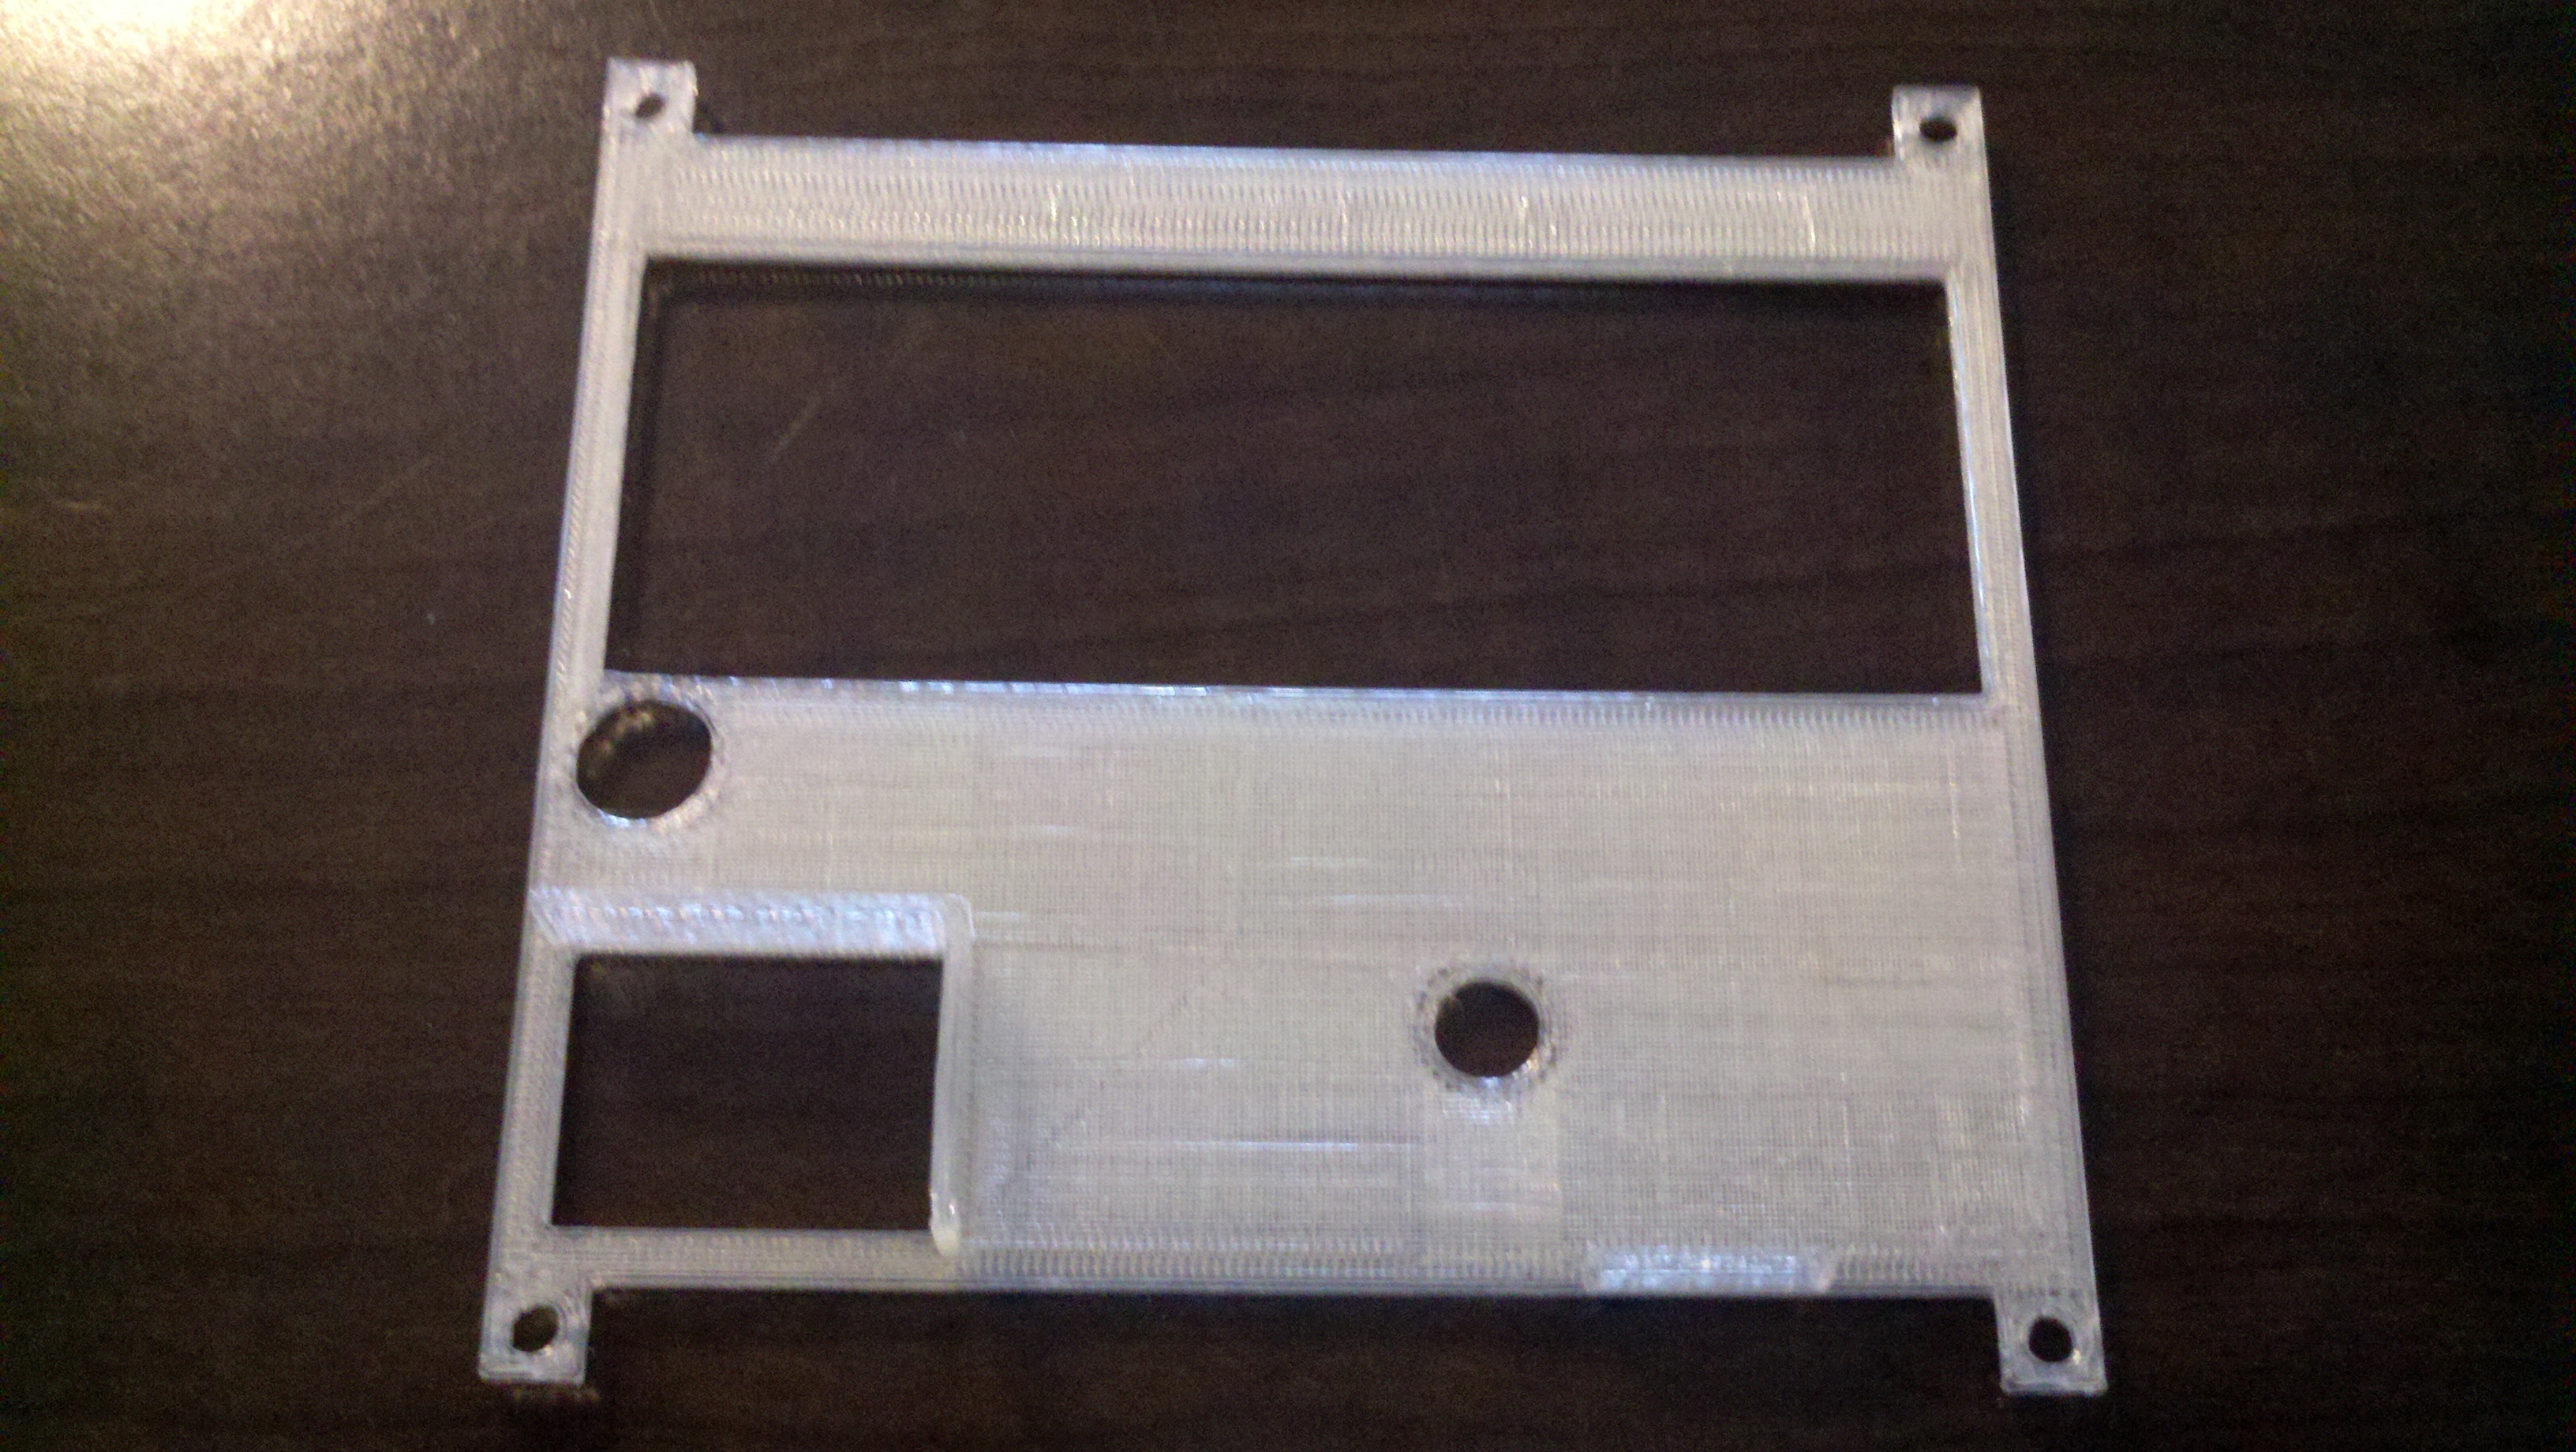
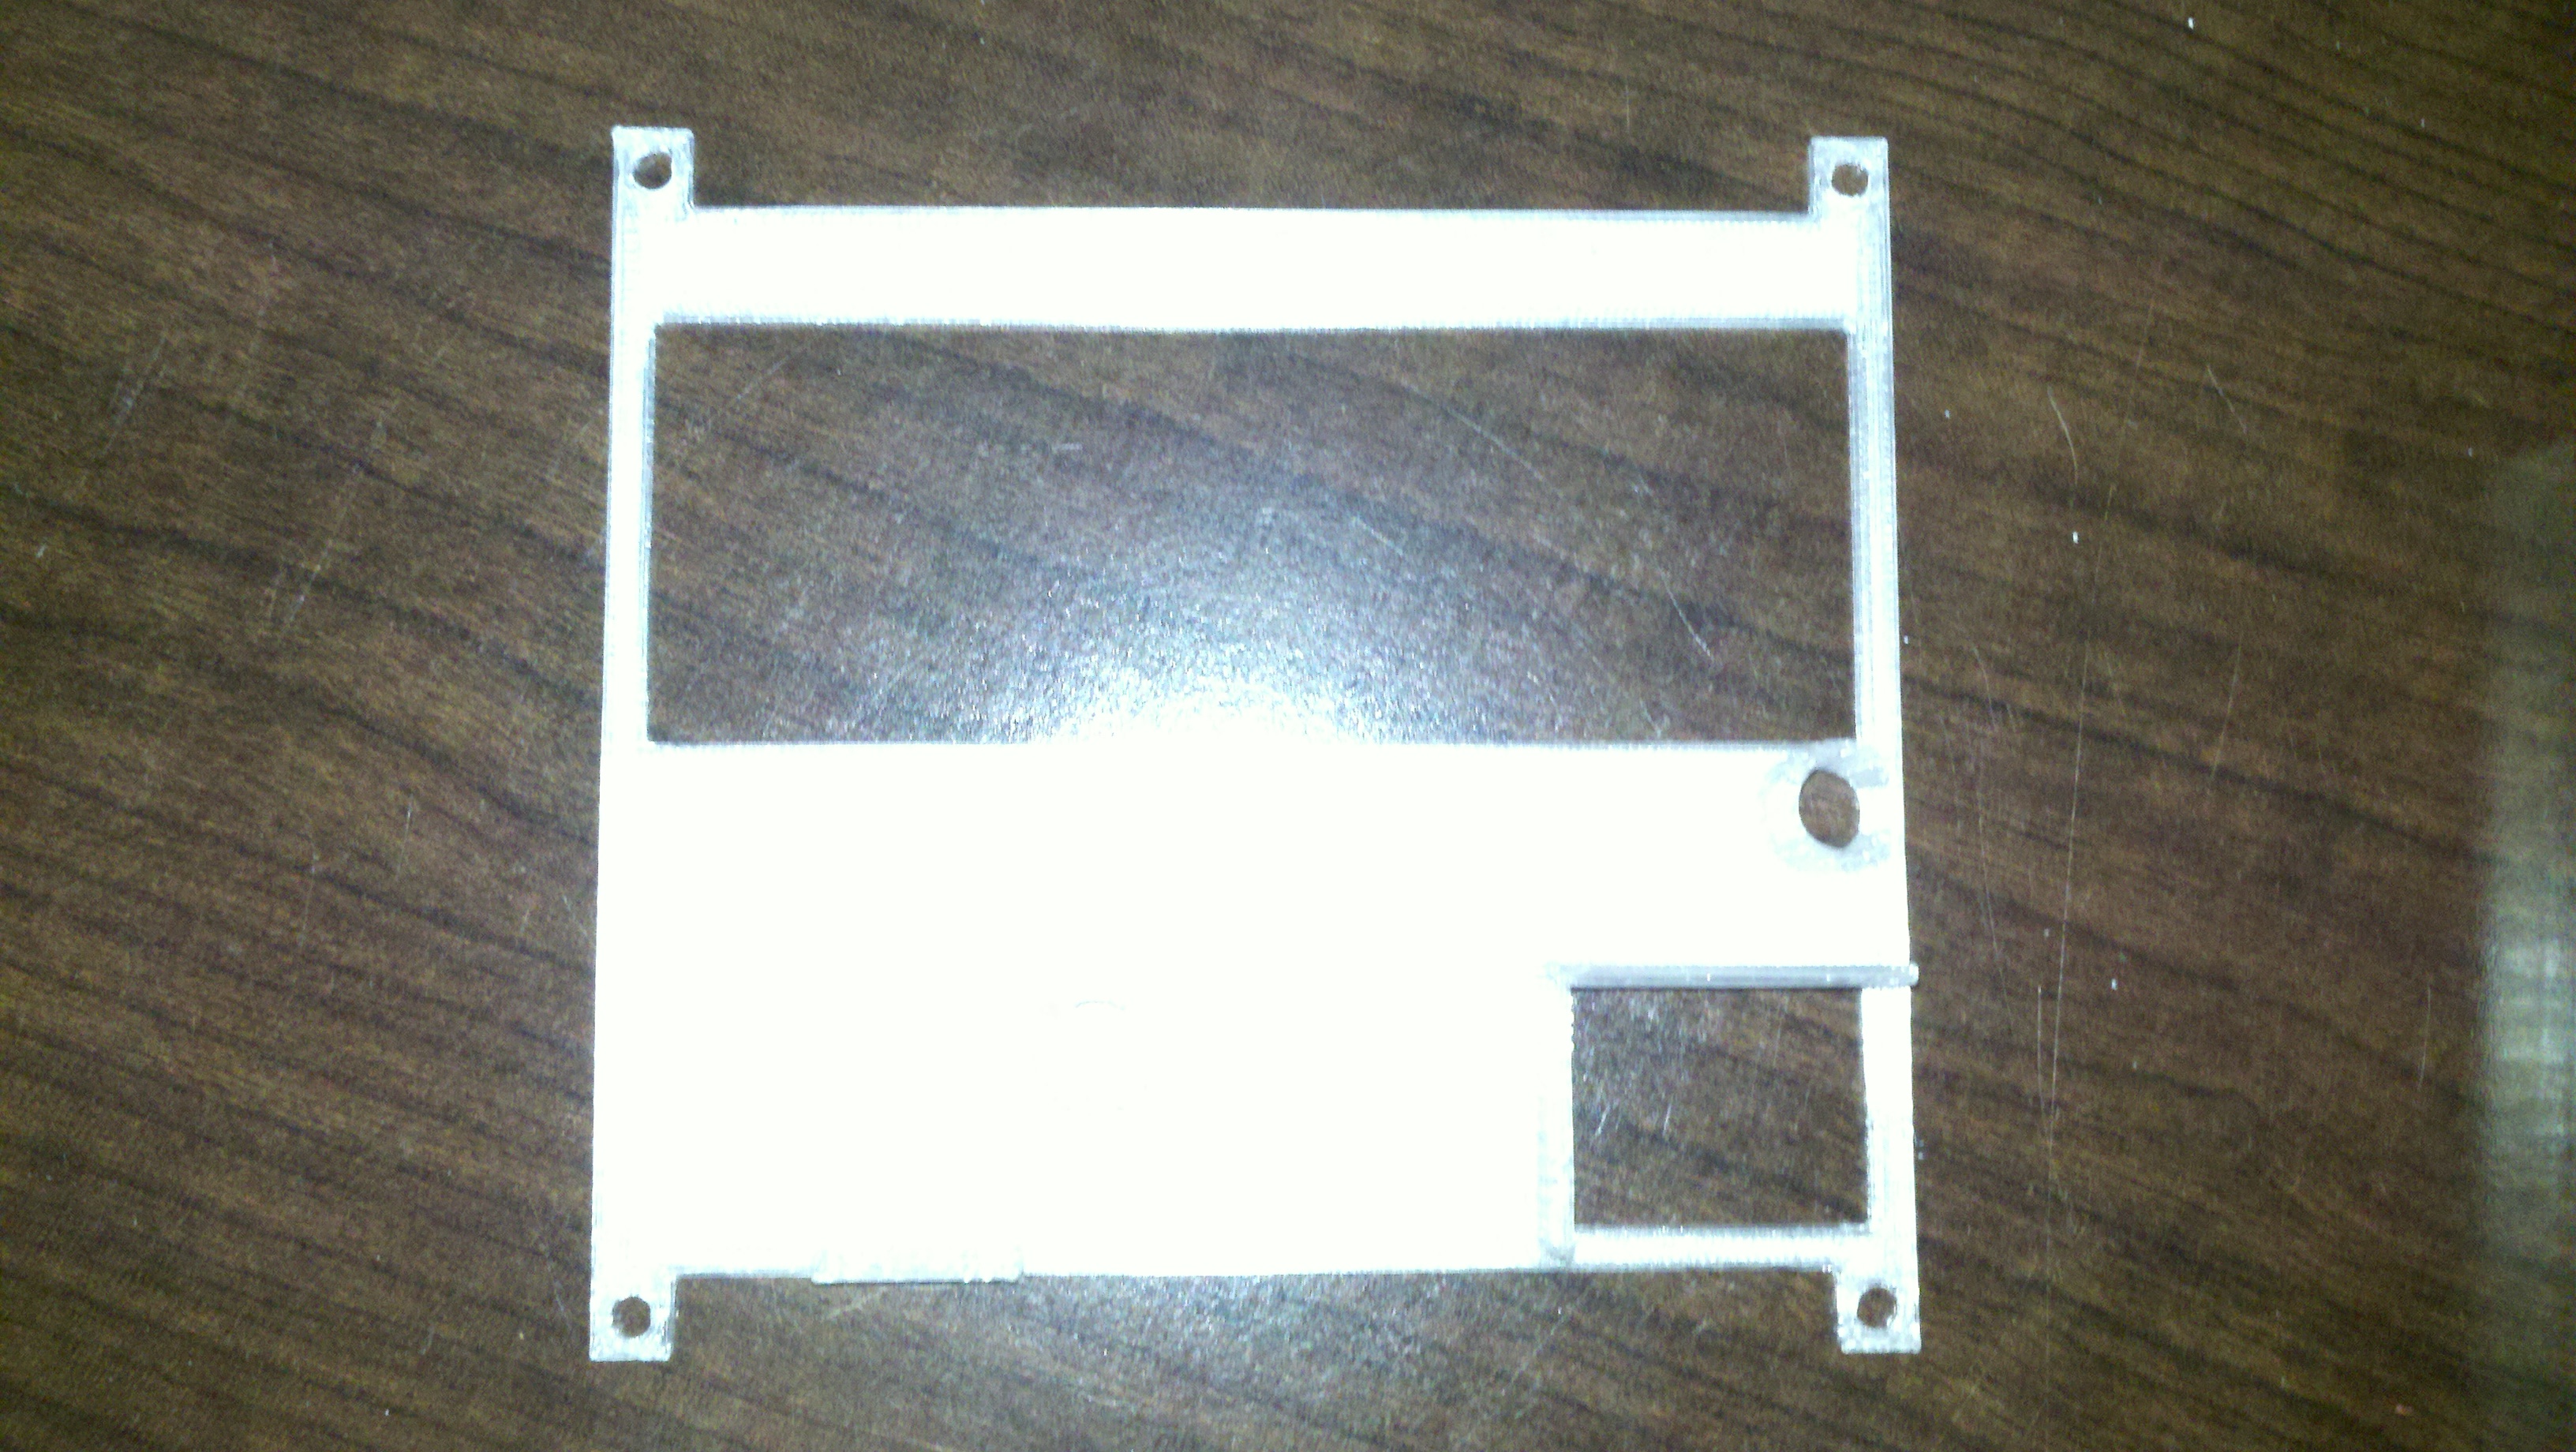
Here is the correctly printed top
And here is bonus mistake again on the top. I forgot to leave out the hole above the humidity sensor.
The top printed in 37 mins.
Here are some pick of it printing and the final product. Don’t forget to post it out on the Thingiverse.