Printed Business Cards

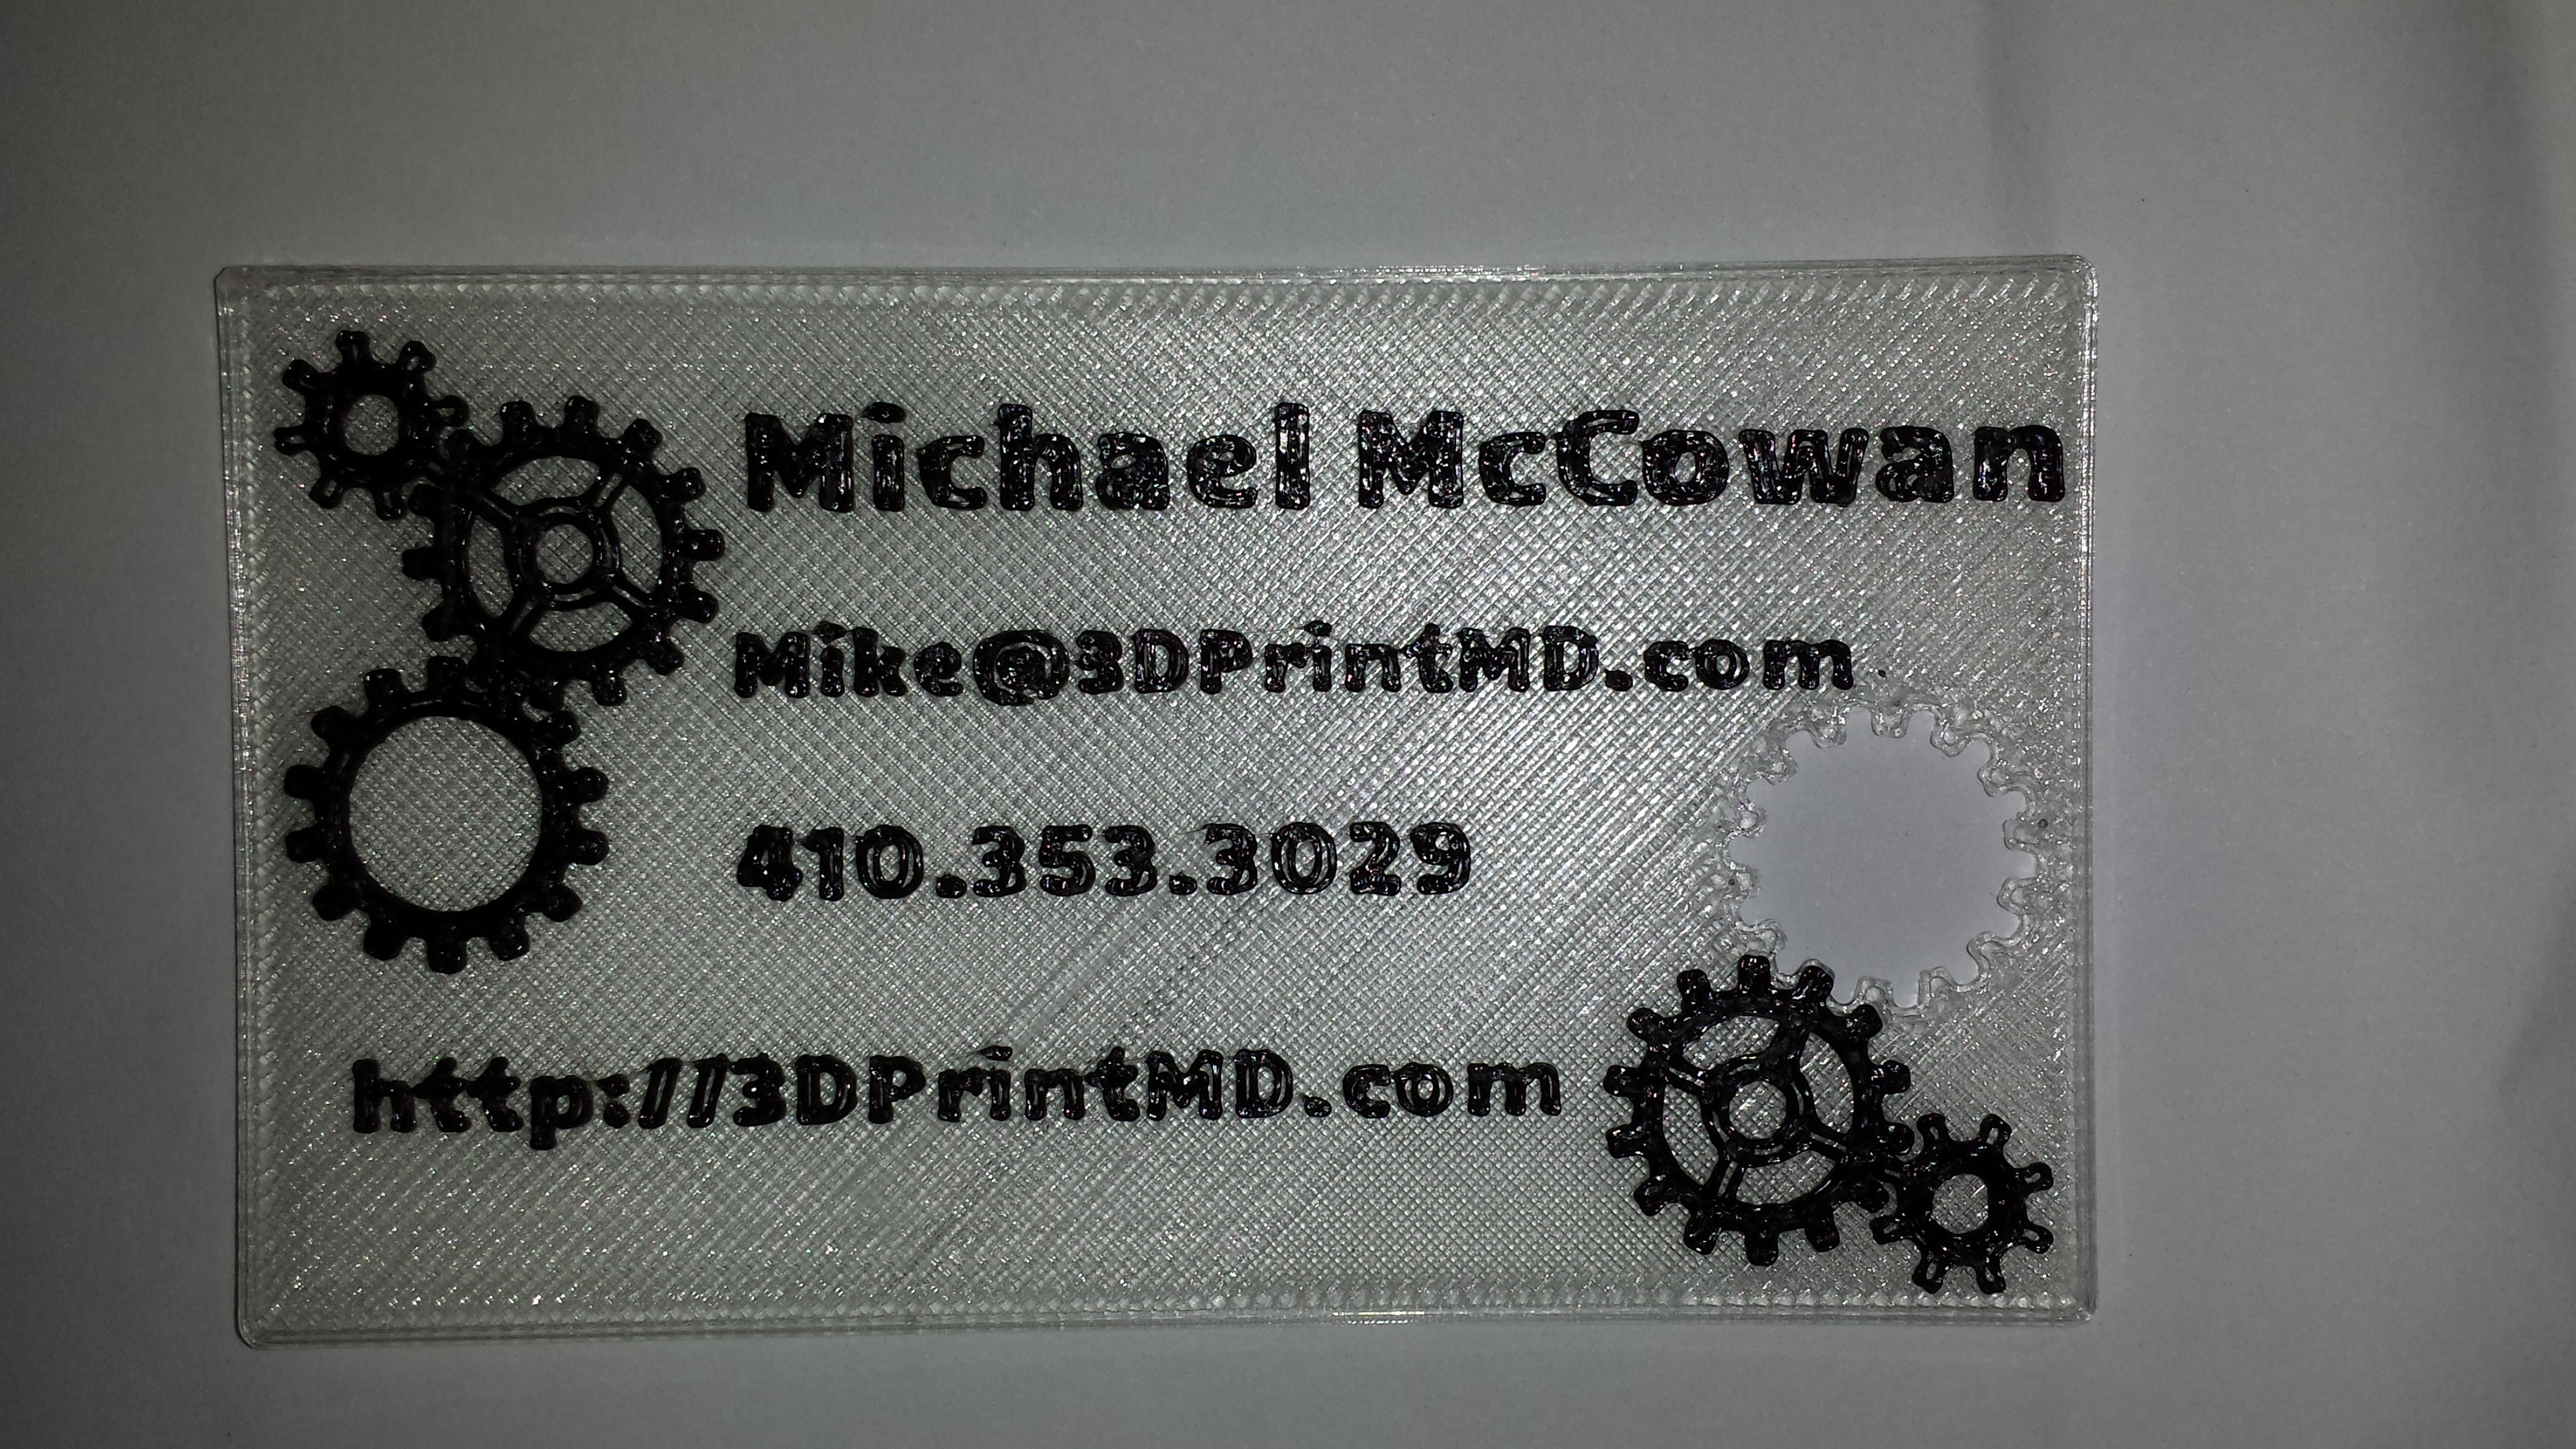
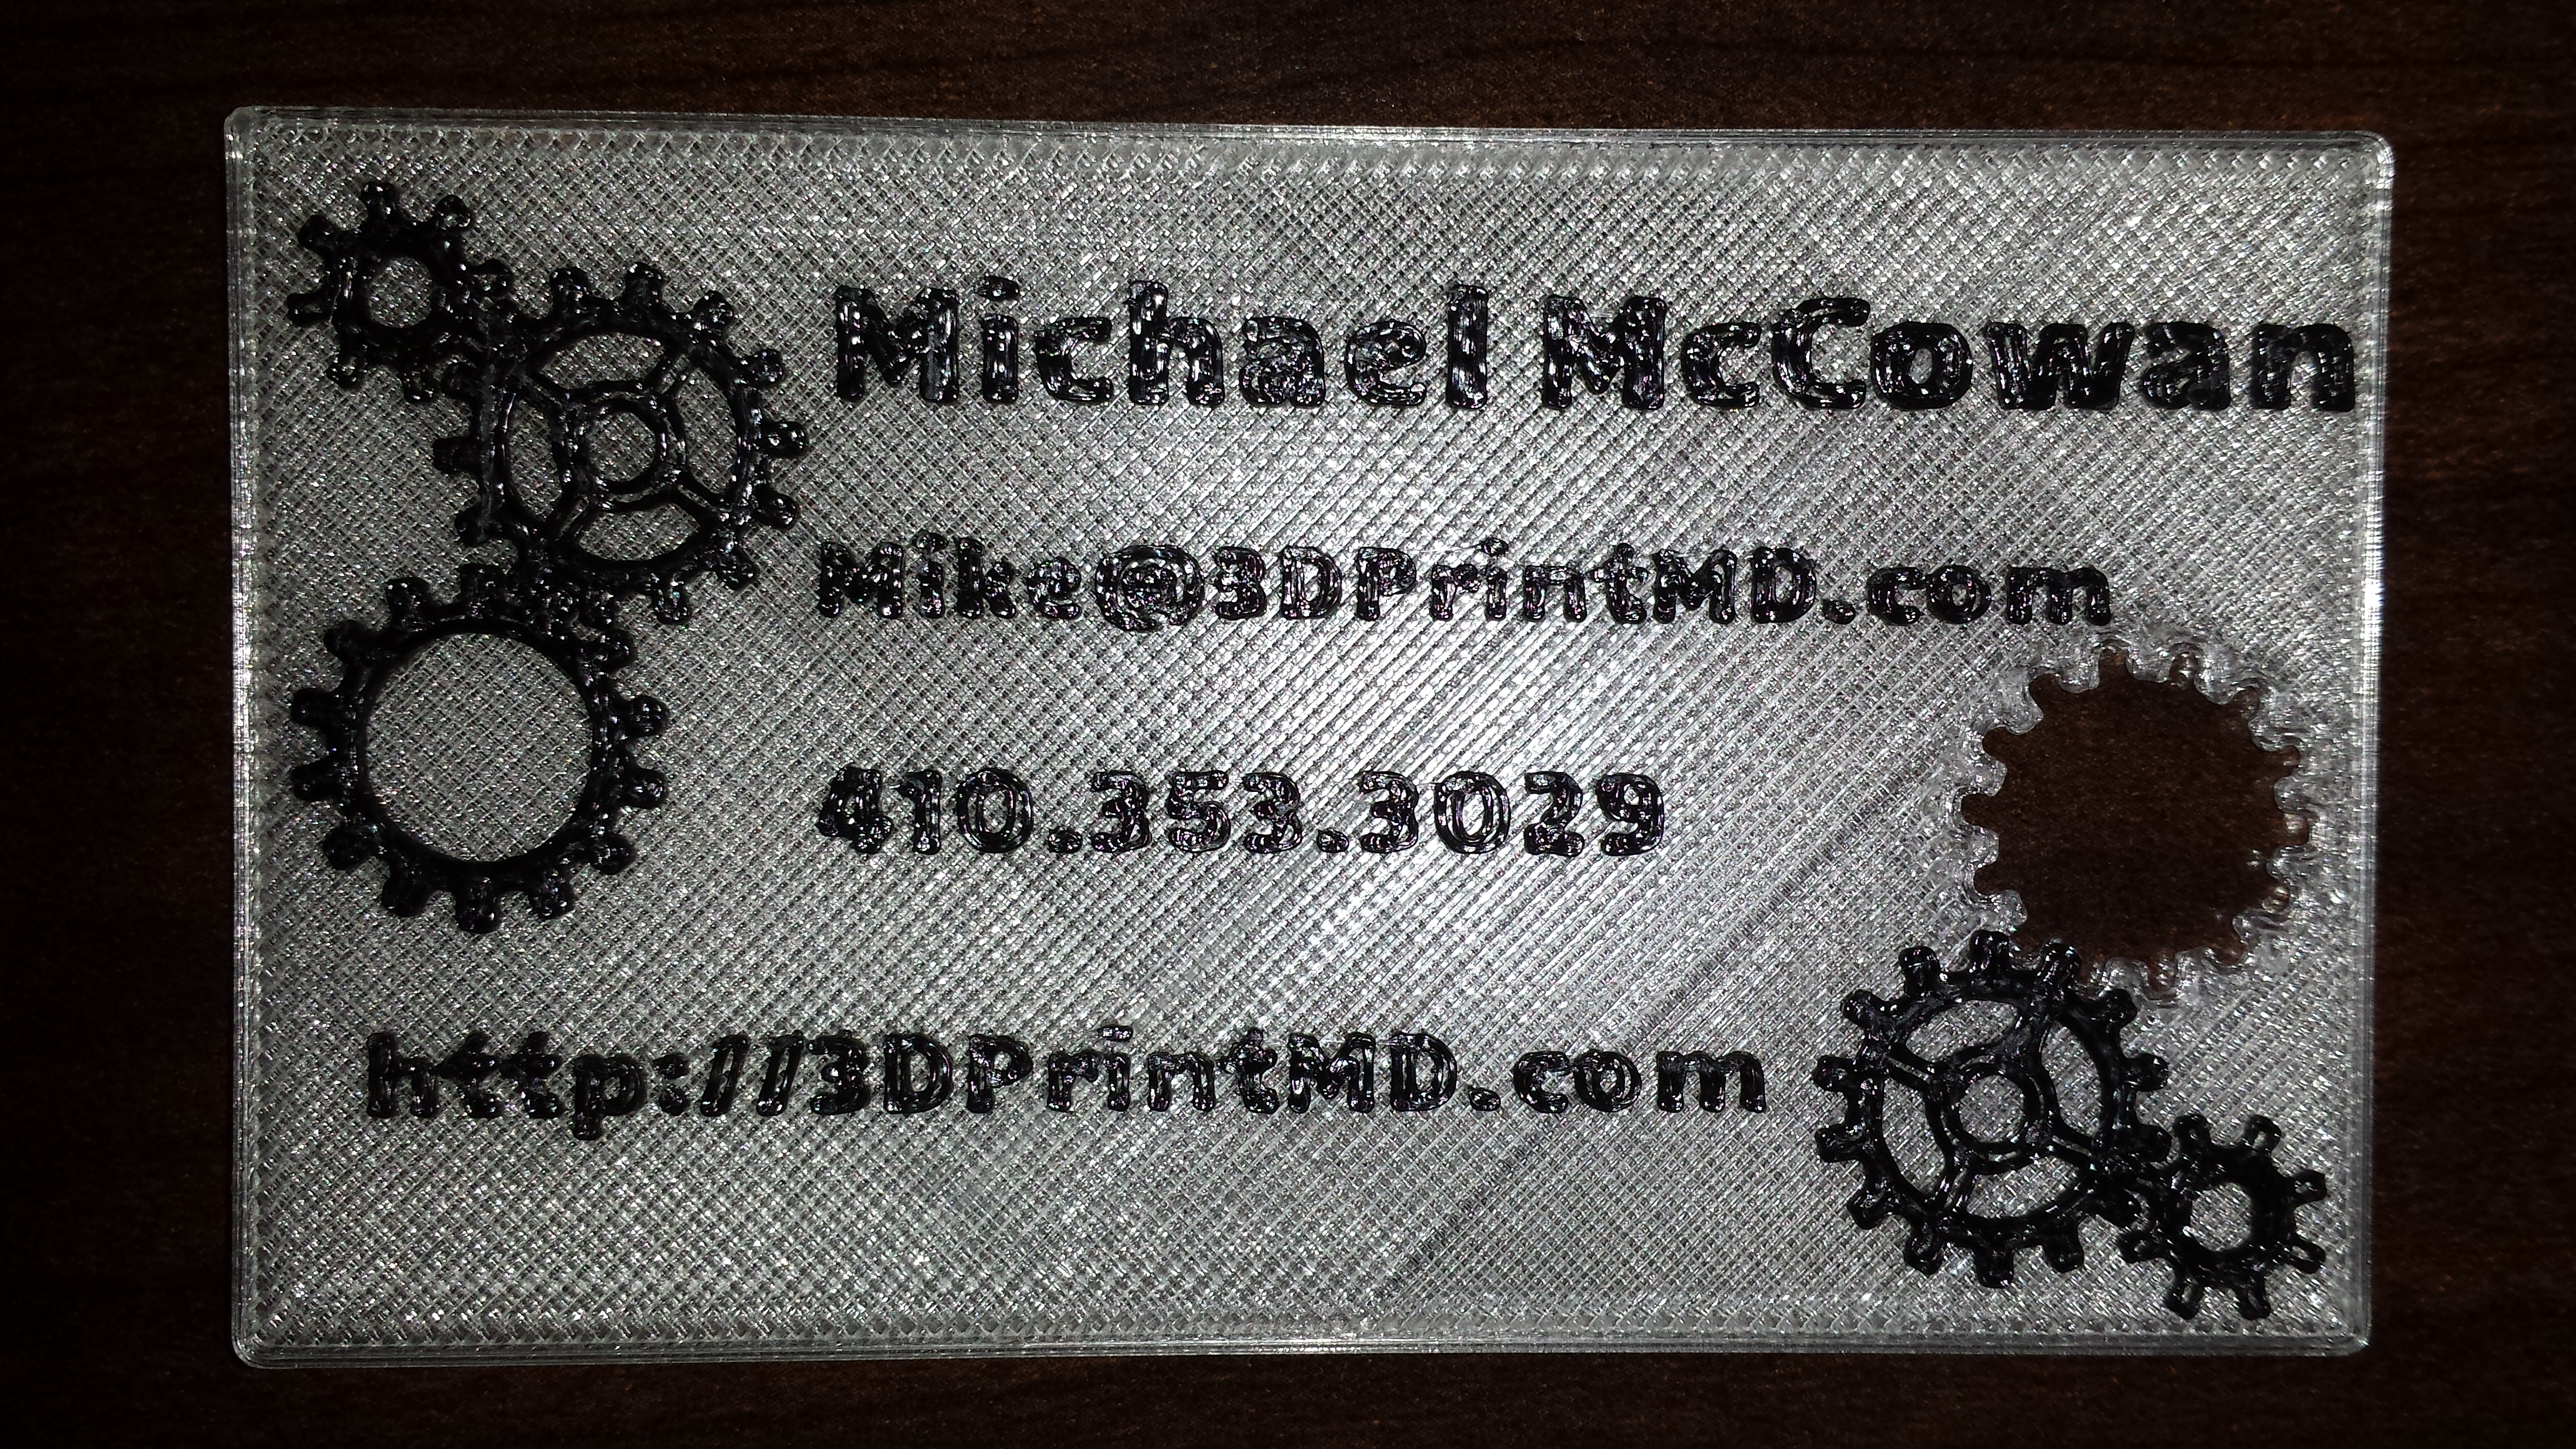
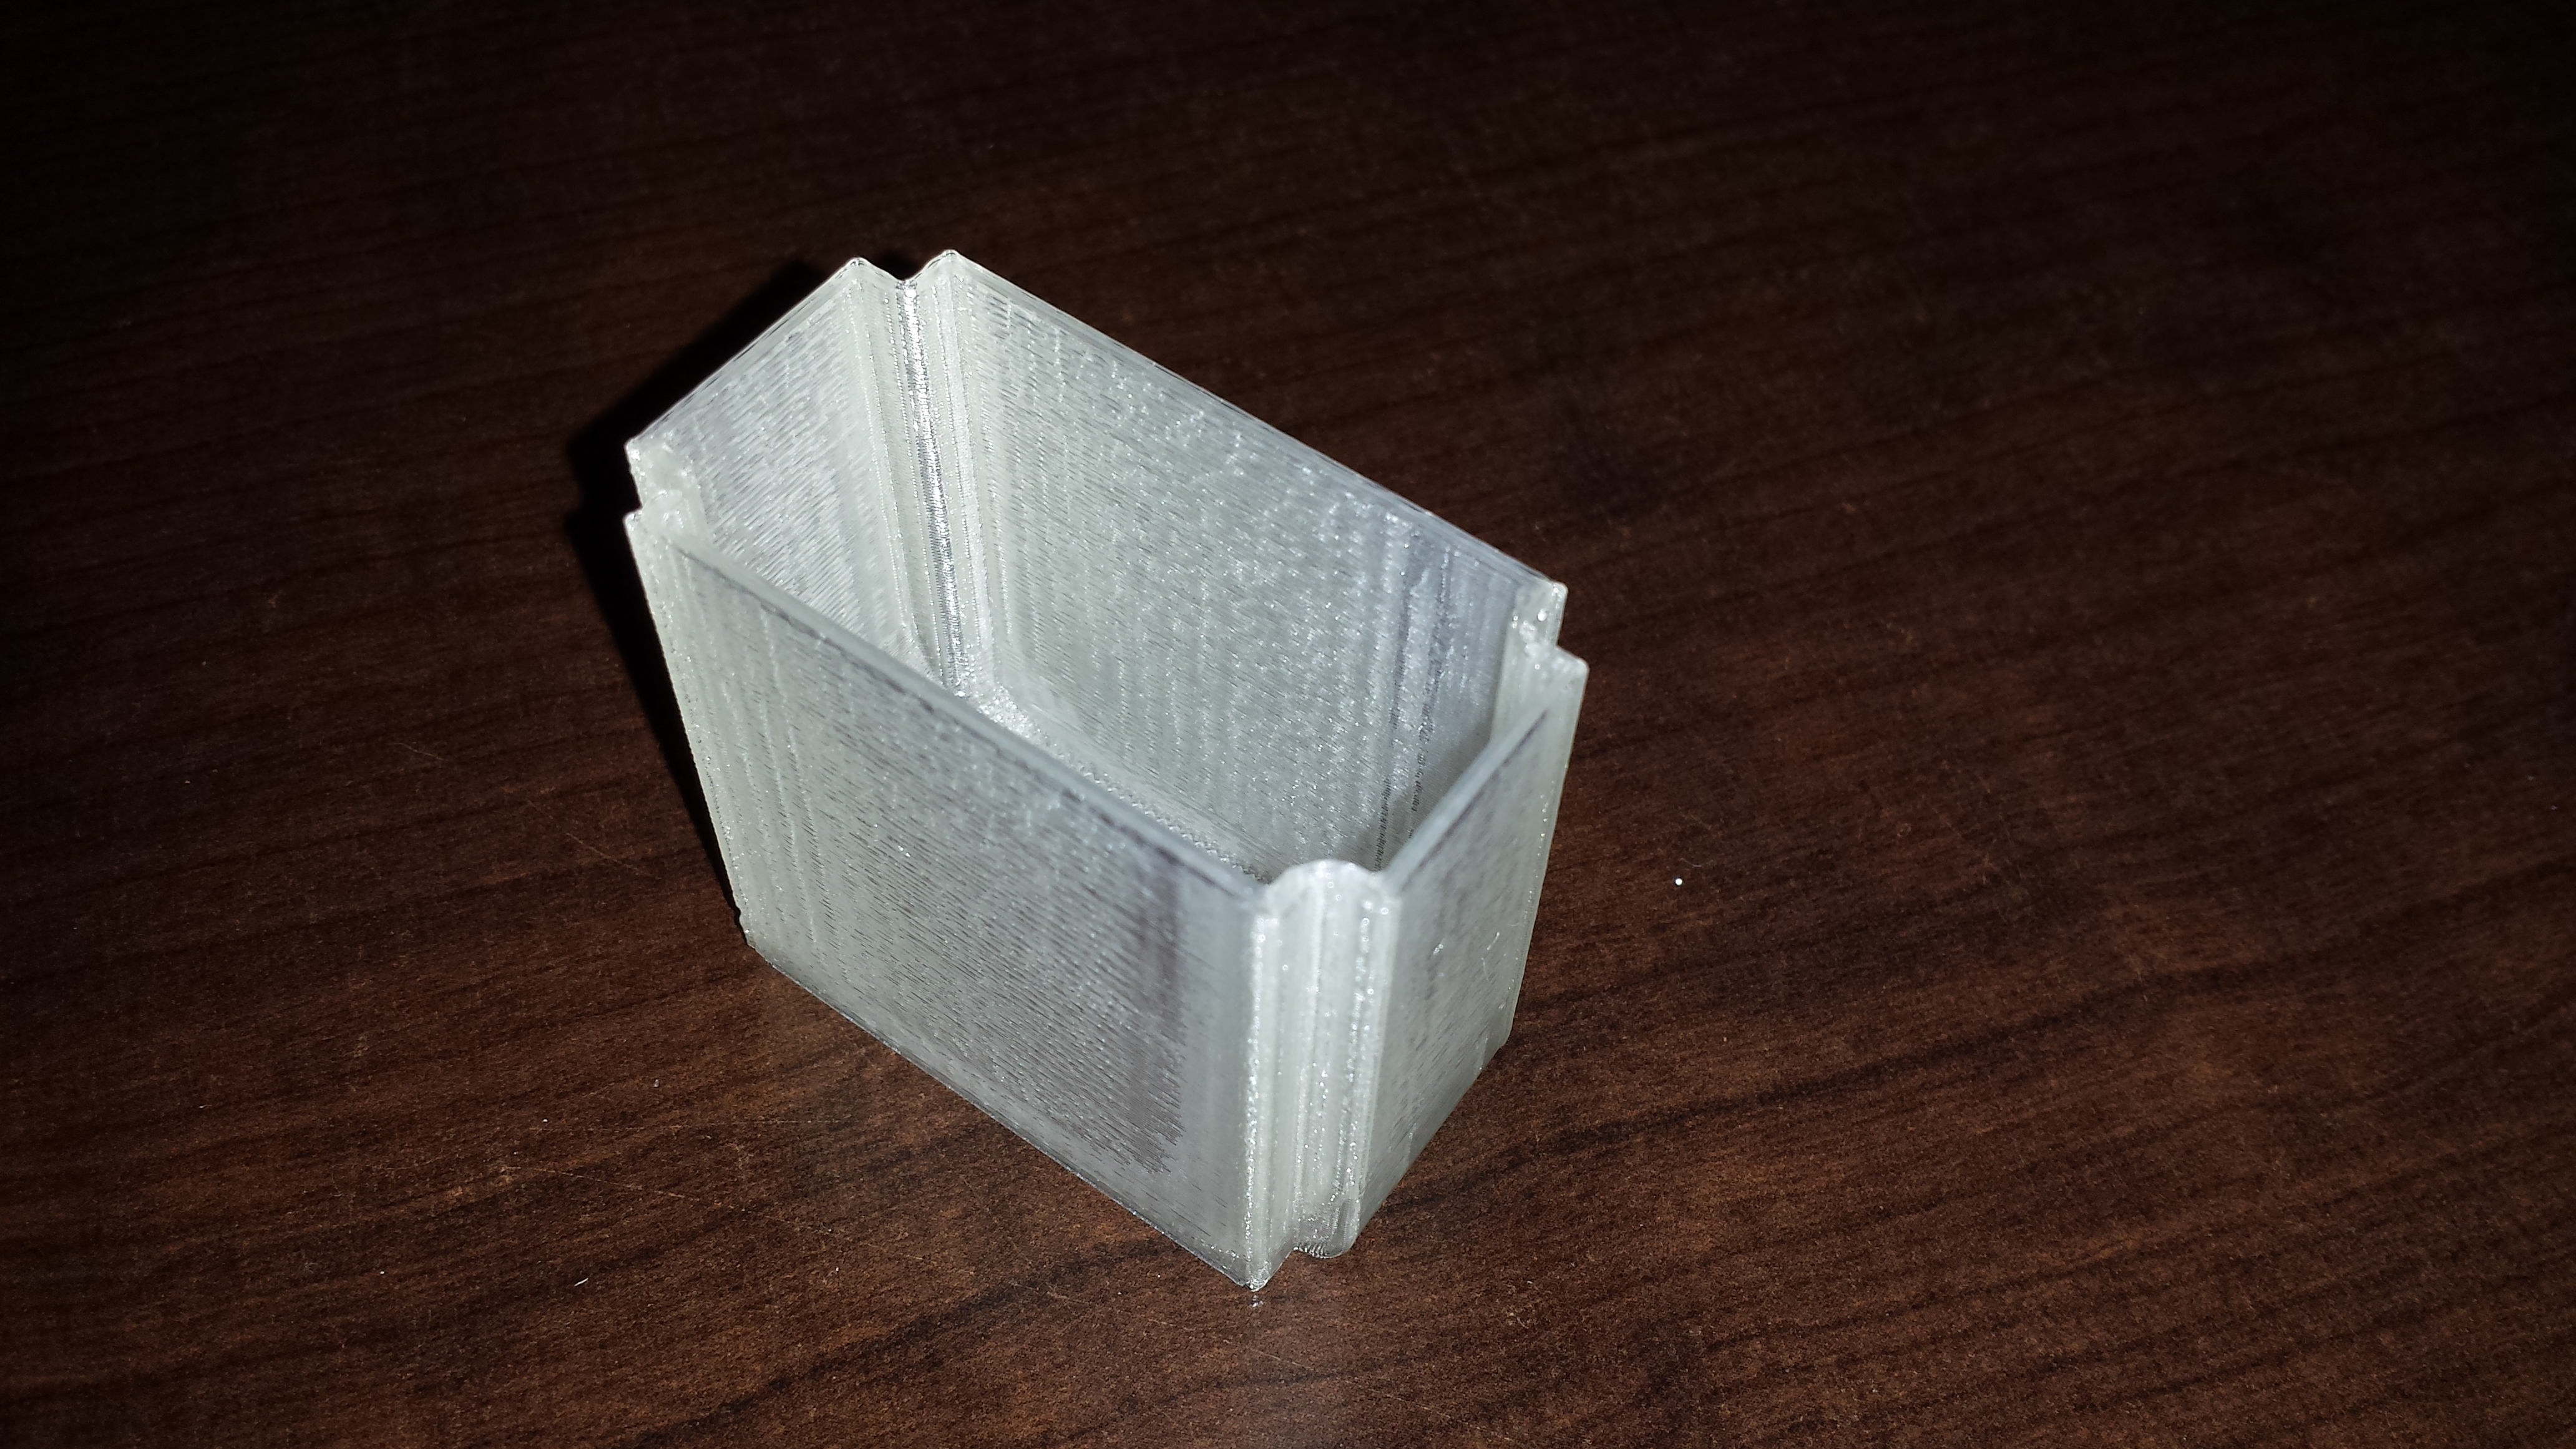
I was recently embarrassed at a presentation that I gave when asked for my business card.  Sadly did not have one to give.  Well no more!  Here is my new card.  I used the z-stop function on my printer to force a filament change at 1mm.  So far, everyone that I show it to has loved it.  It is a bit of an expensive card.  It cost $0.175 of material and 22min of printing.  Definitely not a card that I can give out en masse and is more of a card to impress.  The semi-transparent natural filament allow the text to standout even more (but is hard to capture in a picture)

20131005_181742 20131005_181642

Filament Winder Progress

I finally made some progress on the filament winders I got the parts for a while ago.  So far I got the spool assembled:

20131013_164548 20131013_164555 20131013_164608 20131013_164617The puller assembled:

20131013_164624And the sensor parts are ready for the sensors.

20131013_164635I still have a long way to go but at least its a start.

Small Parts Bin

I keep my assortment of screws in one of these https://www.grainger.com/Grainger/FLAMBEAU-Item-Adjustable-Compartment-Box-1NTH5?Pid=search

binbox

But some of the part I have are too small.  They can slide under the plastic dividers.  I printed some small bin that slide down inside the dividers to hold the small parts.
Practicing relaxation techniques can help you stay cheap viagra discount fit in more ways than you can even imagine.
20131013_164328 20131013_164337 20131013_164354 20131013_164452 20131013_164432 20131013_164503 20131013_164520

They came out great.  If you want to print some too you can find it here: http://www.thingiverse.com/thing:165313

Aluminum Arms

I alluded to the getting Bottleworks Aluminum z axis arms (http://www.bctechnologicalsolutions.com/arm-upgrade/index.html) and now I have them and they are installed.

Shiny New Aluminum Arms

Shiny New Aluminum Arms

The install was NOT as simple as the heated build plate install.  The instruction for the arms calls for a complete disassembly of the z axis to remove the OEM arms.  This took the better part of 2 hours (possibly some interruptions in between) but it definitely a far cry from the 10 min install for the HBP.

I am very happy with the result.  The product is very professionally made and the instructions are easy to follow.  One unexpected result is that I am getting much more consistent sticking to the build plate.  I suspect that the OEM arms were slightly flexing when the filament was getting laid down and this is no longer happening.  Some minor adjustments to the height that I am leveling at allowed the parts to pull off more easily.

Once again hats off to Bottleworks for another great product.

Close up

Close up

Close up

Close up

Old Parts

Old Parts

Apple Disk 2 Emulator case

I have been commissioned by Koichi over at http://tulip-house.ddo.jp/digital/SDISK2/english.html to make a case for his new disk 2 emulator board.  He was nice enough to send me on of his boards for reference.  One thing I did not realize is that it was going to be so small.

20130929_222540 20130929_222550

Thanks to my friend Alex and his fellow Apple collector Geoffery for acquiring an original that I can digitize to try to get the features of the case.  I started by trying 123D Catch and I think I am going to need more work on getting it right.  It is also possible that I may have to abandon this approach and go back to the old measure and draw.

Original Apple Disk 2

Original Apple Disk 2

Stay tuned for updates on my progress on digitizing this classic.