In case anyone was wondering …. I though I would share the Kickstarters that I am currently backing.
Monthly Archives: May 2015
Build Plates Rant
I was recently asked to comment on the build plate that I use on my printer. Specifically, why I use painter tape on the HBP (http://www.3dprintmd.com/print/heated-build-plate/). I did quite a lot of research on what material to use on the build plate specifically for PLA which I almost exclusively use. The Information was a bit sparse but I did come to the same conclusion that may others did. IF IT AINT BROKE DON’T FIX IT. There are a lot of people out there passionate about the build platform and the treatments. Anywhere from painters tape to bare glass to acetone dissolved ABS and on an on. For the most part I print on painters tape because I found that it work. The adhesion is generally great and I very rarely get warping or pealing. So you may be asking why bother with the HBP at all. Well that is an easy answer that is two fold. The stock build is known to warp which mine almost certainly was and it need replacing anyway. And the second more important answer is that PLA does warp even though it does so much less that ABS. I use the HBP on every print and I set it to 45C and I never get pealing or warping. Yes there are still times that I get a bit of a curl on the edges of some models but it is usually very minimal and most of the time can be eliminated with a closer tolerance on the leveling process. If I get very careful when leveling I can get the print to stick so well to the tape that it is very difficult to remove and also reduces the life of the tape but in return I get no warping or pealing.
Generally I get great life from an application of tape. I can get anywhere from 20-30 prints on the same spot with no problems. Most of the time I end up replacing the tape not because the print is not sticking anymore but because I was bit careless on removing the item and nicked the tape.
I have two plates that I alternate on my printer so that I can have one quickly ready when I mess up the tape. This works out great when I have a large order since I can keep the printer going while I am replacing the tape on the other plate.
Tape replacement is simple. I simply take off the old tape which always comes off quite clean. I would have though that the glue would peal off when heated but I have never had a problem with that. I then lay out one piece of widest painters tape I could find (3 inch). I smooth it out paying close attention to not trap any air bubbles and making sure not secure the center seem edge. I then layout another price and very carefully butt the tape in the center leaving no transition. This take a lot of patients and practice but when done right the seem is barely discernible on your prints. Luckily the build plate is exactly 6 inch wide so two pieces works perfectly.
I would highly encourage anyone that is printing with PLA to try painters tape first. If you are not satisfied with it then by all means try something else. Please remember however that the number one reason for pealing and warping is not the build plate material, it is the leveling. Re-level the bed and try again. Please keep in mind however that there will be some models that will just away warp based how the density of material changes within the model.
I will say that I may move away from painter tape eventually. I backed the Gecko Tek Build plate http://www.geckotek3d.com/ quite a while ago but have yet to take delivery due to complications. I am waiting for the ABS version since the PLA version (which is available now) does not hold up very well to a HBP. Time will tell if it can outperform the time tested and gold standard that is known as Blue Painters Tape.
One last question I got was about printing on rafts. I don’t have much to say about them since I never use them. I have never had a need to use them since I get such a great performance from painters tape. It would seem to me that all the problems that the raft is intend to solve can be resolved by better bed leveling. Or if you are unfortunate enough to have a warped bed; its time to replace it.
Well enough of this rant. I hope I answered all your questions Andrew. If not please add to the comments and I can try to answer them the best I can.
Also I am aware of the http://shop.raffle.ch/ site for upgrades. They are quite nice but I have yet to have the need for theses parts. I was looking for a time to upgrade my rep 2 to have a dual head but since it would cost around $500 I think I would rather put that money toward a newer printer.
Friction welding: Effective and Fun
Awhile ago I say this article on Hackaday http://hackaday.com/2014/12/30/3d-printing-technique-friction-welding/ on how to quickly and easily use friction welding on 3D prints.
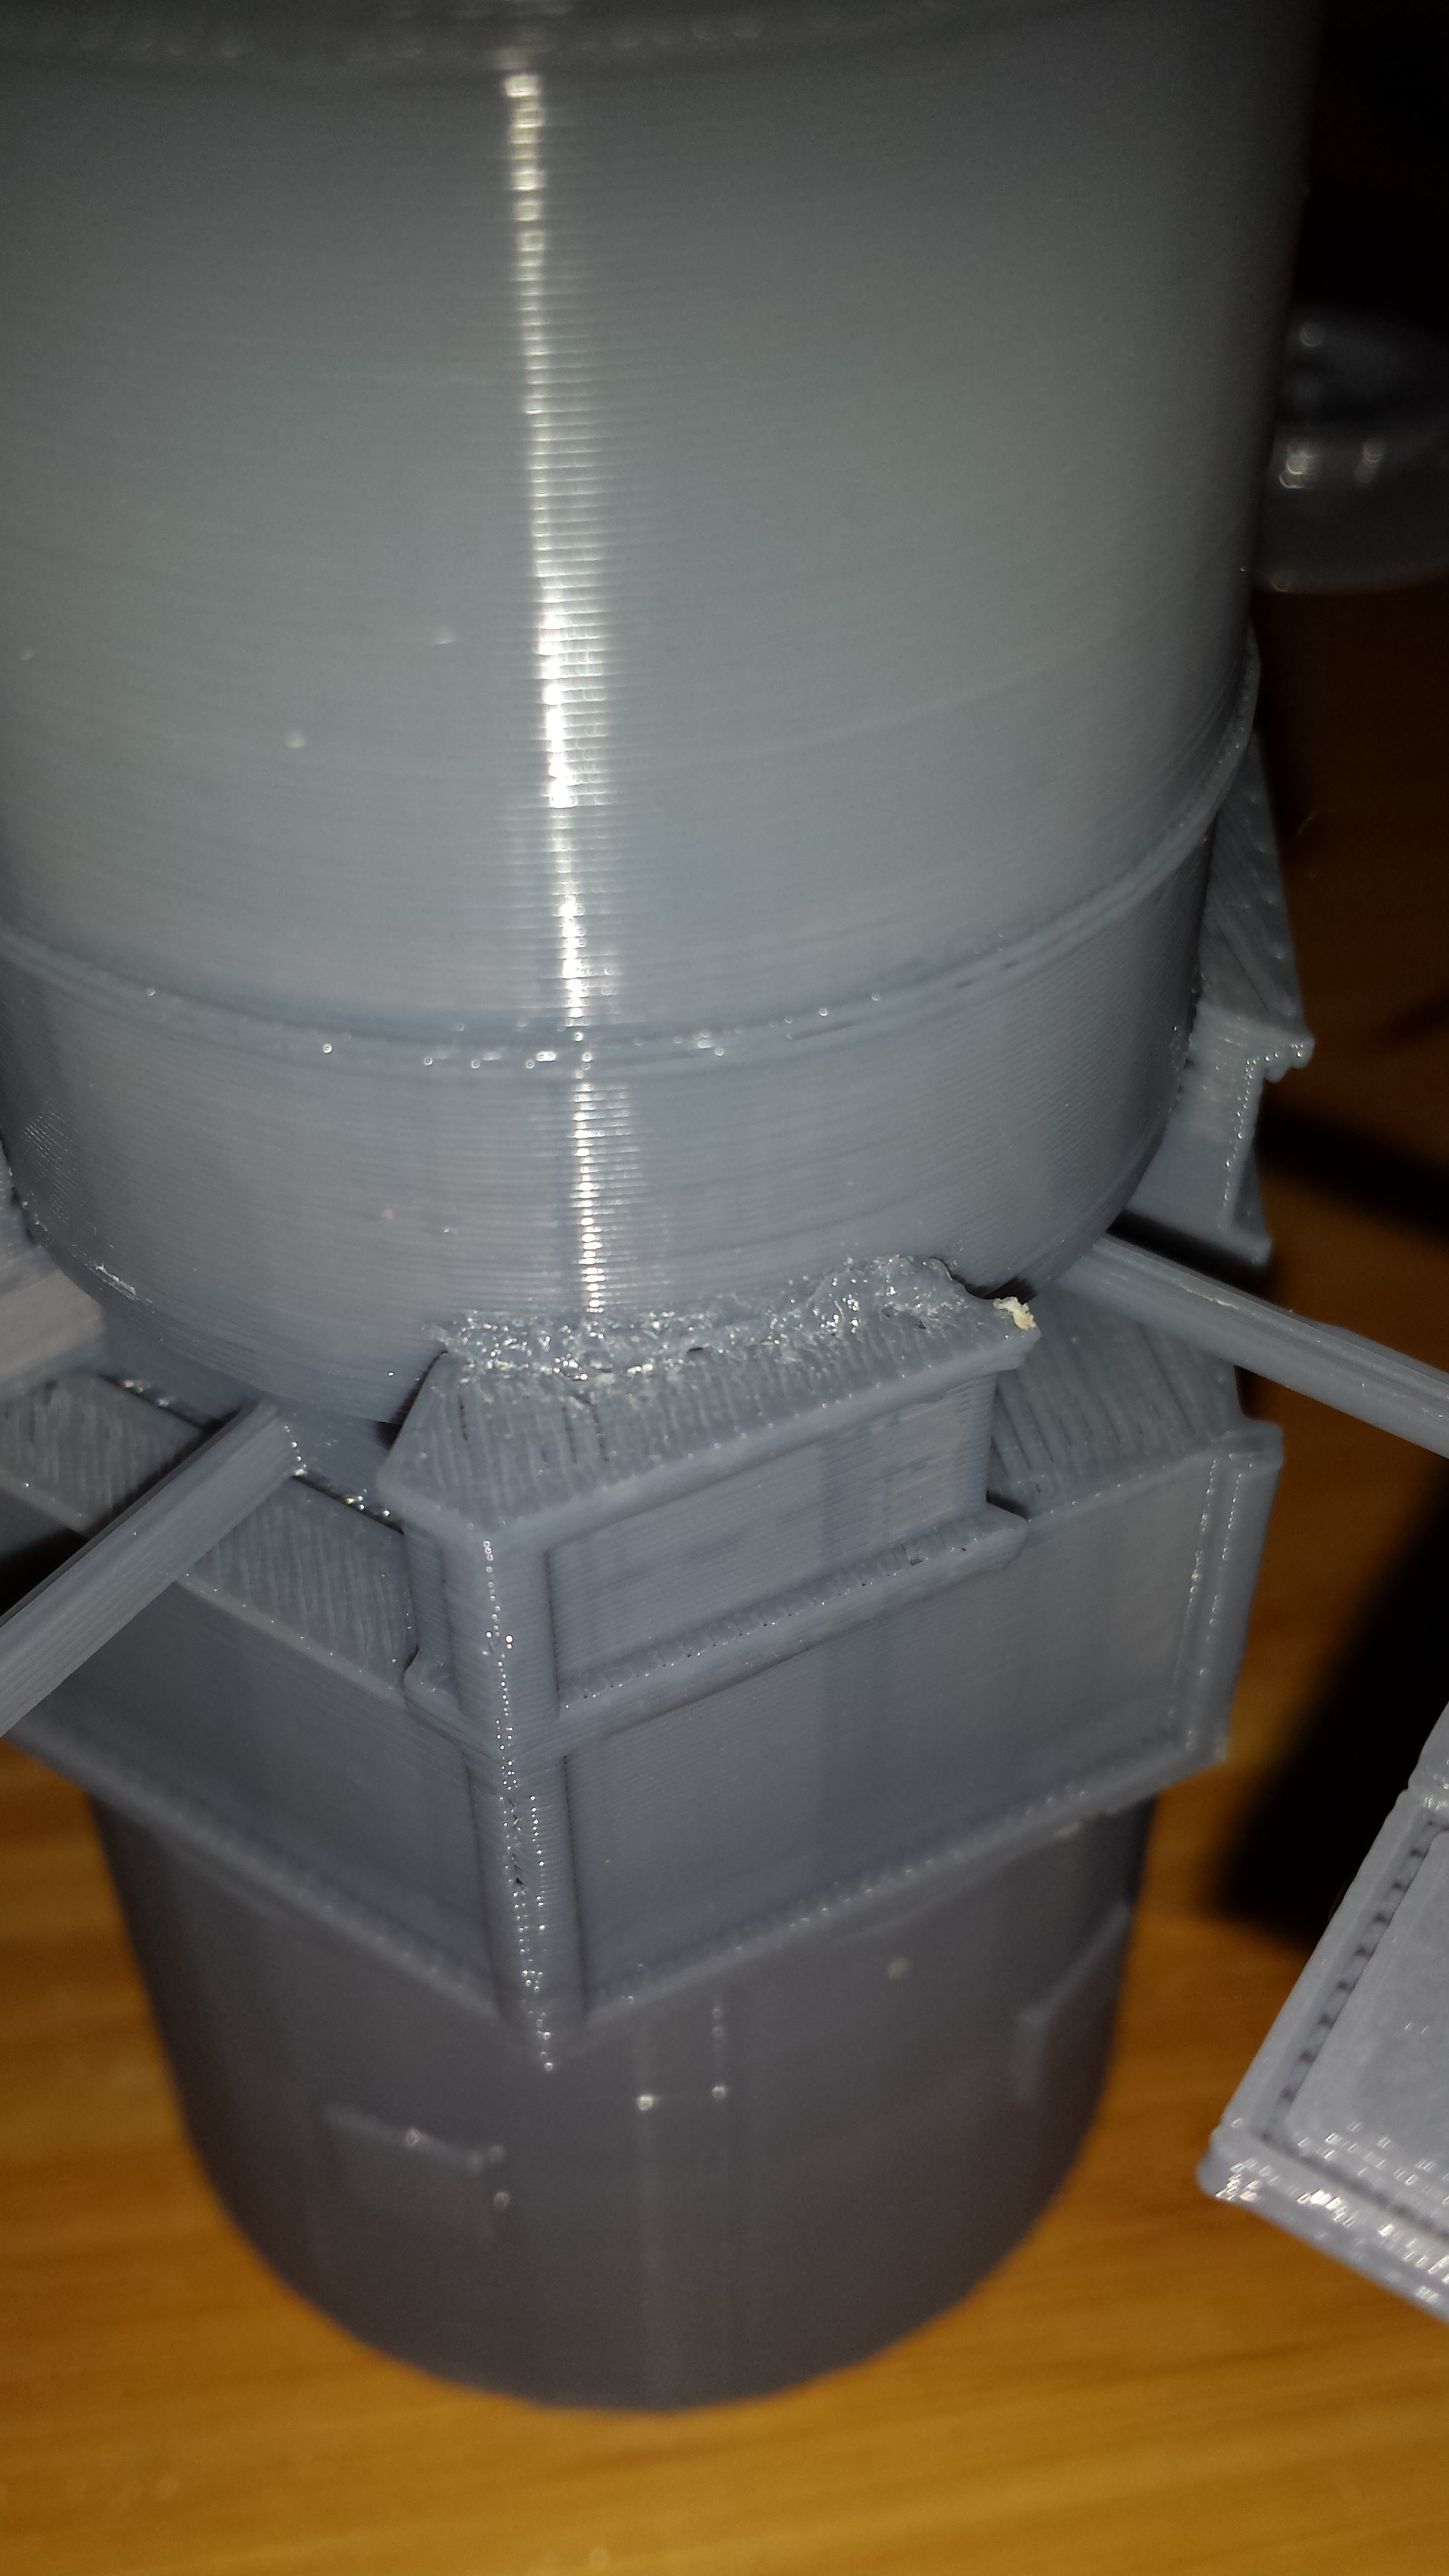
I recently printed out a model of the Hubble Space Telescope to honor 25 years in space. http://nasa3d.arc.nasa.gov/detail/HST
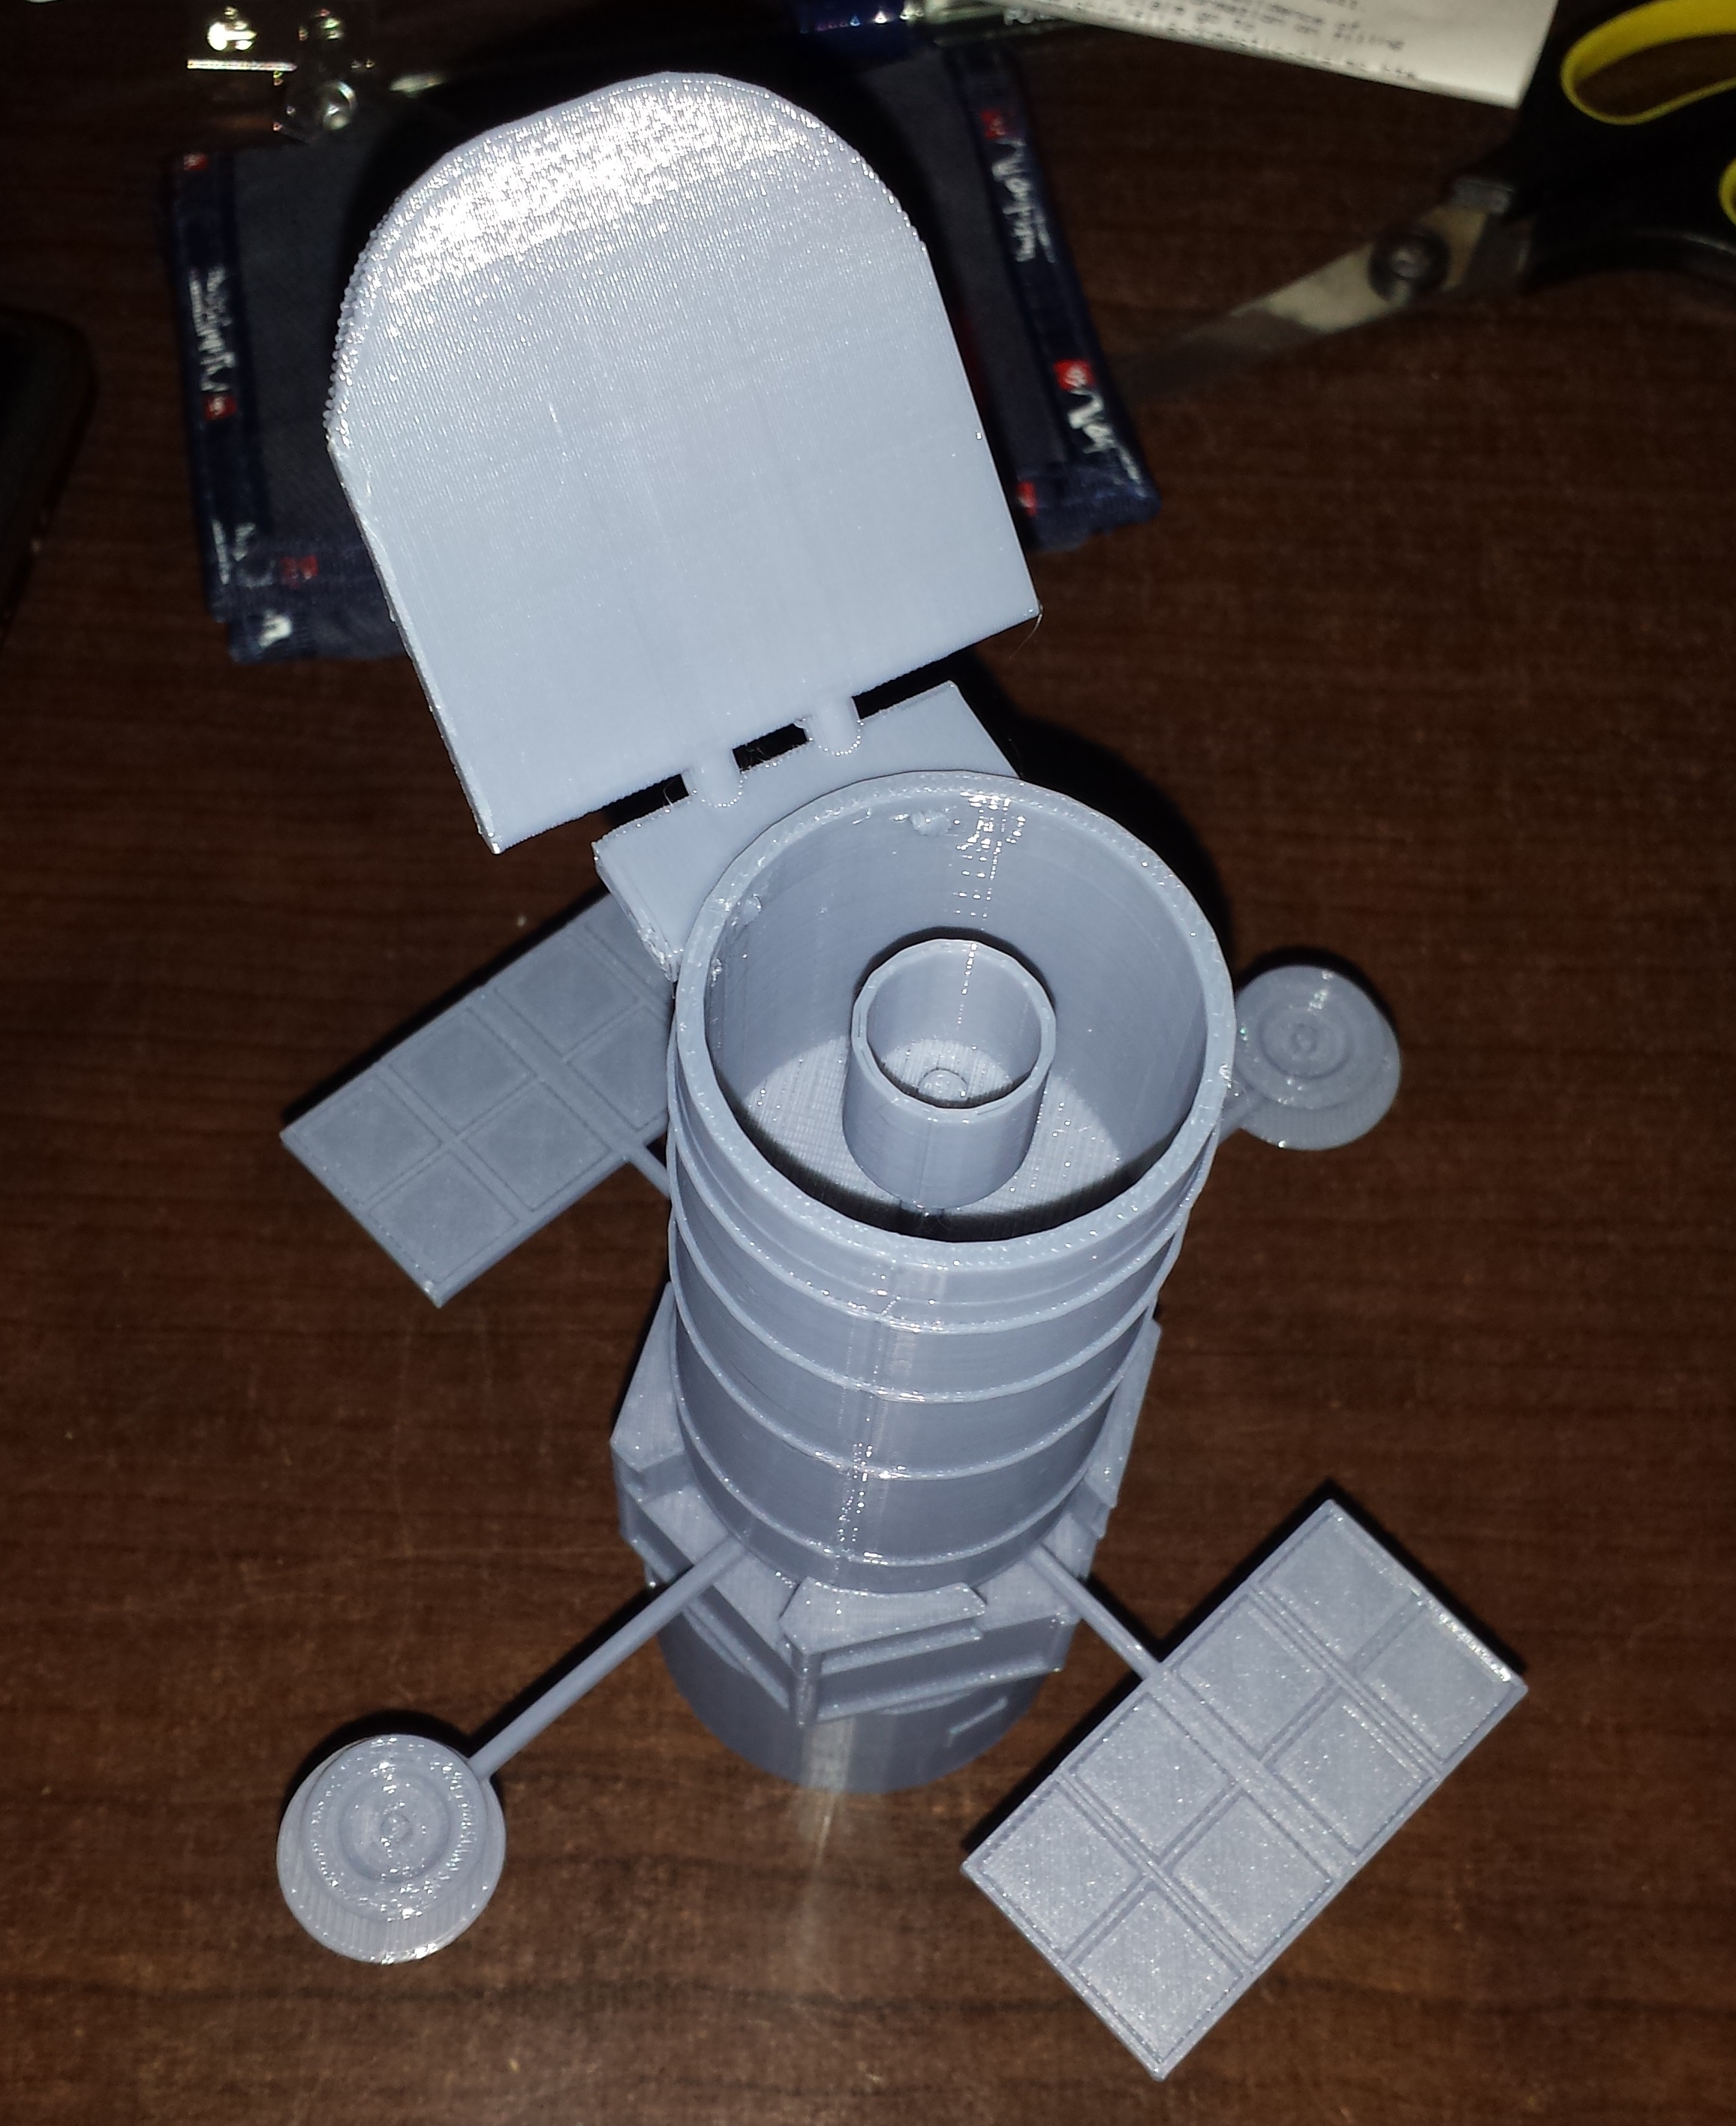
The print was in several pieces and it need some assembly.
The technique is quite simple. Put a piece of filament into a Dremel and push it into a joint. You will need a smaller collet as the default one is too big. I happened to have one from a set I purchased years ago. Insert the filament with about 3/8″ sticking out. Don’t worry if its not exactly straight it will fix itself with a little pressure.
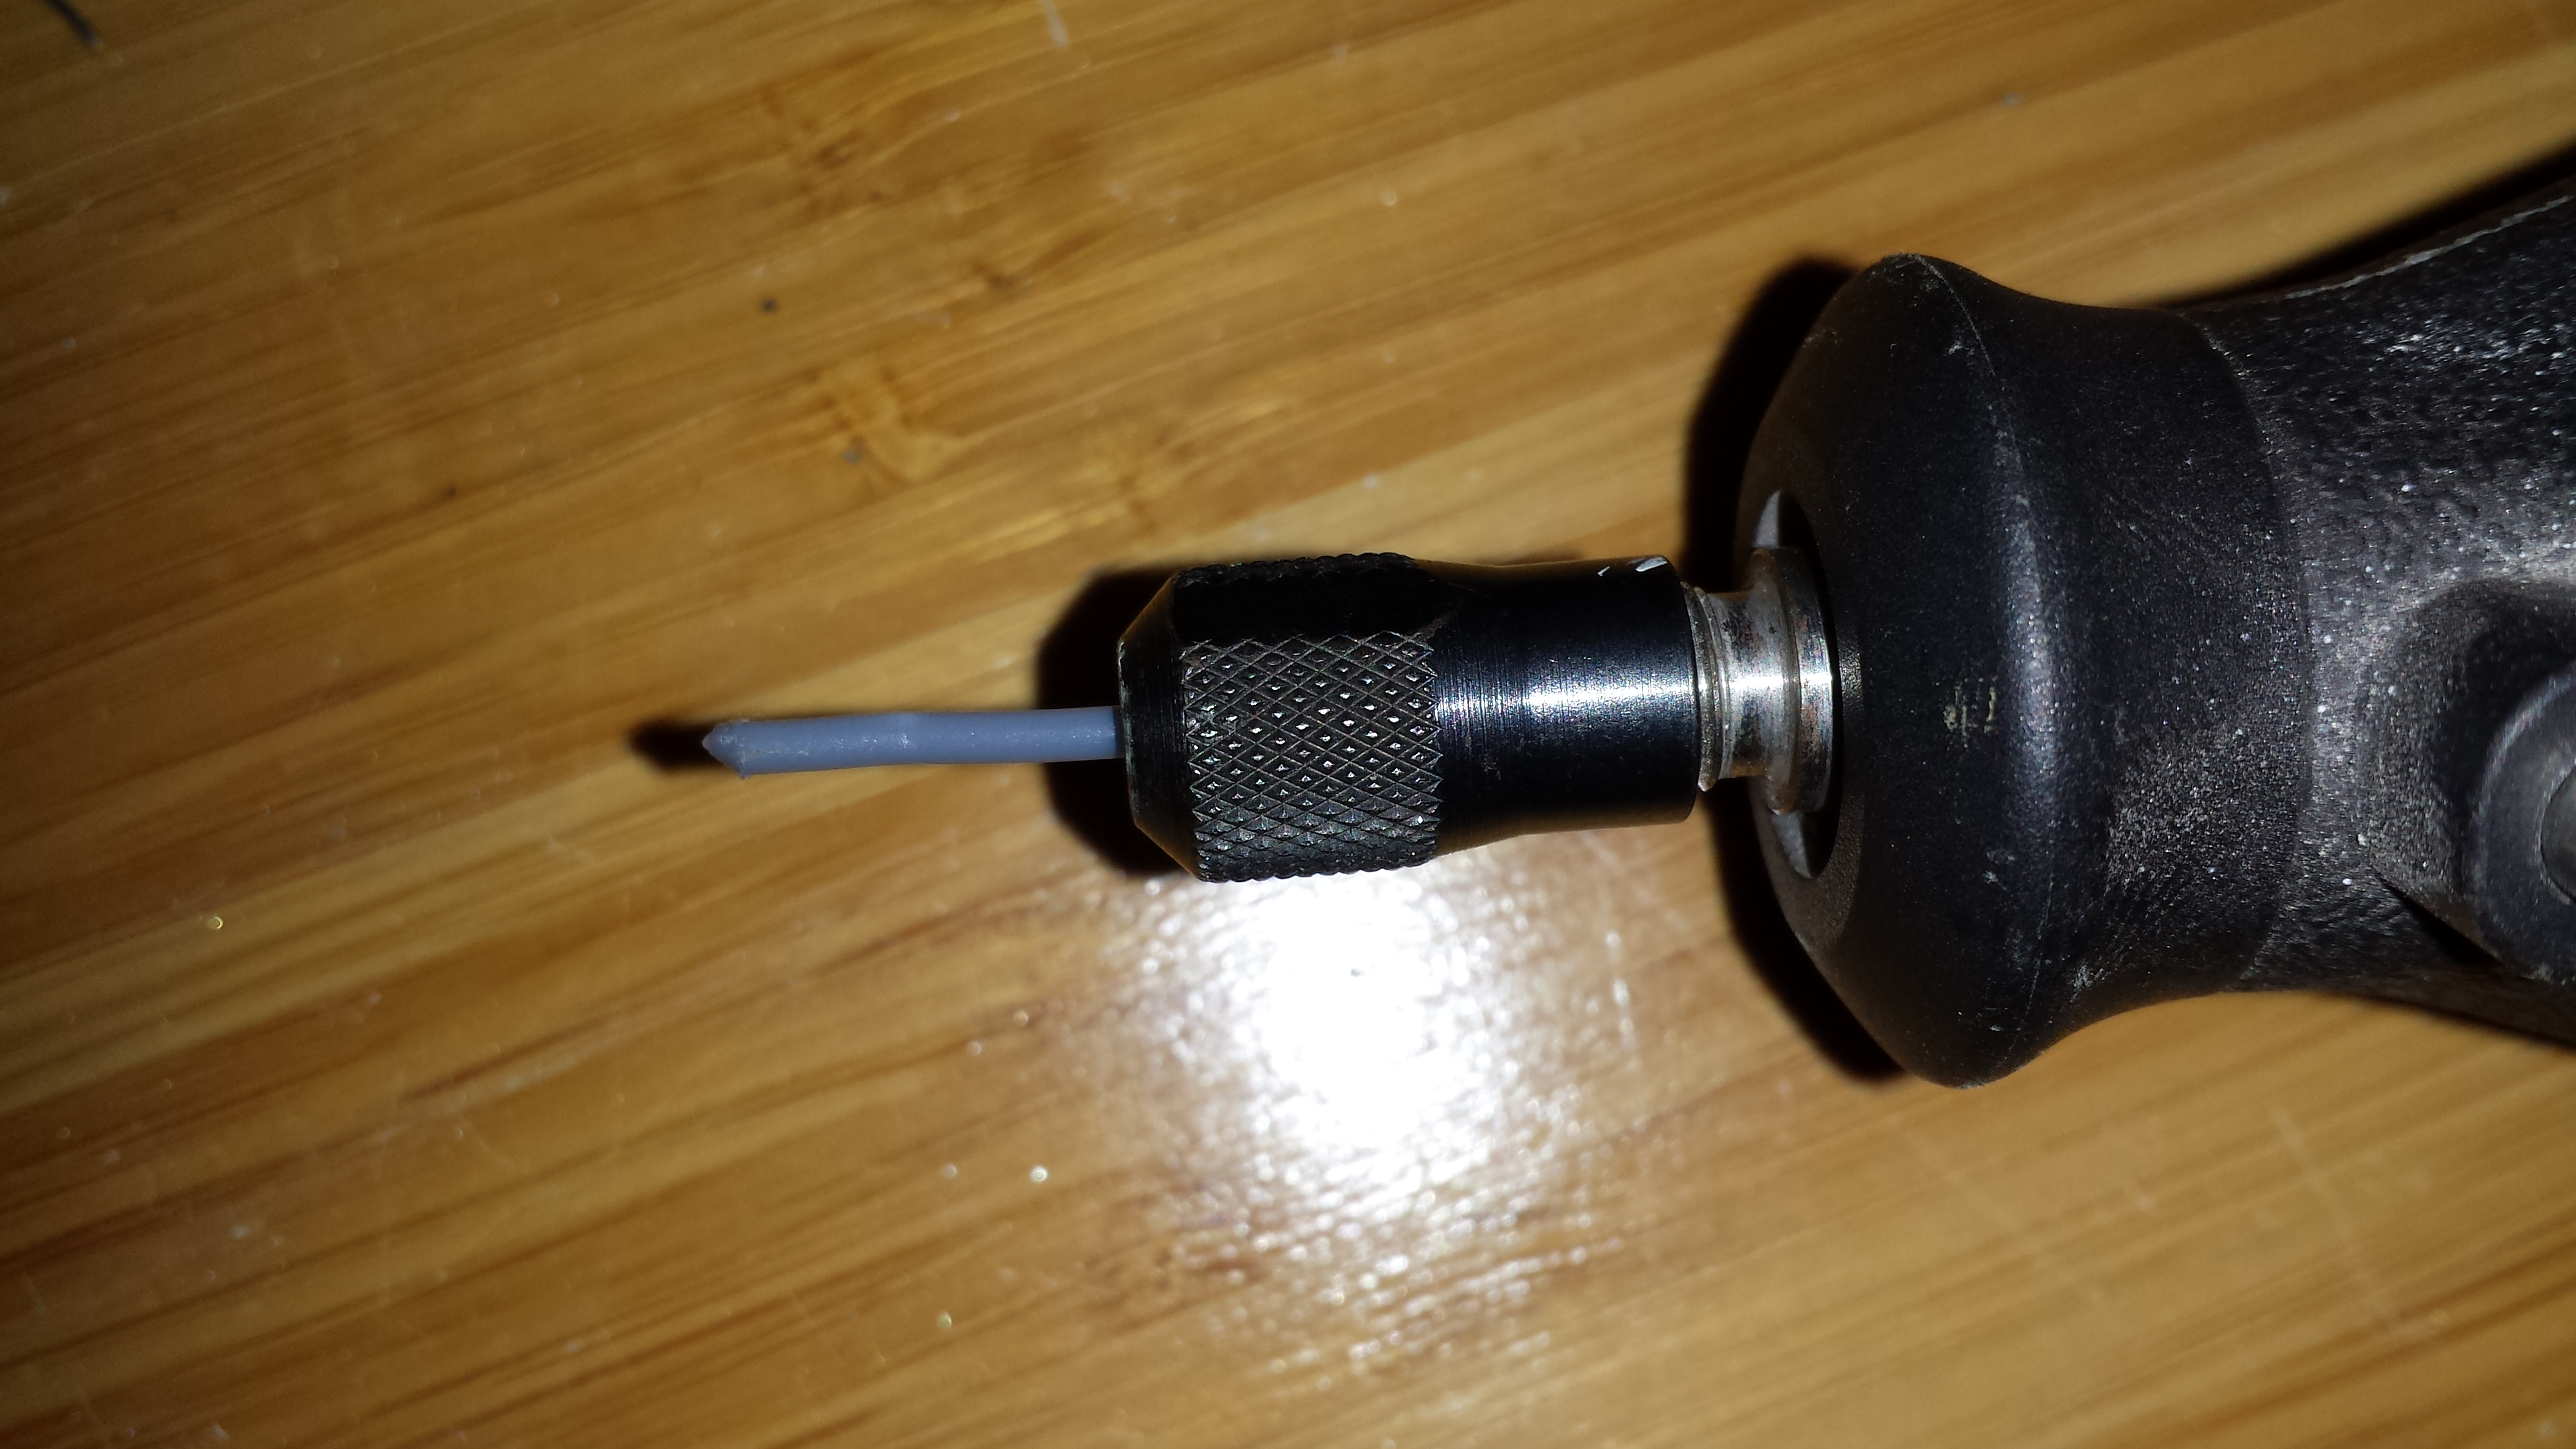 I ran the speed on the Dremel at 3-4 which seemed to work fine for me.
Here is before:  And after:
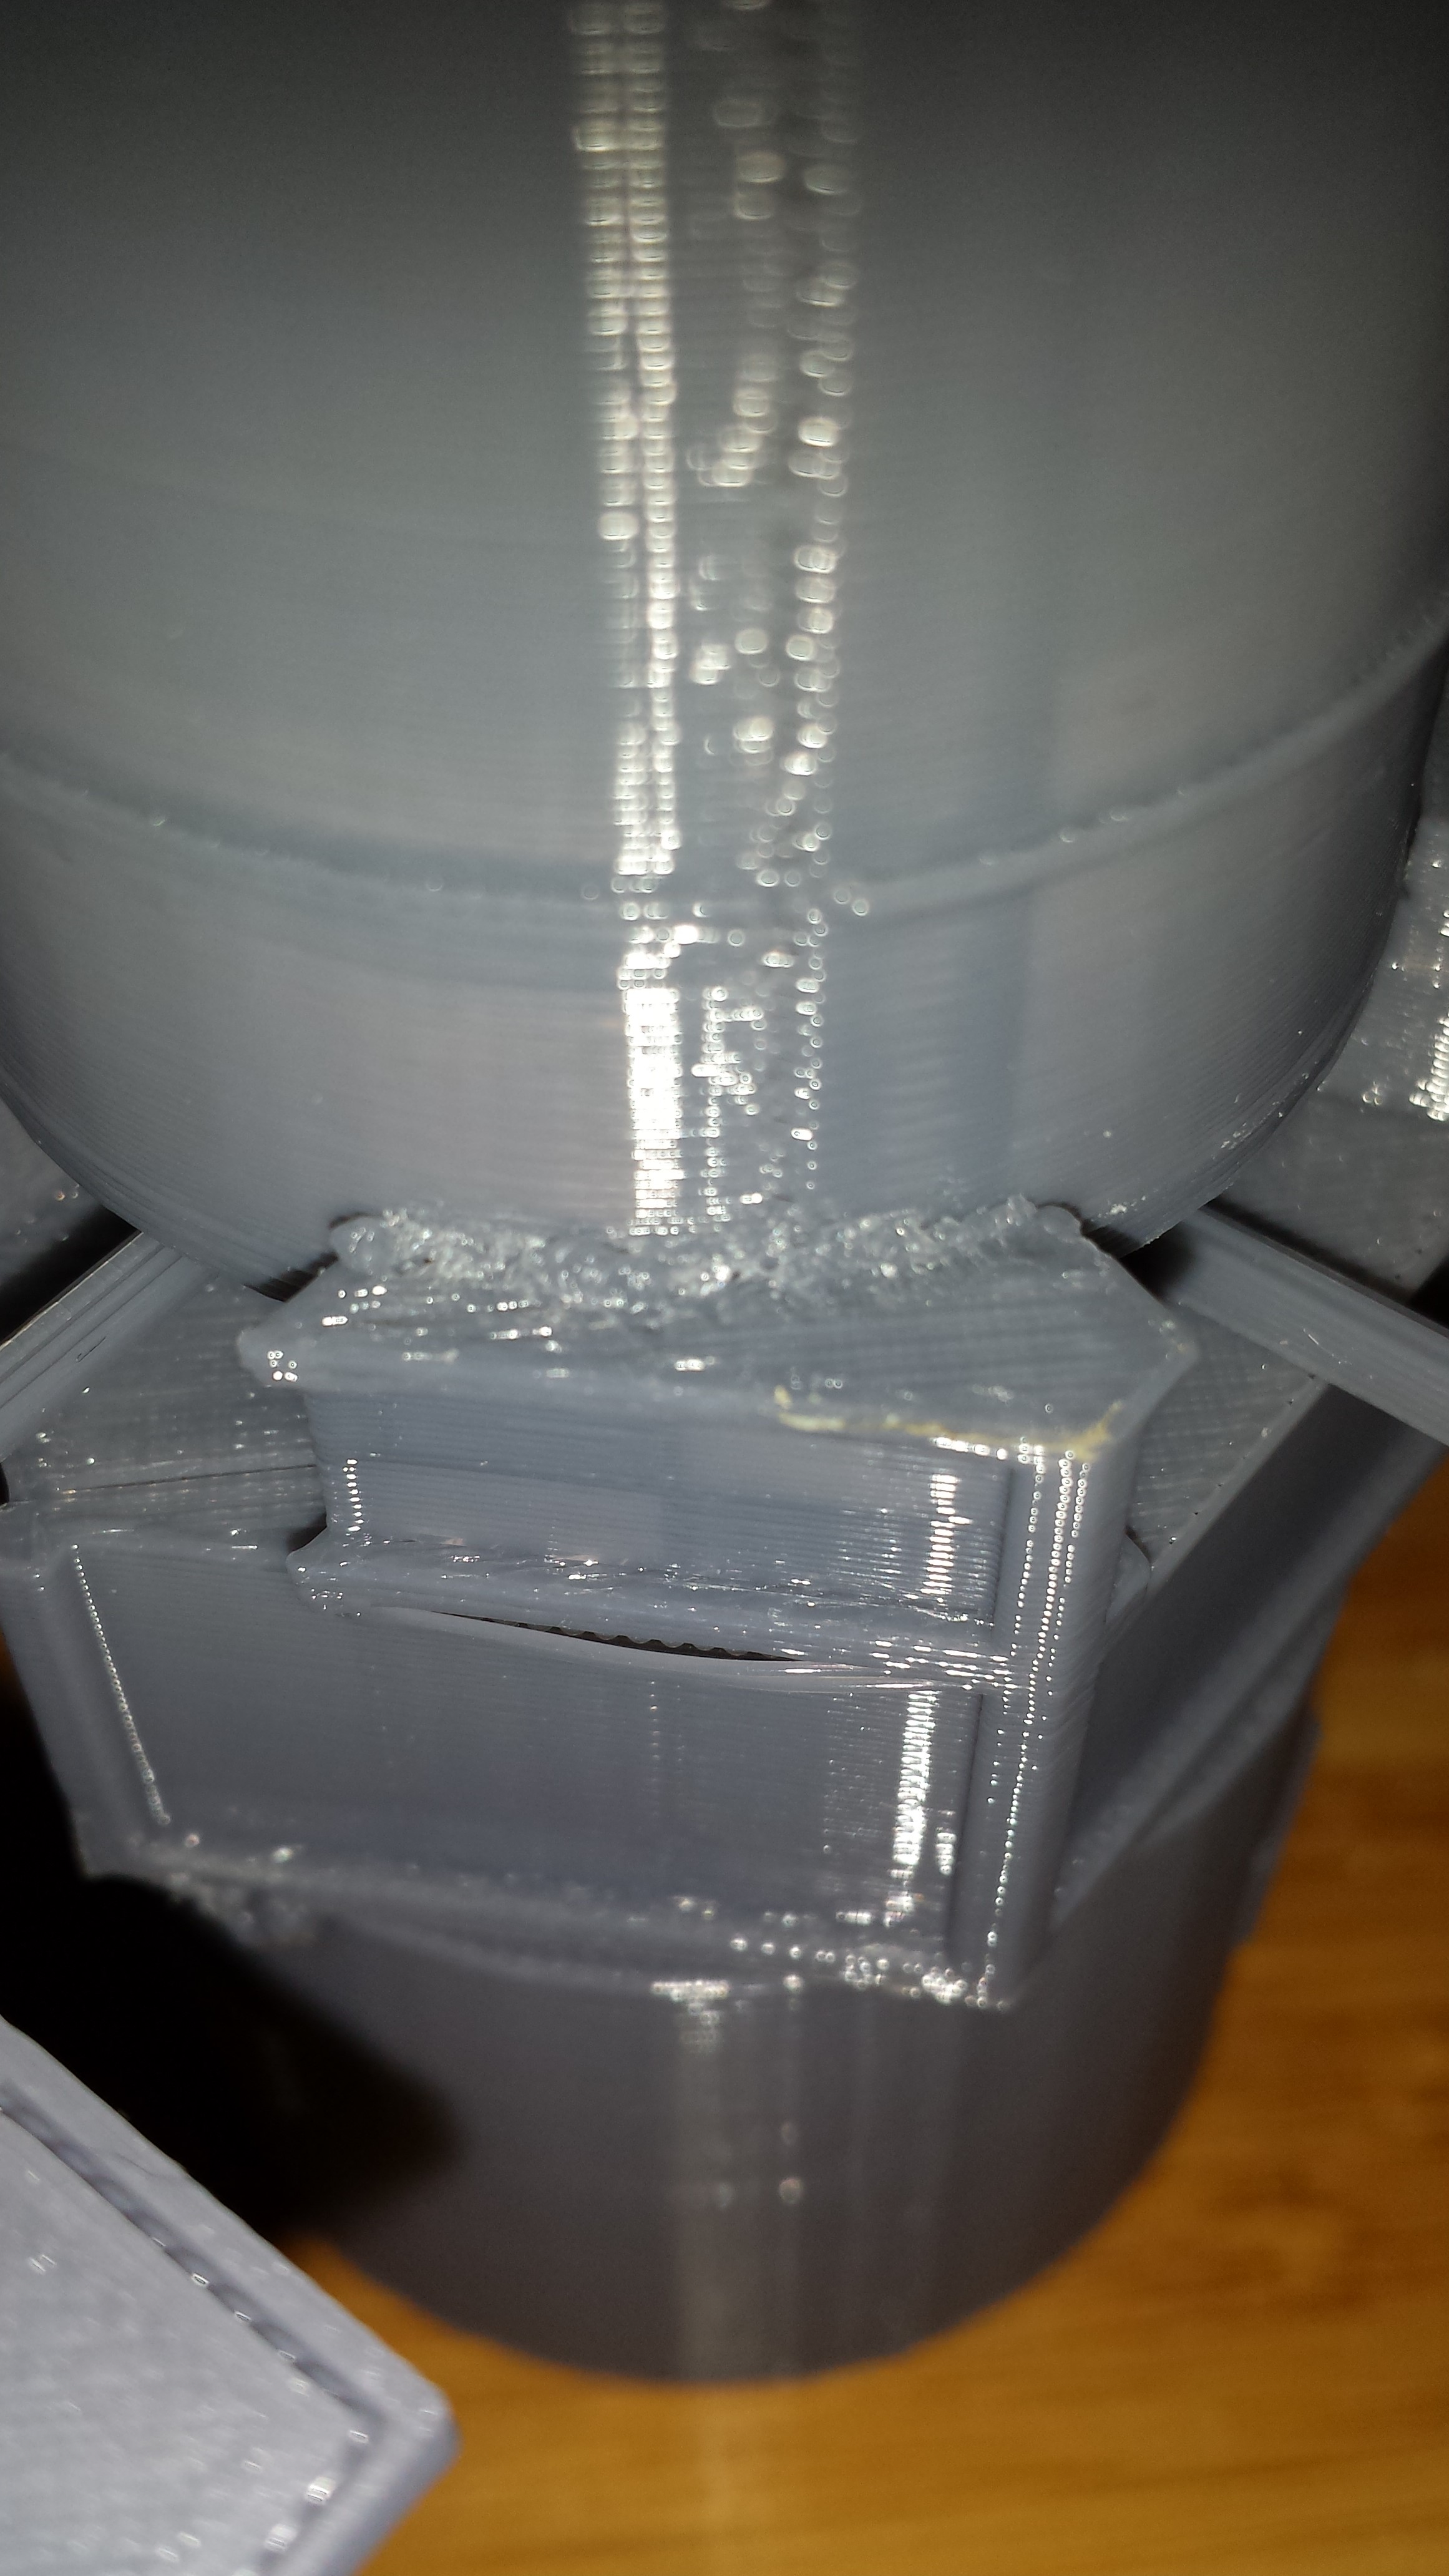 Here are some more joints:
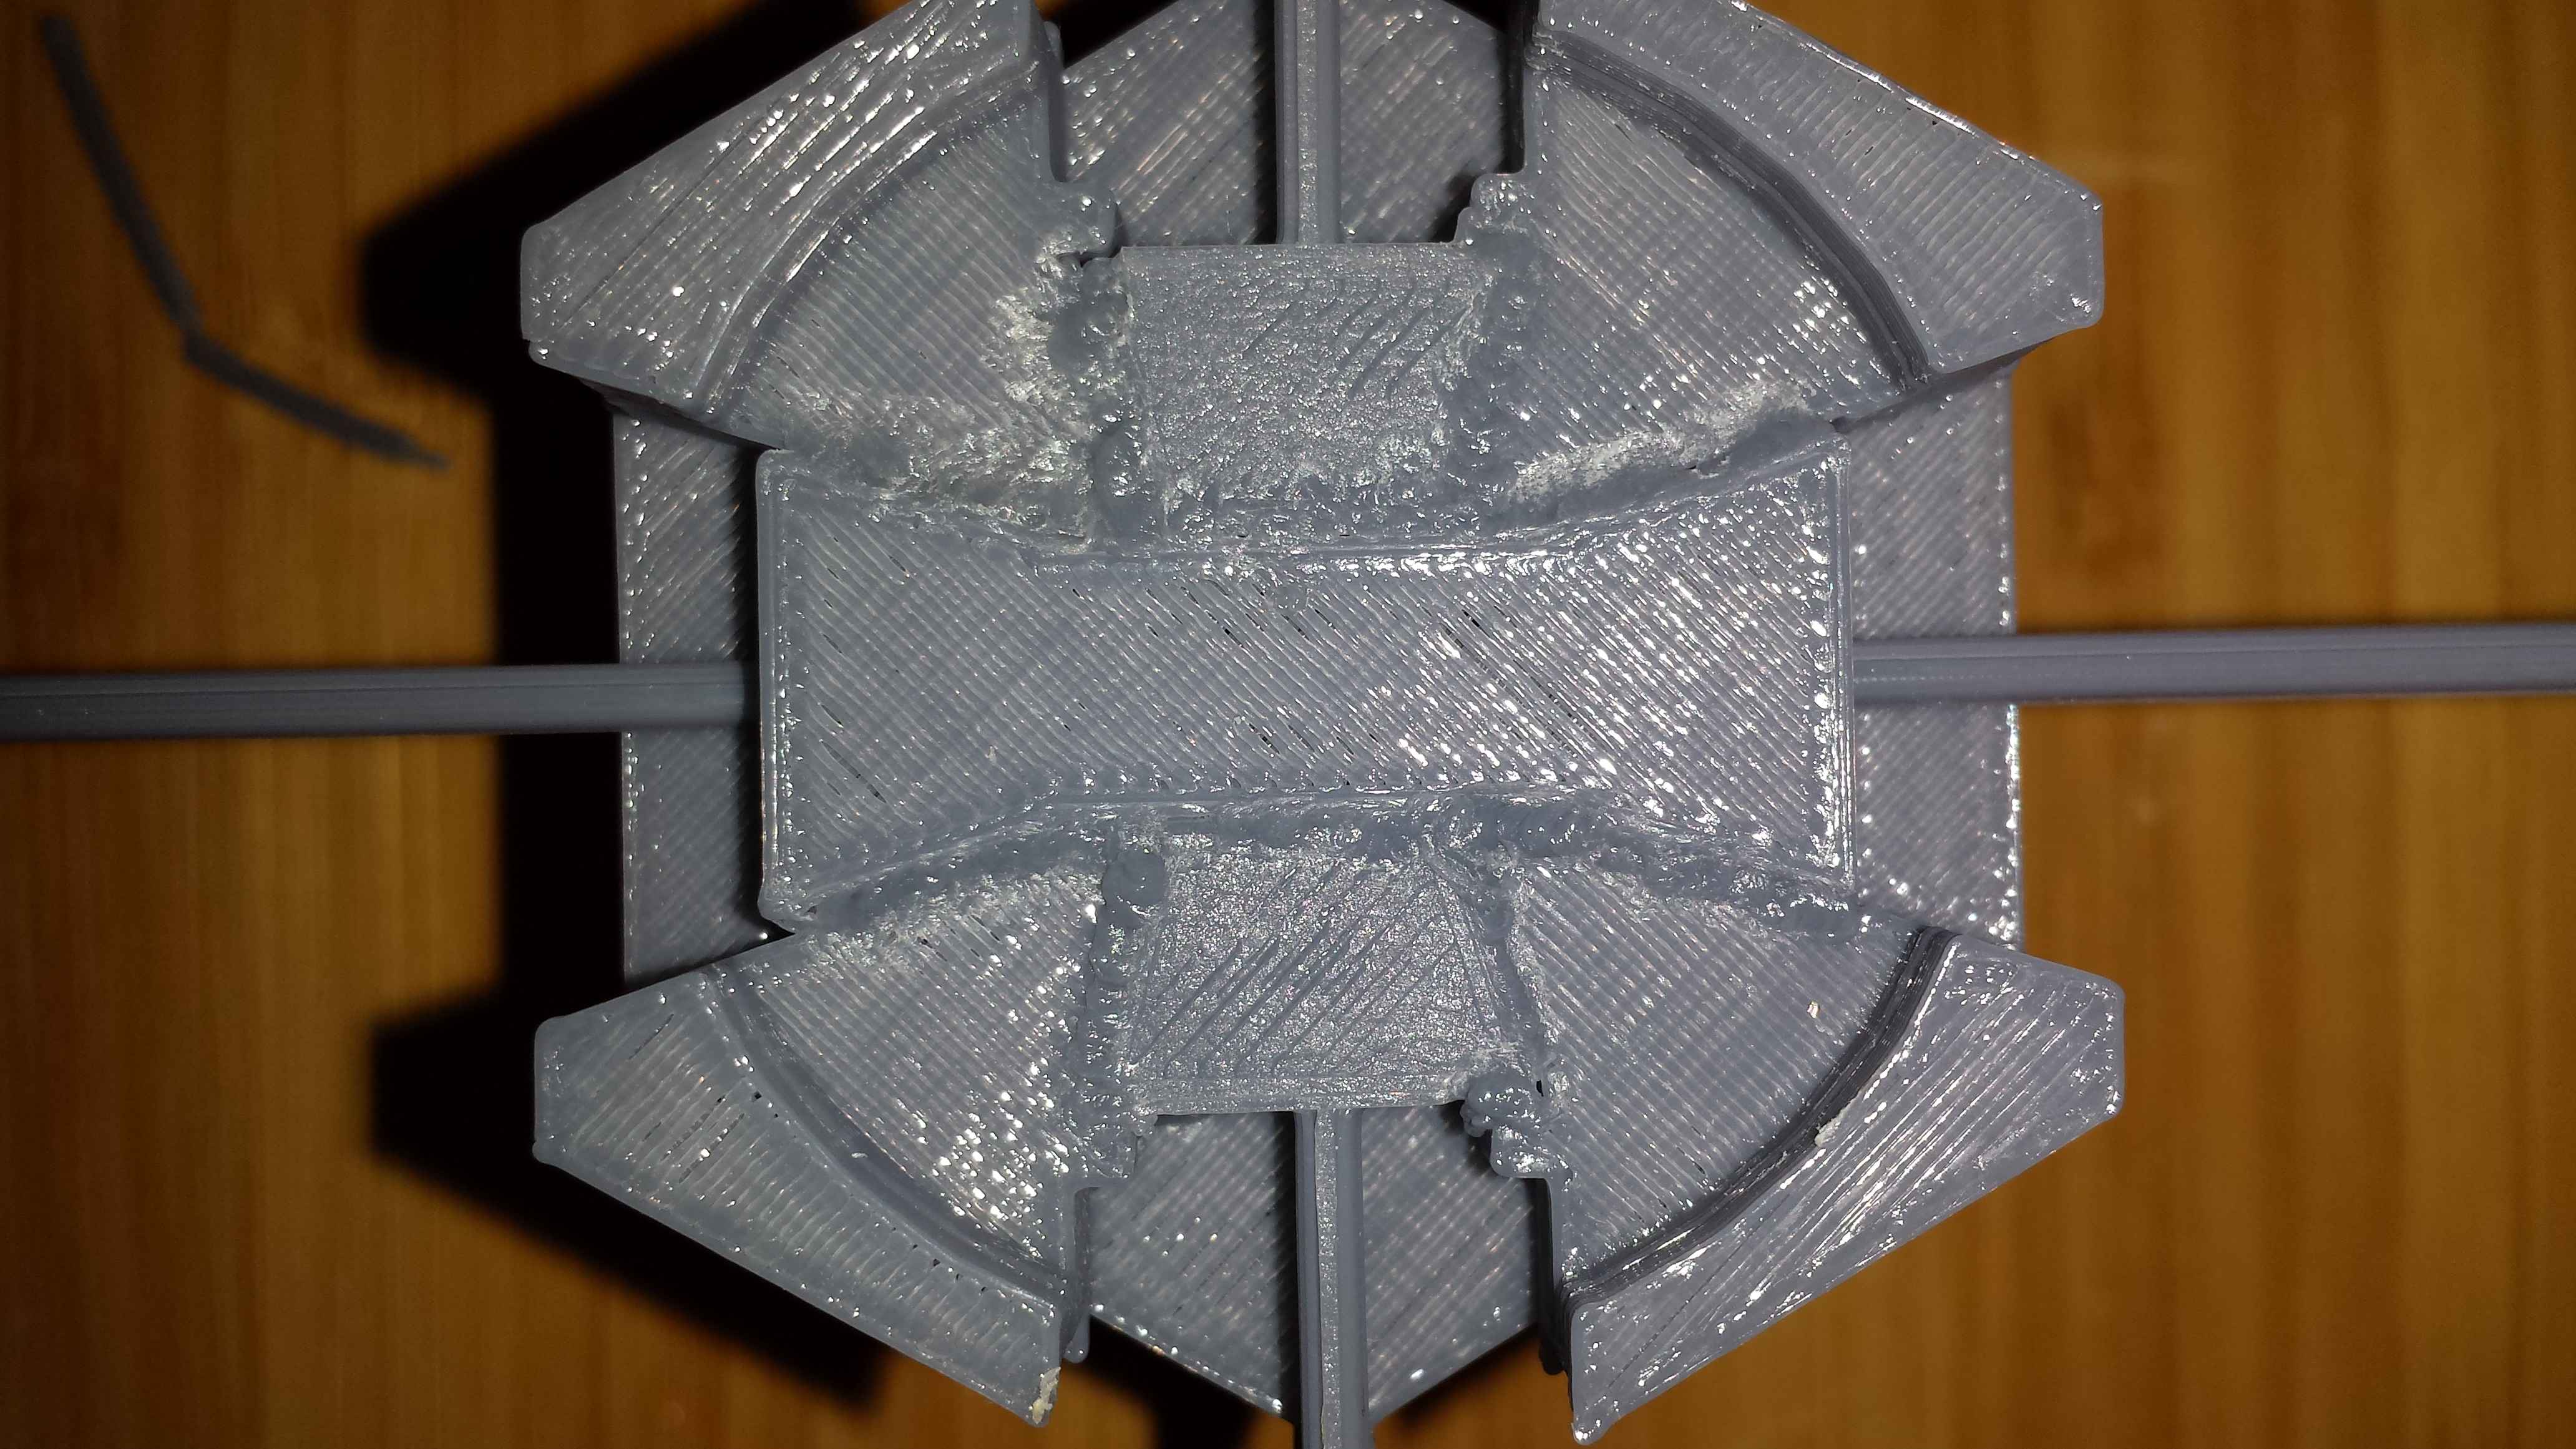
It works great it is quite easy and it seems to form a great bond. Be ready to stop the Dremel and pull more filament out especially when you are filling a big joint.