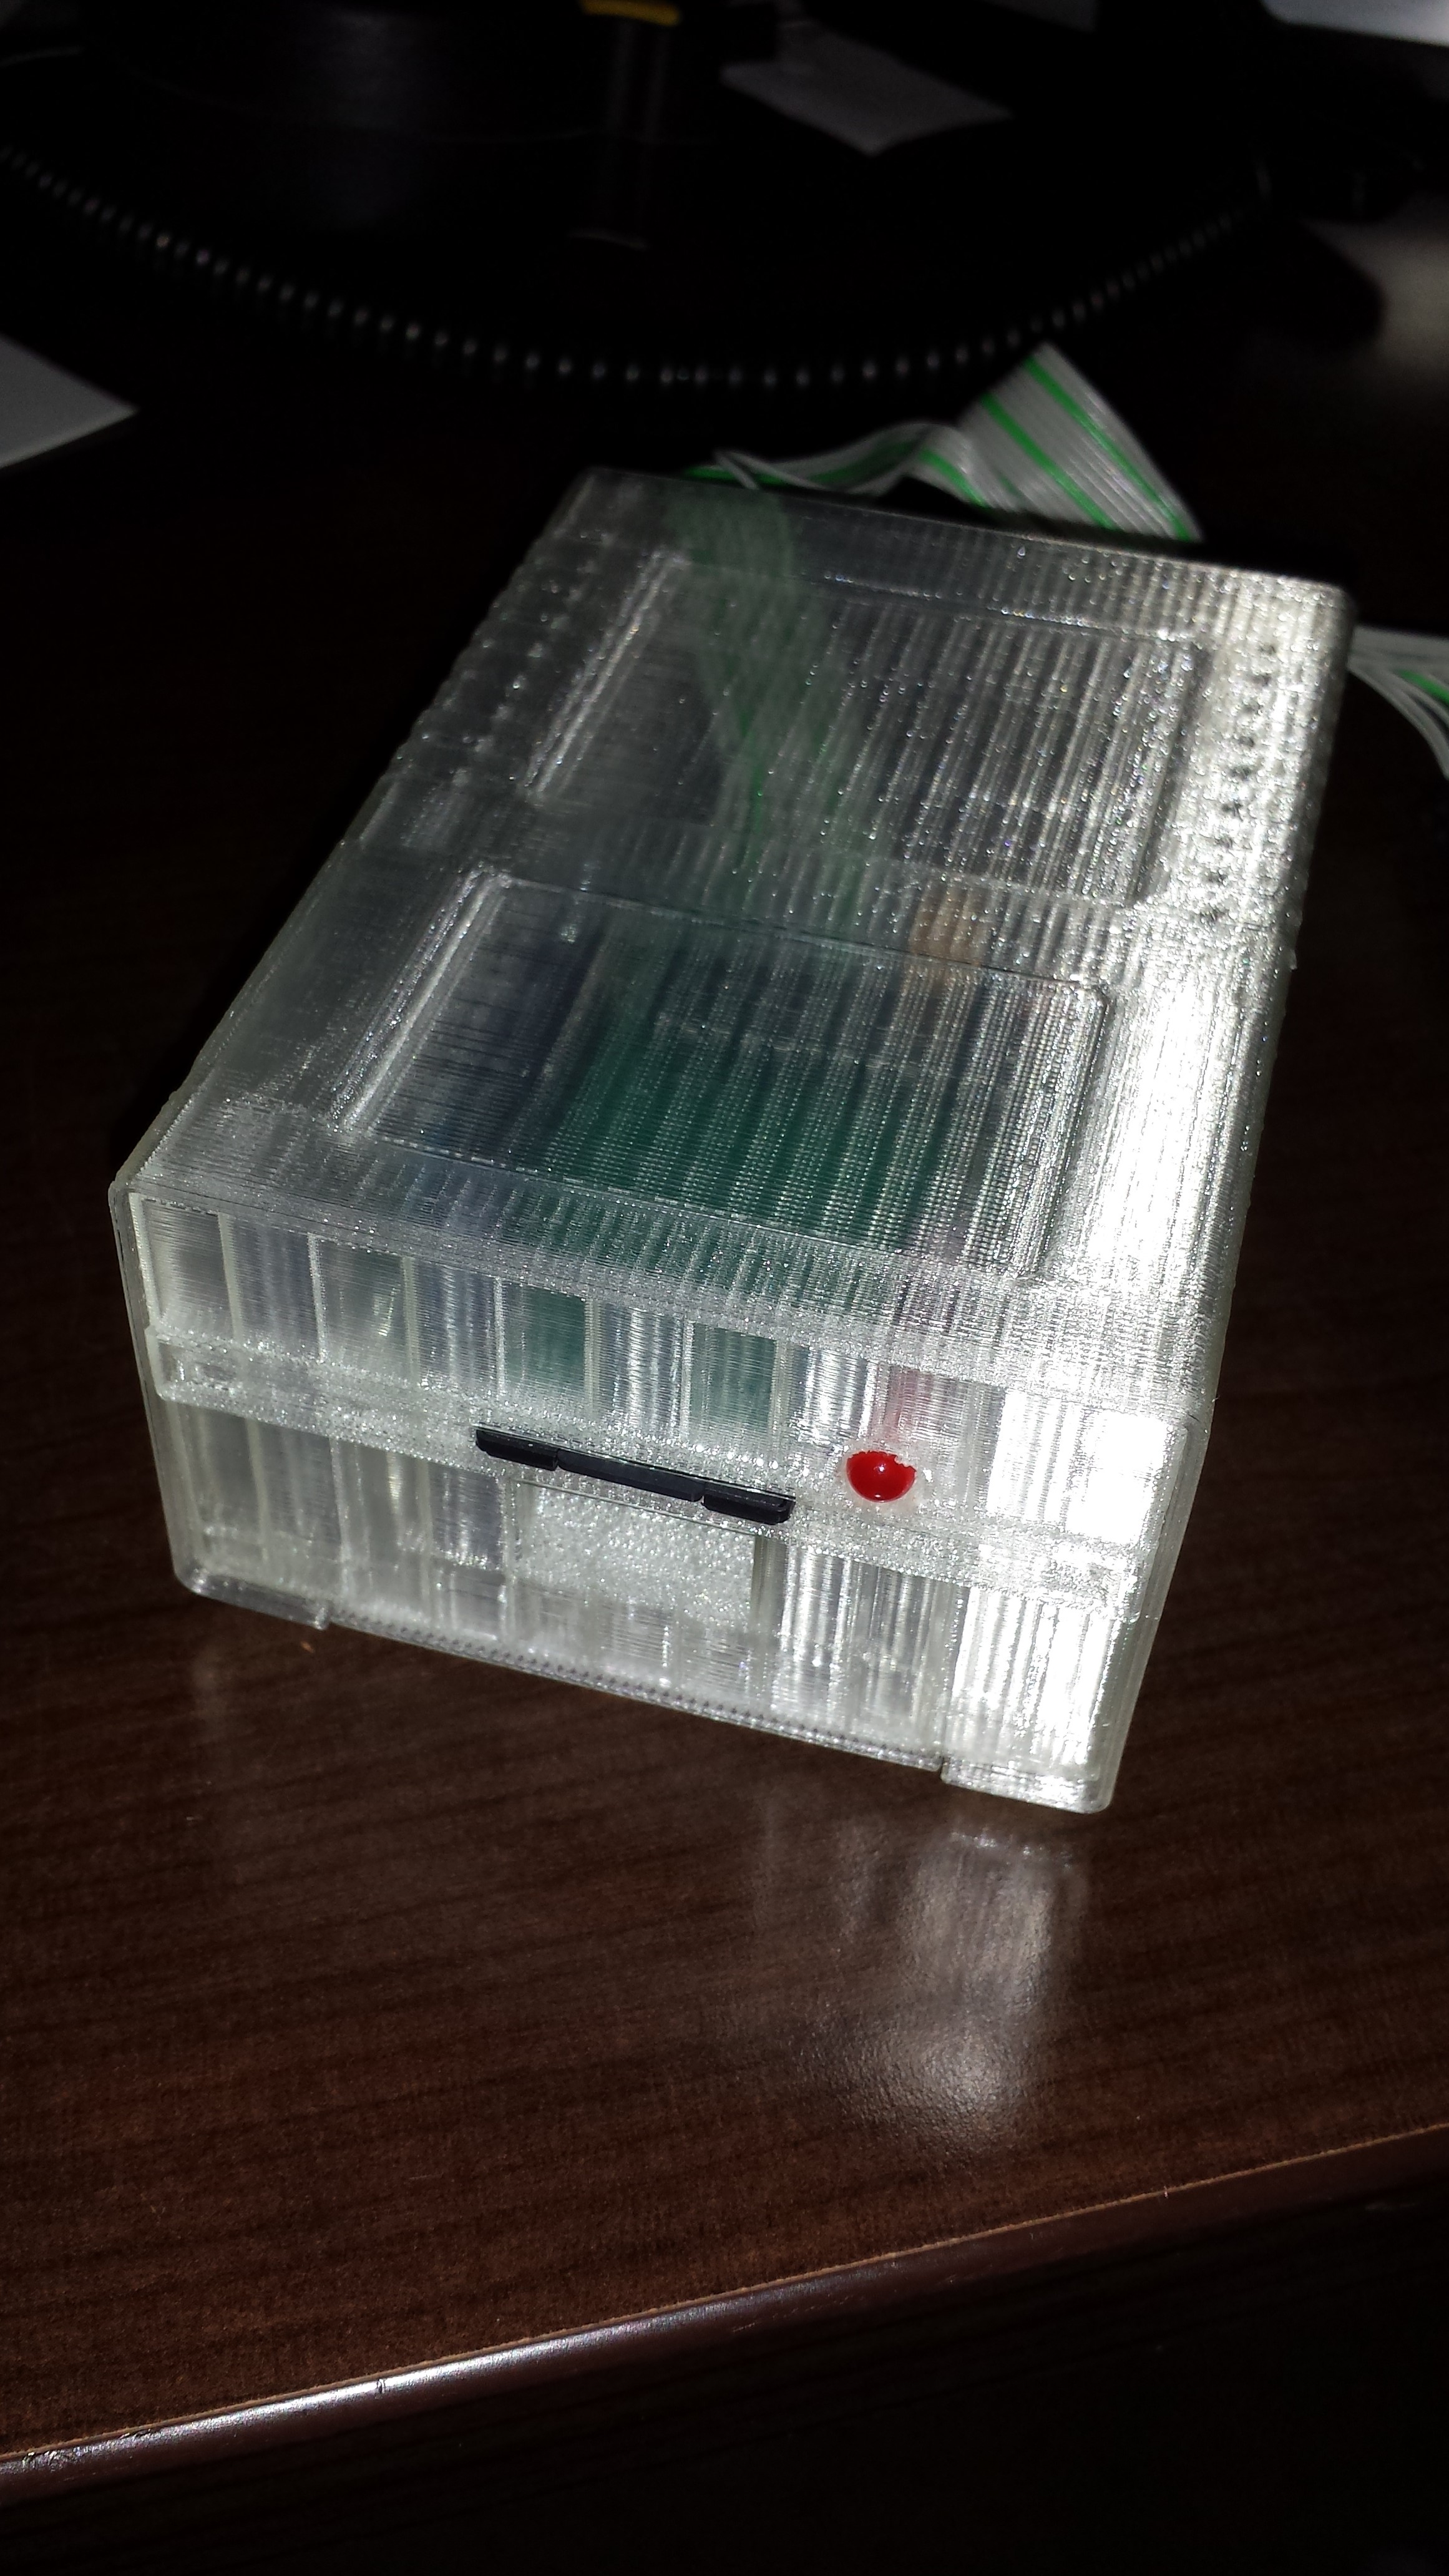
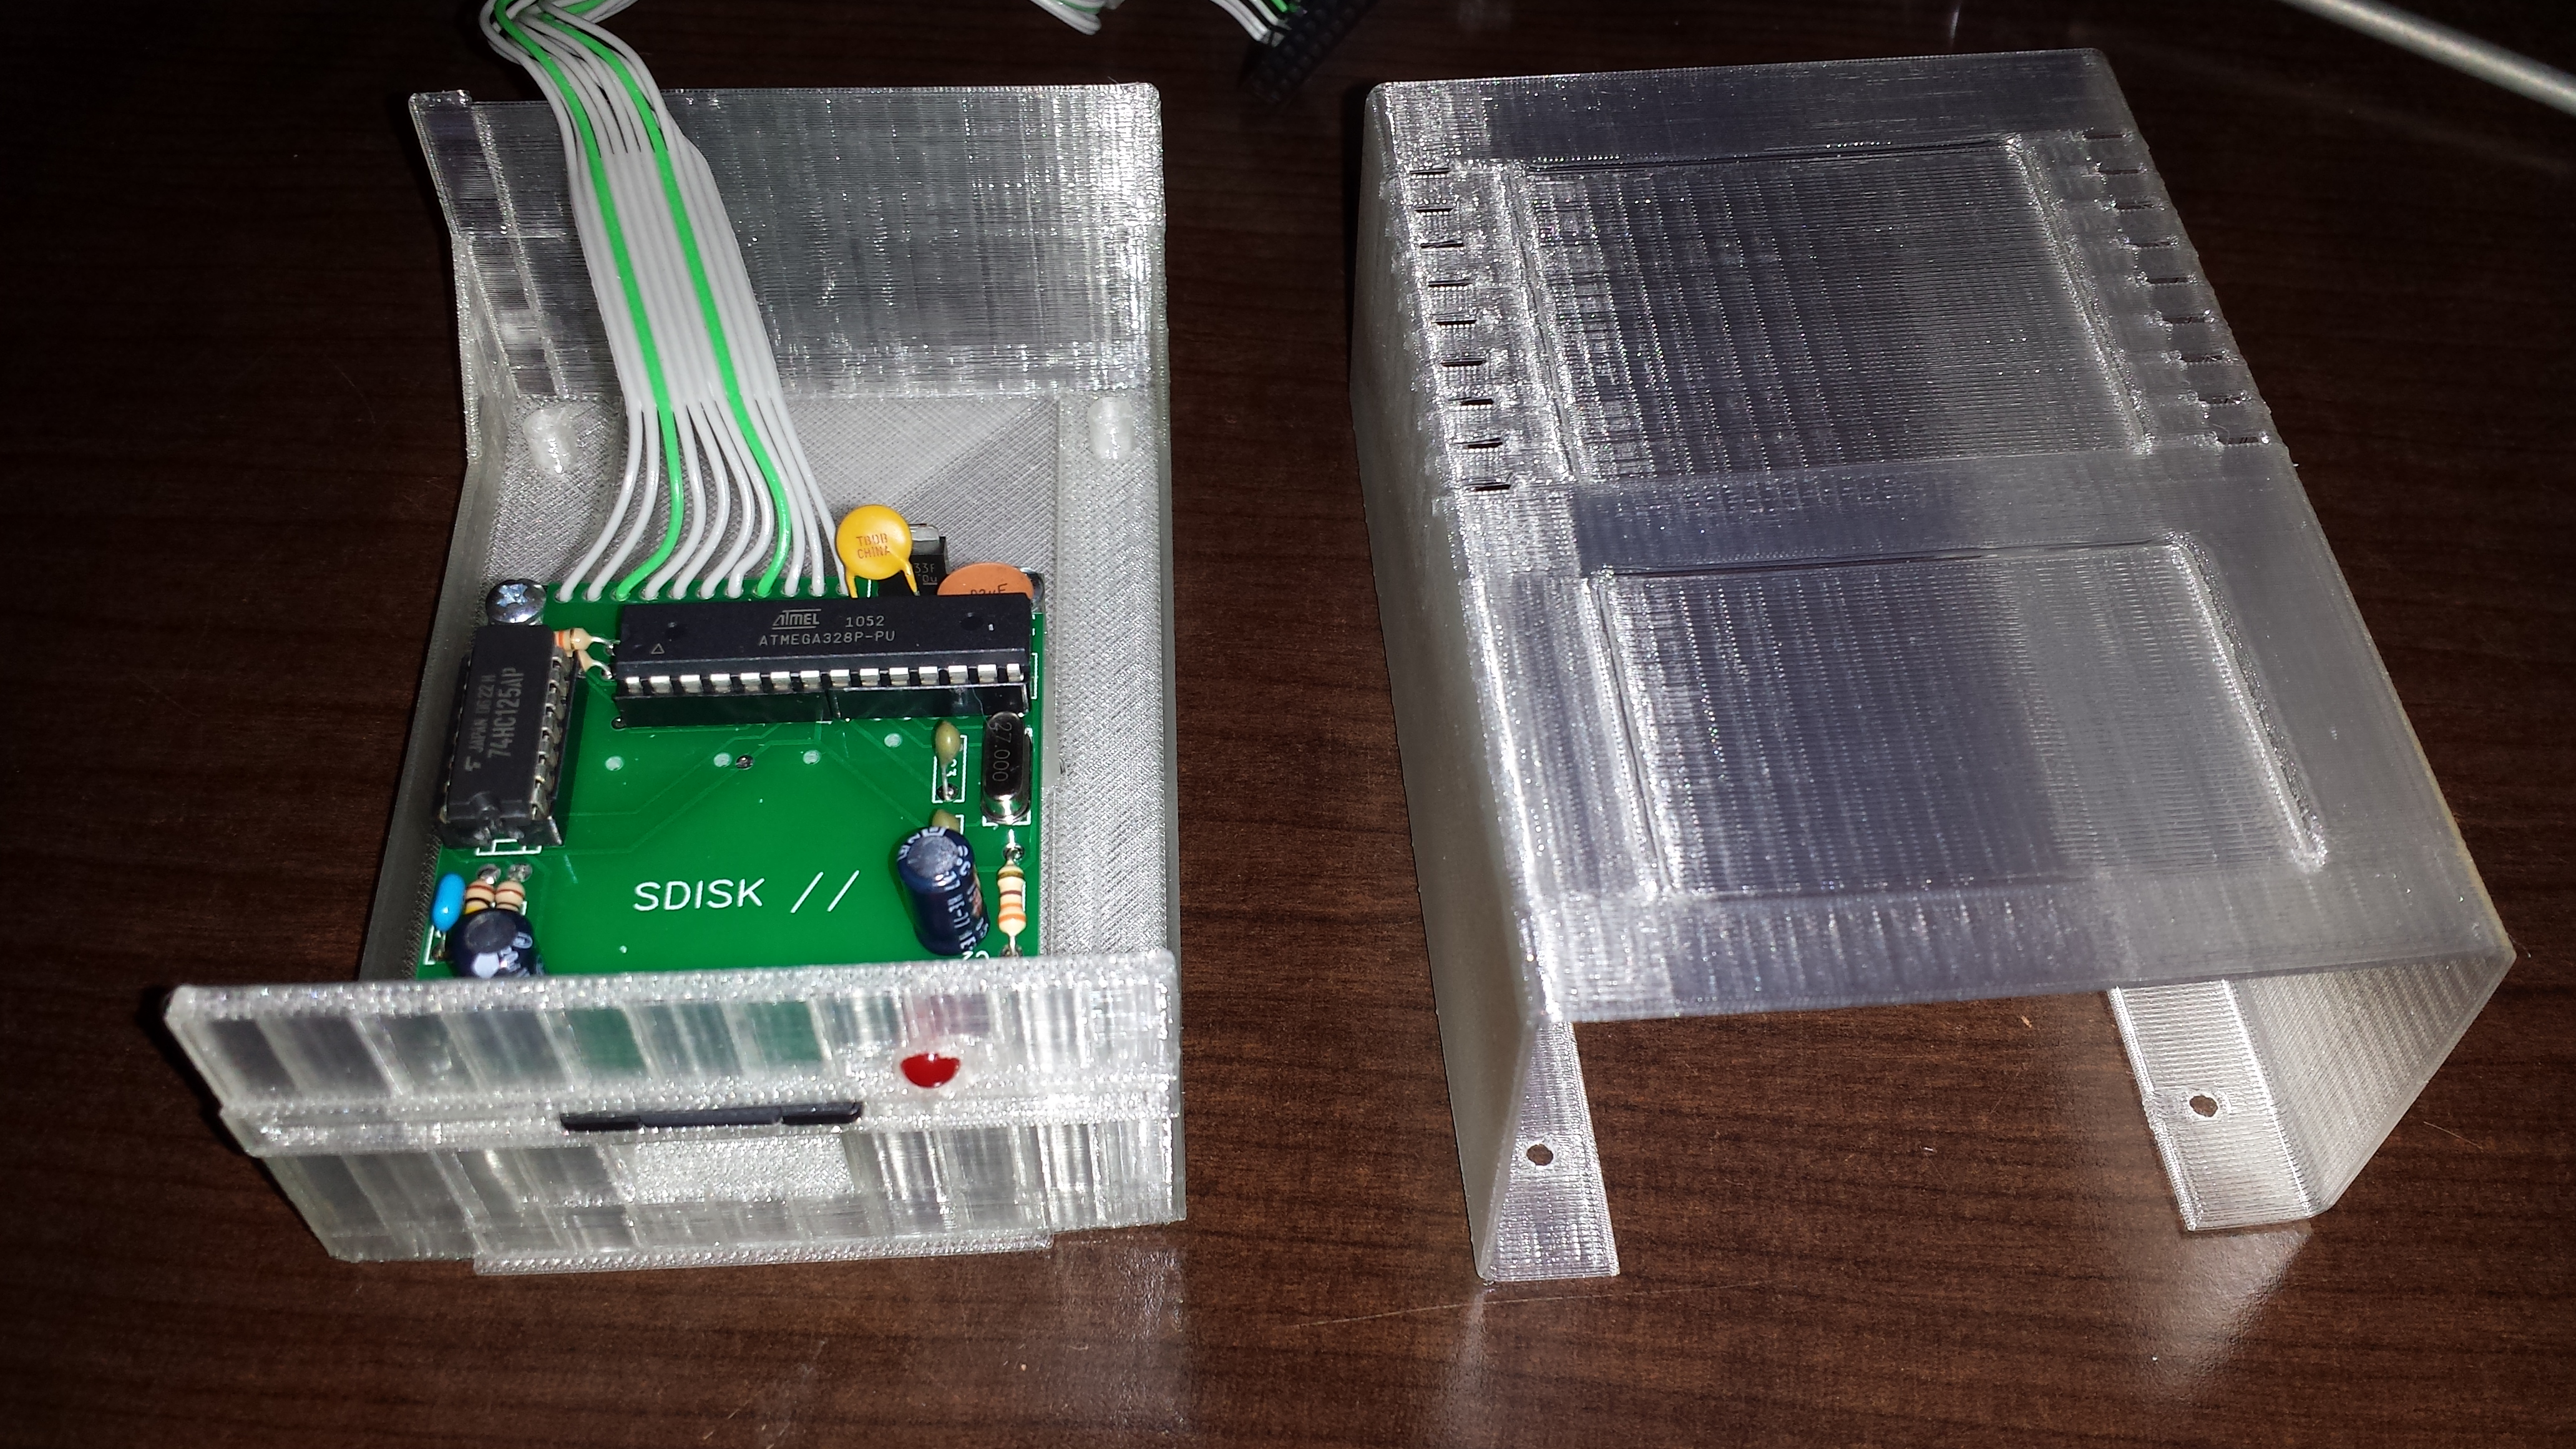
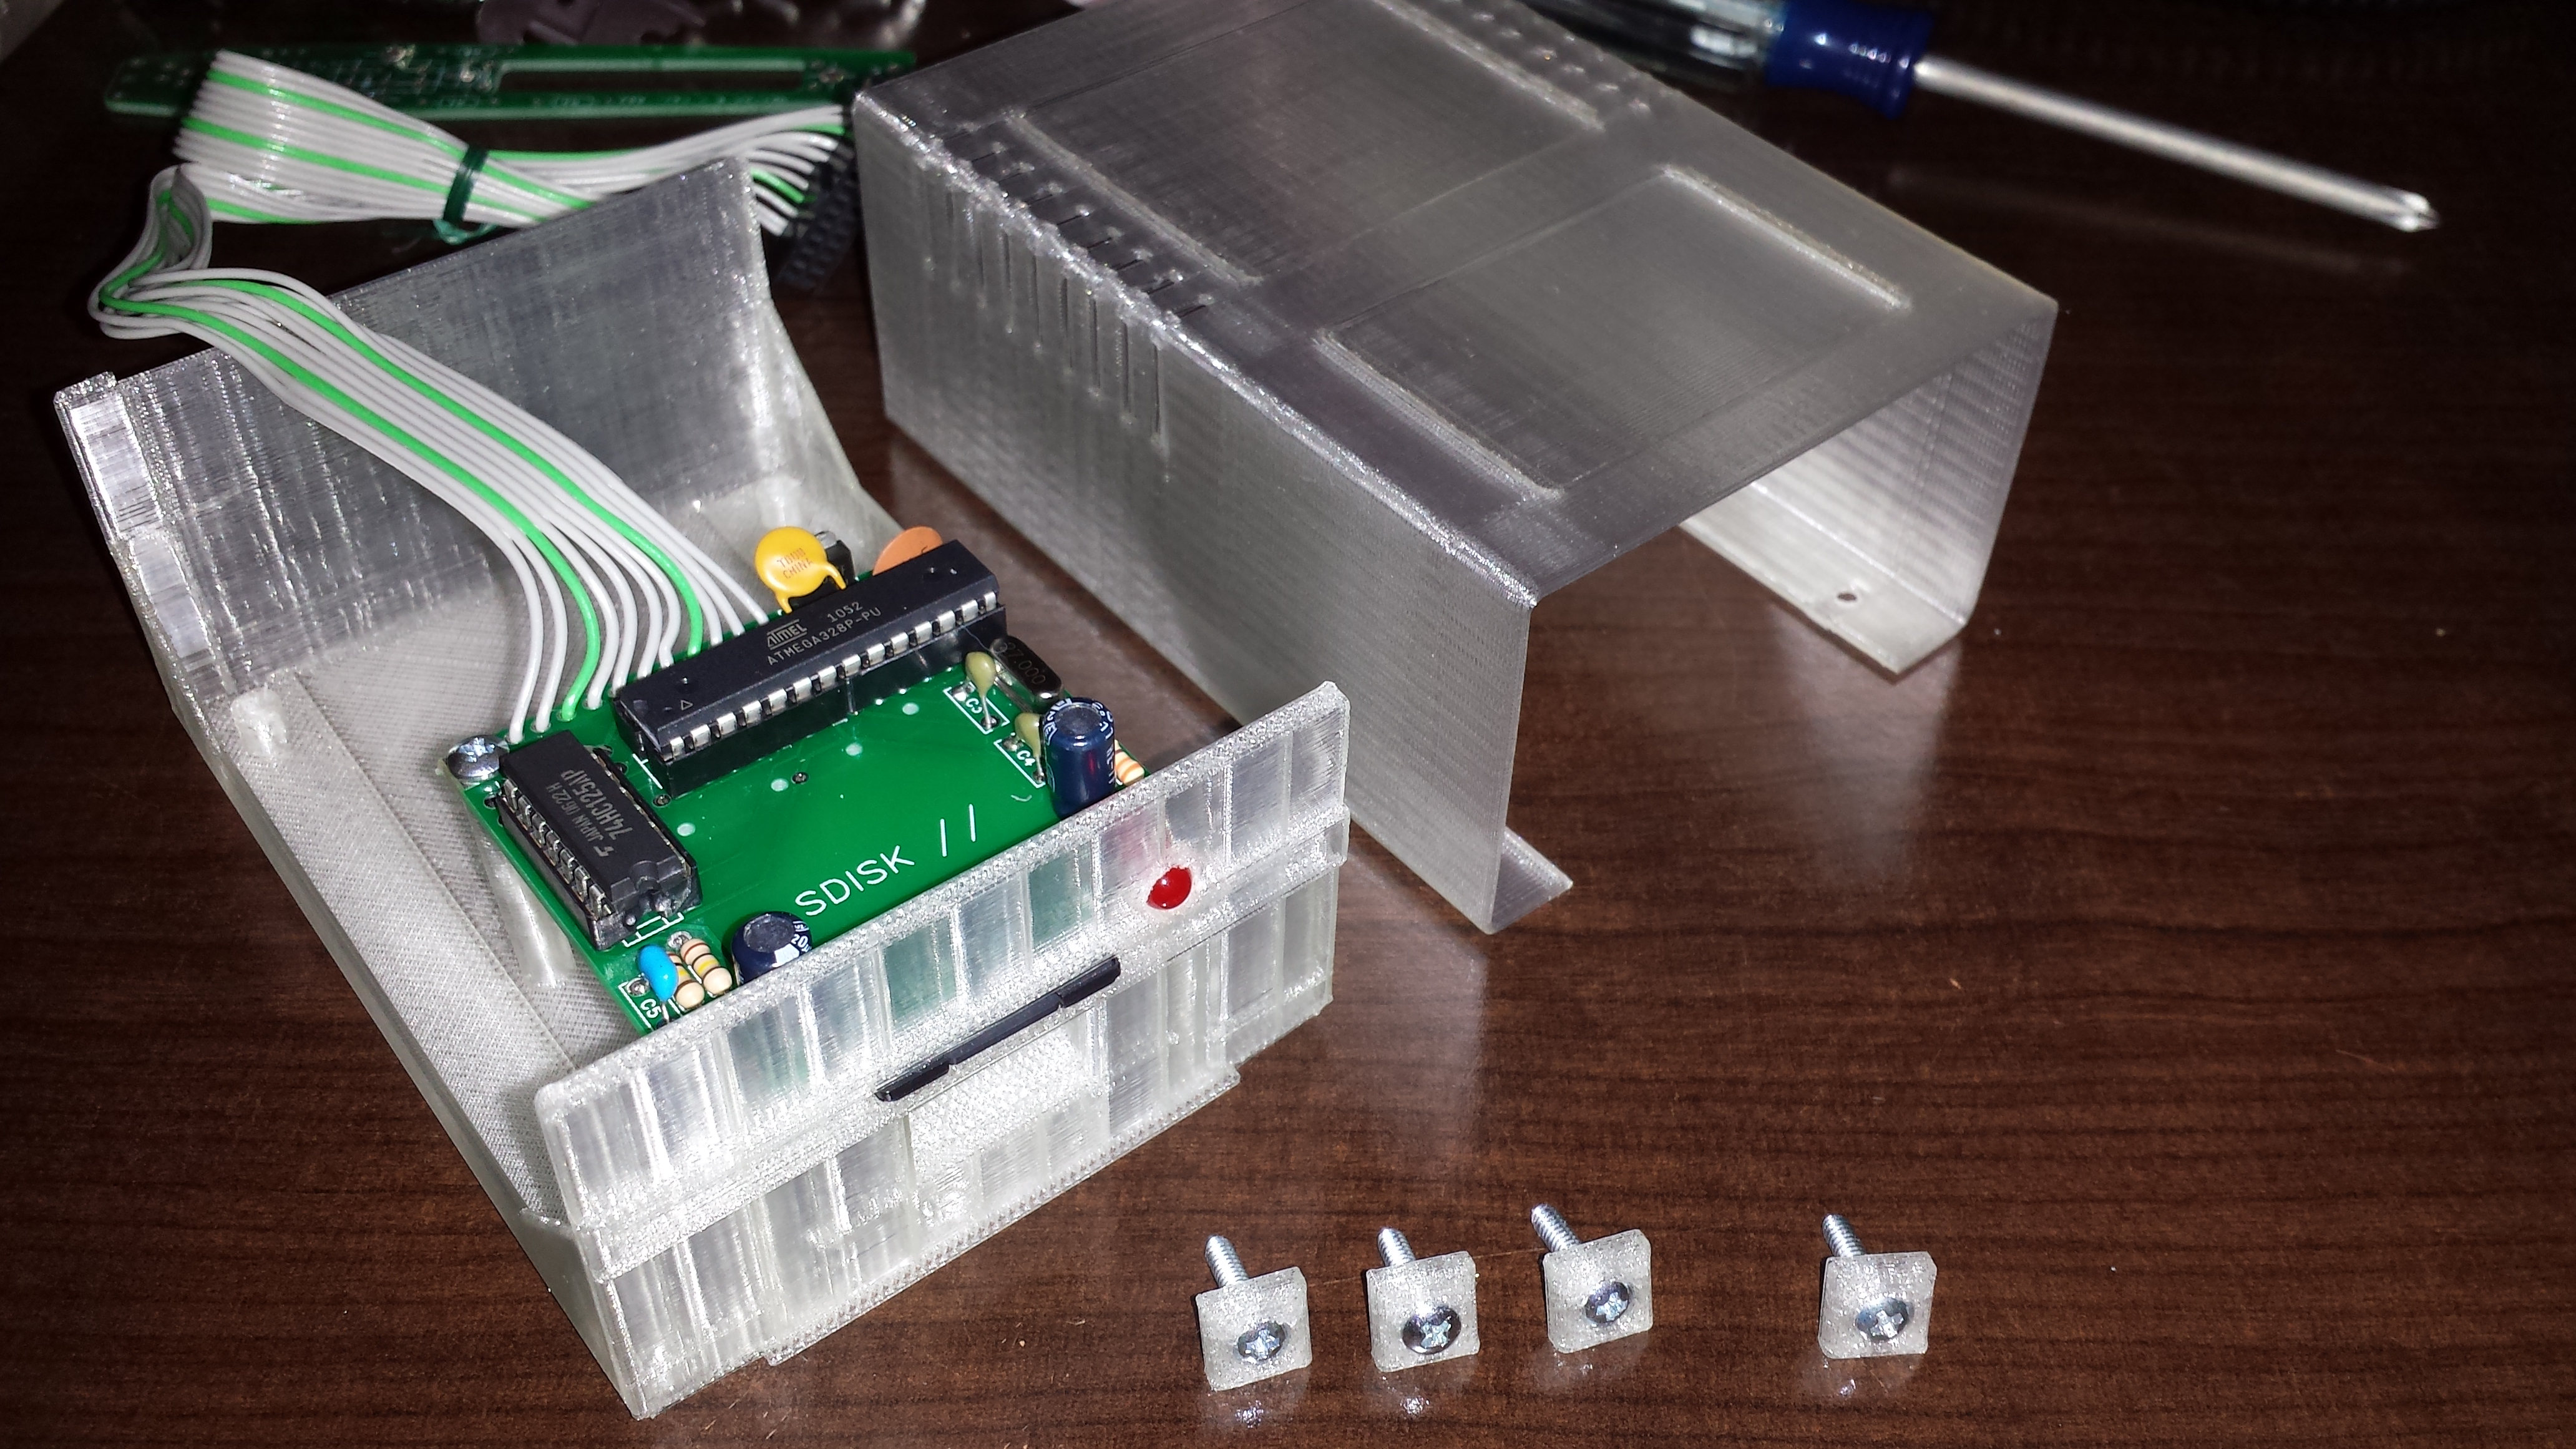
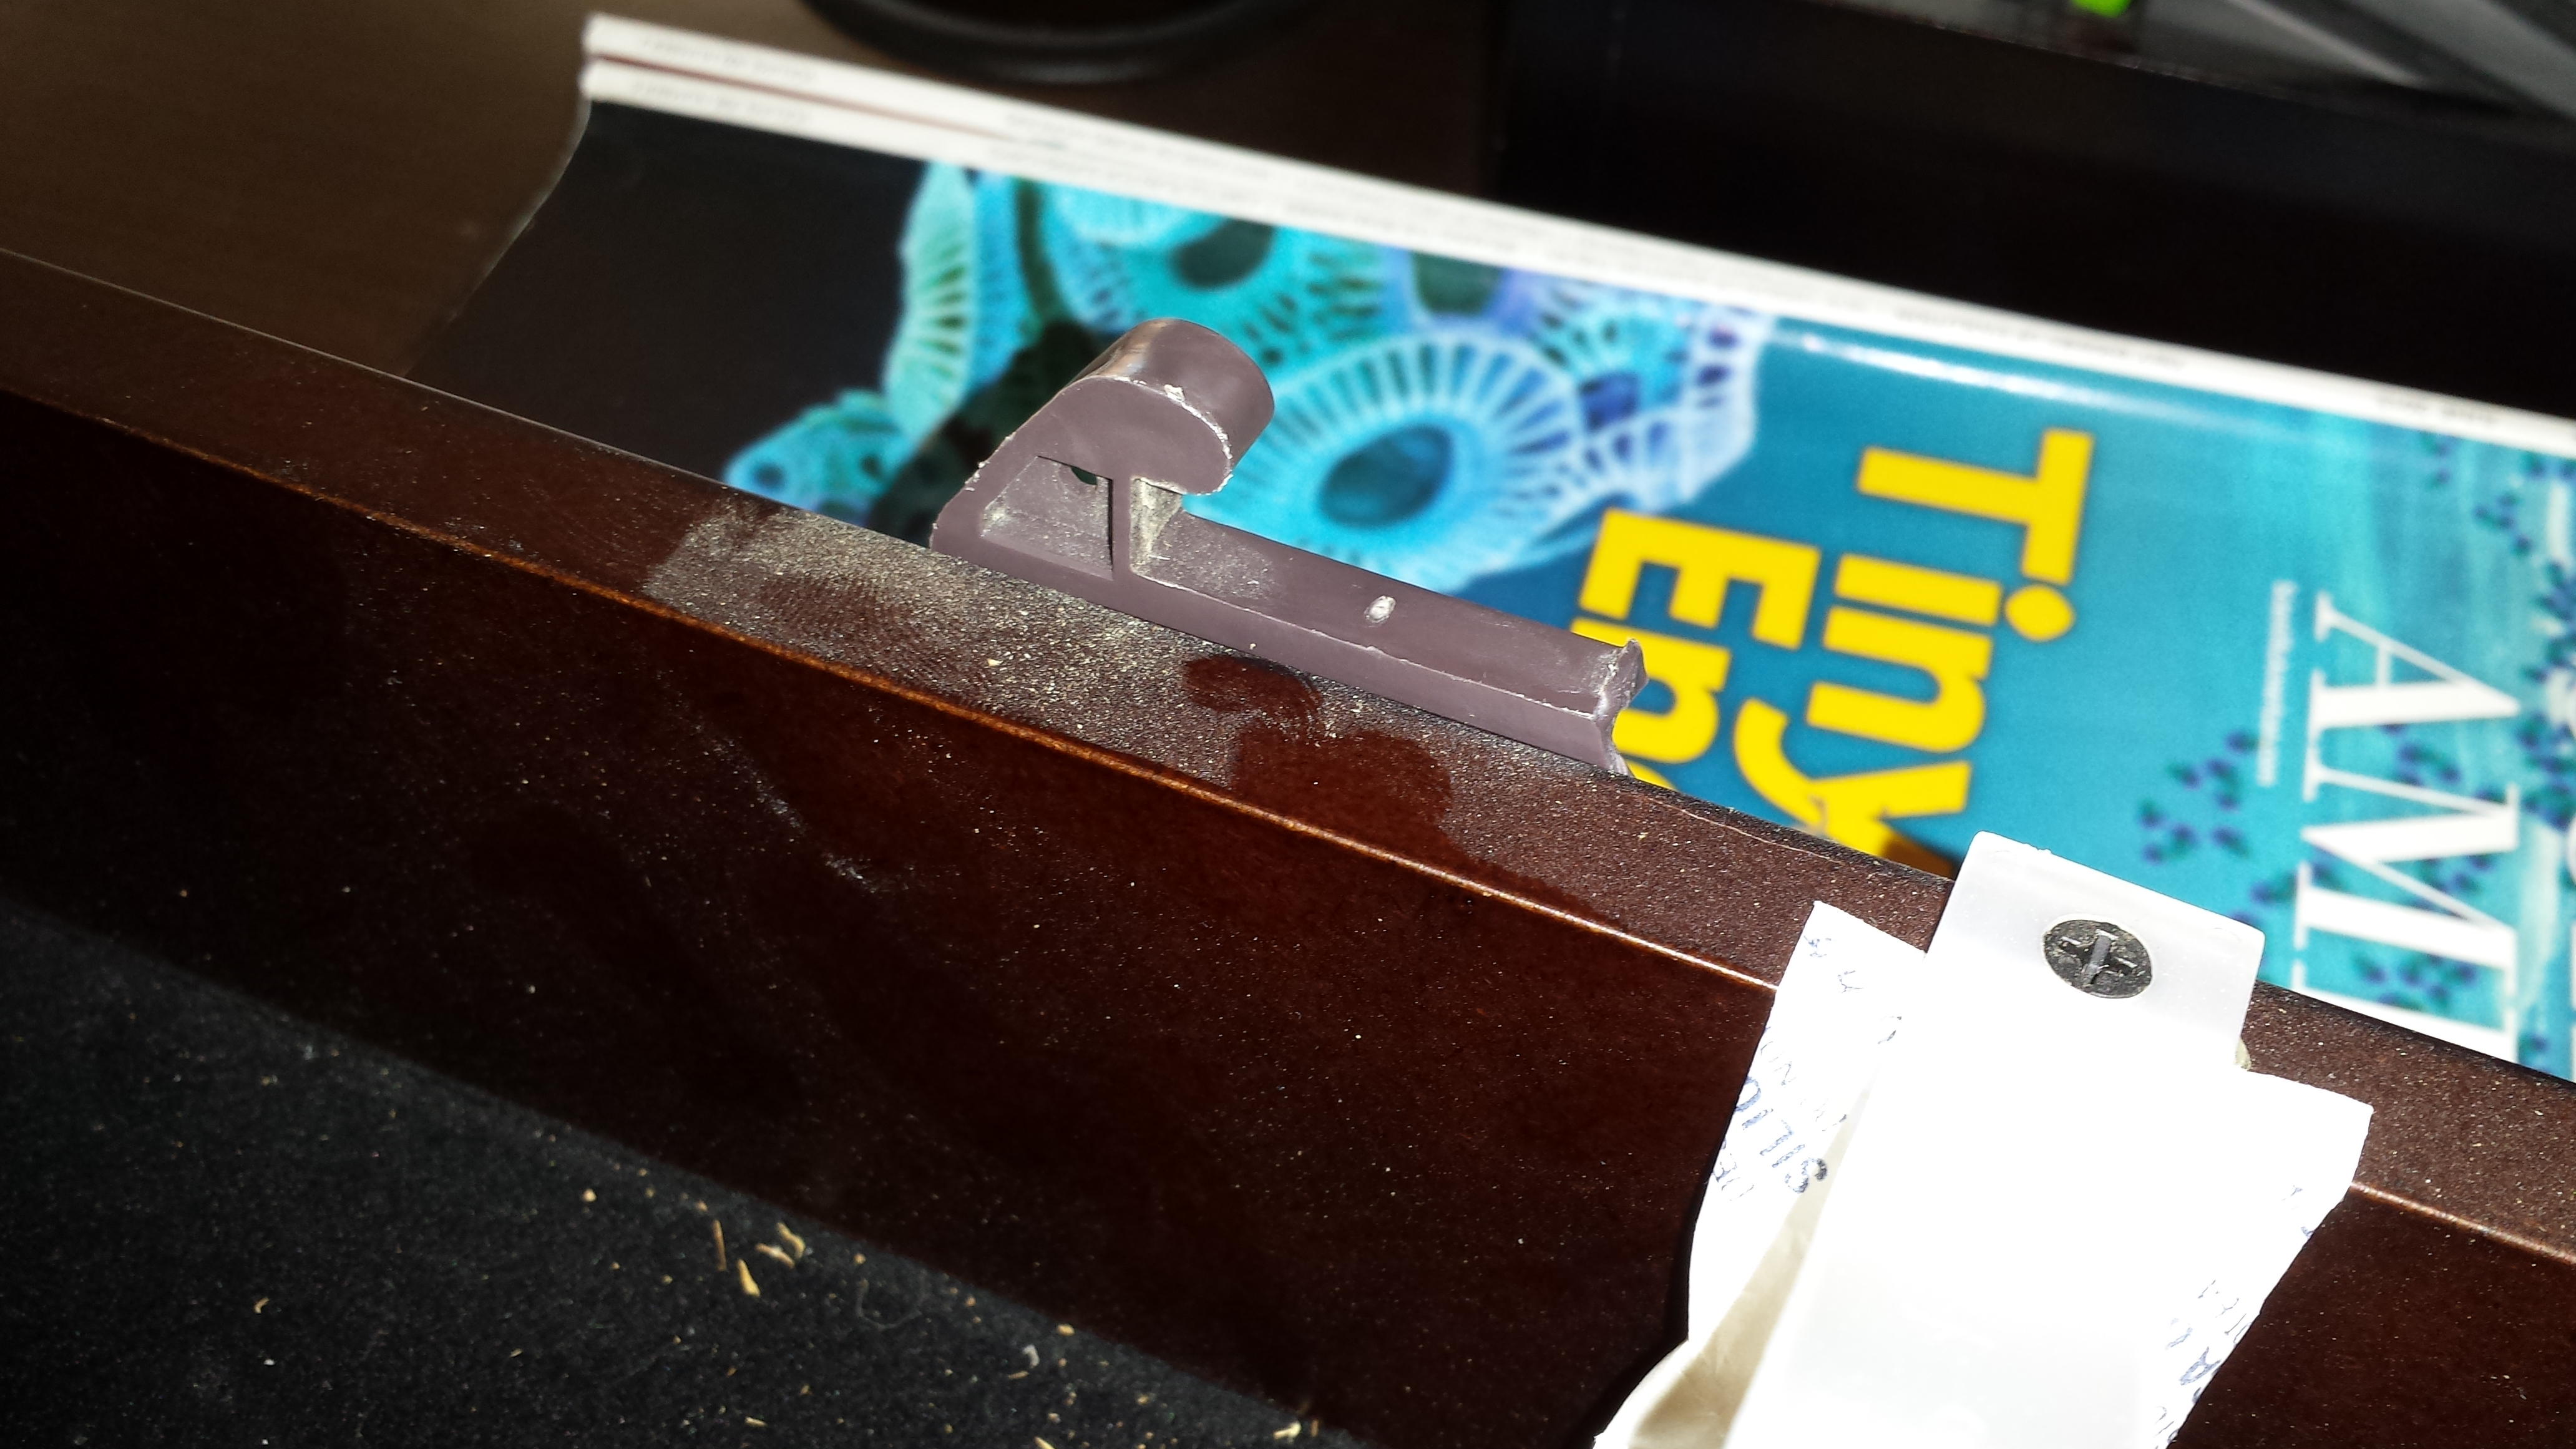
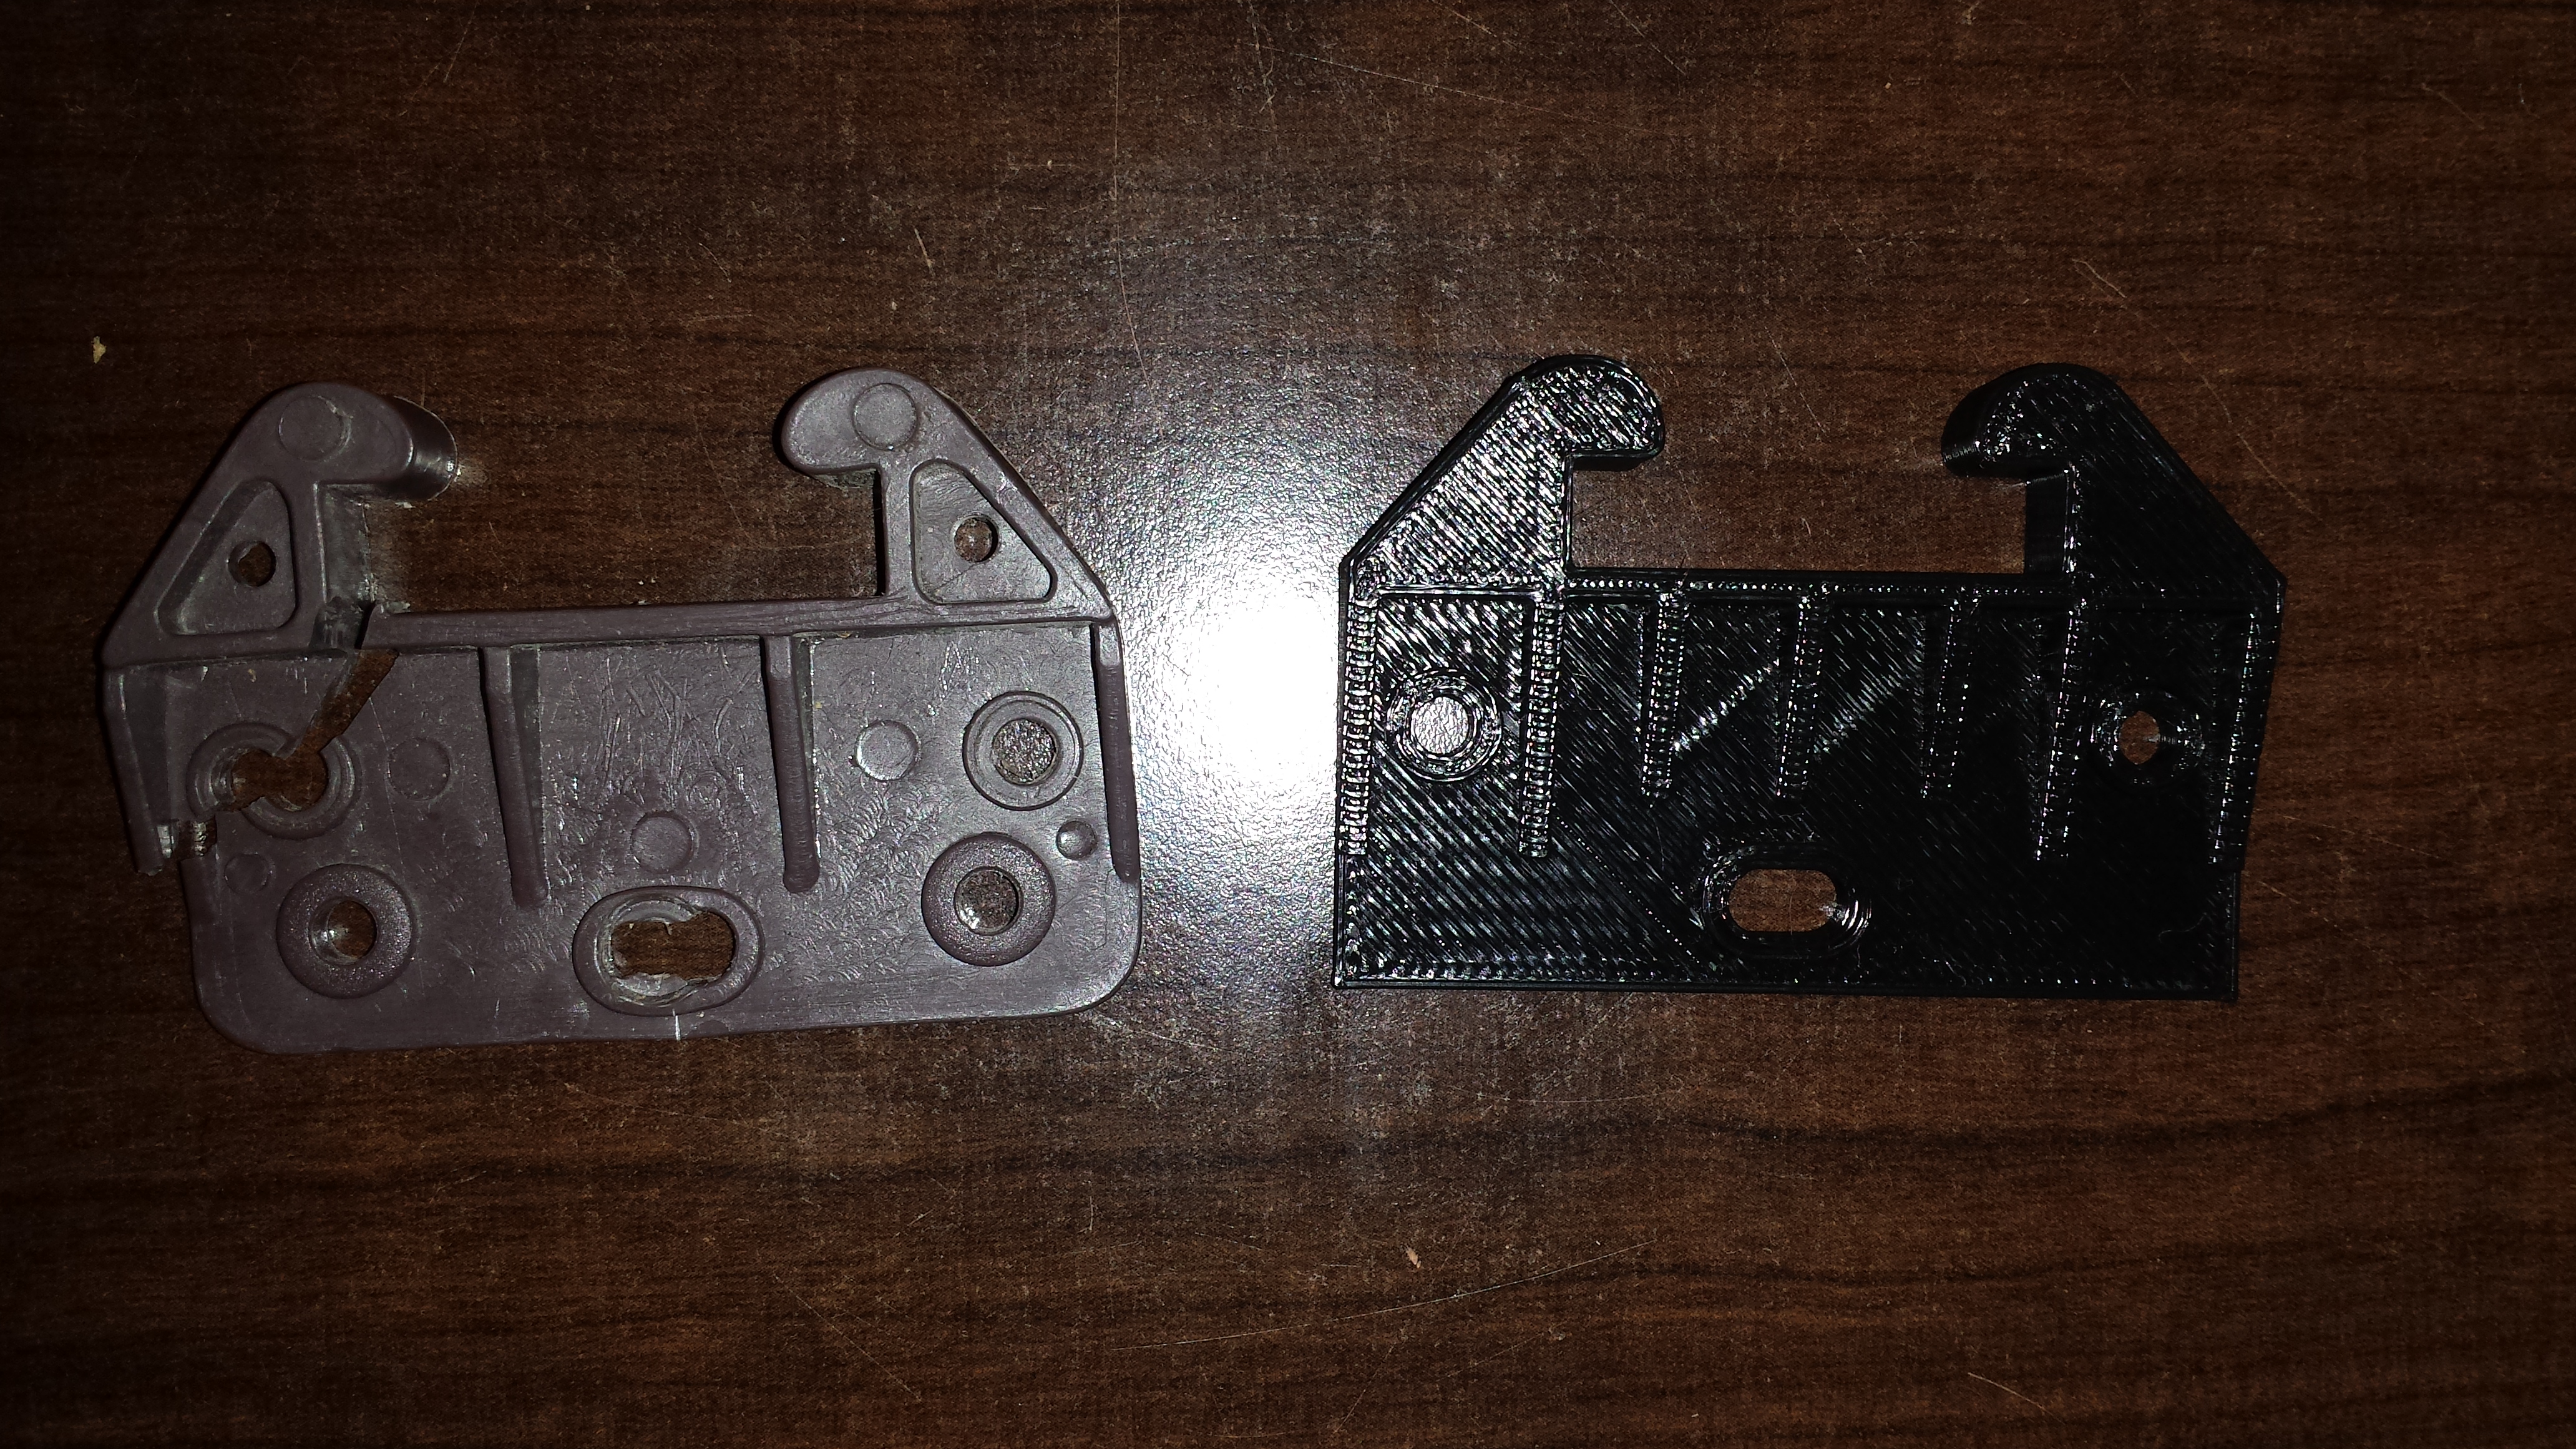
I printed out the case and it came out great. There are some minor change I need to make. The holes for the board are close but not quite perfect. Also the case overall is a bit thin. I will need to beef up some of the wall thicknesses.
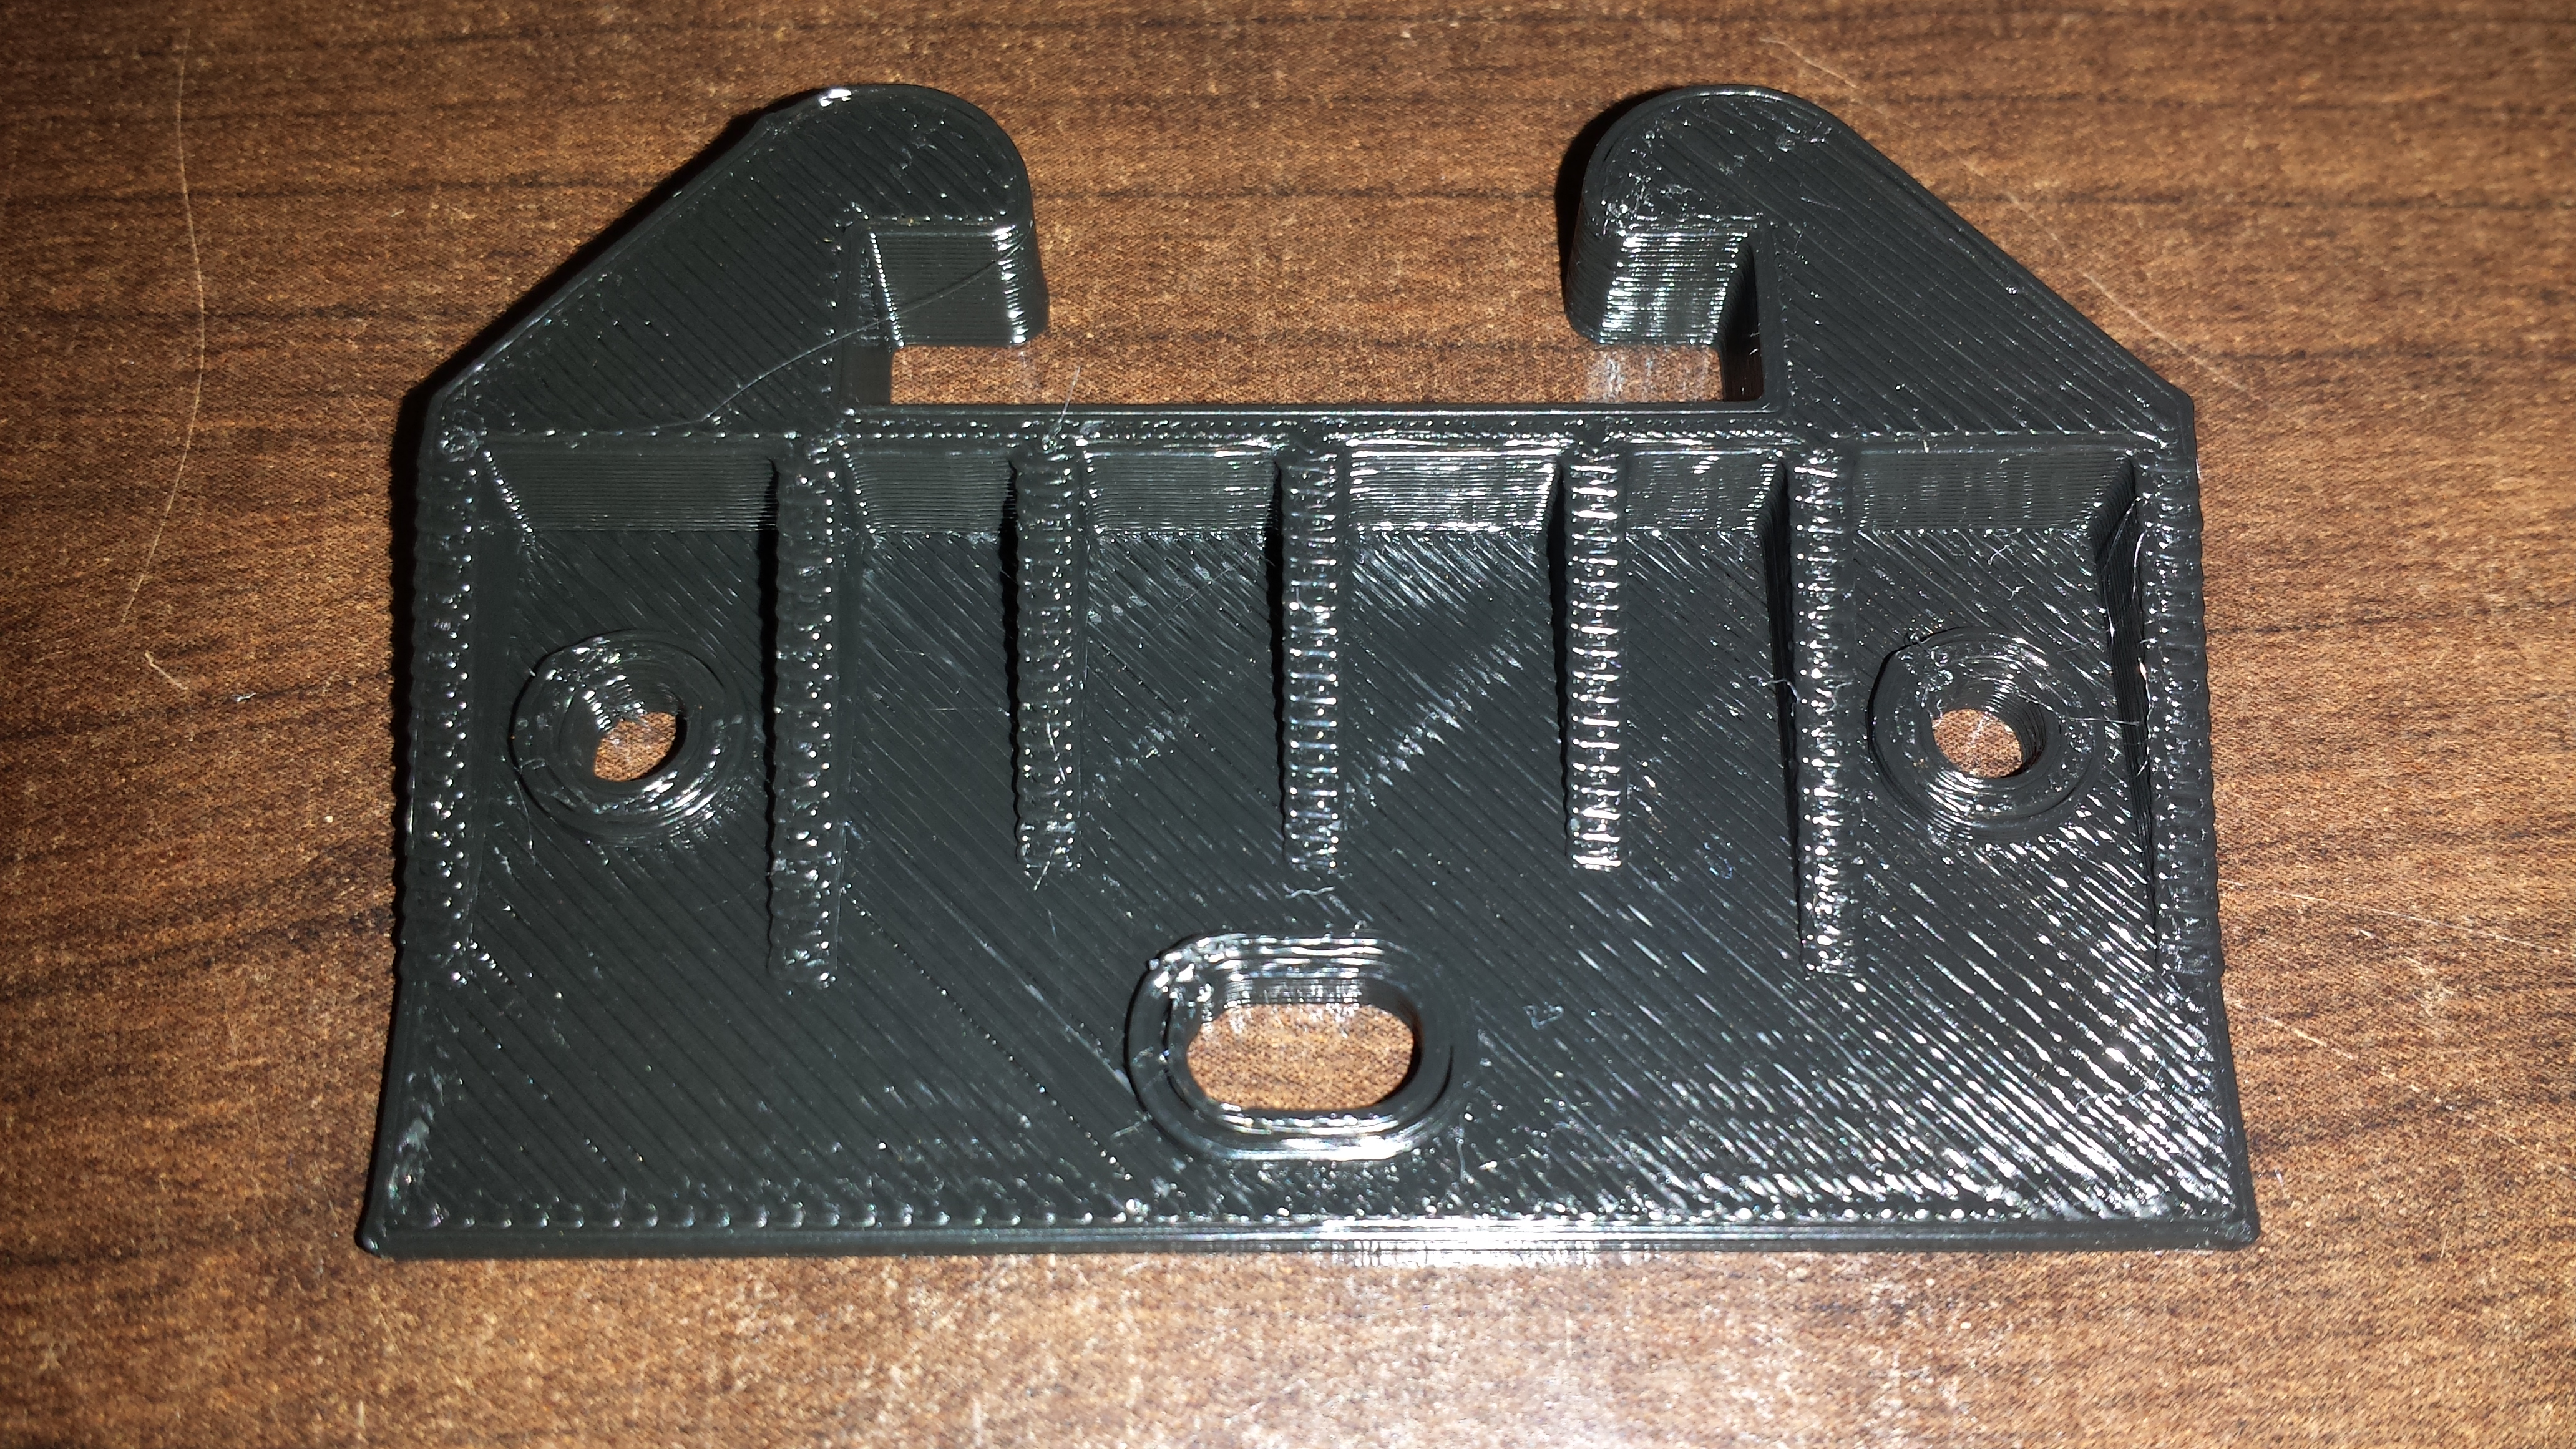
Silly me, keep forgetting that when I print in translucent (natural) the details are hard to see. The next one I print will be in one of the solid colors.
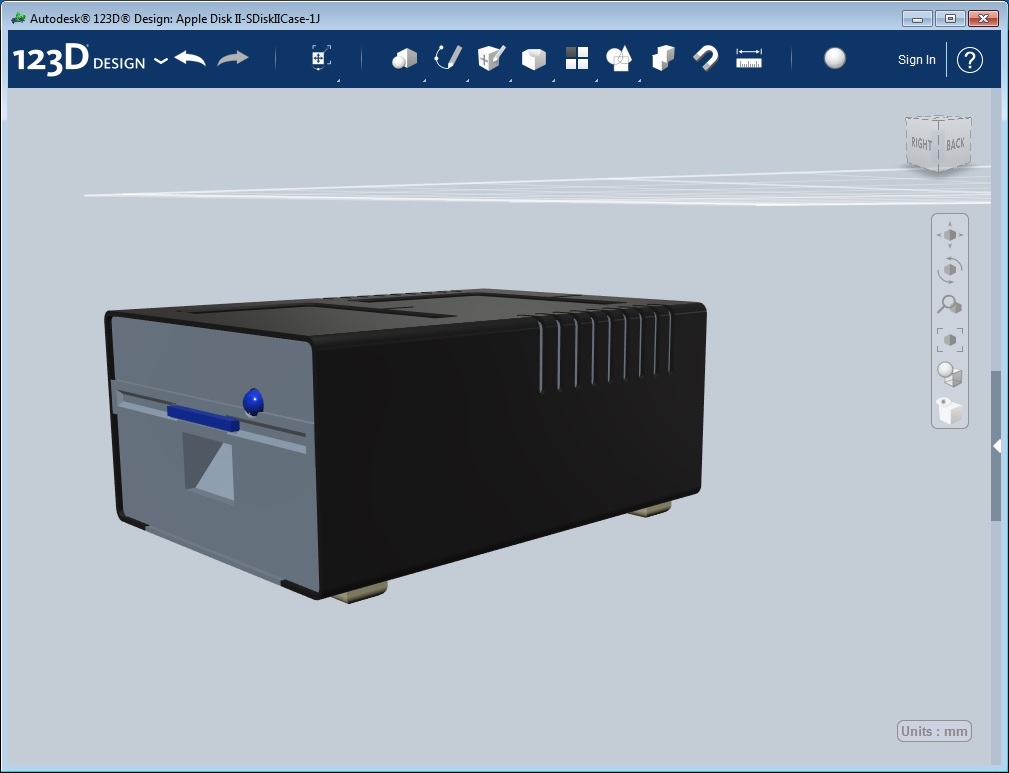
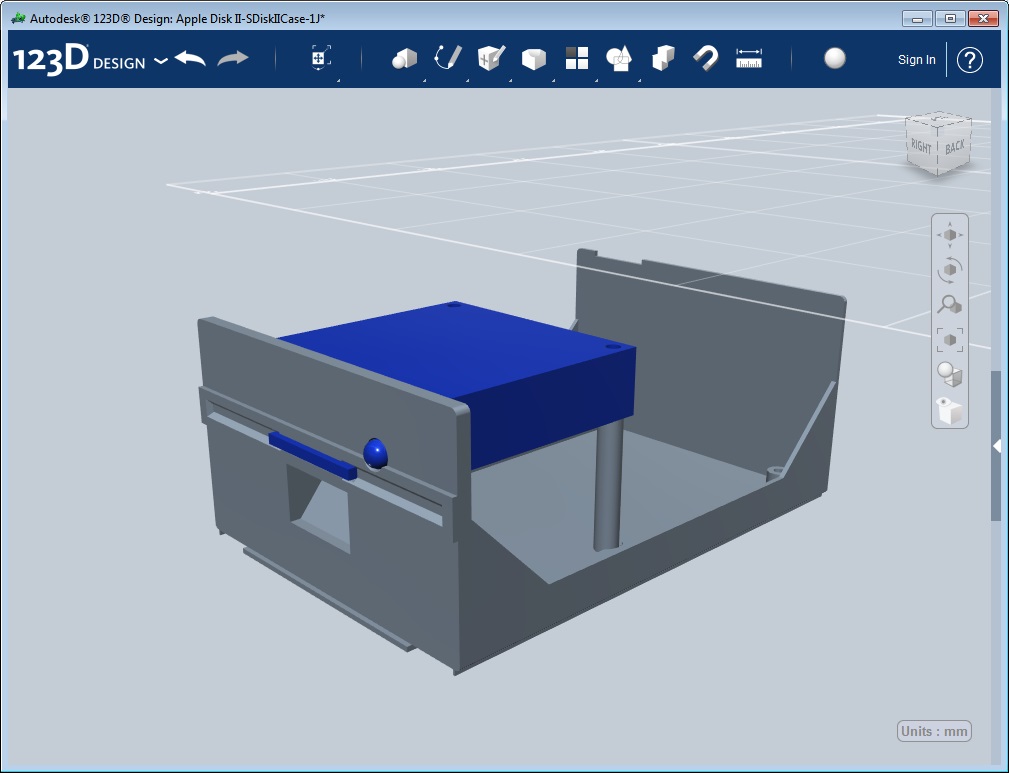
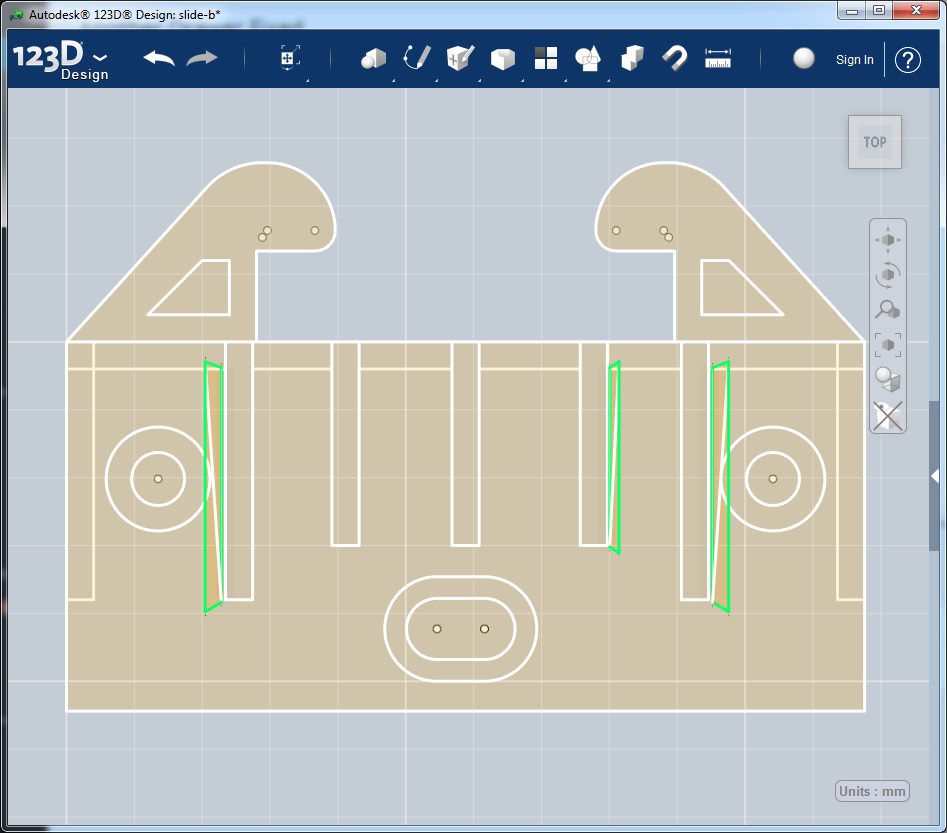
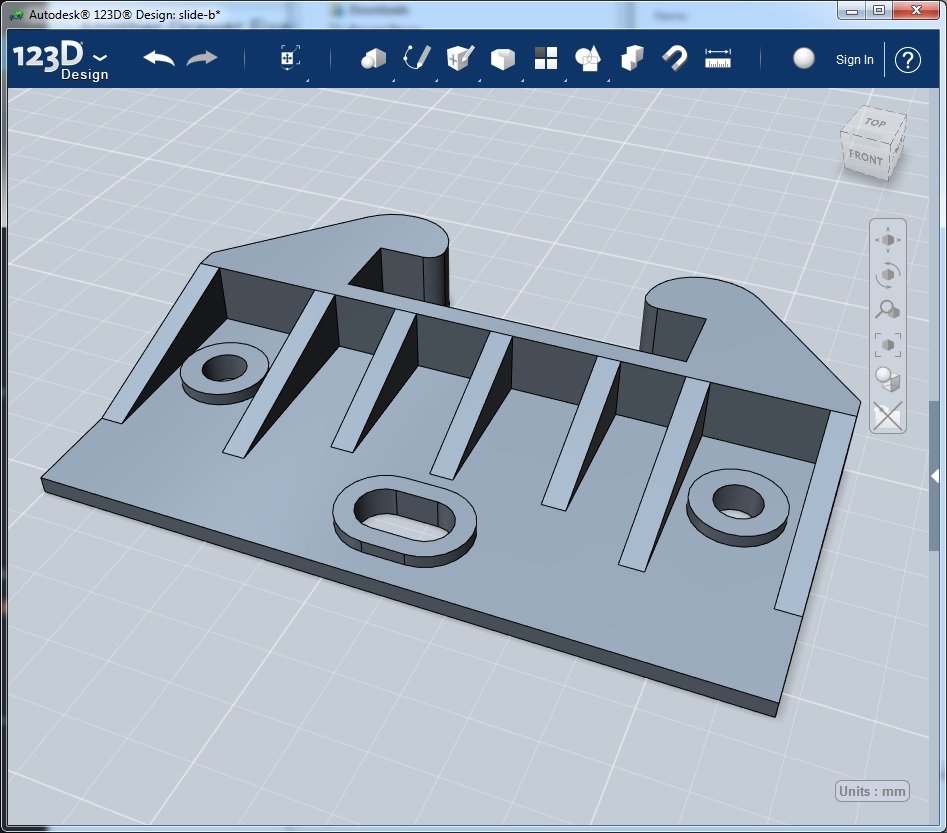
After a full day and a half of design work I have a model tor work from. I tried to stay true to the original design, the only major deviation is the placement of the status LED (due to the location on the emulator board). I thought about soldering on some leads to move the LED to the proper placement (which I still might do later) but decided not to since I will be selling these from my website. I was able to get the design to 2 major pieces (plus the feet). I am currently printing a test to see how everything fits.
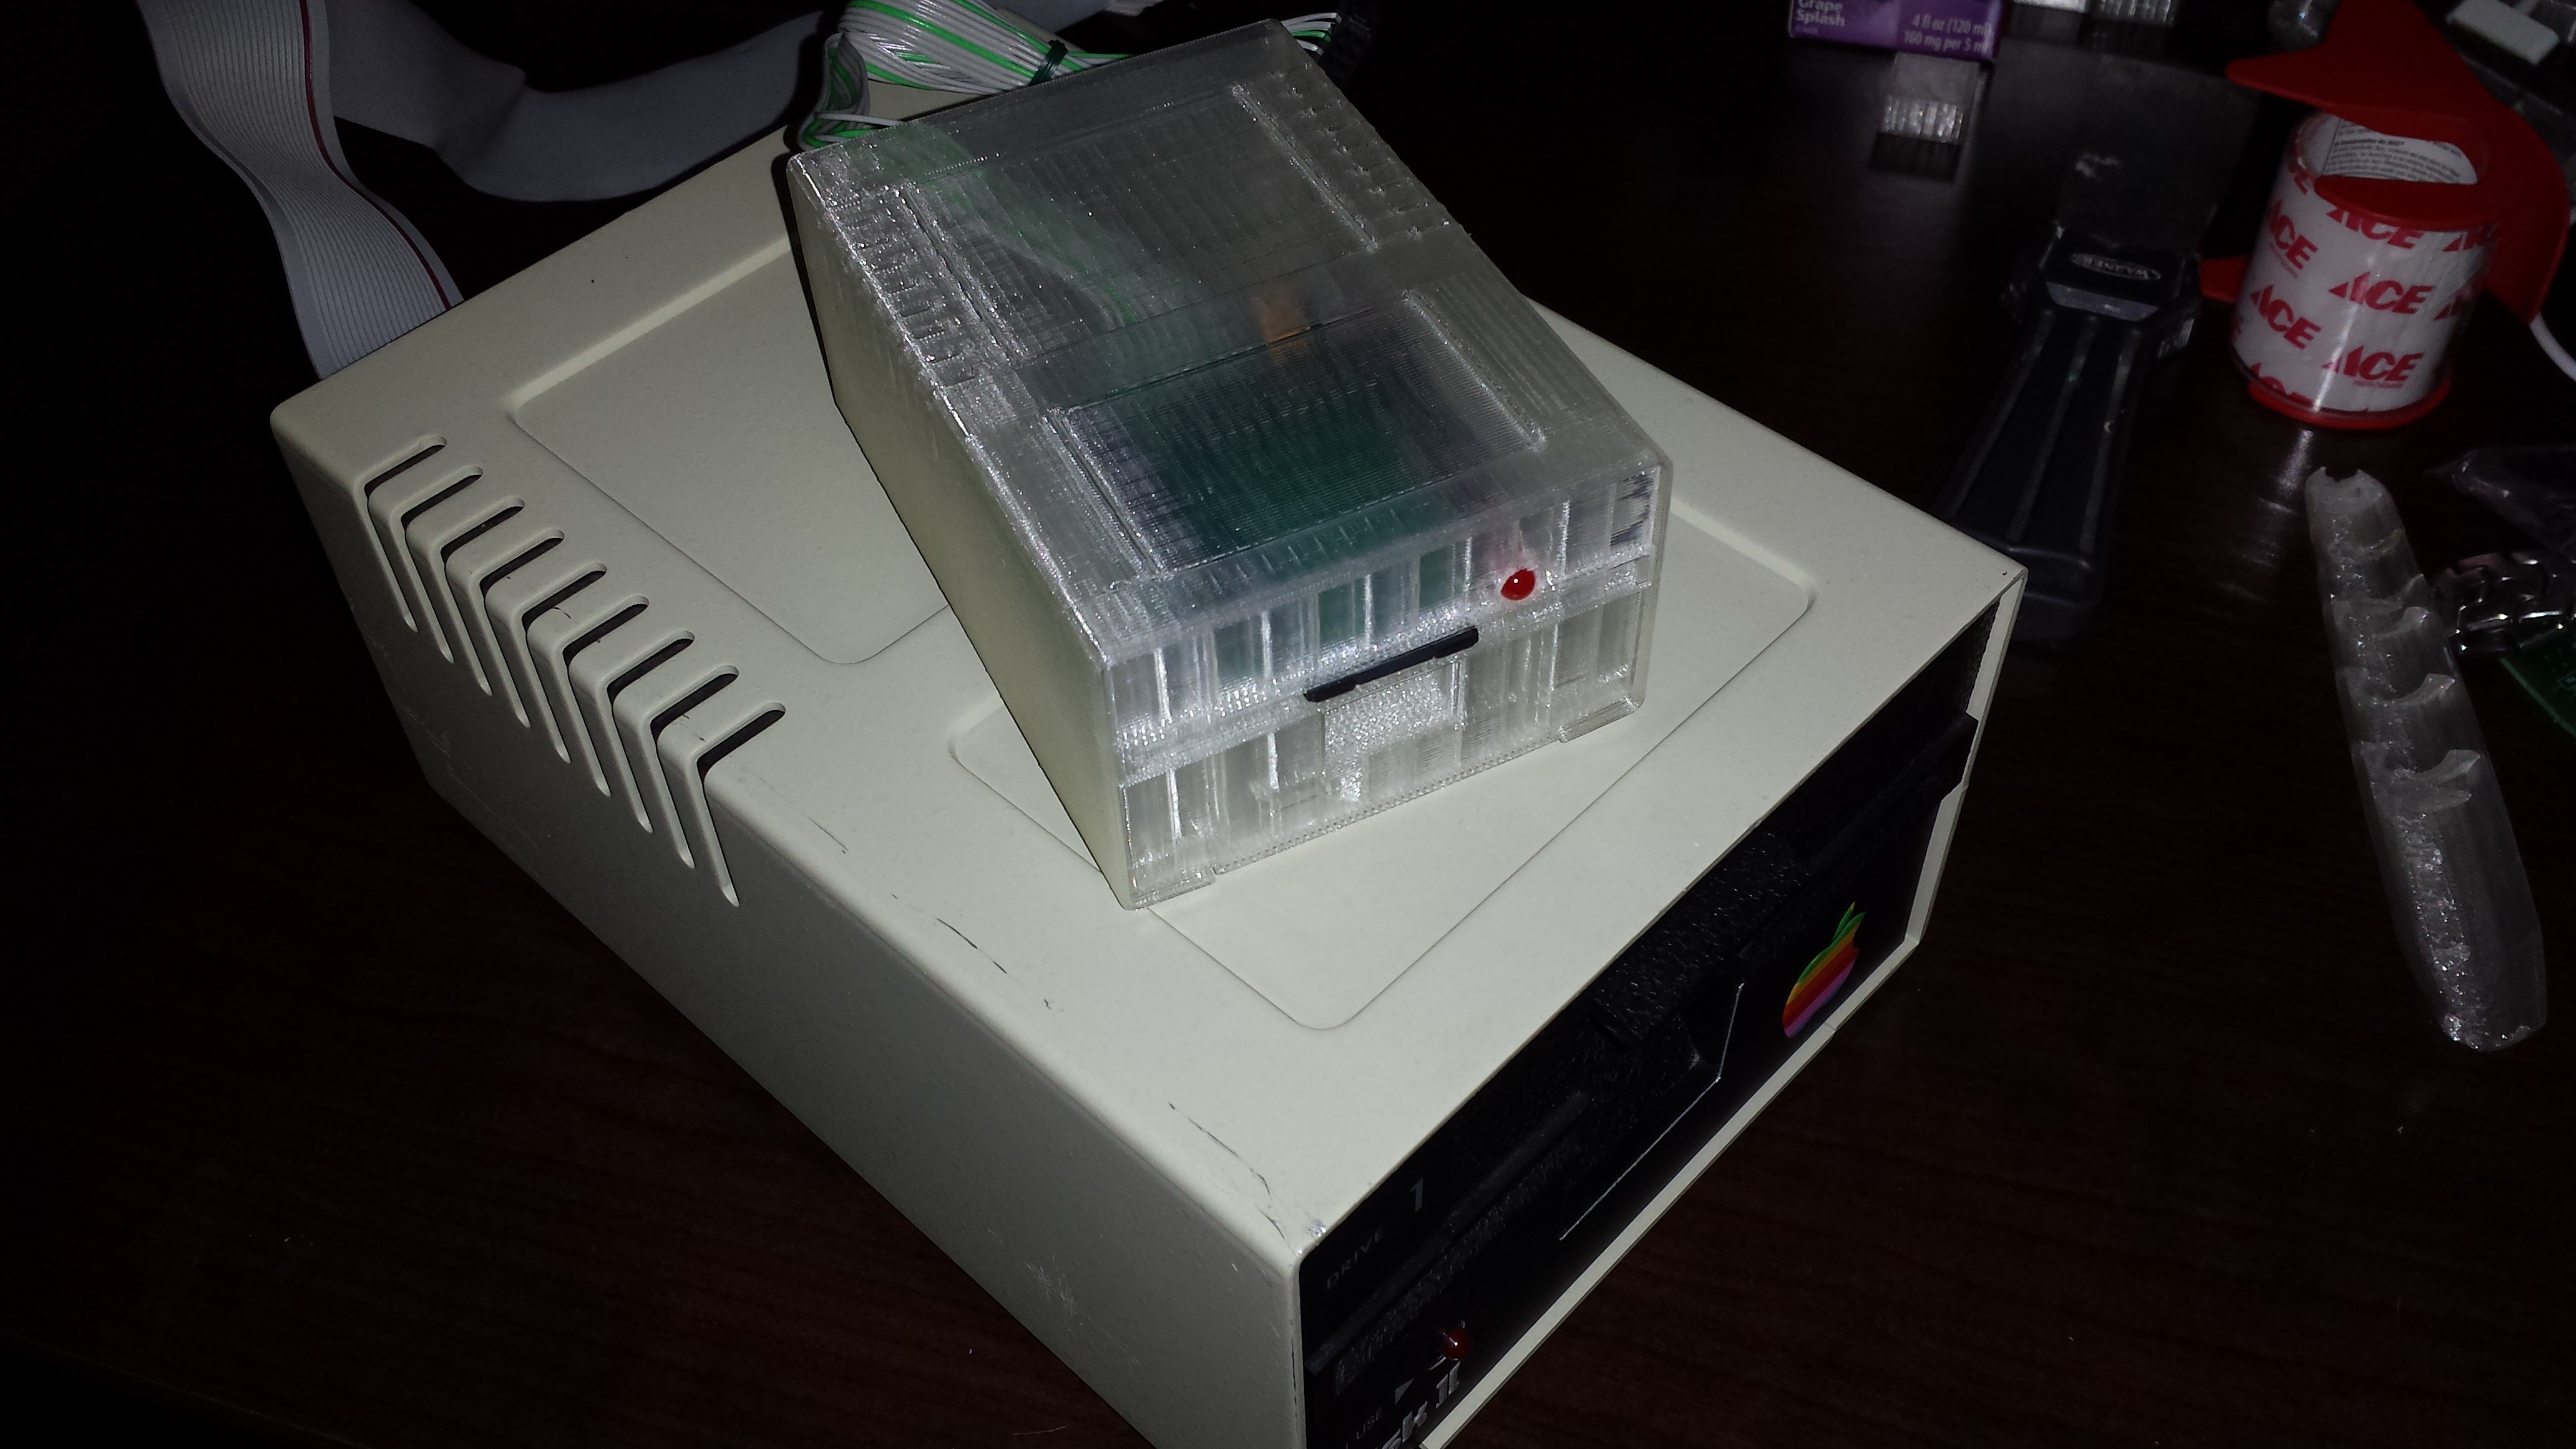
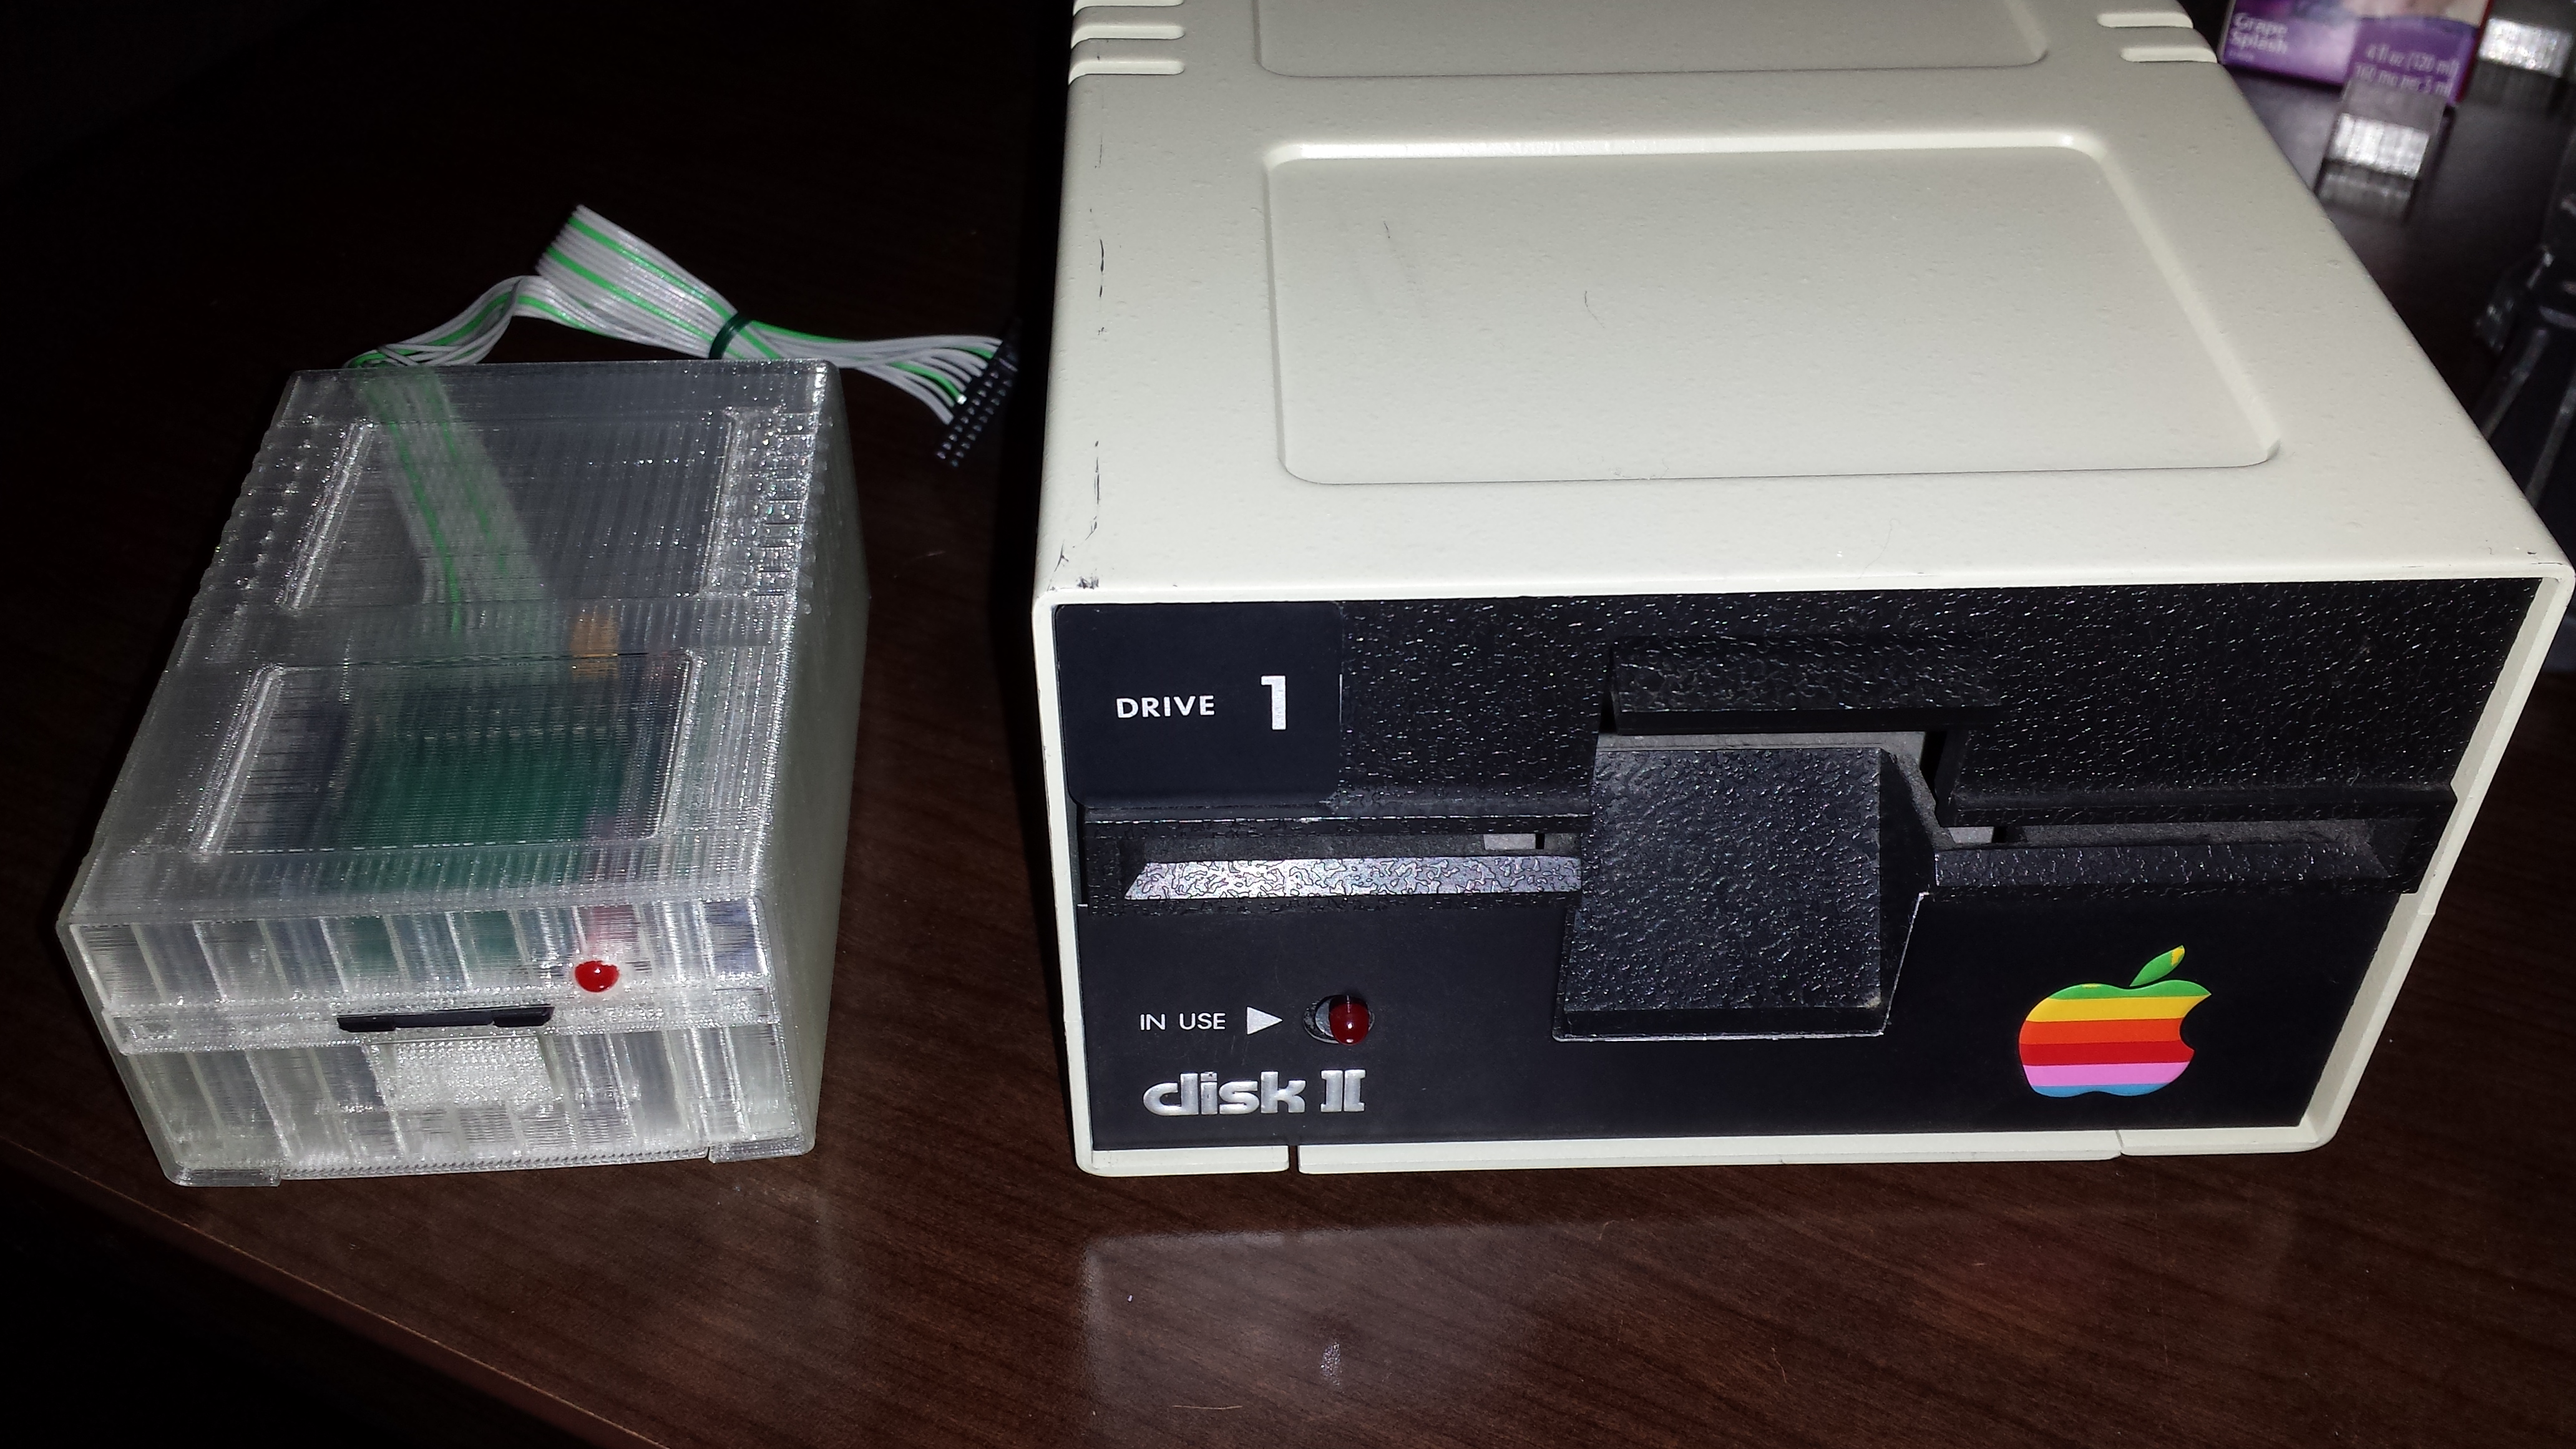
Full Finished model – All pieces
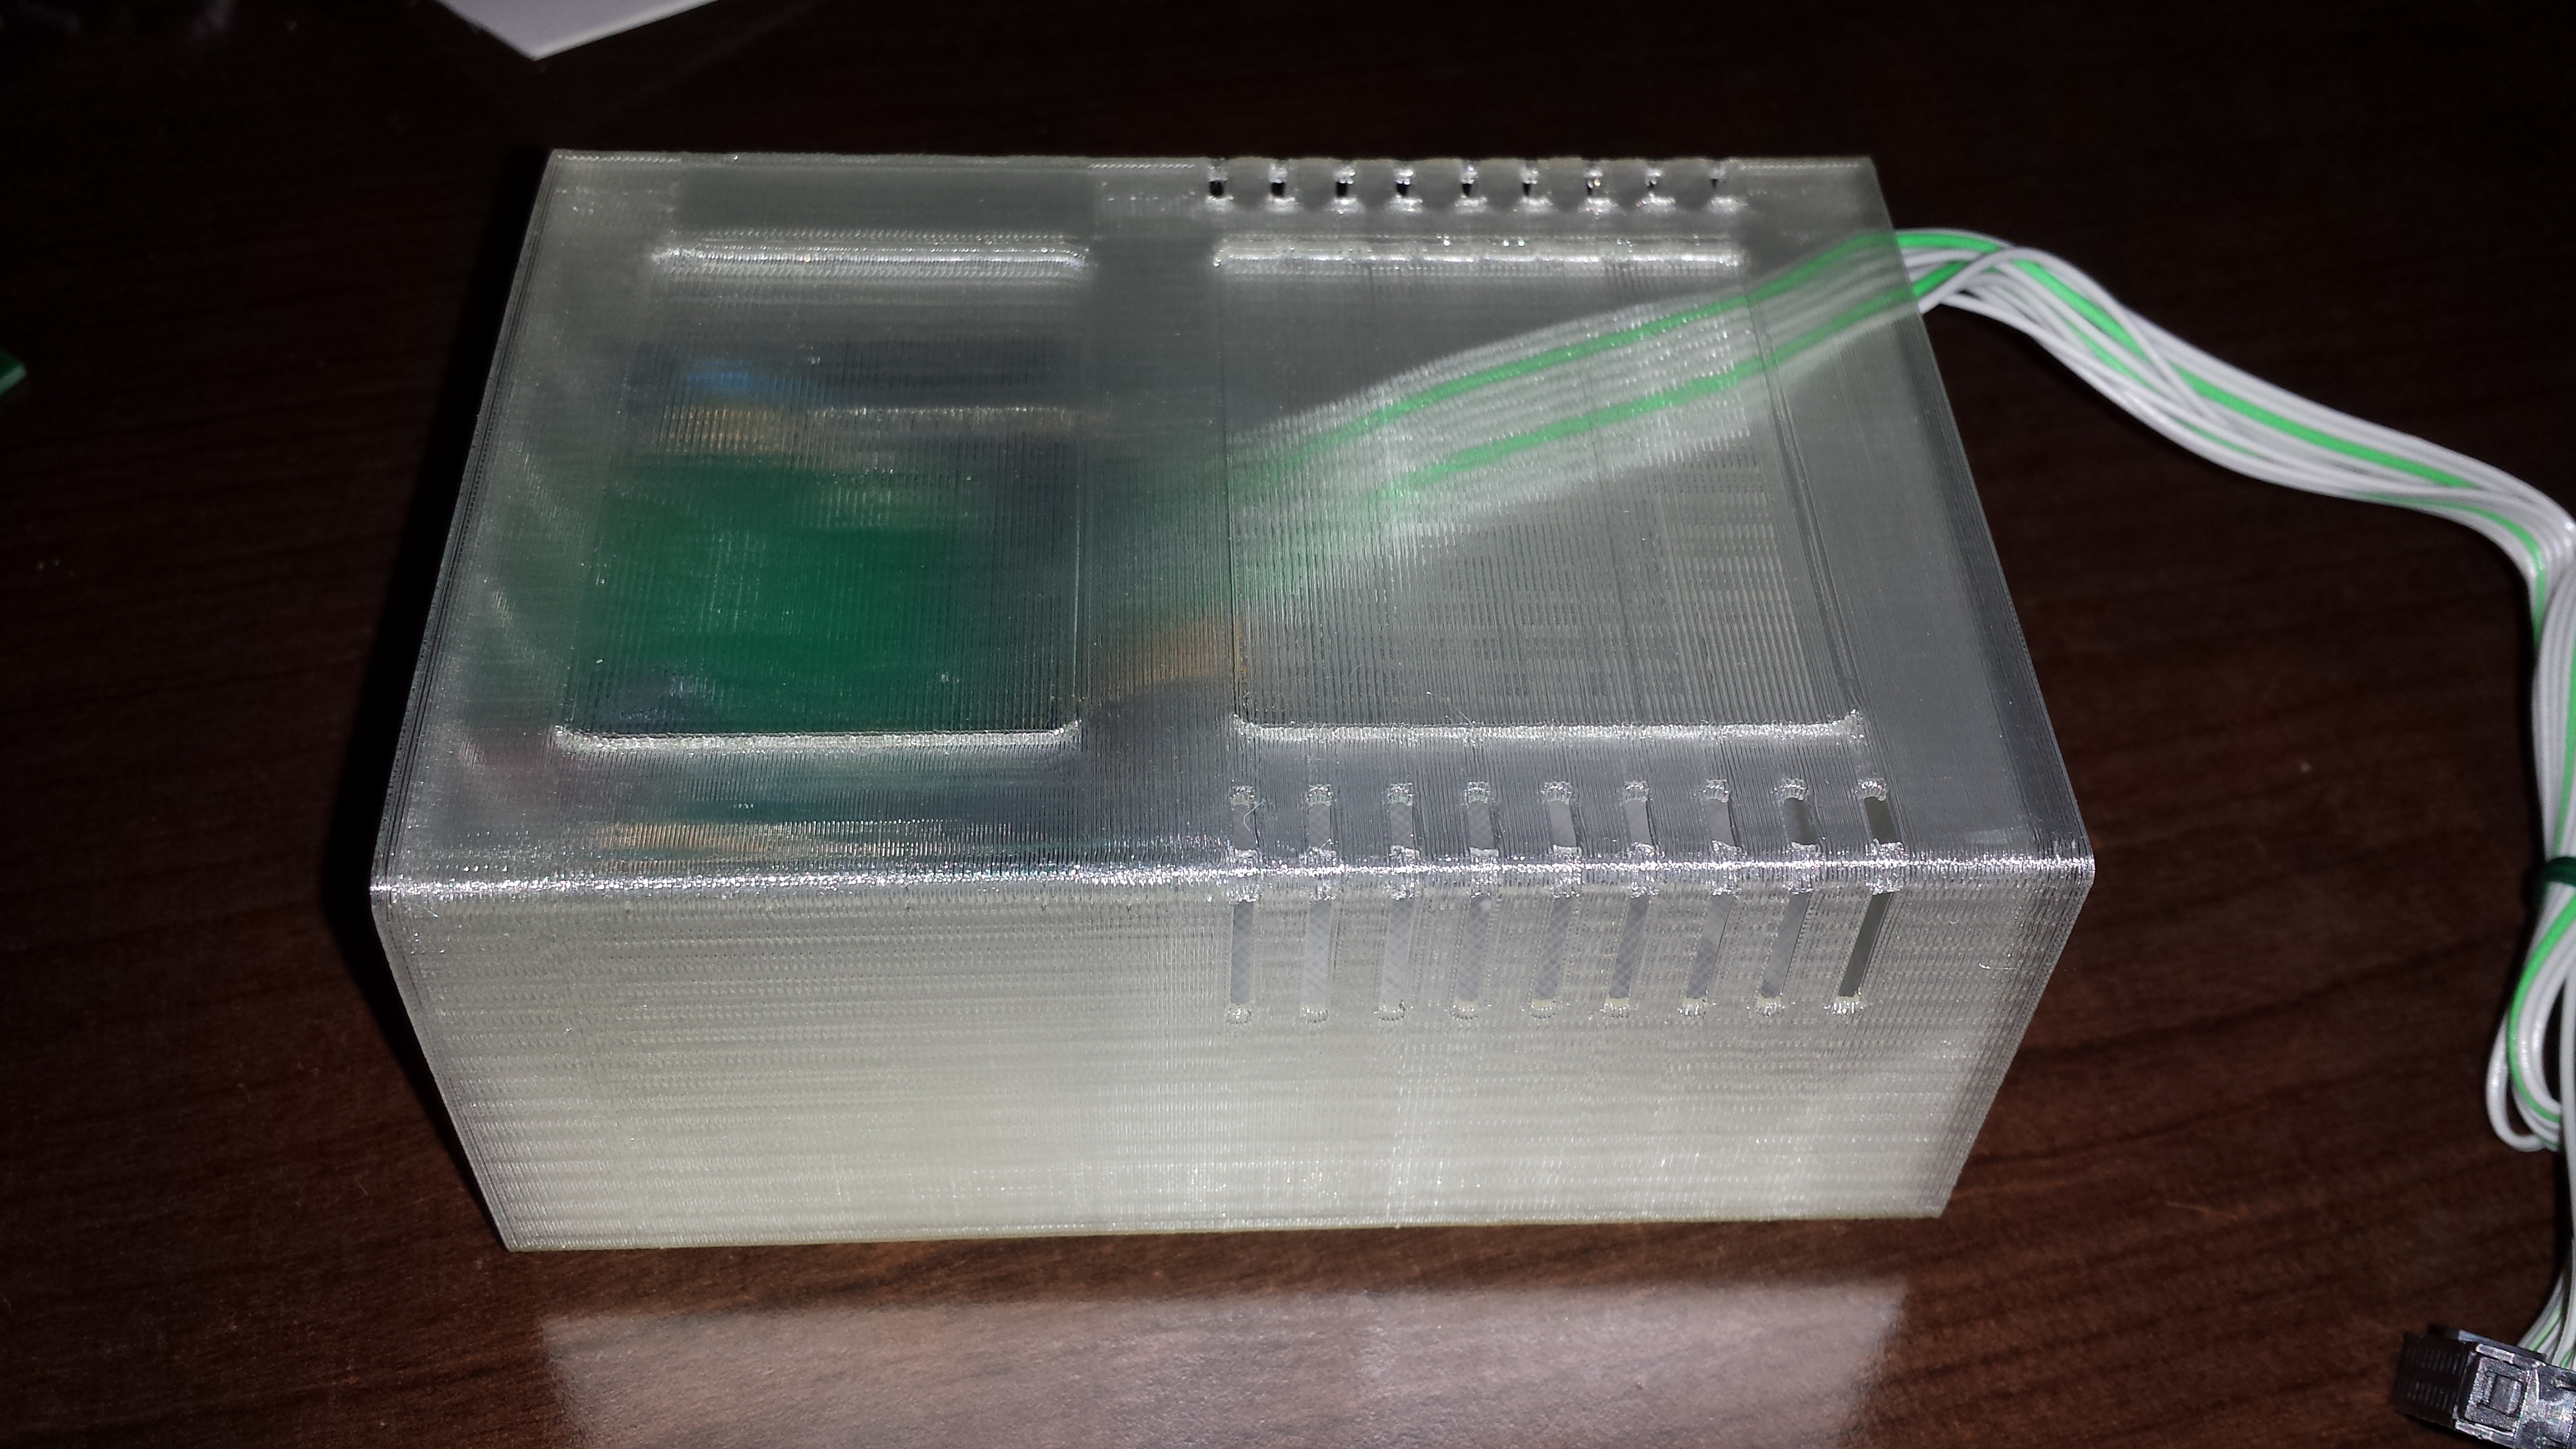
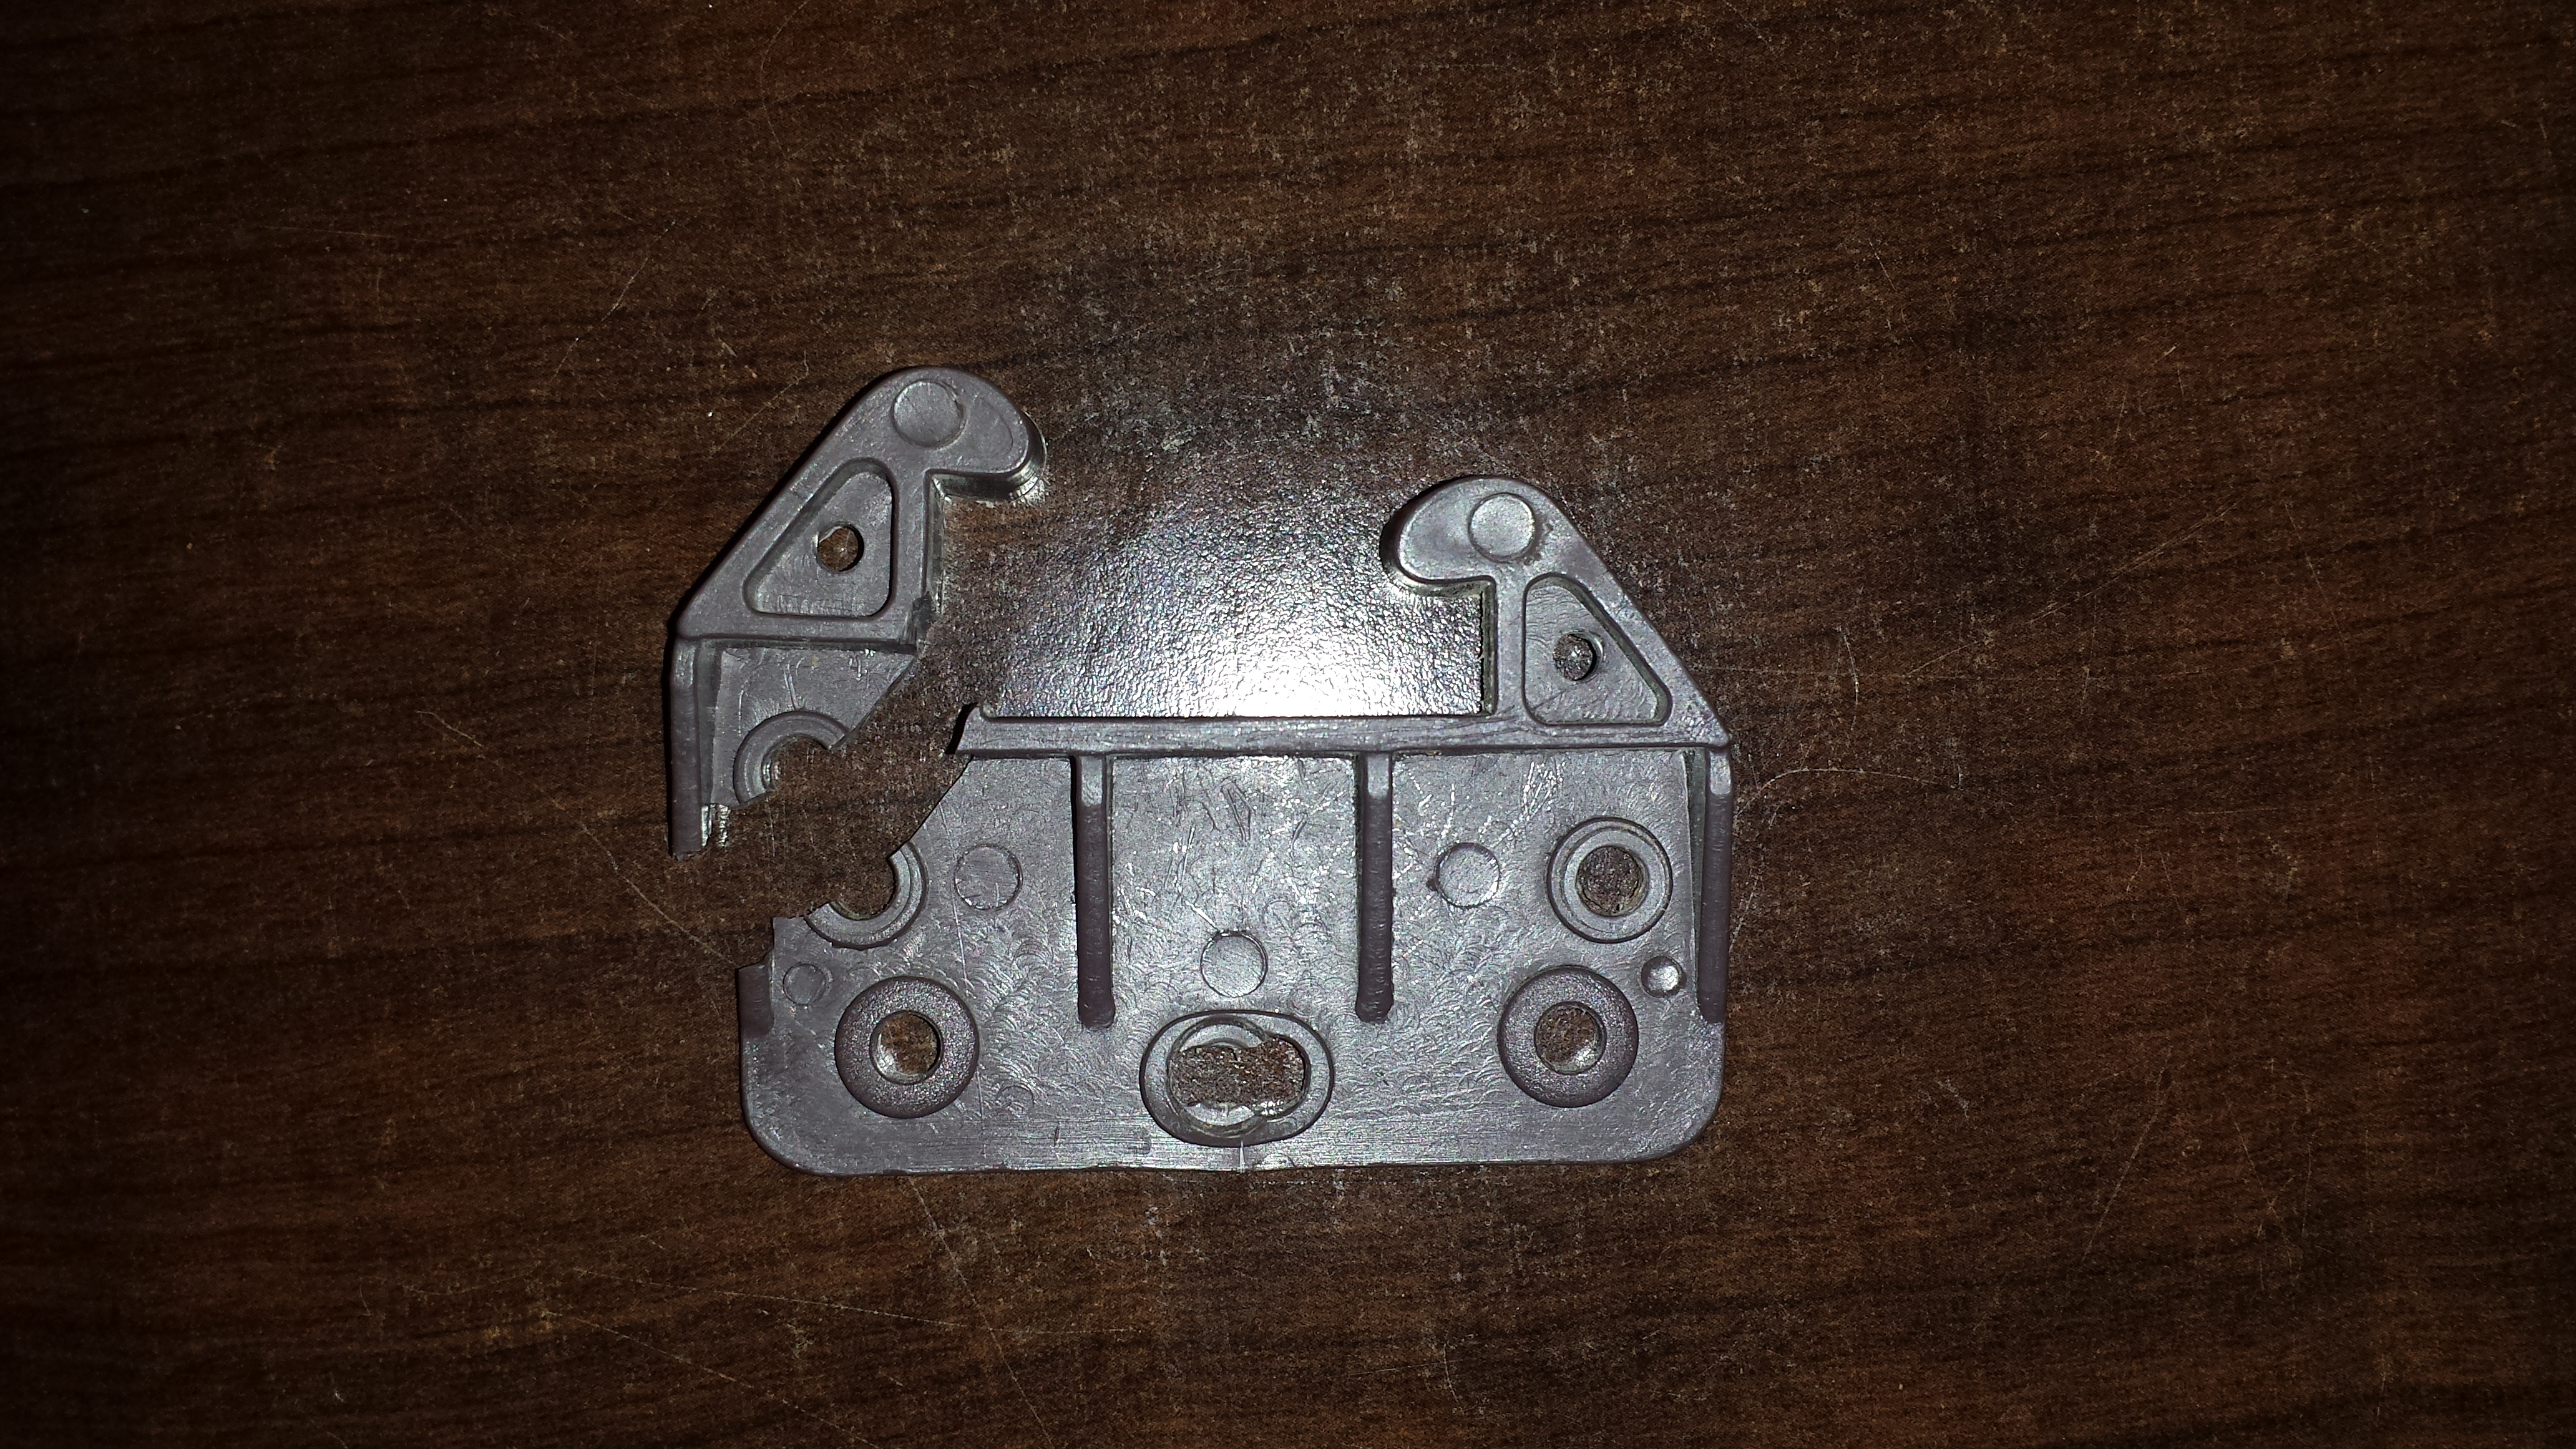
Bottom with mock-up board I used for placement
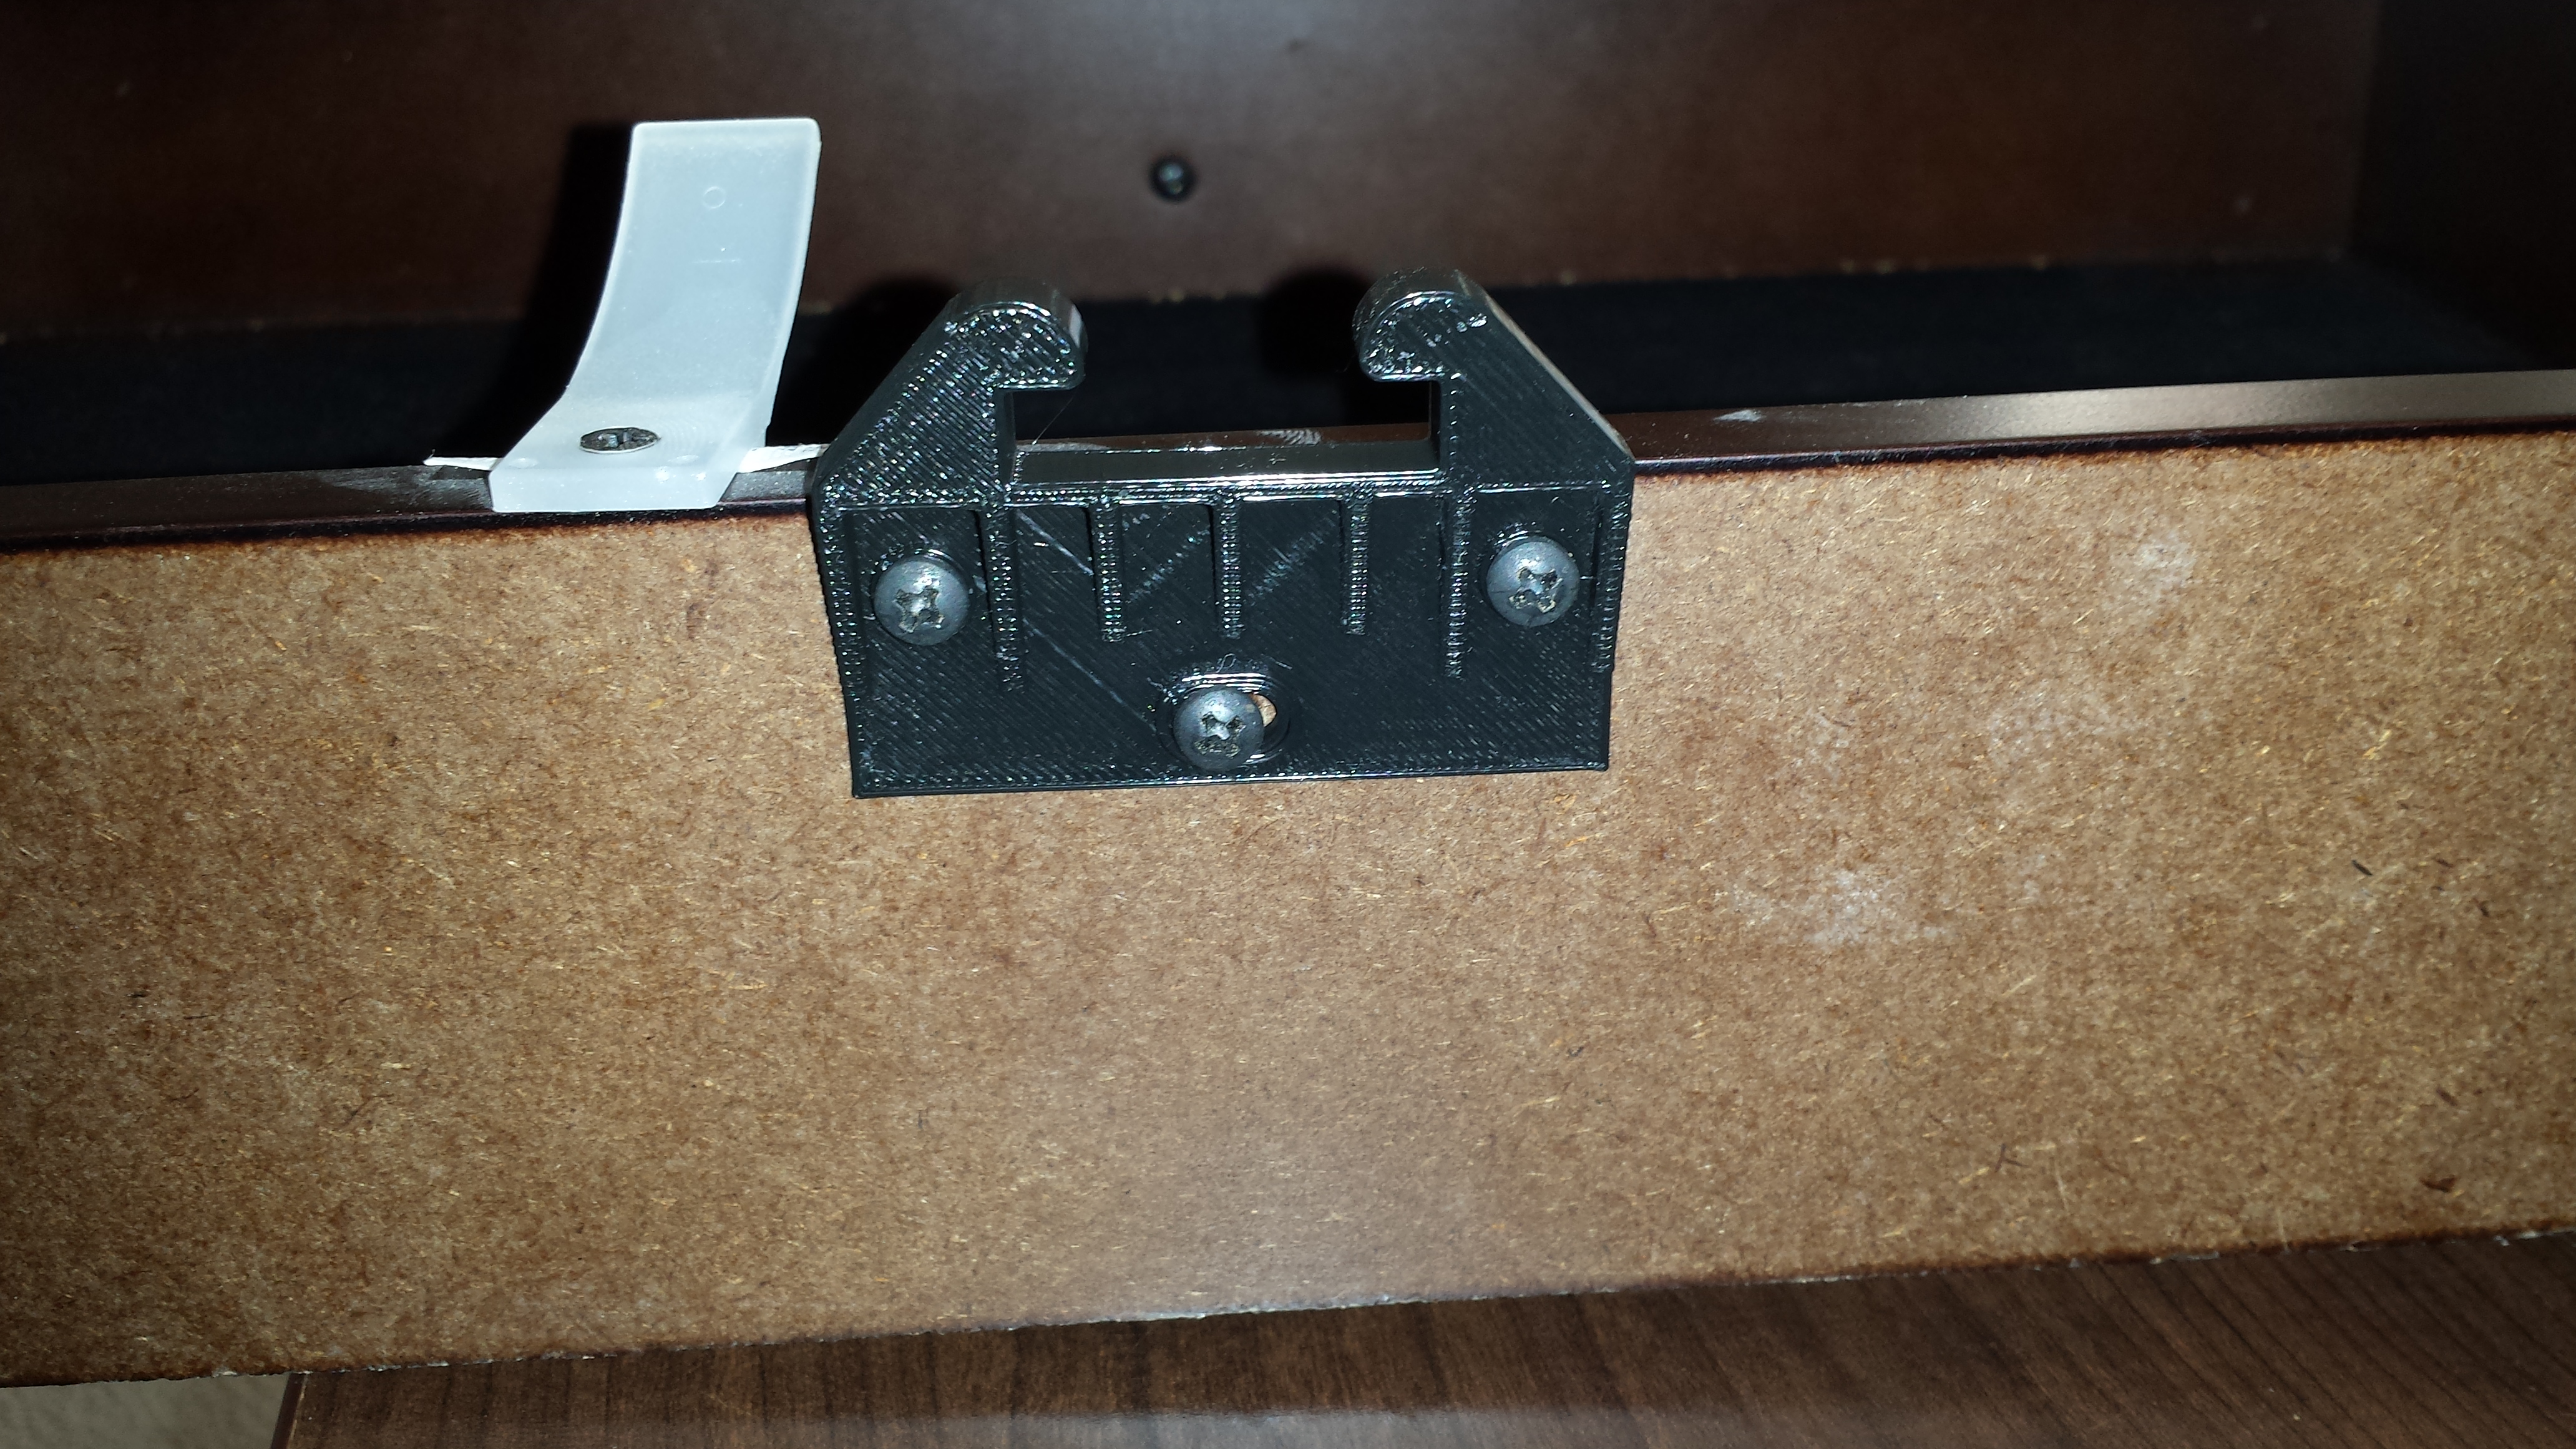
Once I check the fit and make any necessary changes I will post back with some picture of the final product.
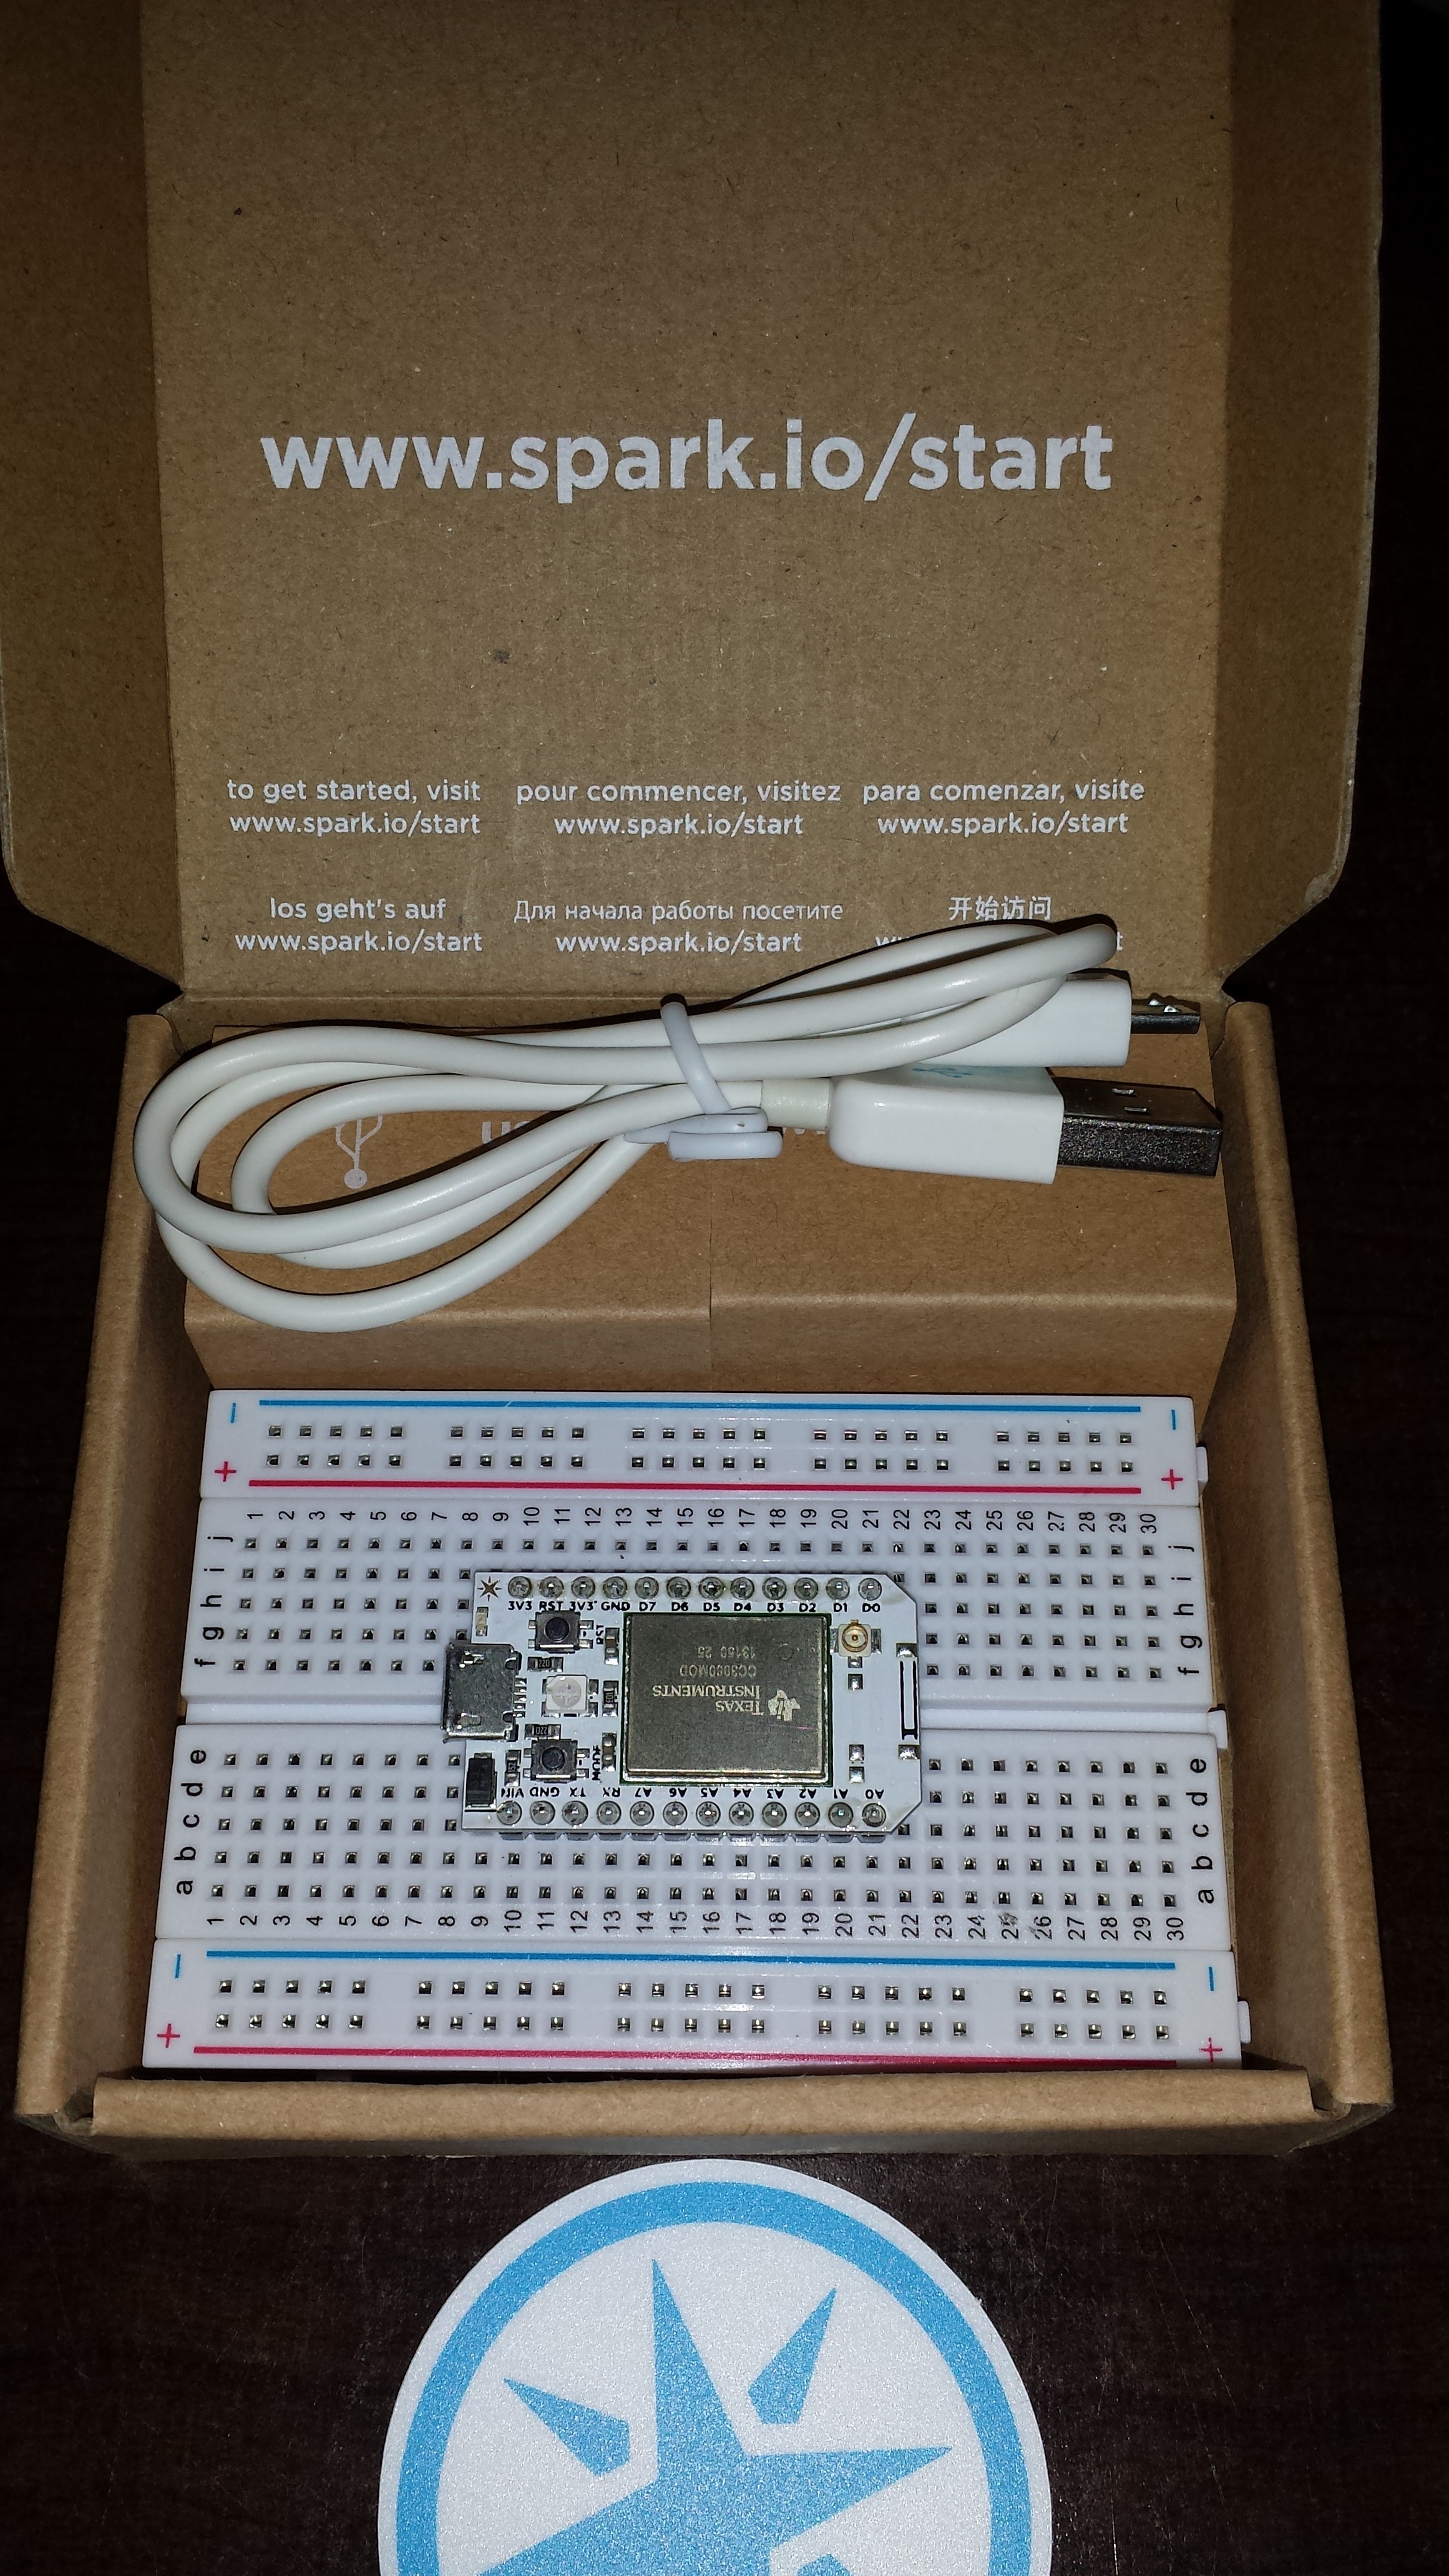
Awhile ago I backed https://www.spark.io/ on kick started and I got the reward this week. All in all the thing is quite cool. Setup was easy and quick. One minor note on setup: I use wireless mac filtering and there is not an easy way for the core to report its mac address so I had to disable mac filtering and let it connect to pull the mac from my router. After that it connected just fine.
So what is the spark core? It is explained here http://docs.spark.io/. Put simply its a wi-fi Arduino that is small and cheap ($35) for the kickstarter.
What can it do? Anything an Arduino can do with a twist. It can be controlled directly from an Android or a web interface via the inter-webs.
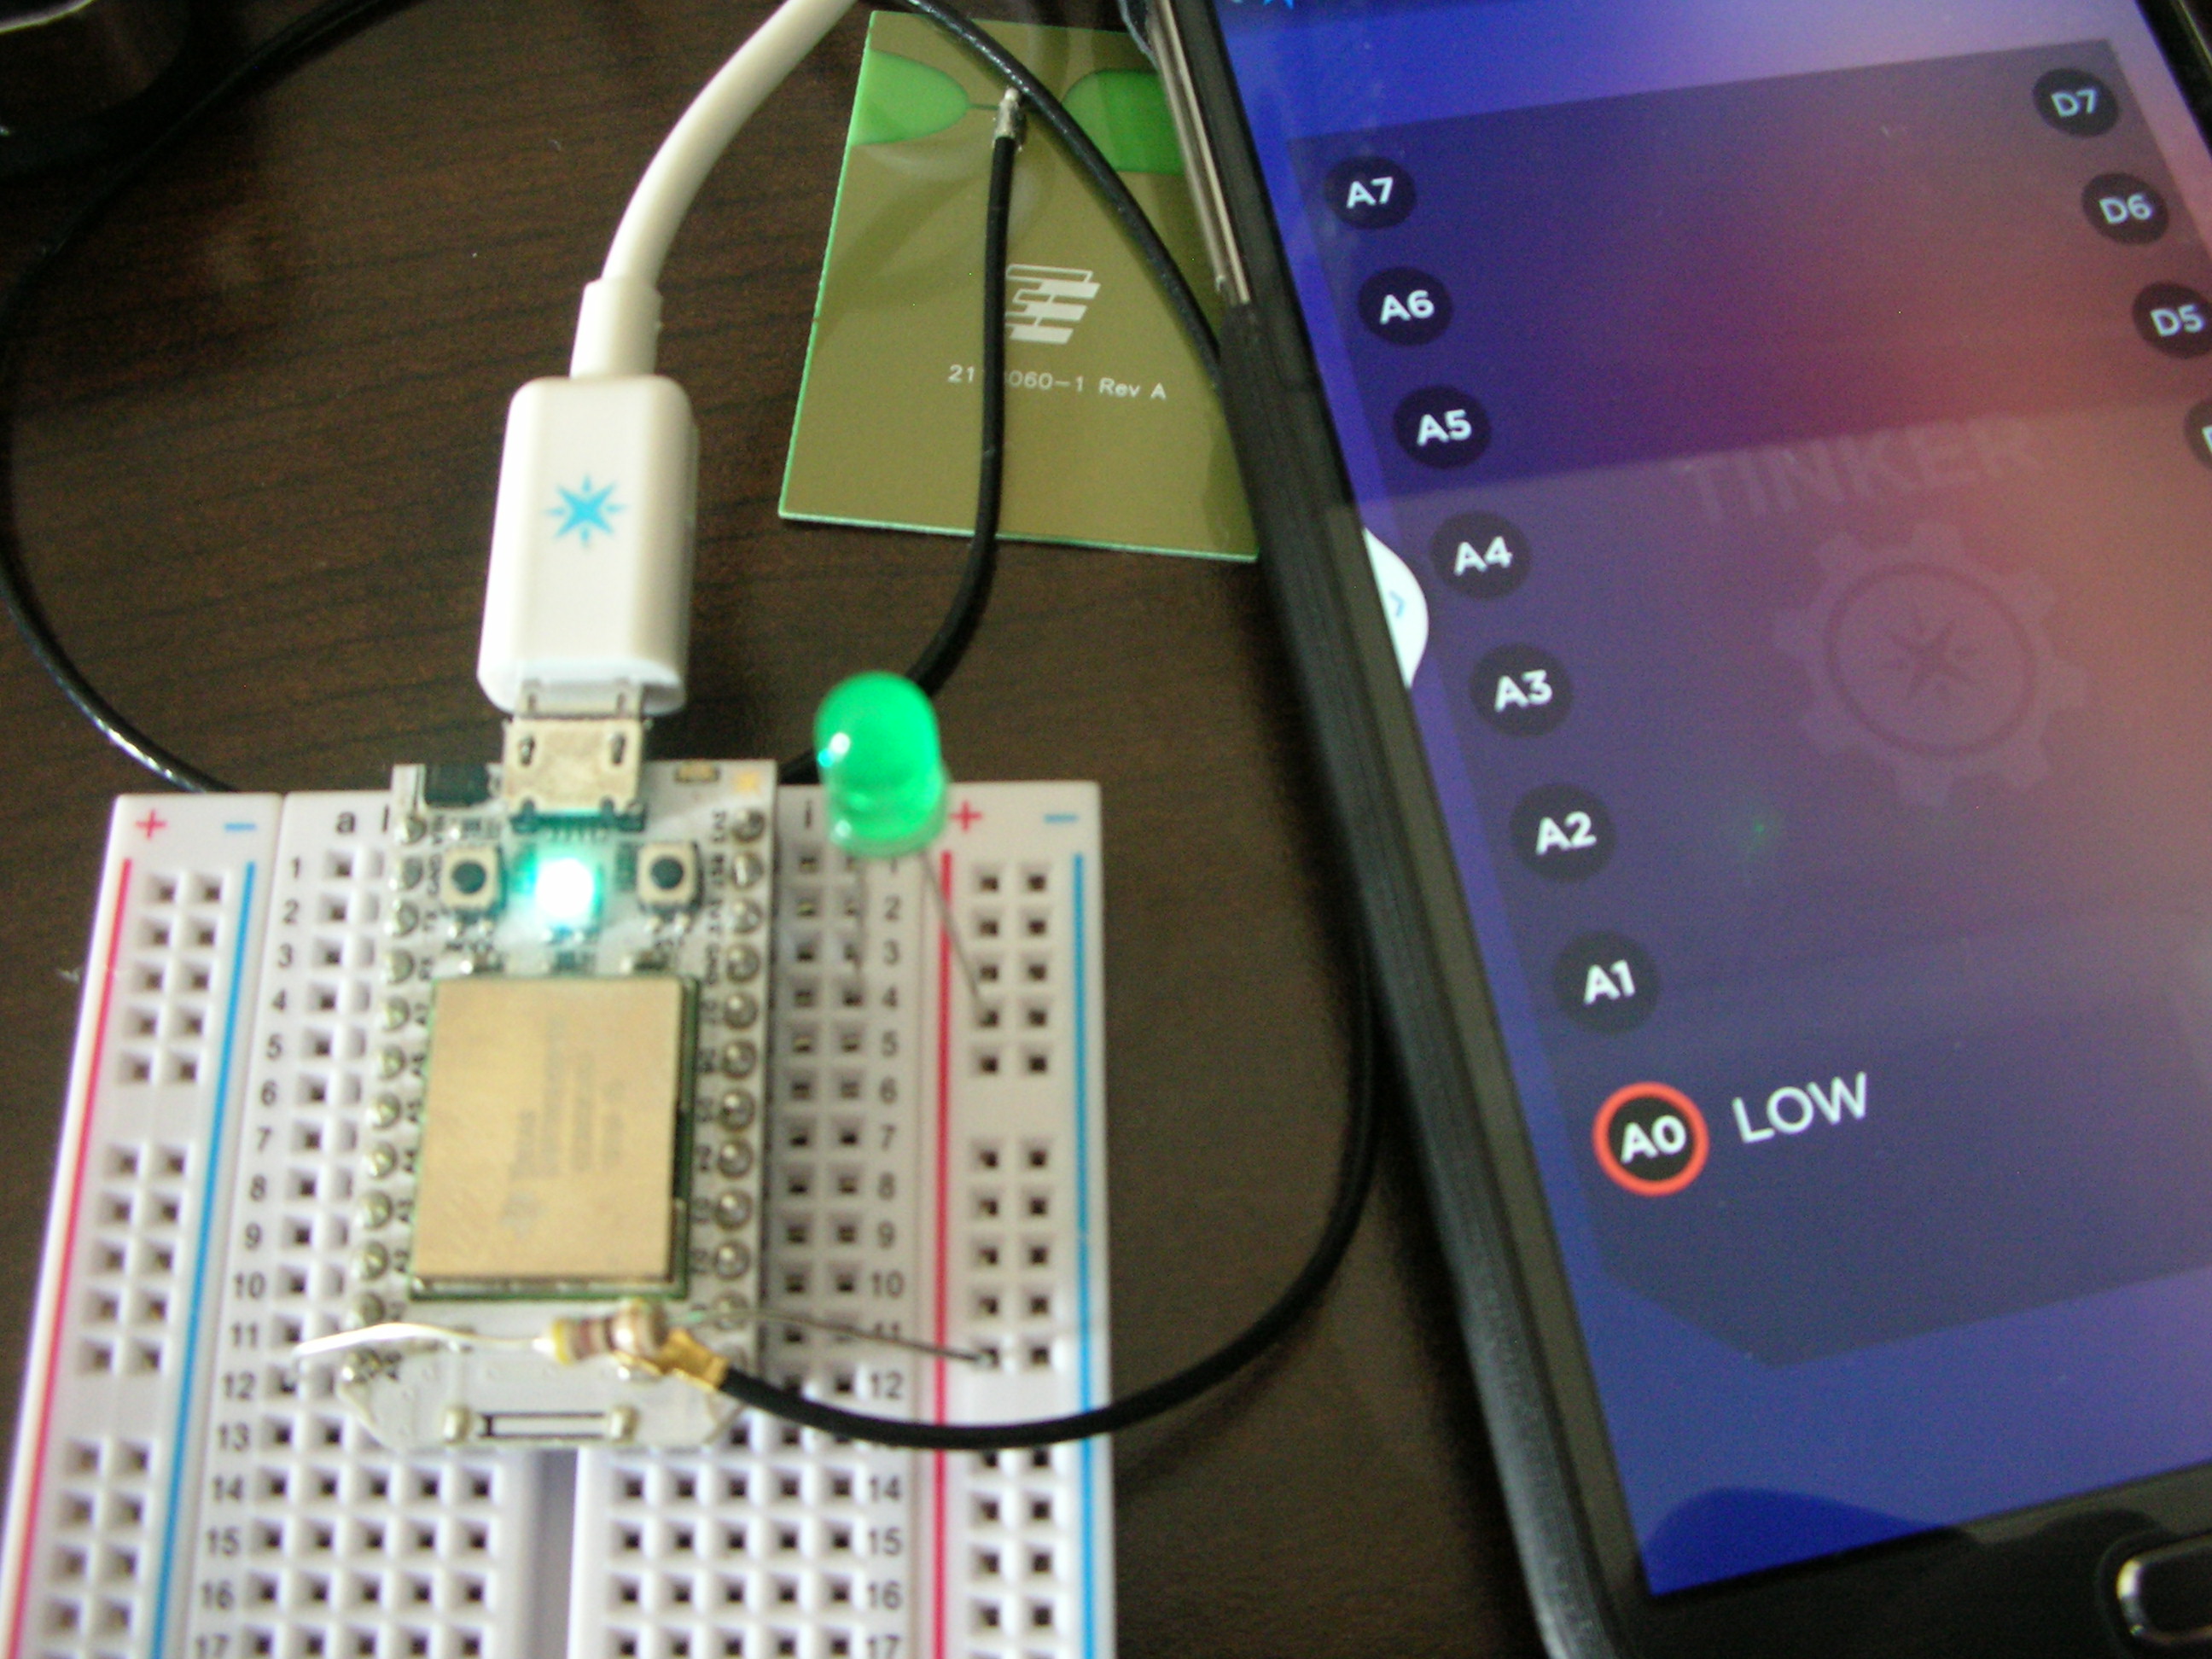
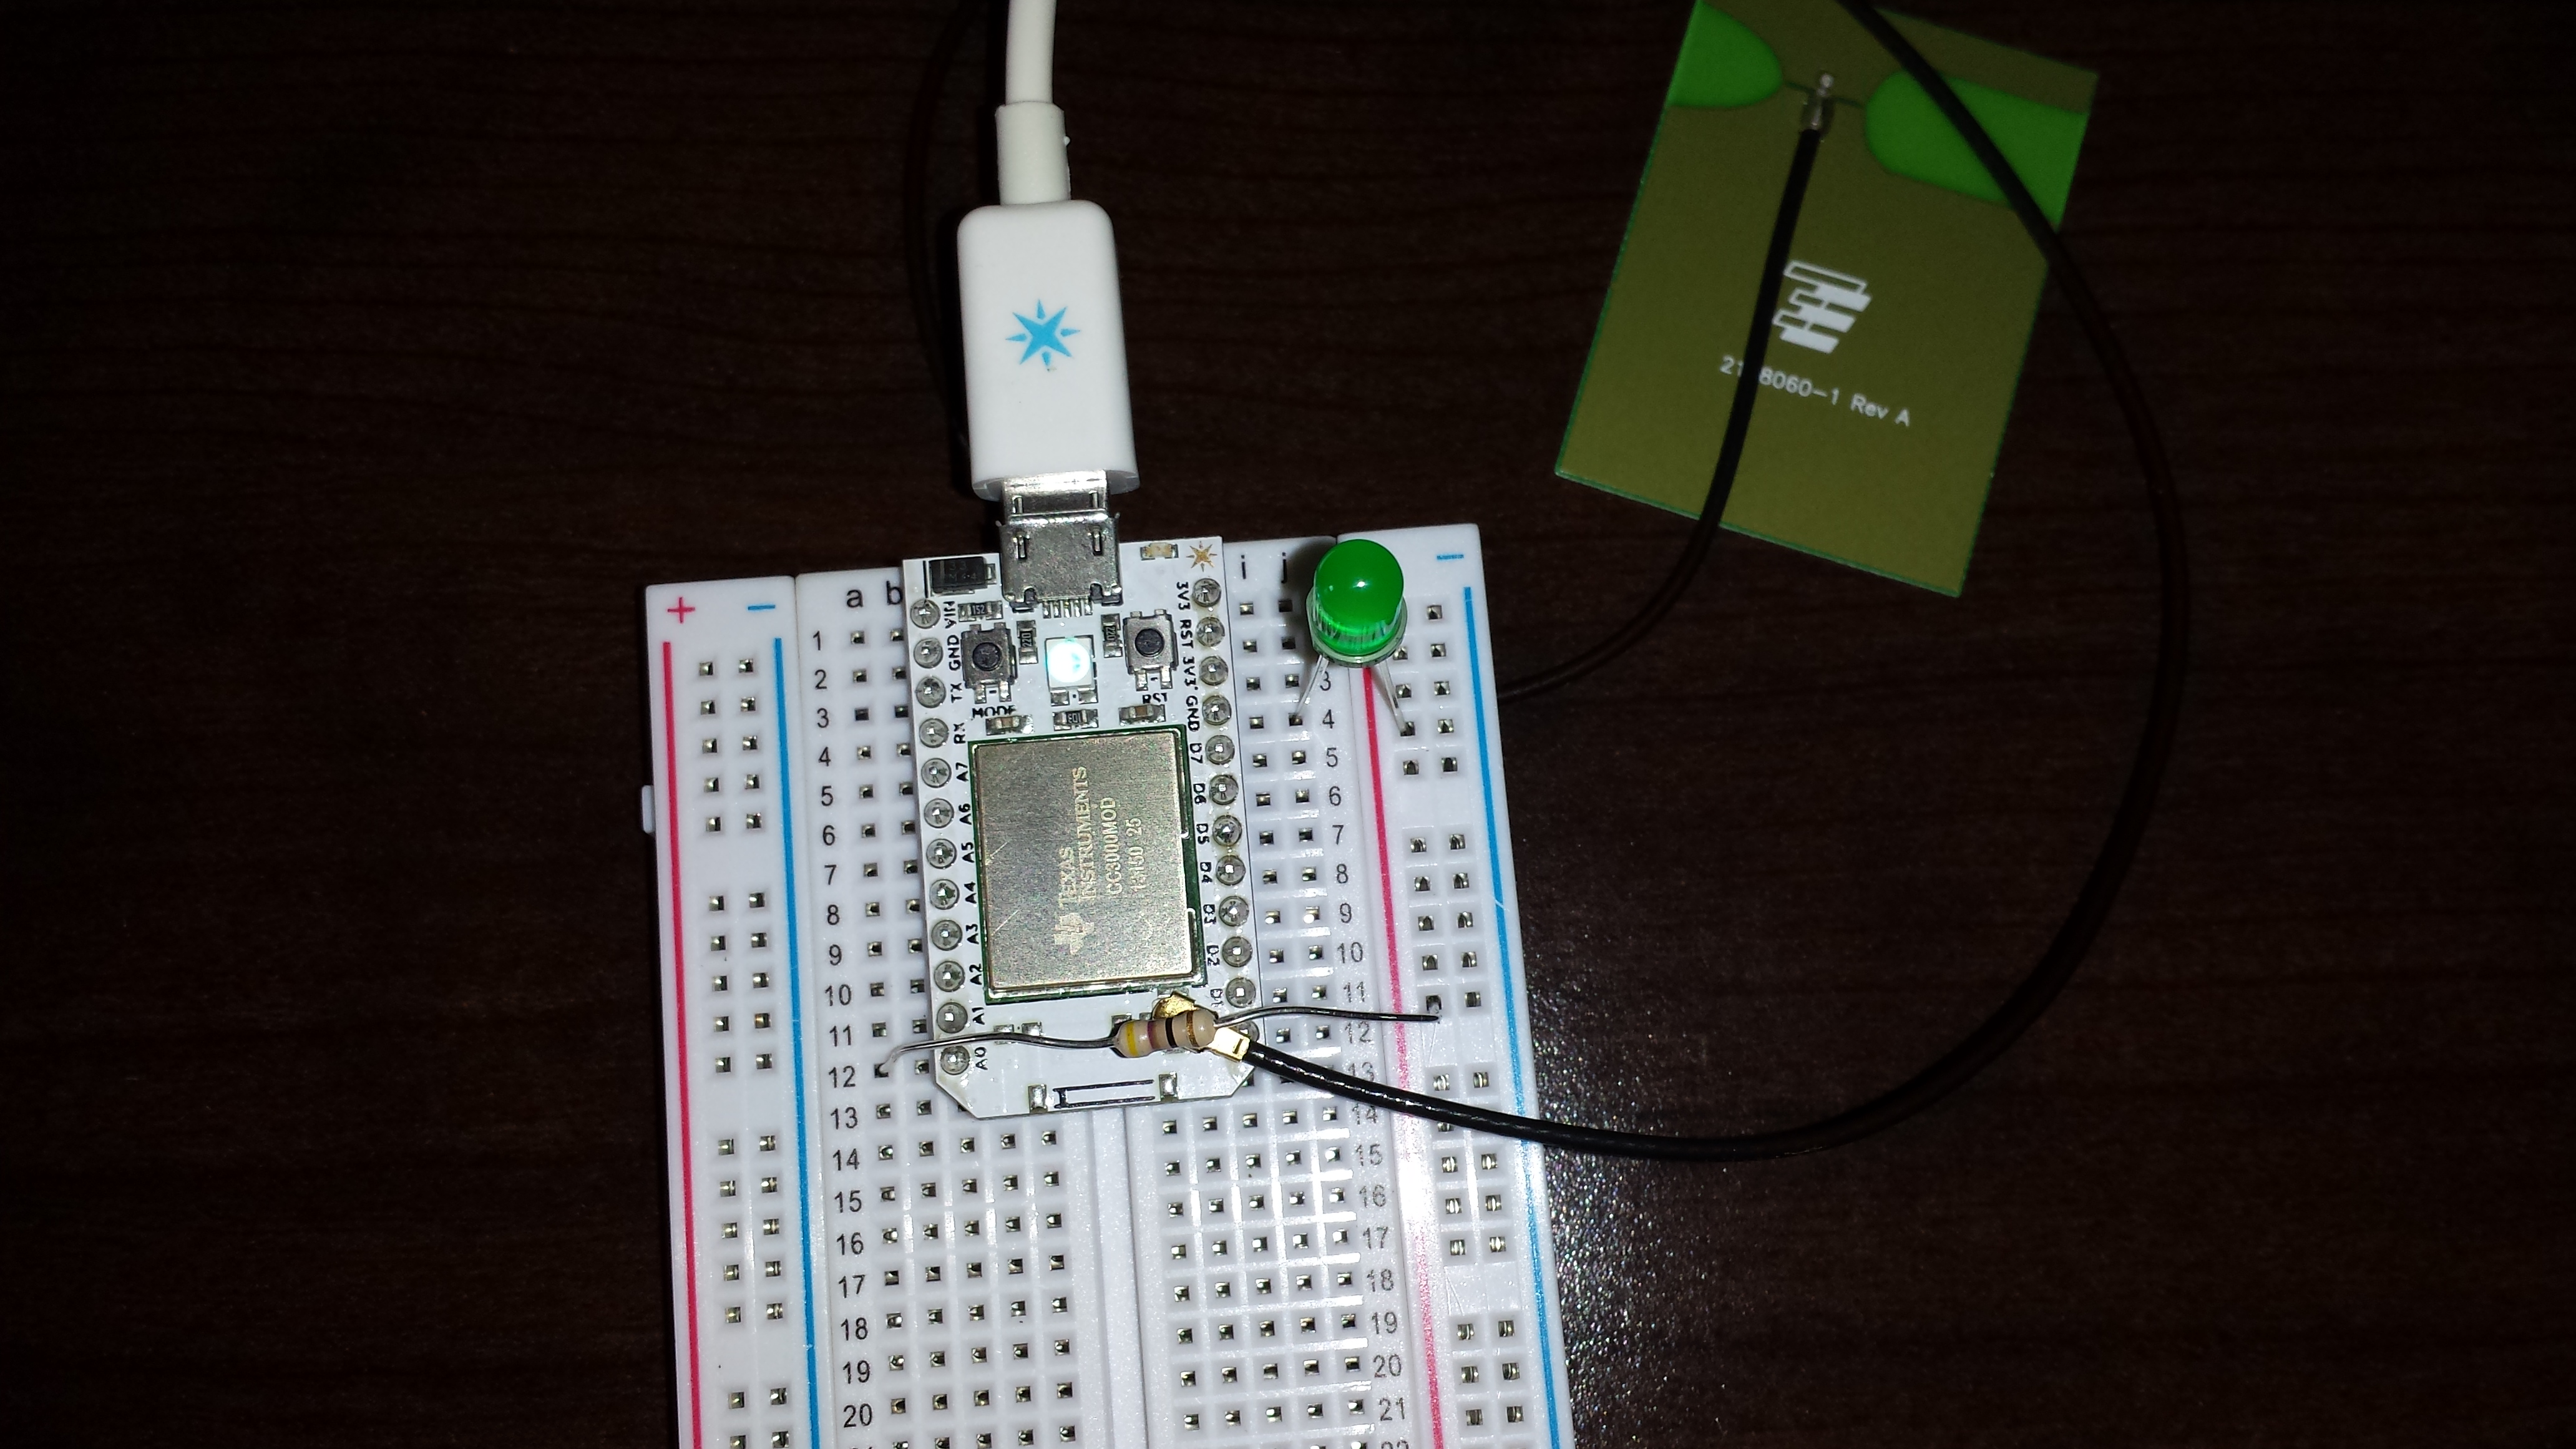
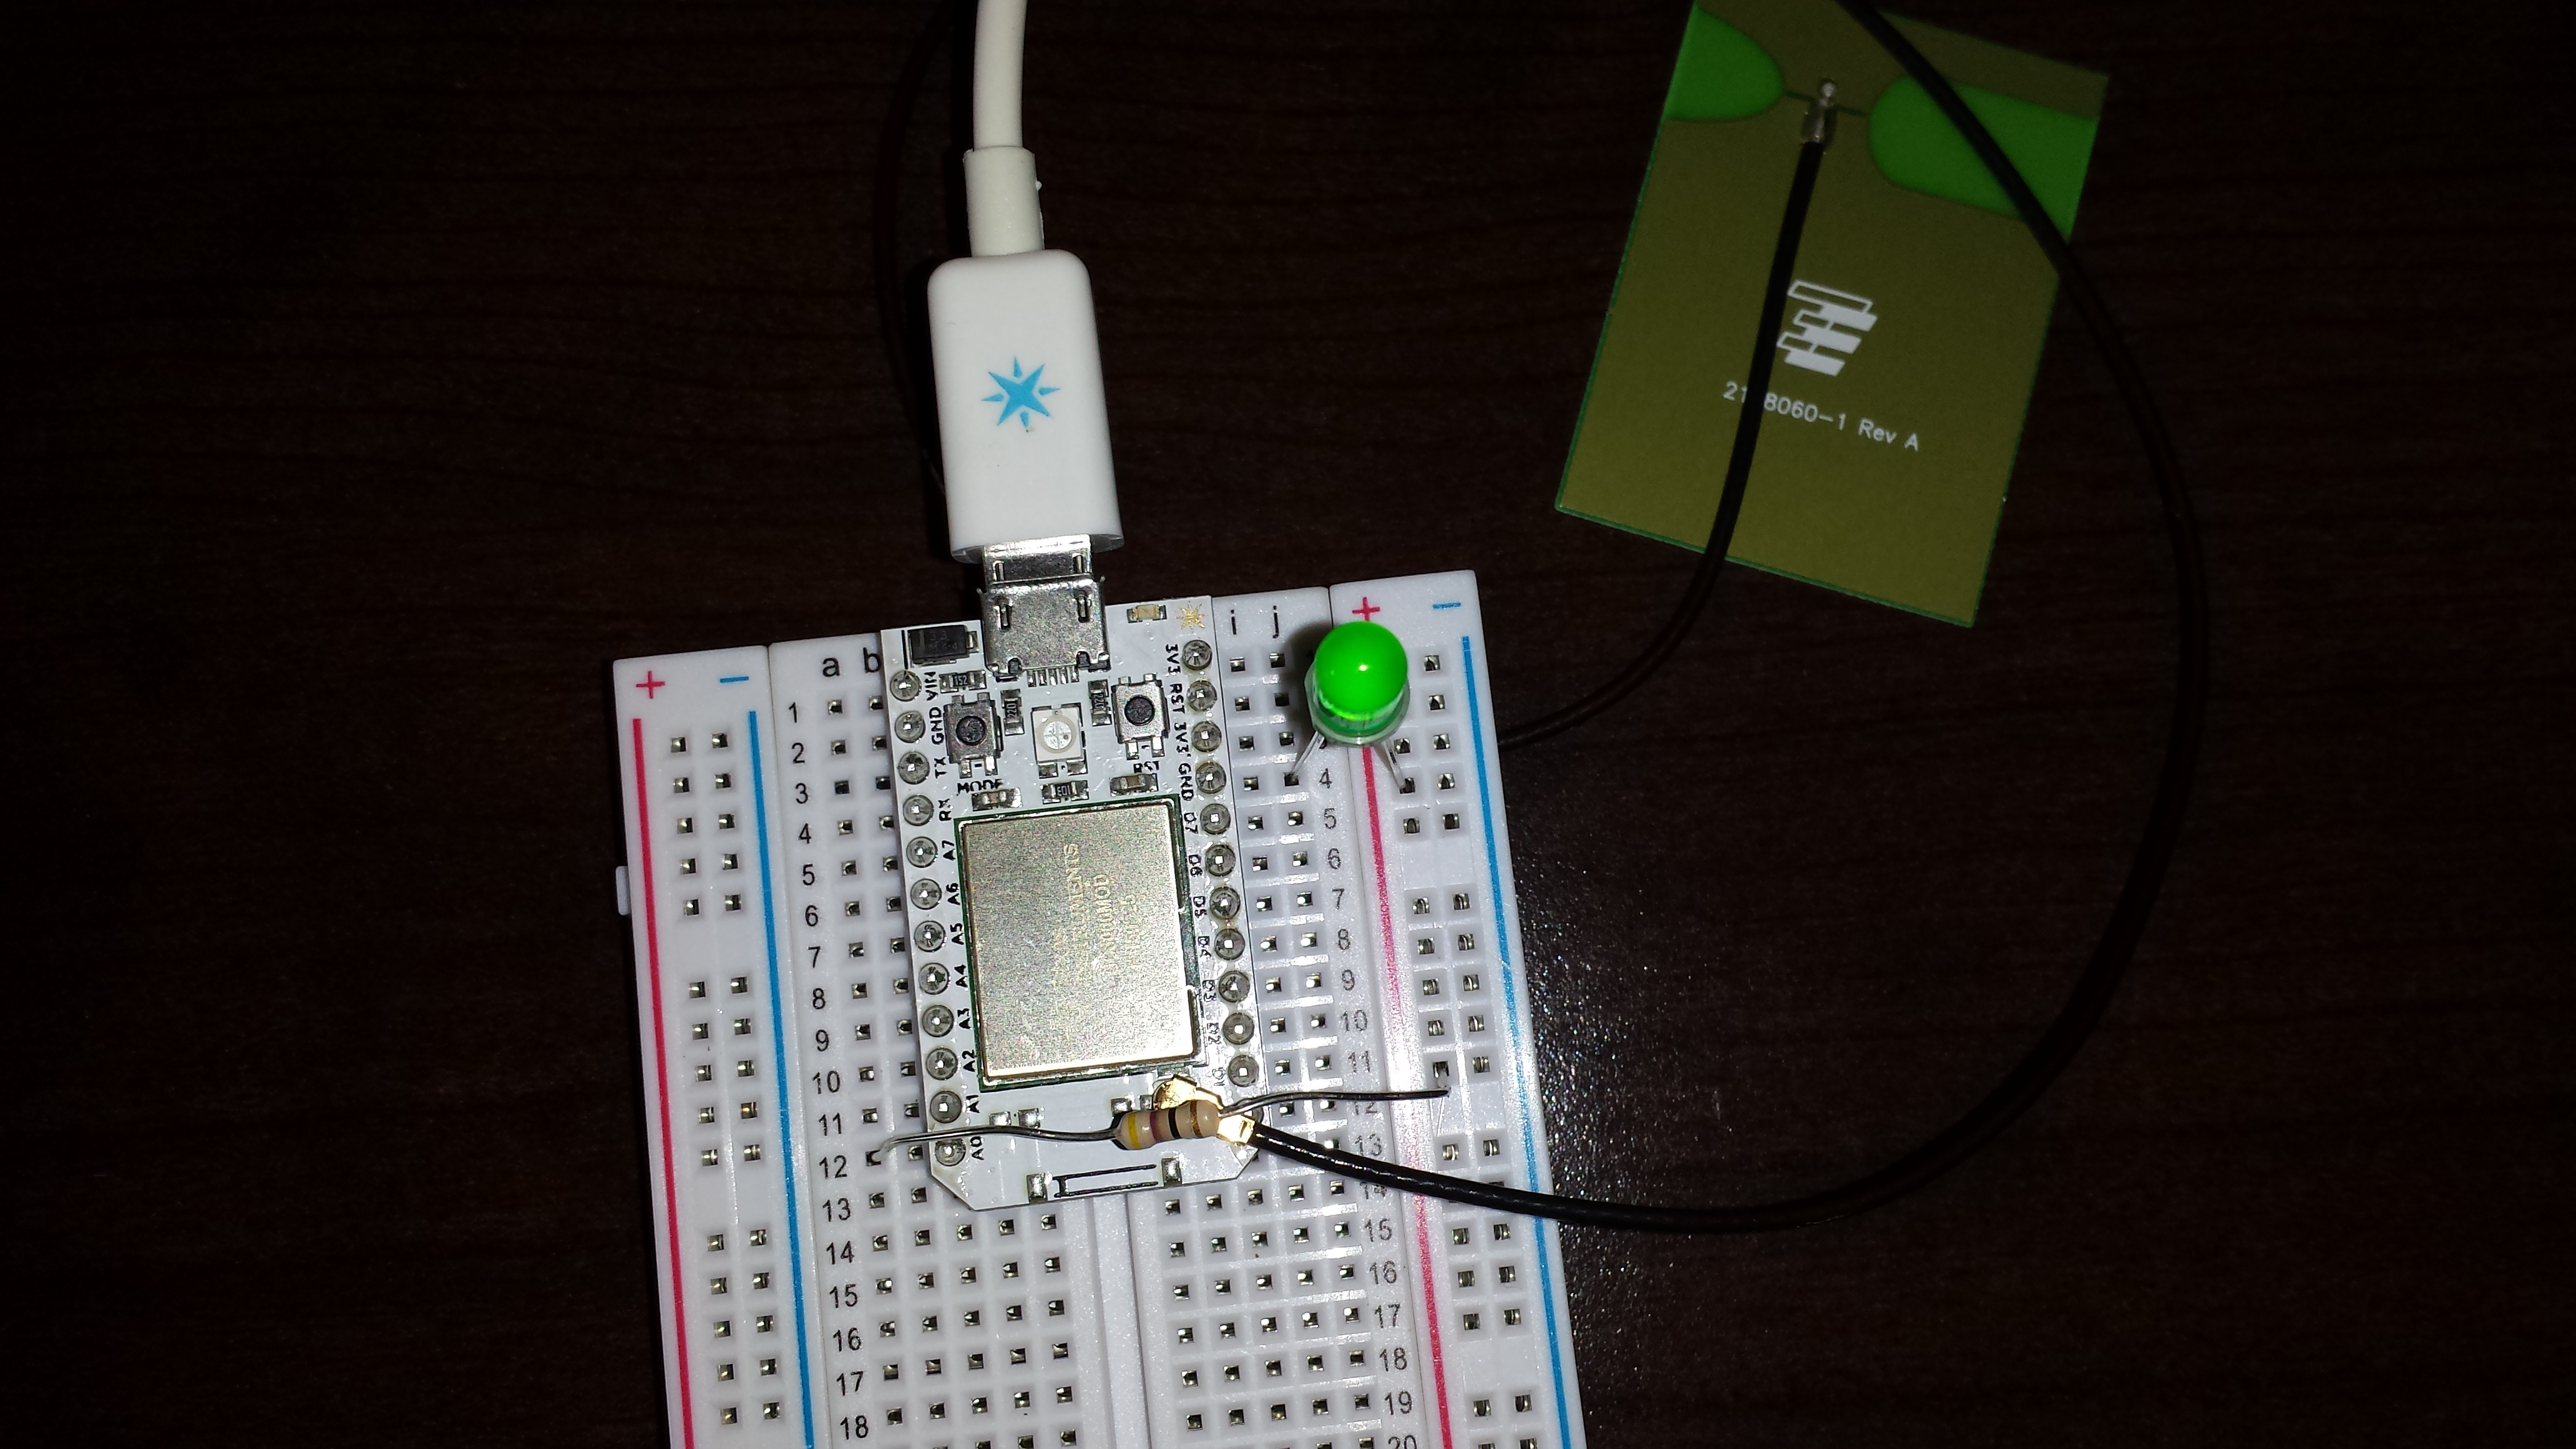
Enough already get to the pics you say… fine. Any respectable Arduino is not officially un-boxed until it is running Blink. I connected pin A0 to a resistor to a led to ground. Then set pin A0 to digital write. Using my cellphone I was able to toggle the pin from low (led off) to high (led on). I could toggle this on and off from anywhere in the world since the core is connected to the “cloud” (I hate that word since its so ambiguous).
Came with a 1/2 breadboard
Blink – LED Off (low)
Blink – LED On (High)
Blink – LED Off (low)
Blink – LED On (High)
USB connection to the core is for power only. Connection is made via Wi-Fi