I have a two year old and she likes to play inside one of the kitchen cabinets. I would imagine that it gets dark in there when she closed the door, so I decided to puts some lights in there. Being a 2 year old she likely to burn through some batteries so I though I could do a bit better than a simple on/off switch.
To be honest I have been wanting to do something with a 555 for a long time. I picked one up from Radio Shack back in January 2003. Now there is a need, so now is the time.
I basically used this article as a basis http://www.instructables.com/id/555-Timer/?ALLSTEPS.
I easily had all the parts so it was just a matter of assembly.
I will be using the 555 in the mono-stable mode circuit.
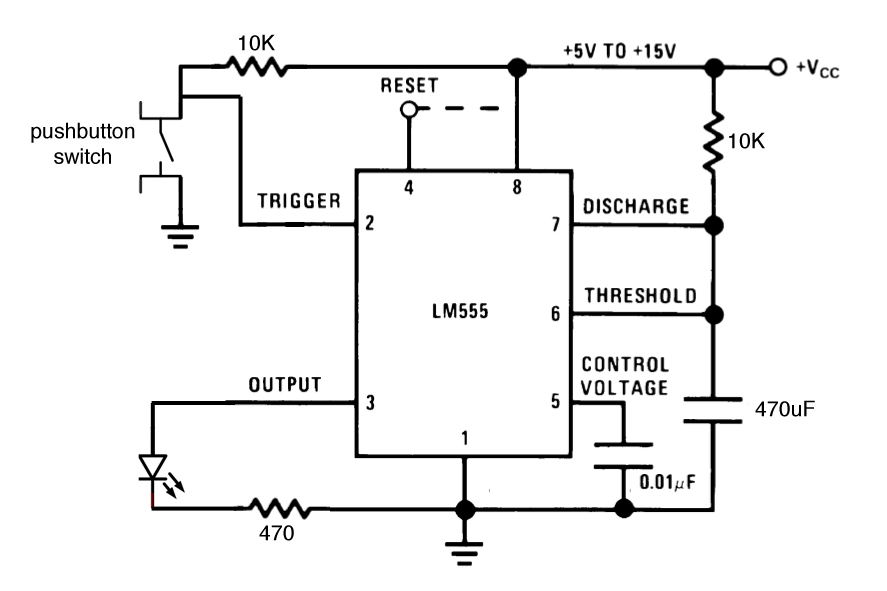
The only differences I made is that the control resistor shown here as a 10k ohms has been replaced with a 500k potentiometer/preset and the control capacitor shown here was replaced by a 330uF cap (since that’s the closest I had). These values workout to a timeout of 0-181.5 seconds, right in the range that I was looking for.
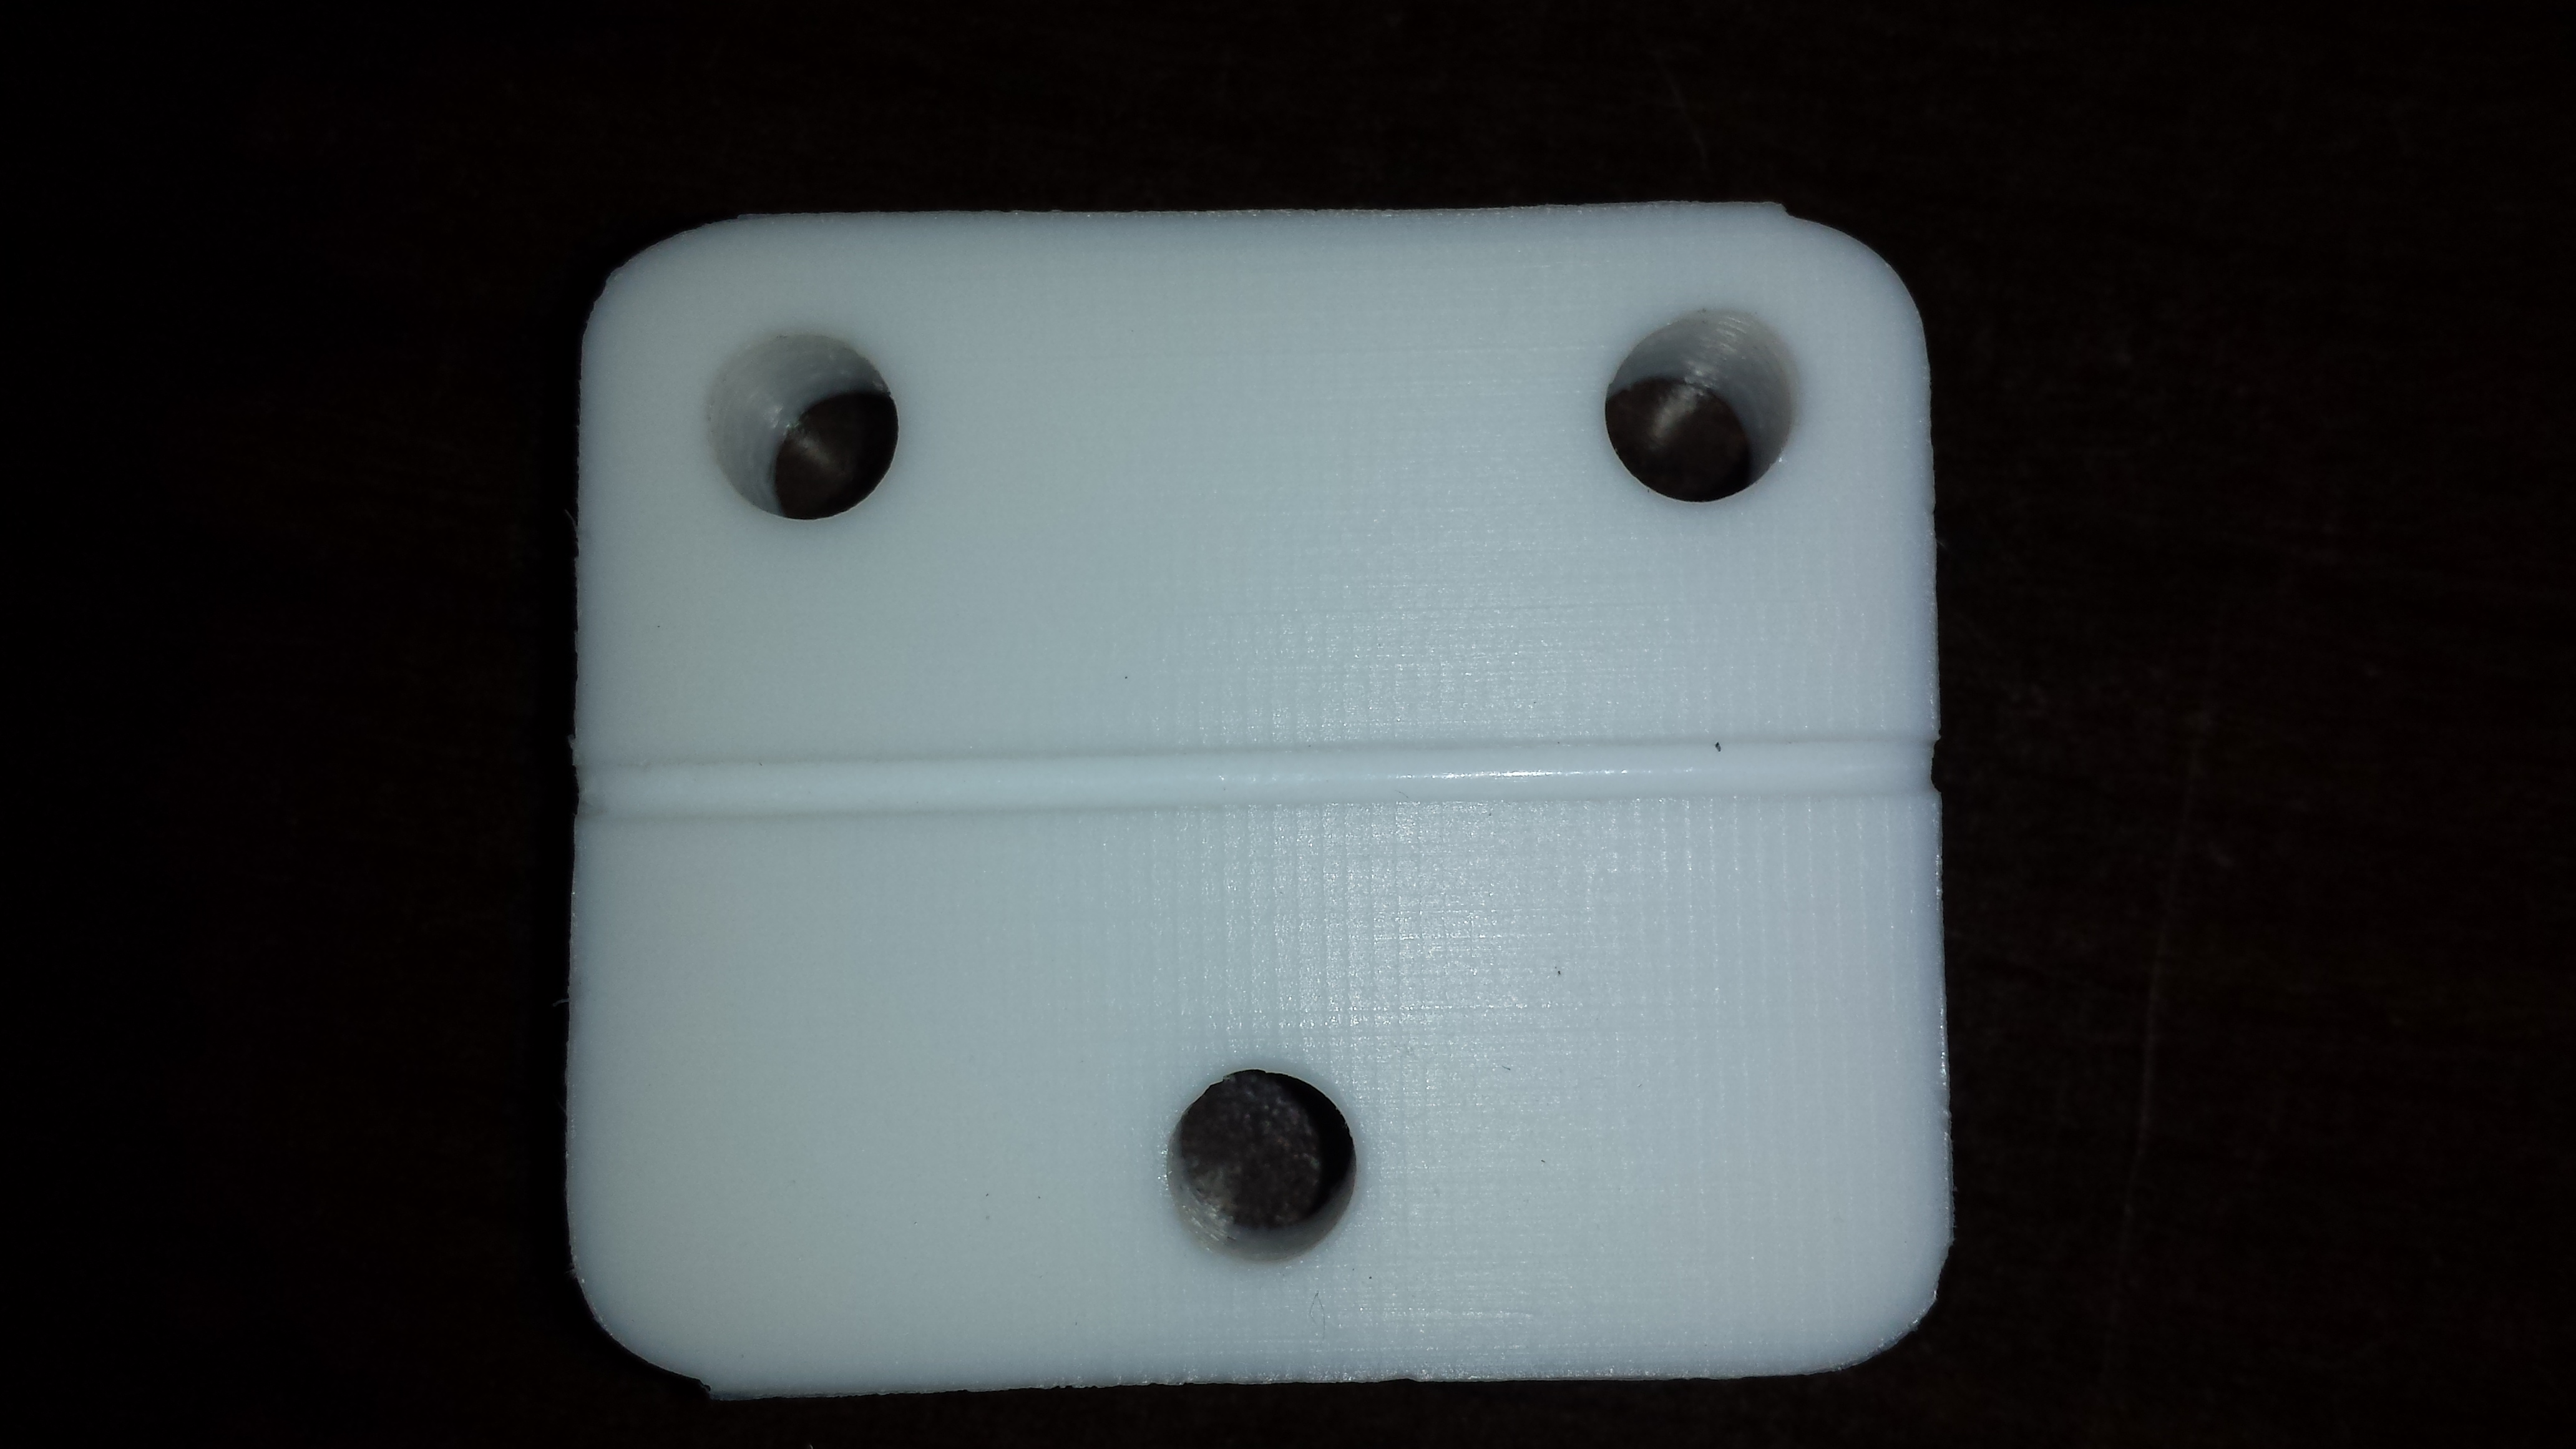
In this case I also decided not to go all out and do a circuit diagram an etch a PCB. This is a simple enough circuit I can just use some perfboard without the fuss.
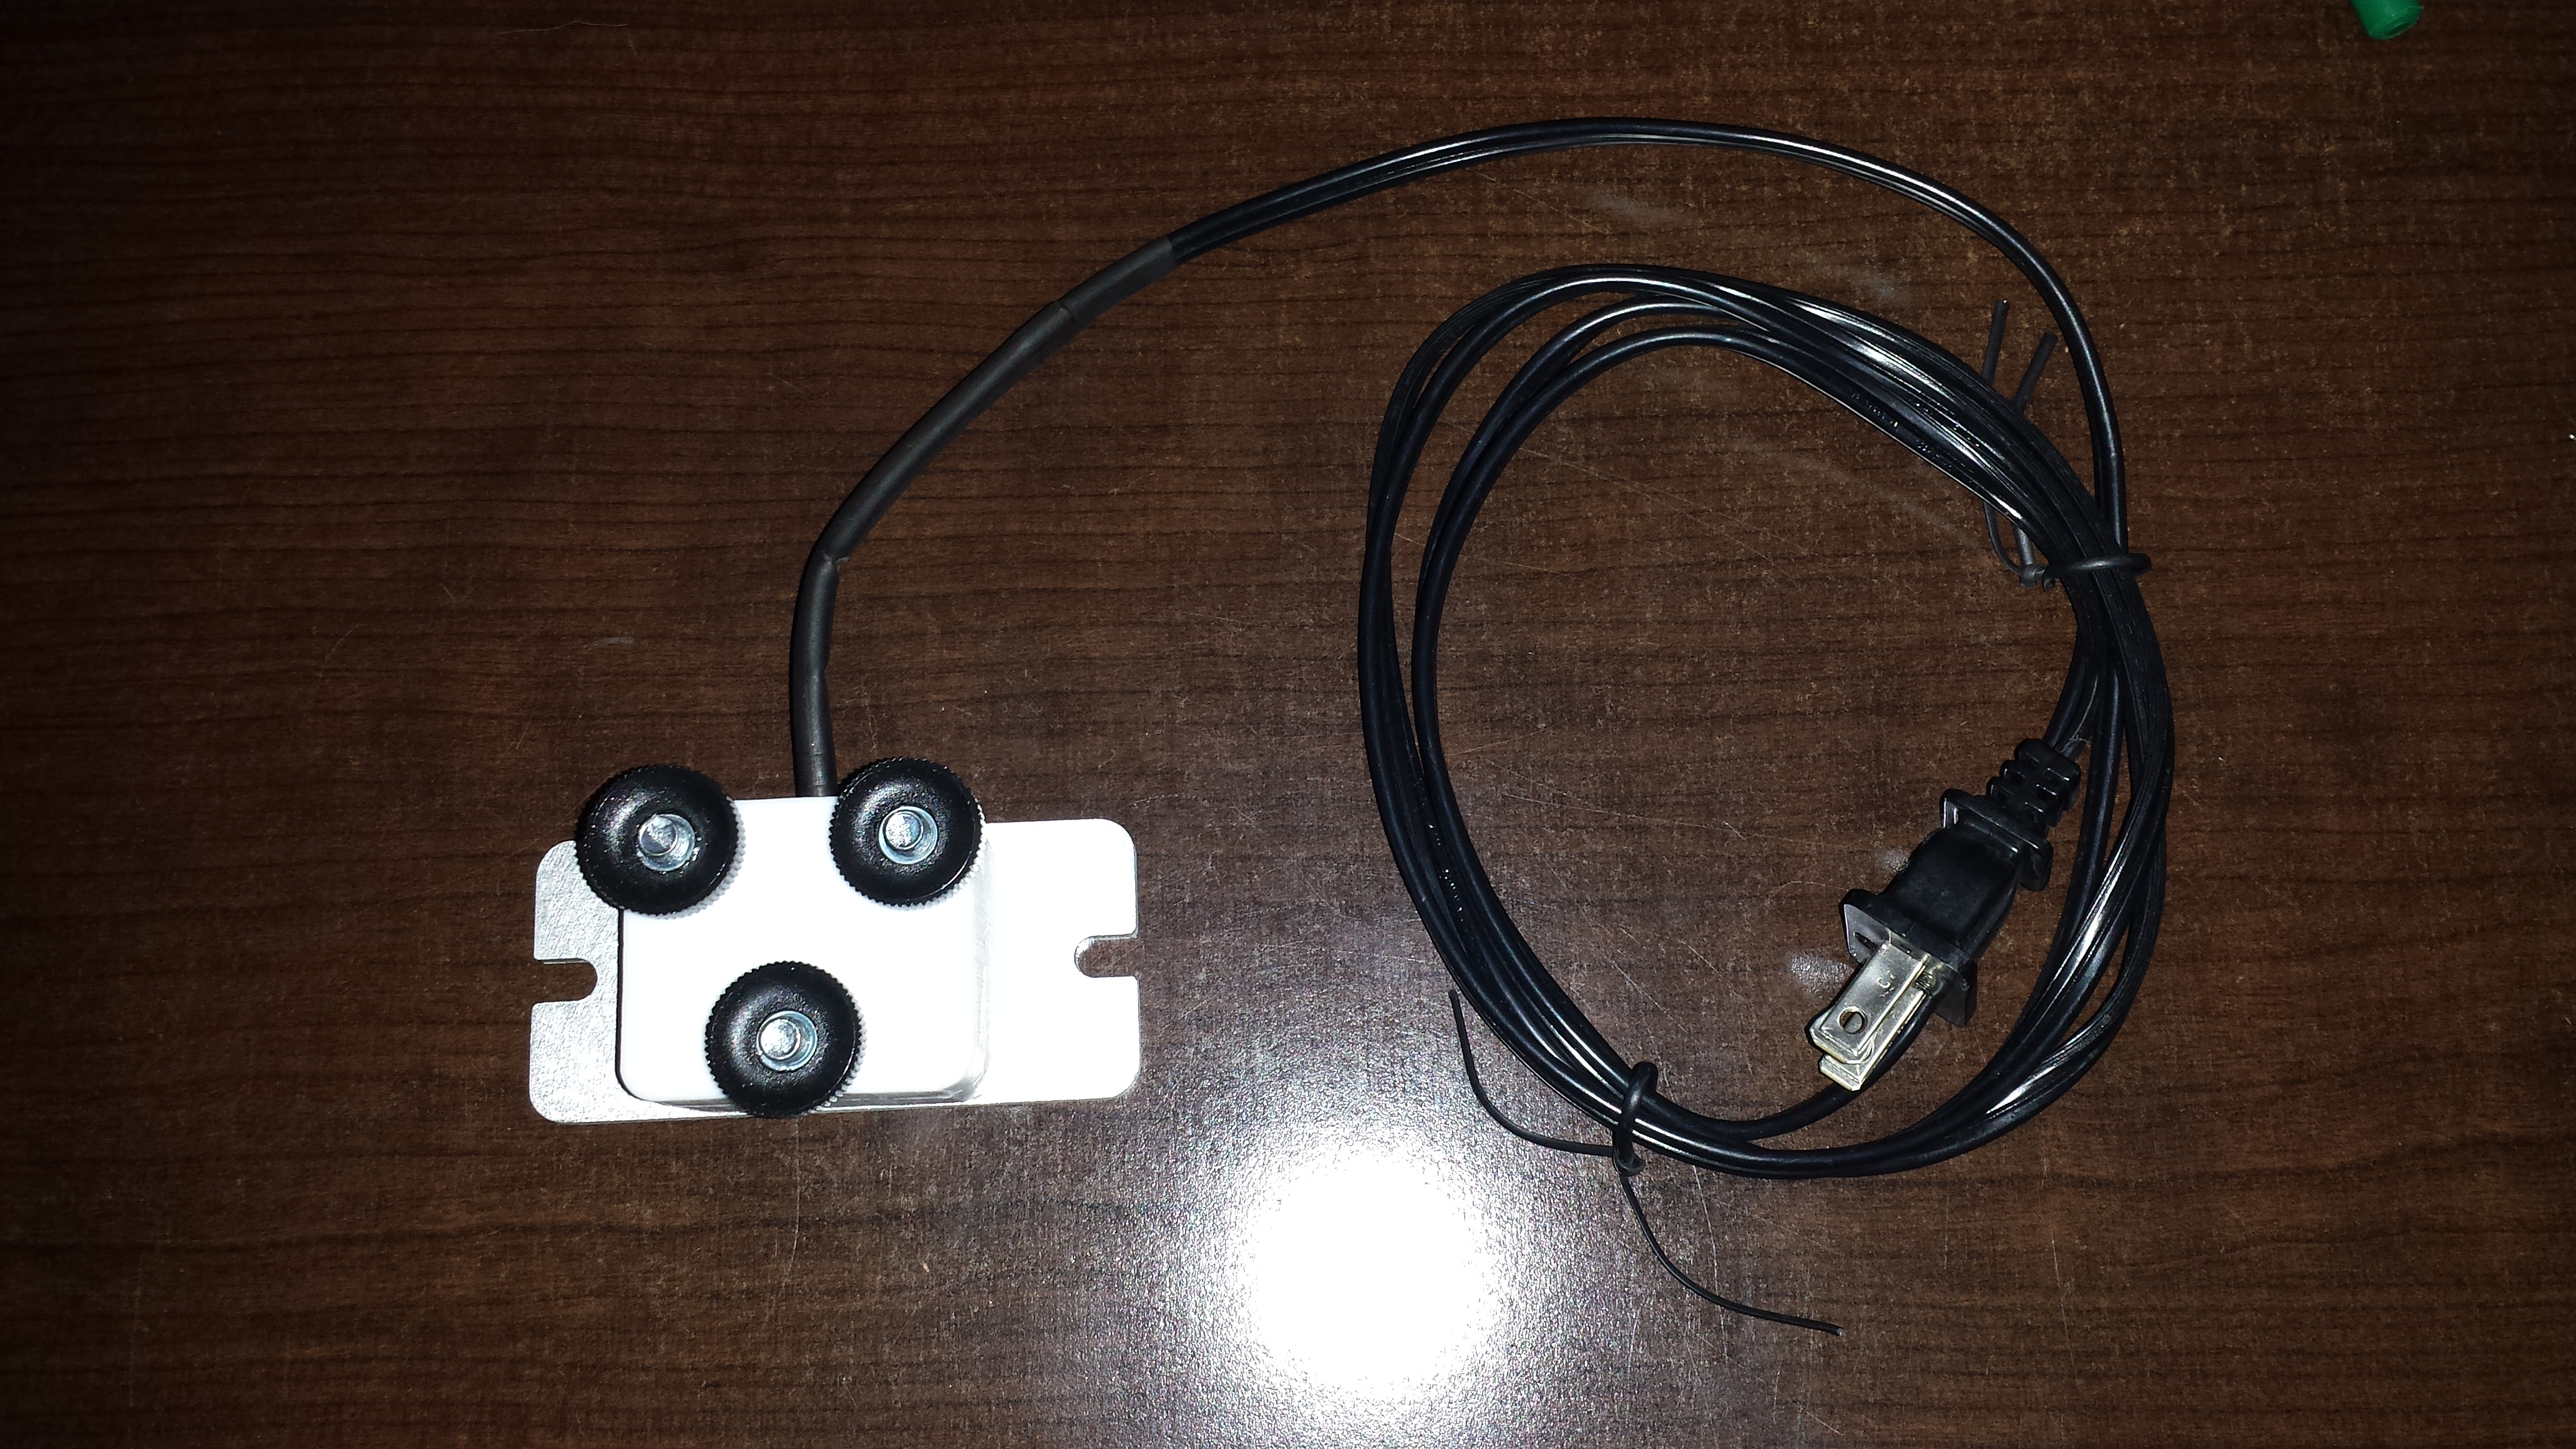
Here is my result. 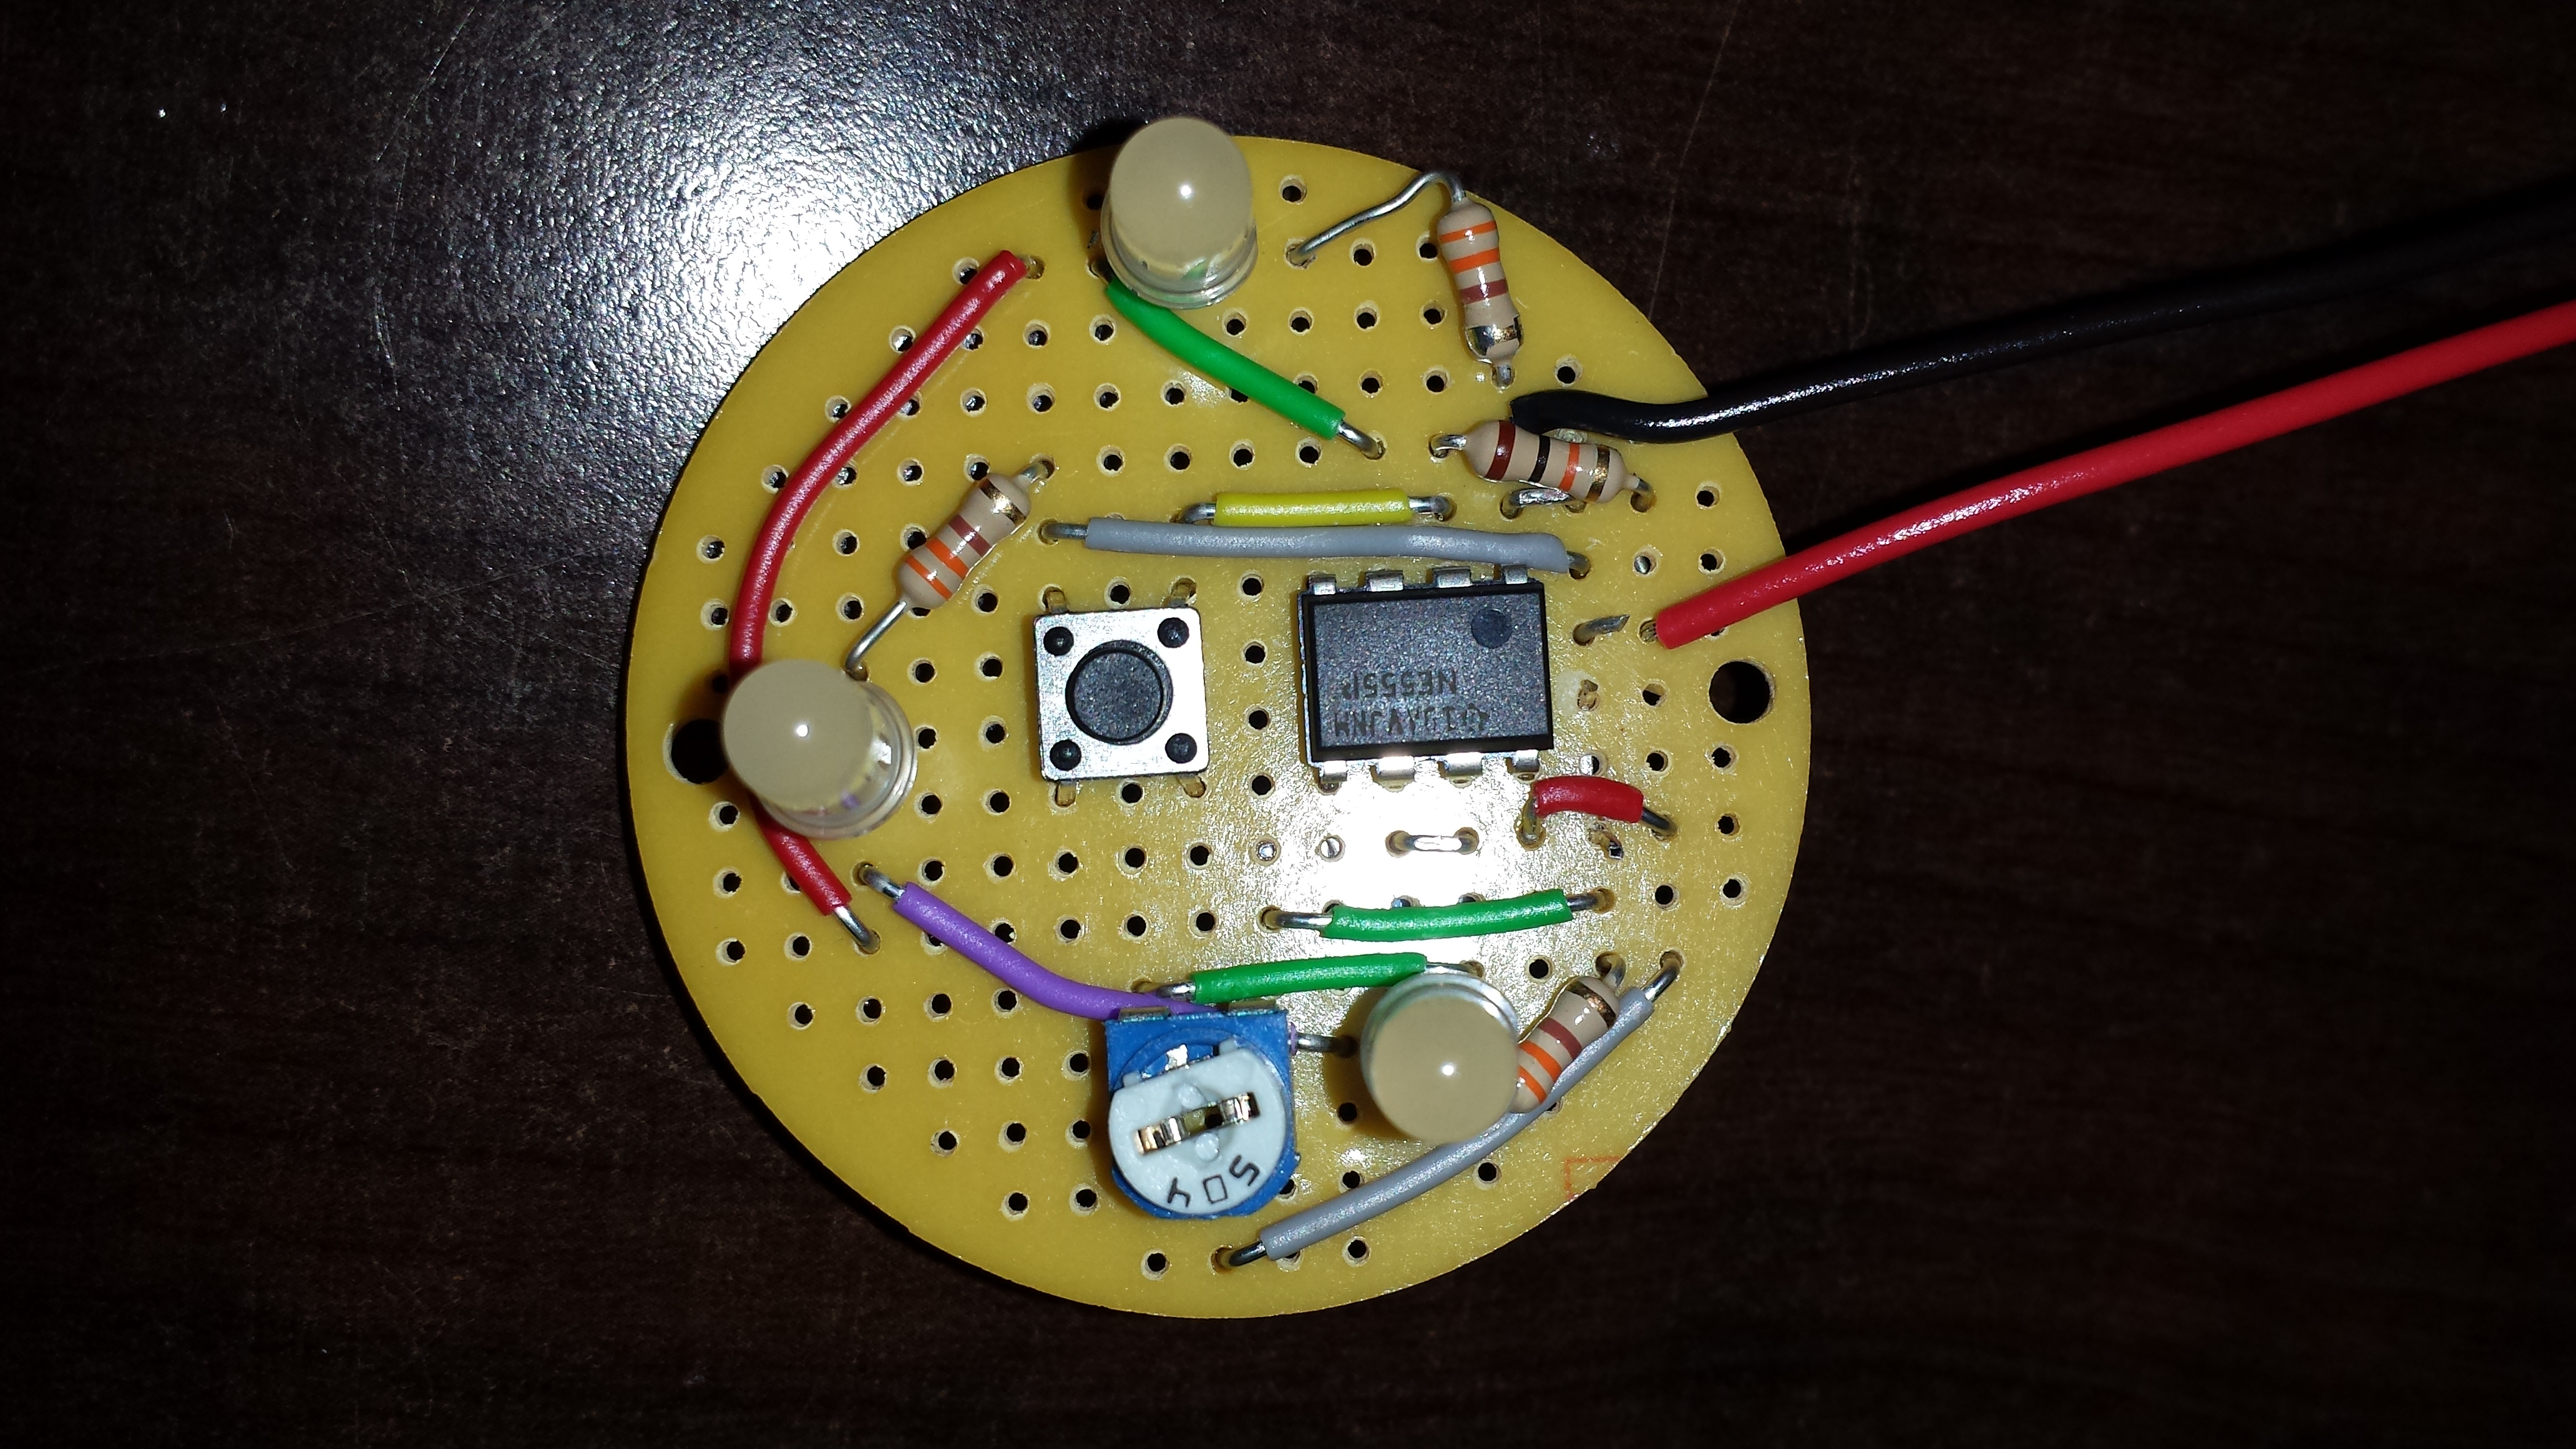
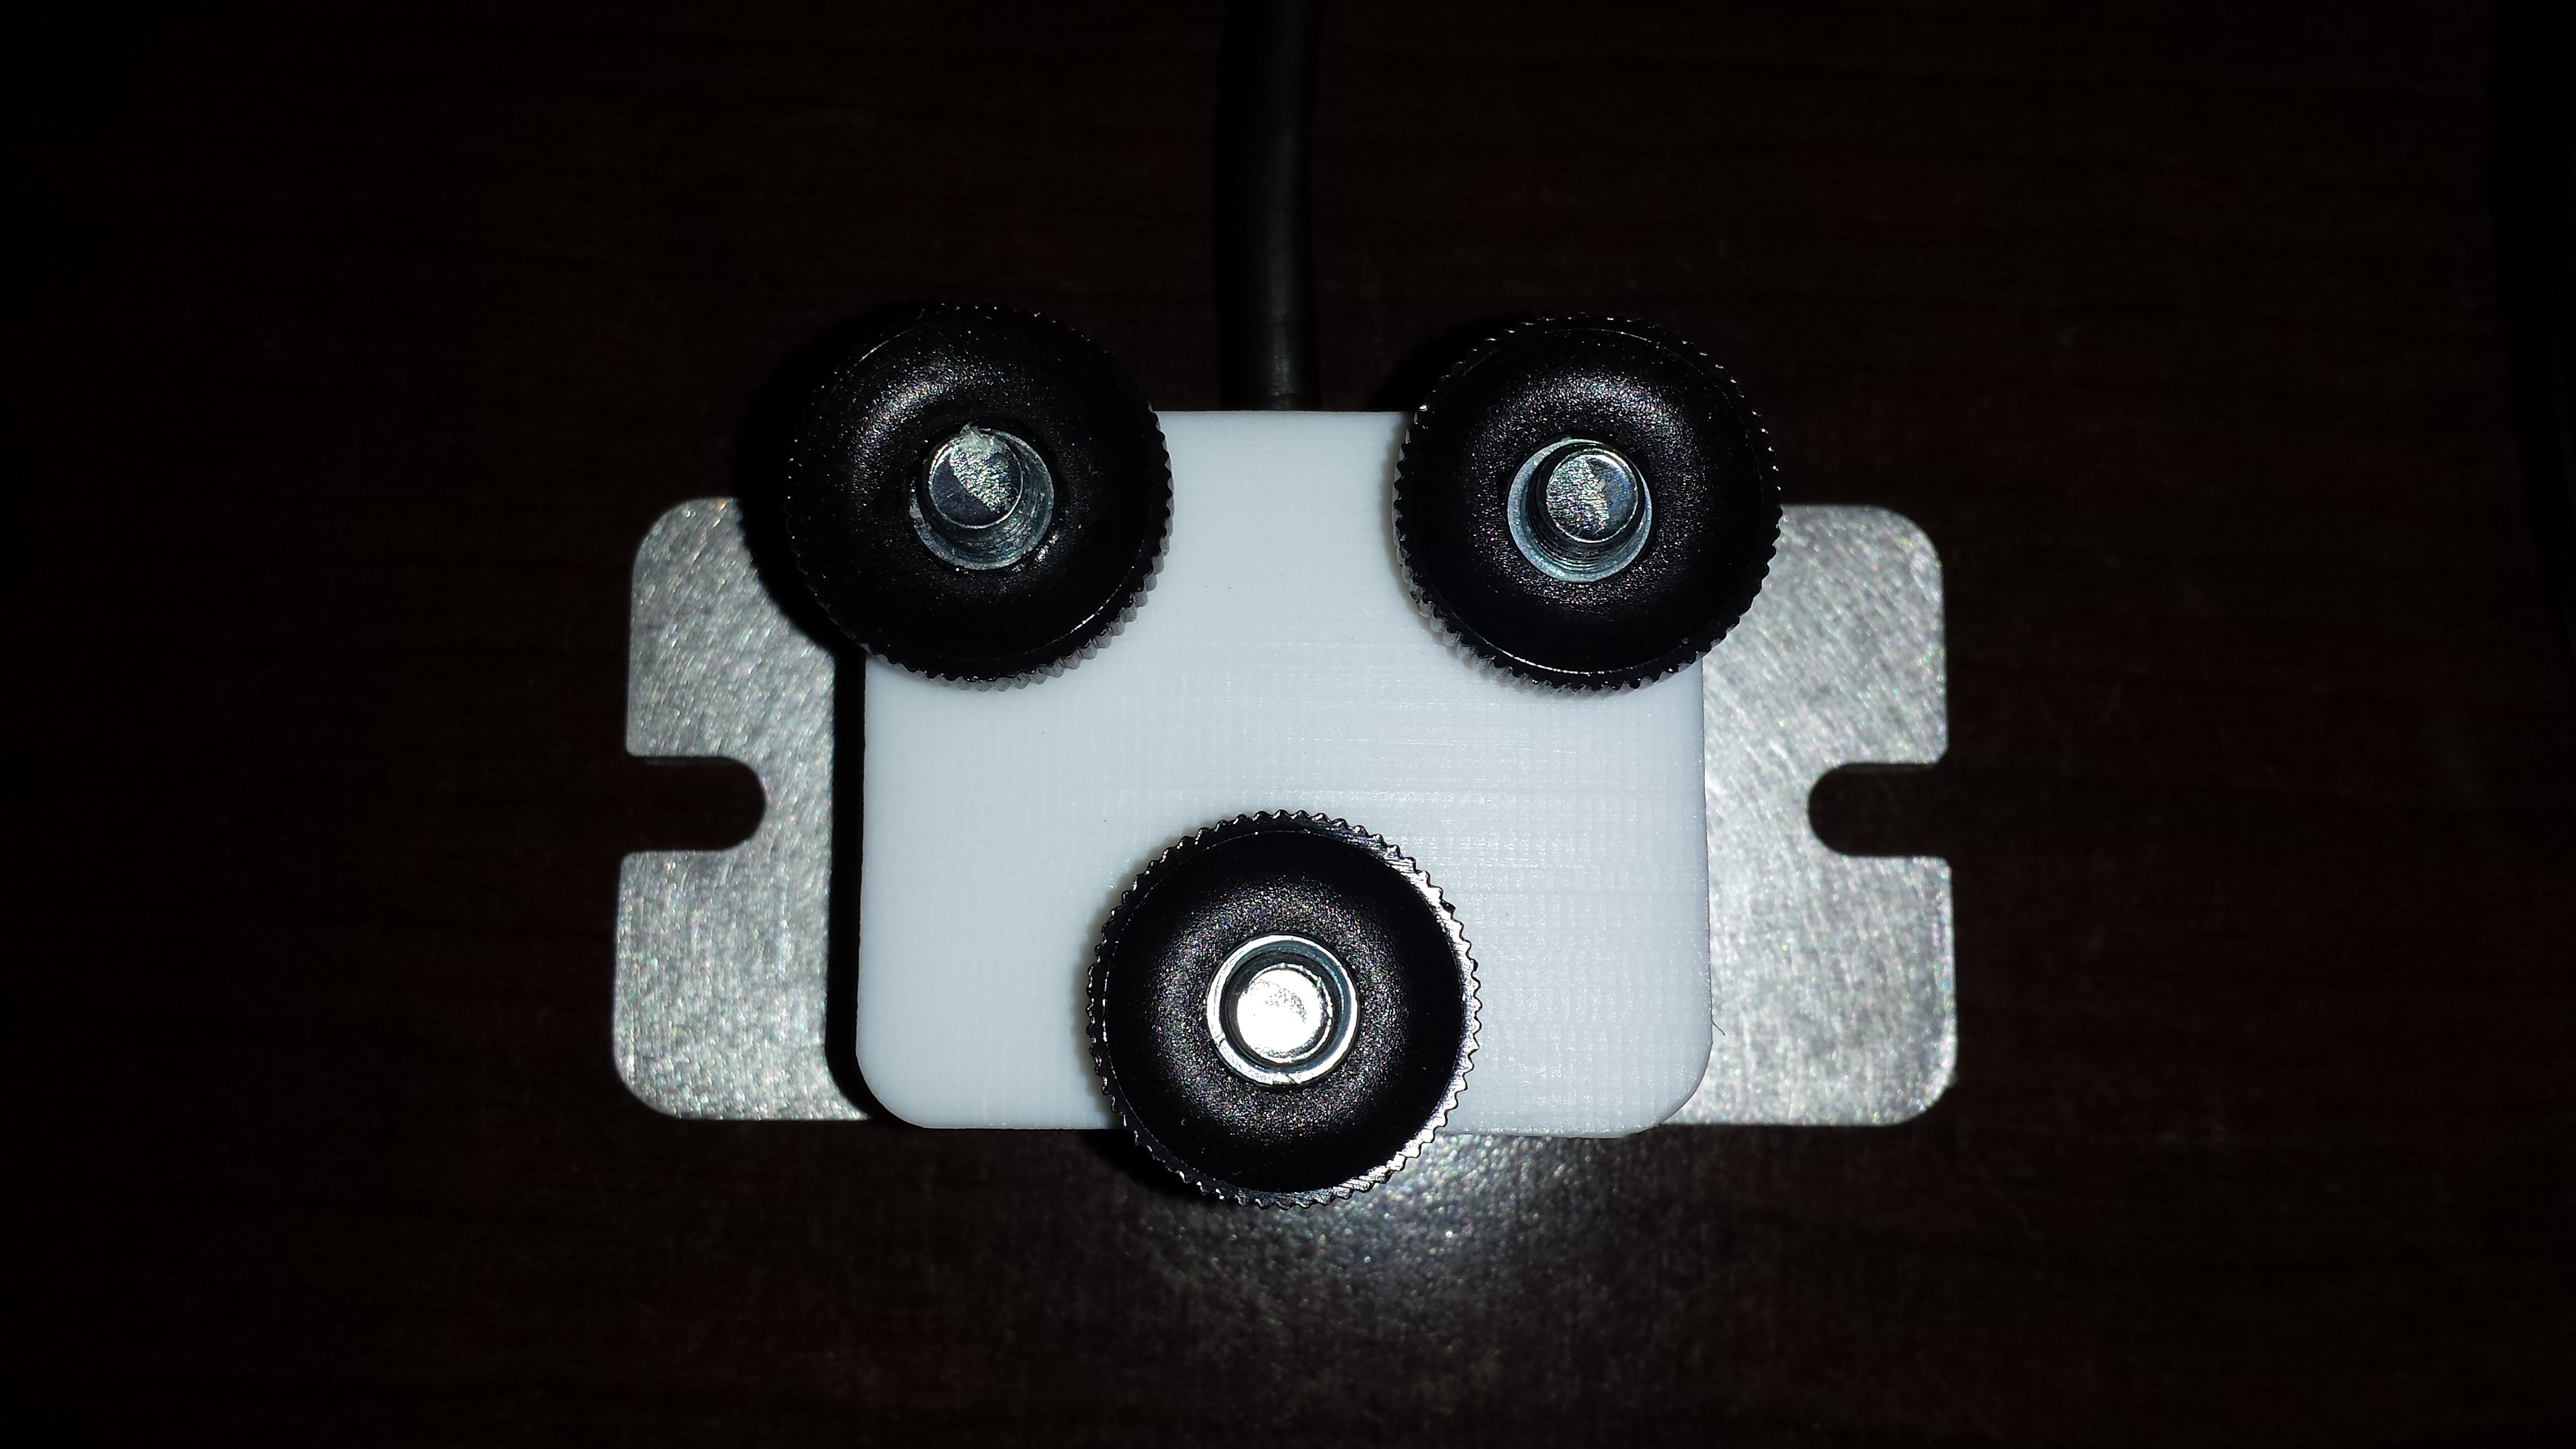
It actually came out quite nice. It has one button that starts the timer and turns on the 3 white LEDs. The button does on nothing while the lights are on so in order to keep them on you have to hit the button every time they turn off.
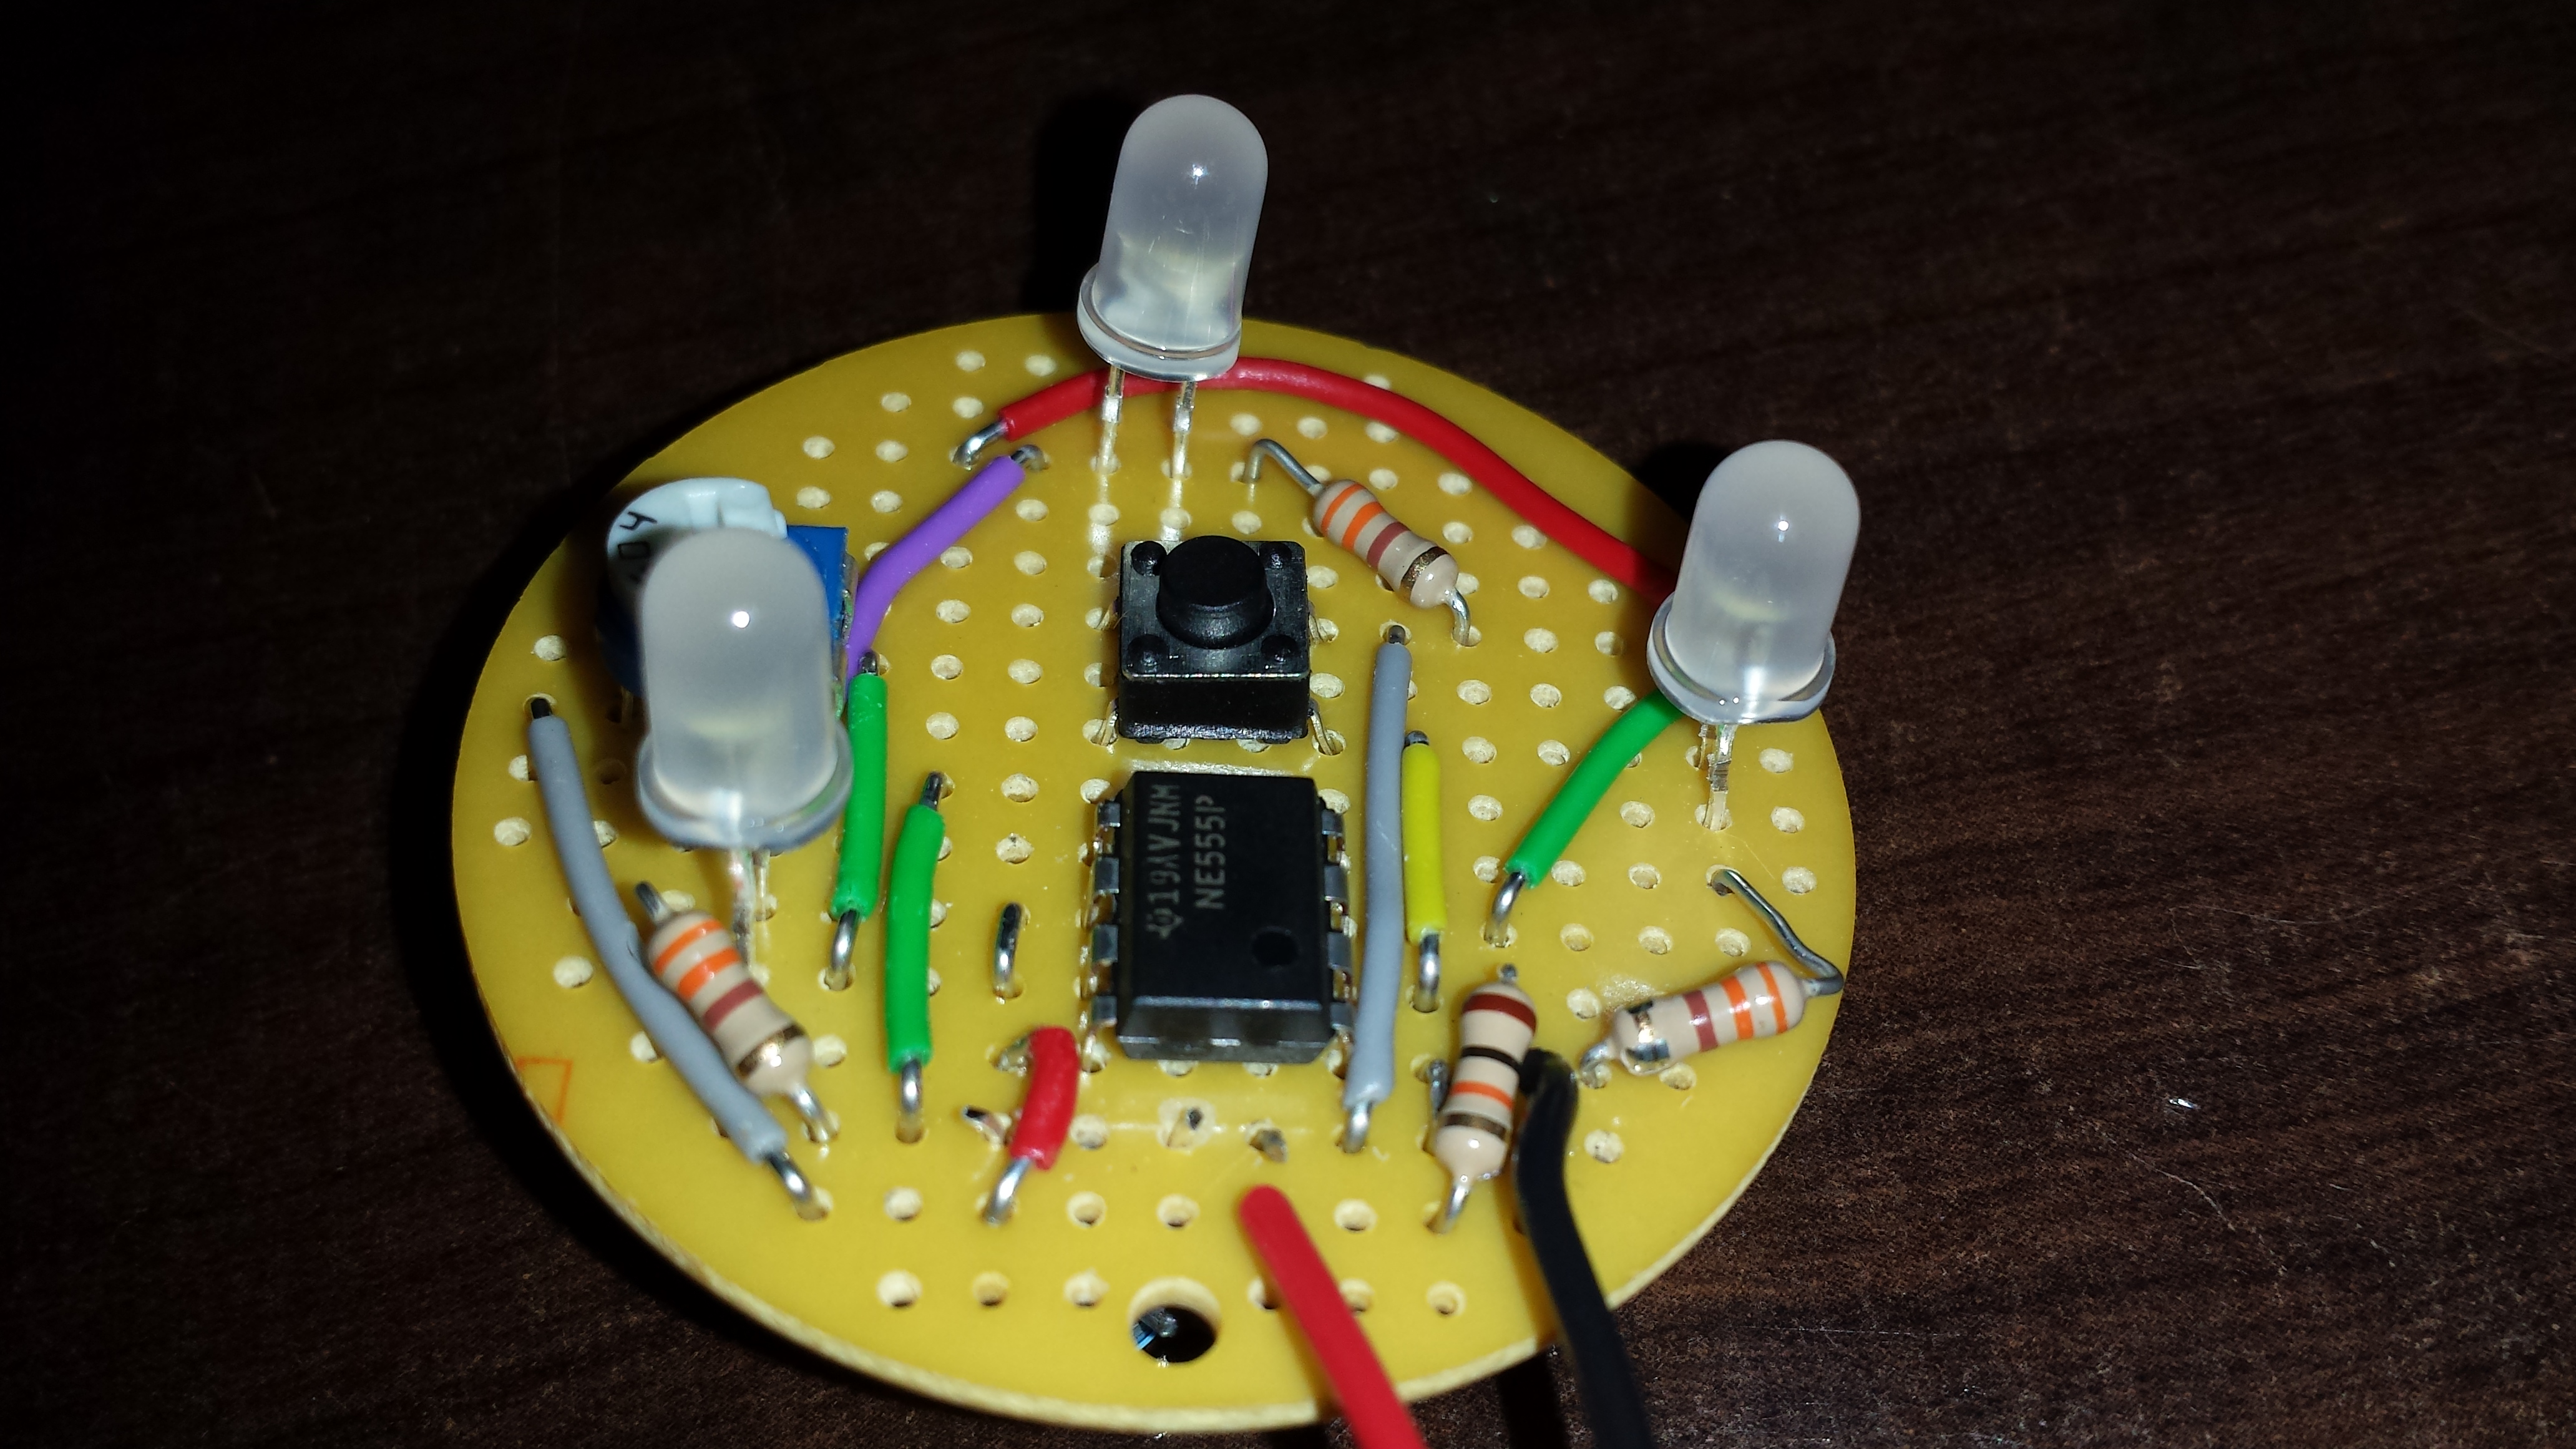
LEDs stand off the board for max dissipation in a case I will make next.
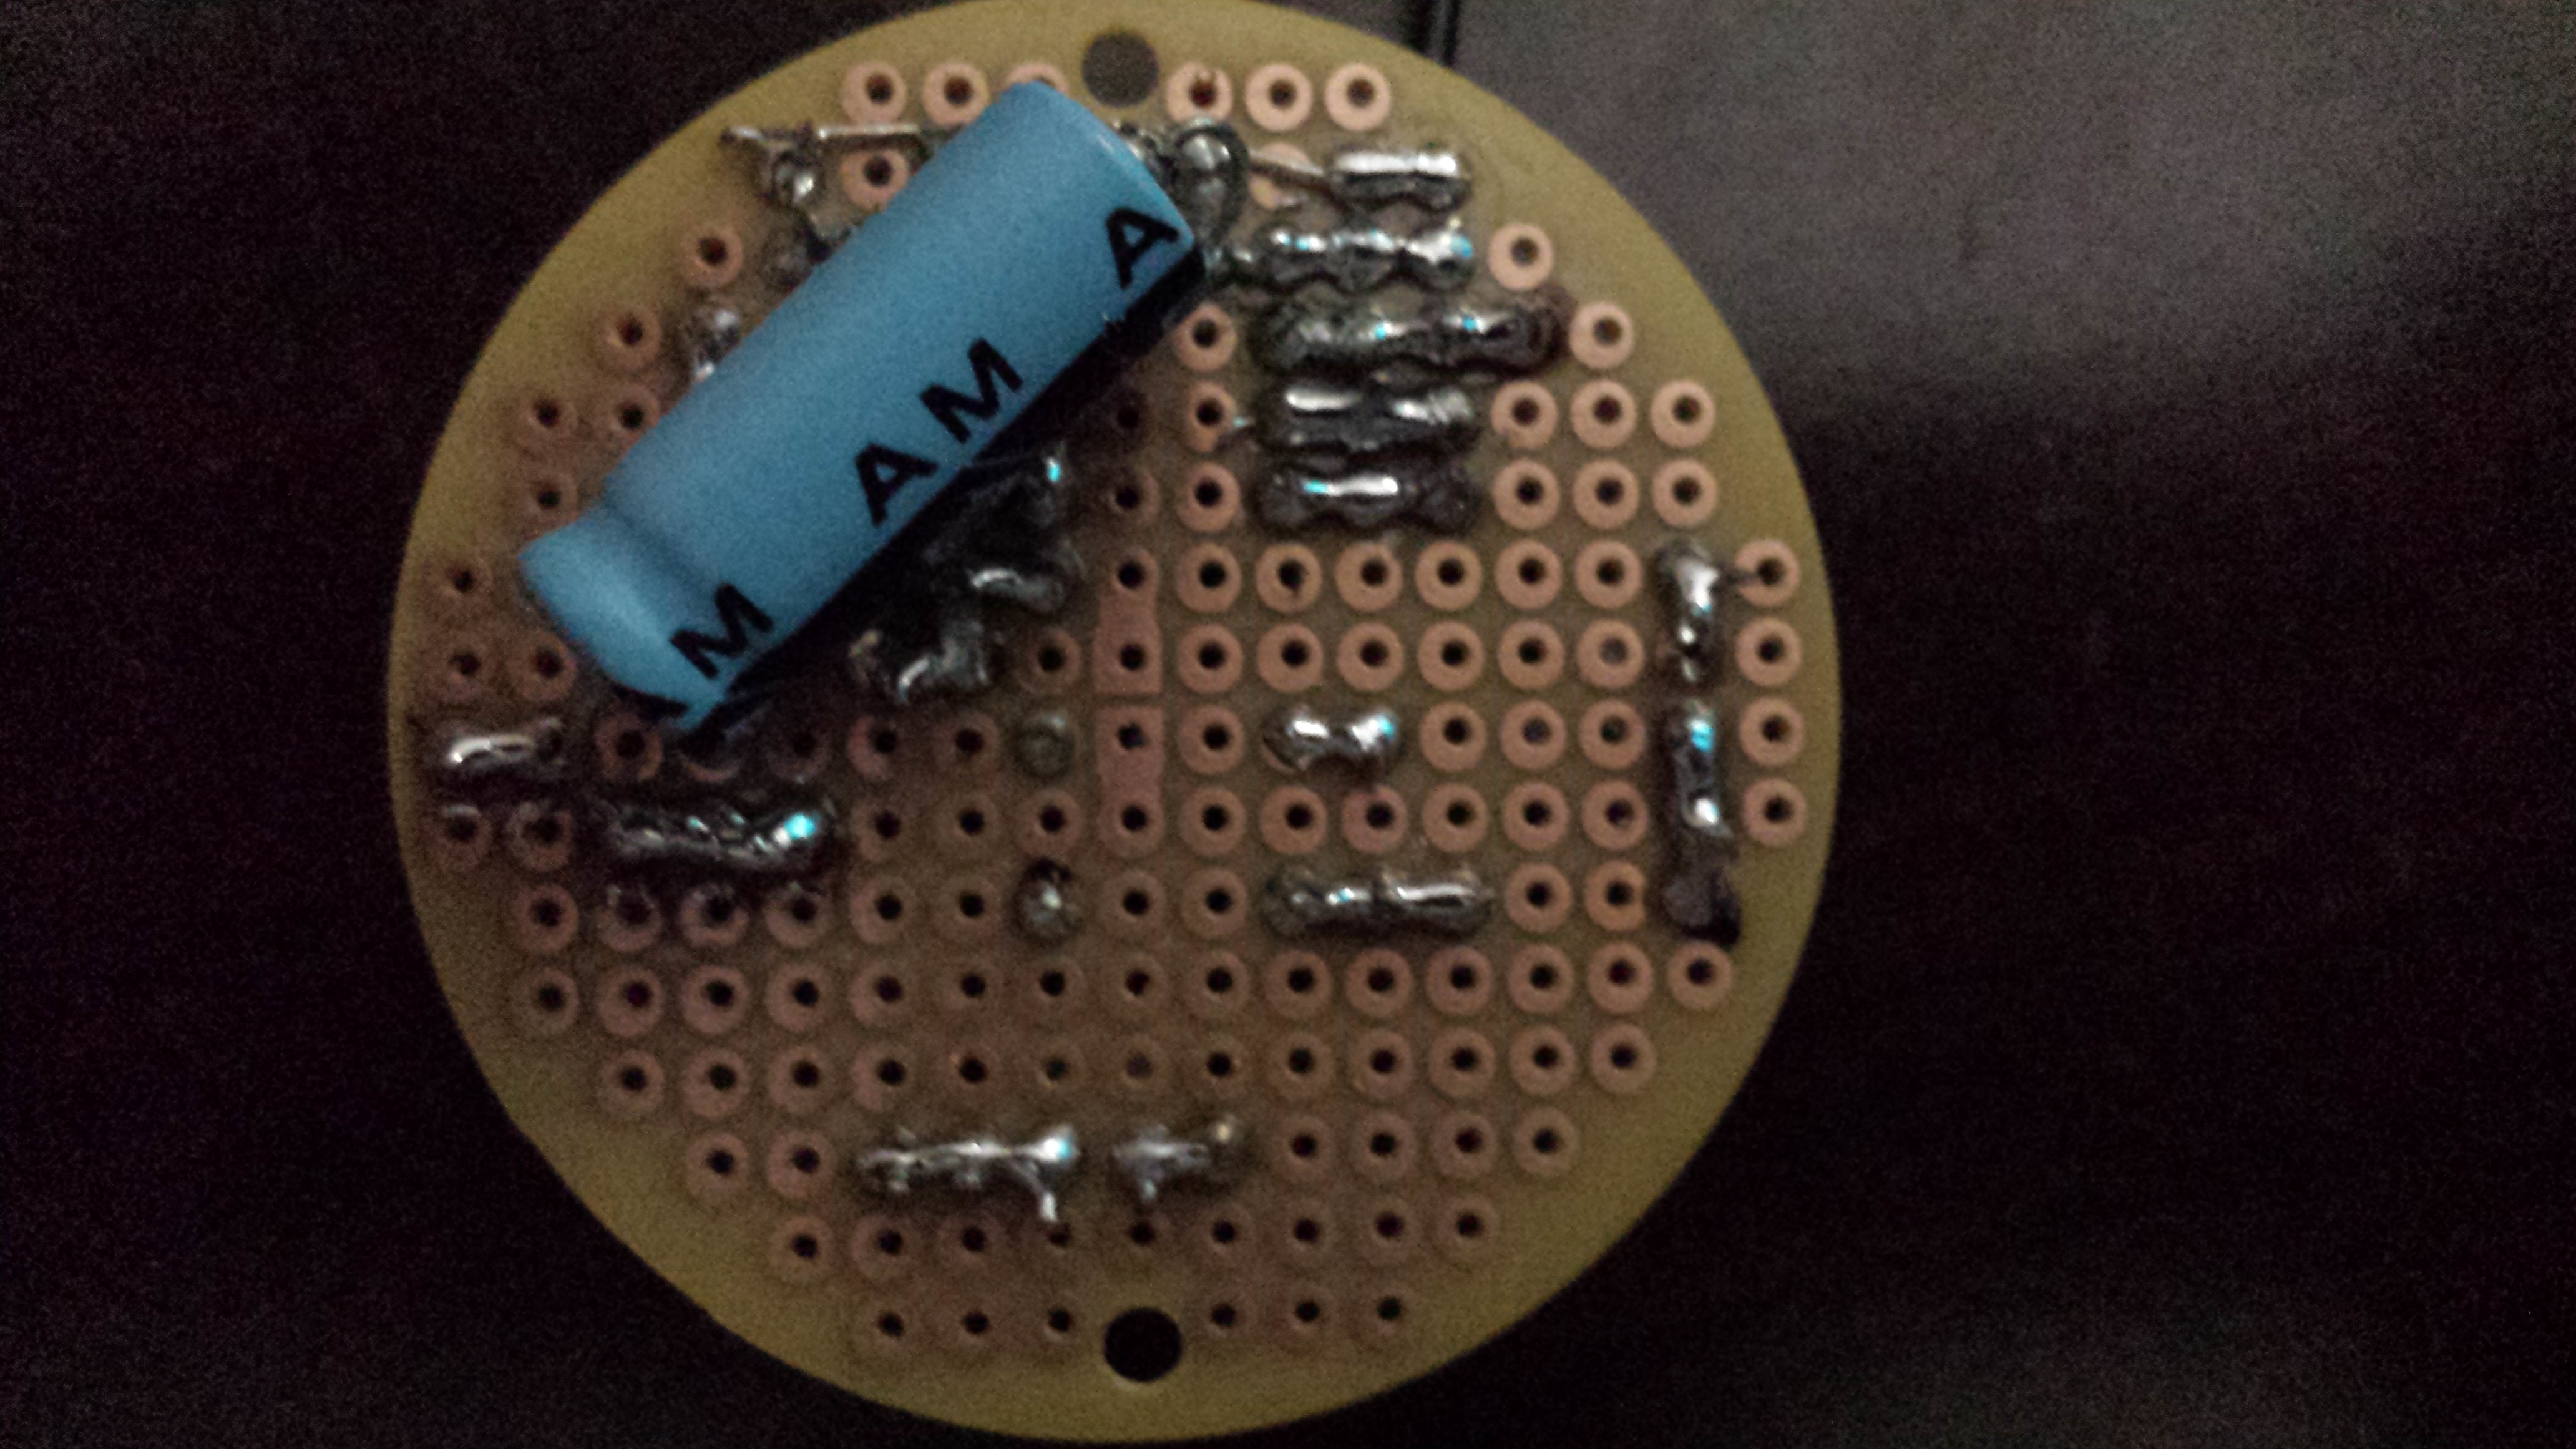
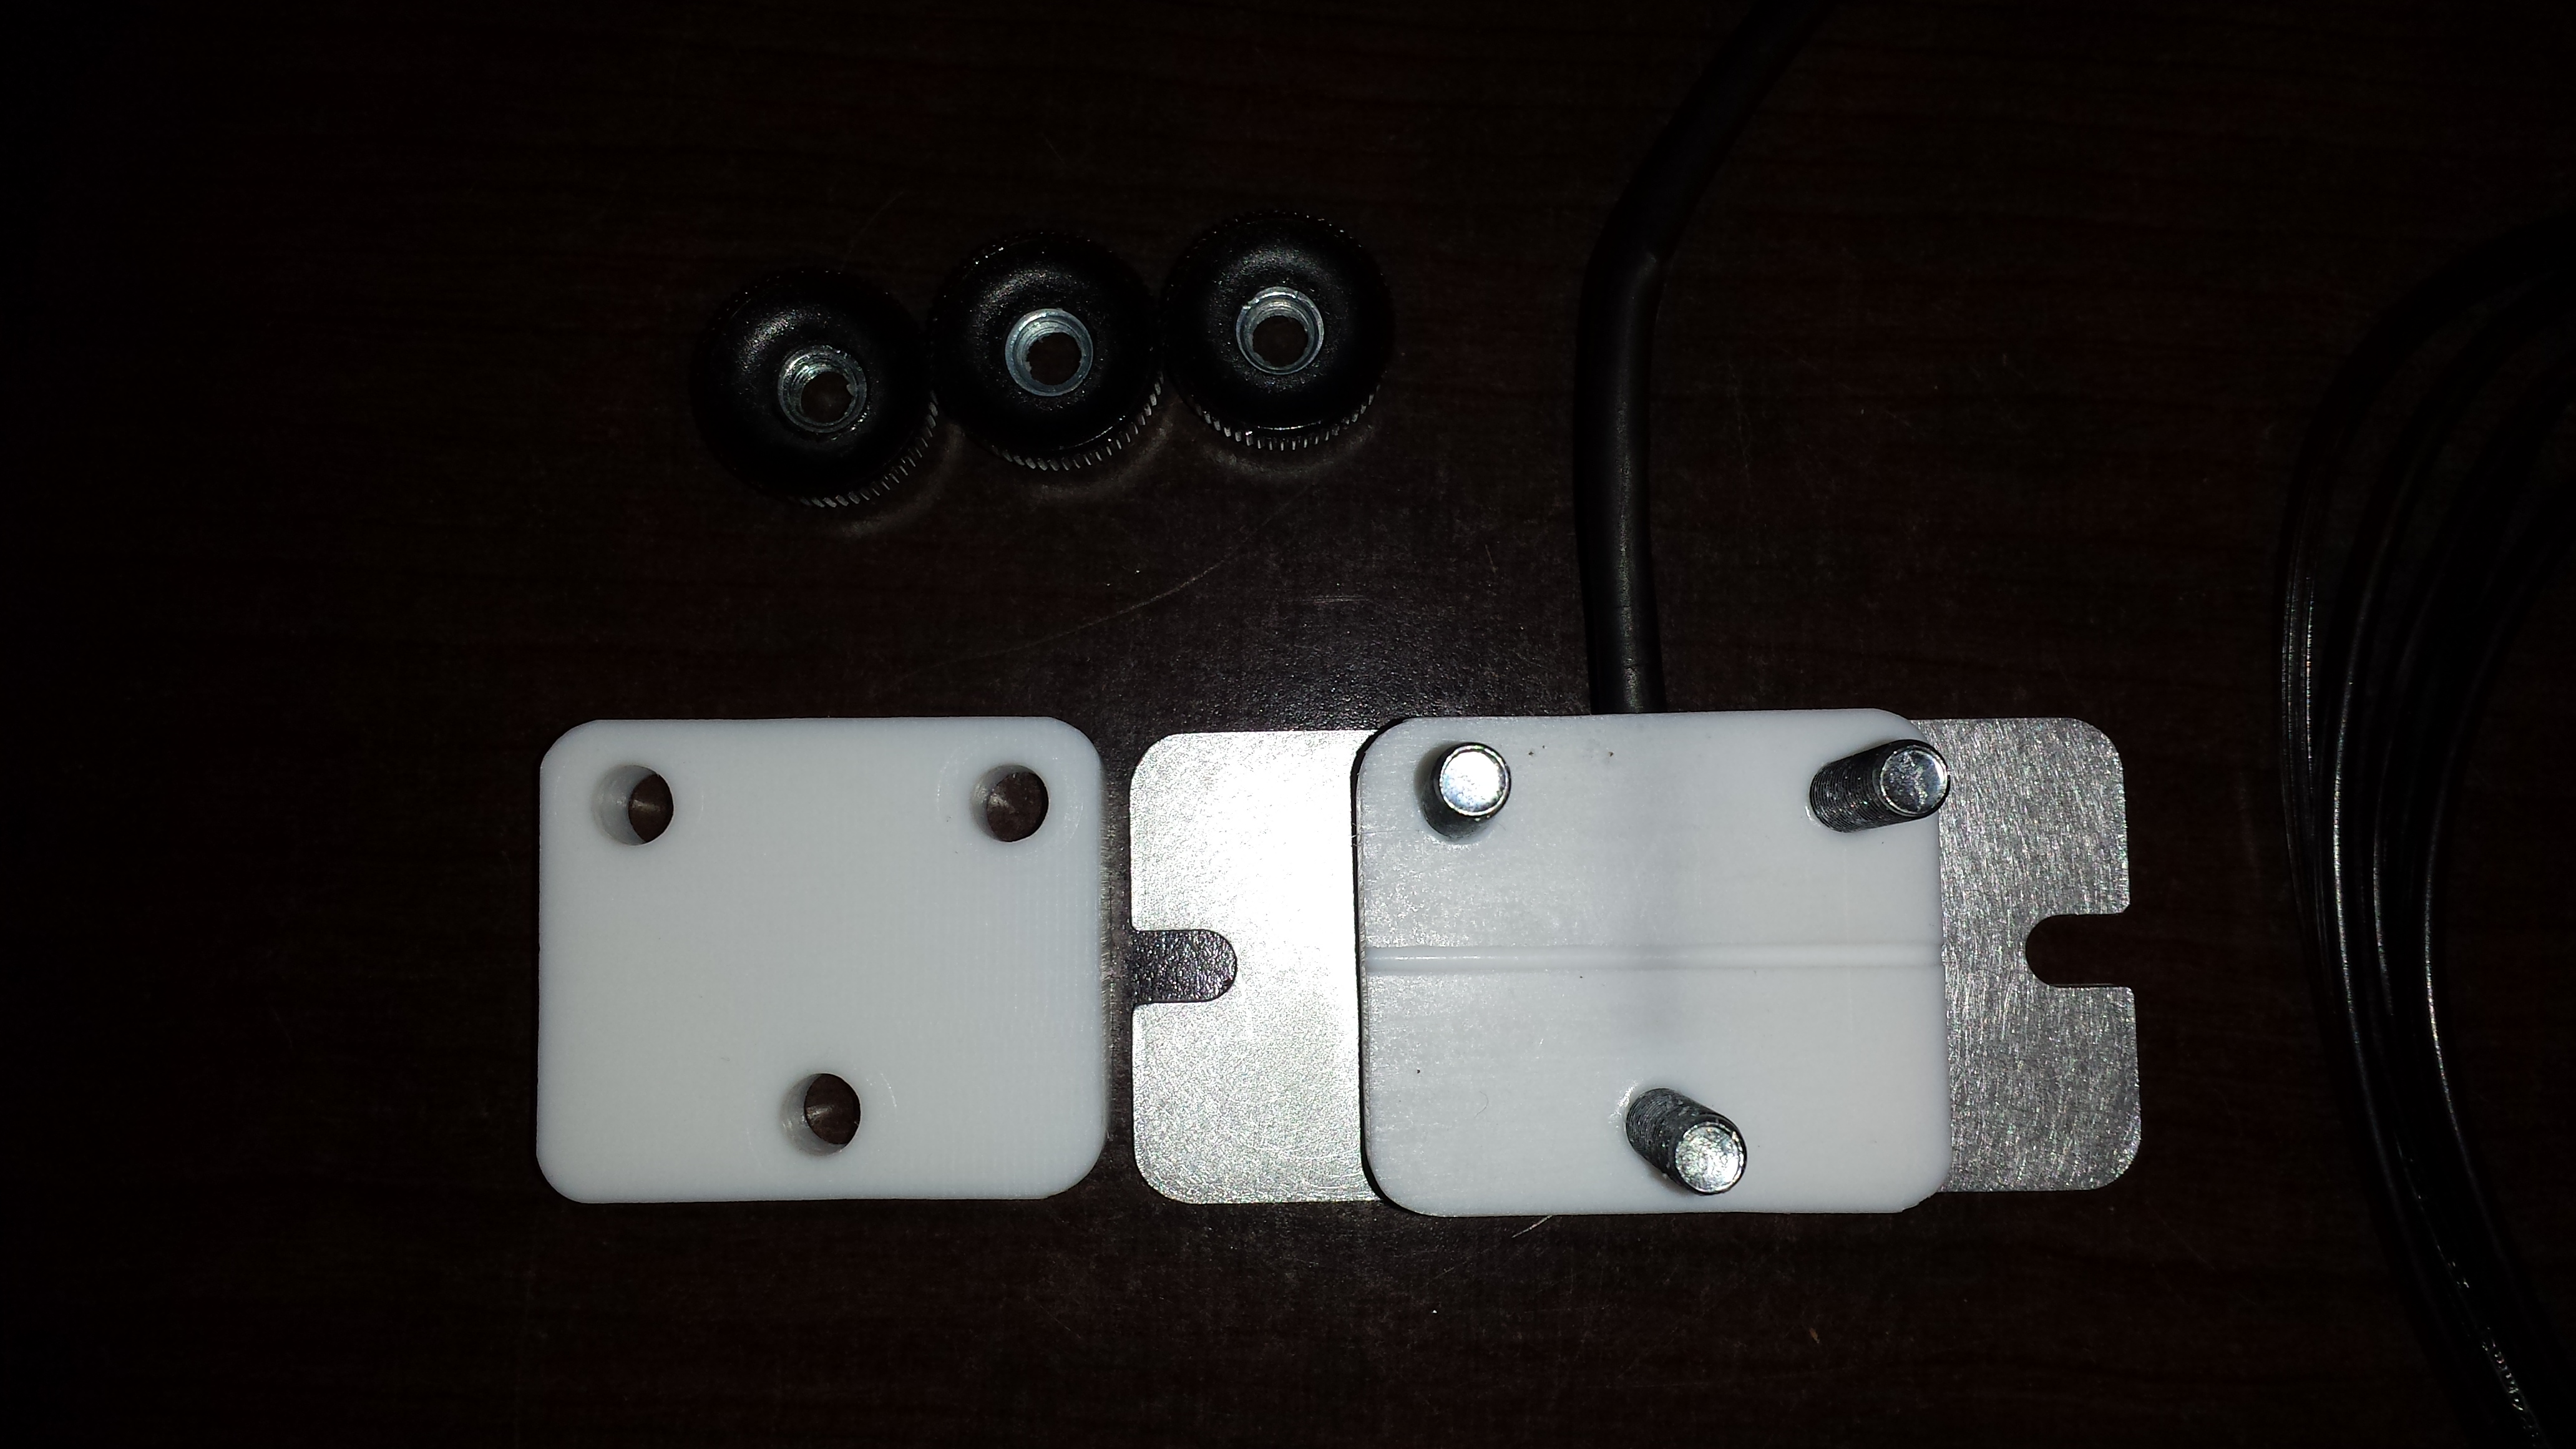
Bottom side
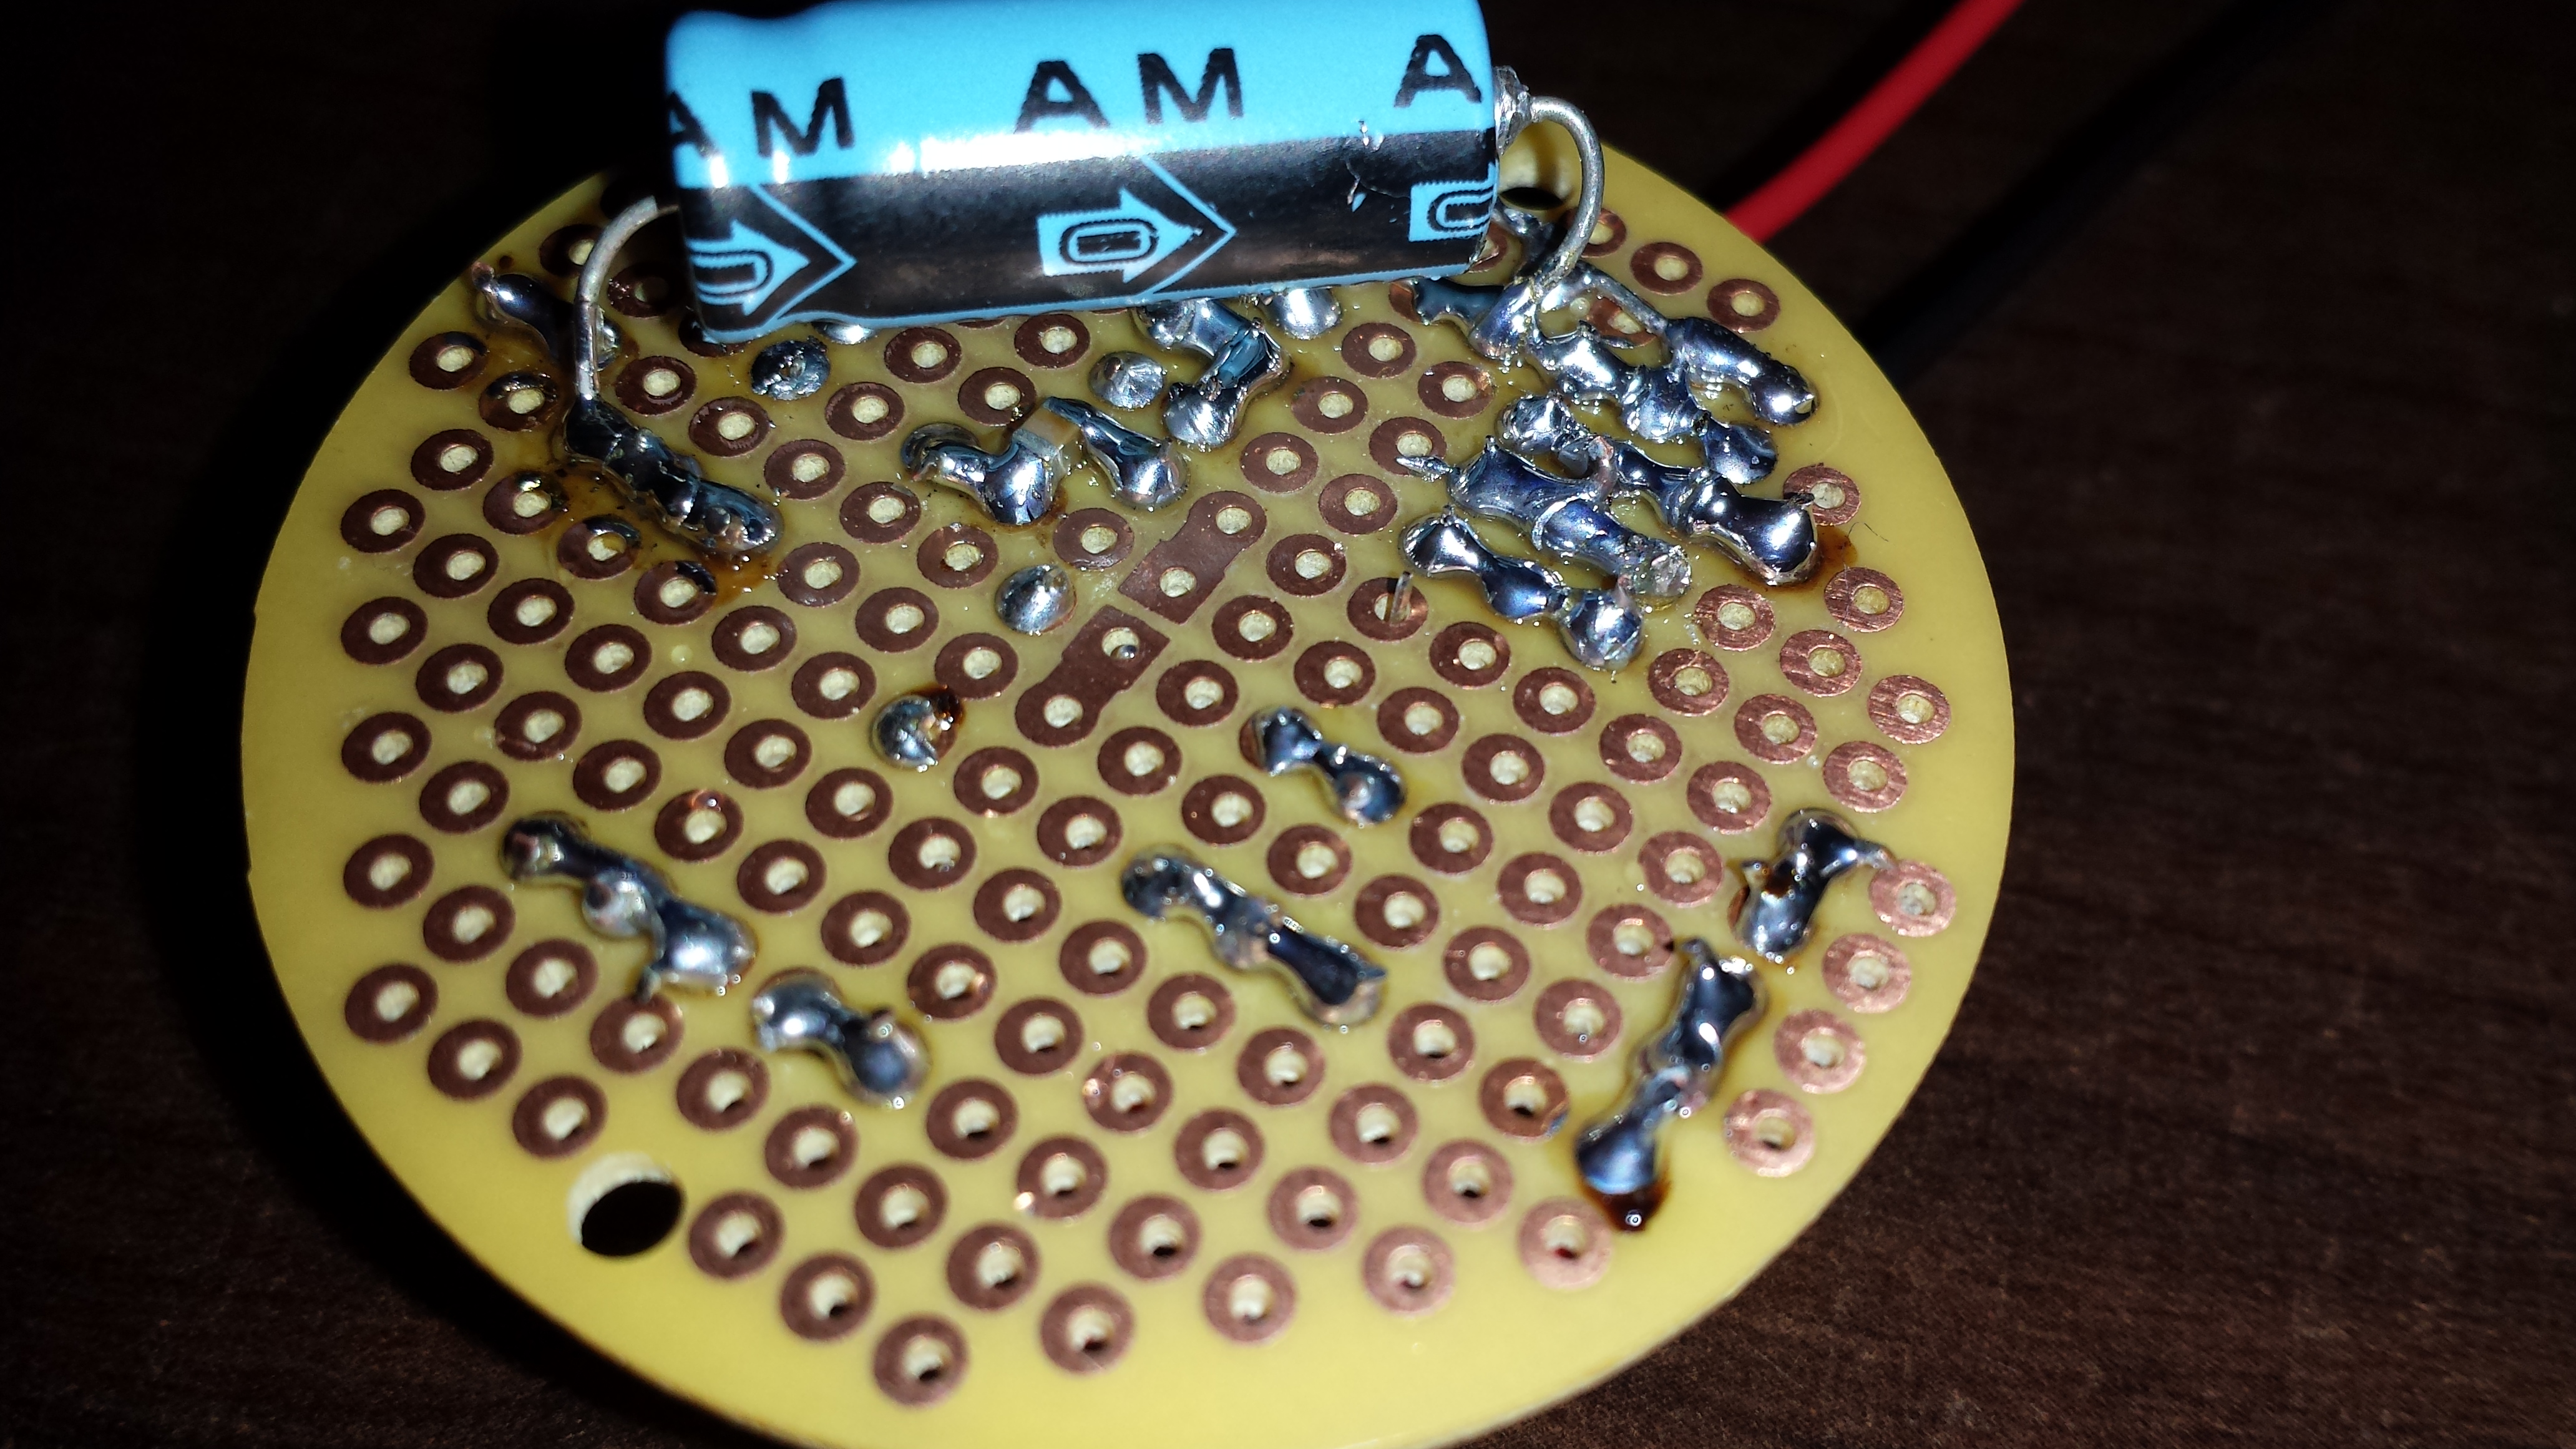
Massive 330uF radial cap and an 805 SMD 10pF cap under it.
This will be powered by a 9v battery which will hopefully last a while at 2min duty cycles. I am not sure what the current draw is when idol (I may measure this later) but I think I will add an on off slider switch.
The next step is to make a case. I have some ideas on what I want to do with the case but I do know that it is going to have to be rugged enough for a 2 year old to be pounding on it every 2 mins. I was thinking that would be similar in design to the staples easy button but I will see how that pans out.
That’s all for now hopefully I can get the case done soon and I will post the second update to this post once it is done.