Boo on me it’s been almost three weeks since my last post. If anyone is listening; Sorry! I have had a lot going on in the last few weeks here is a summary.
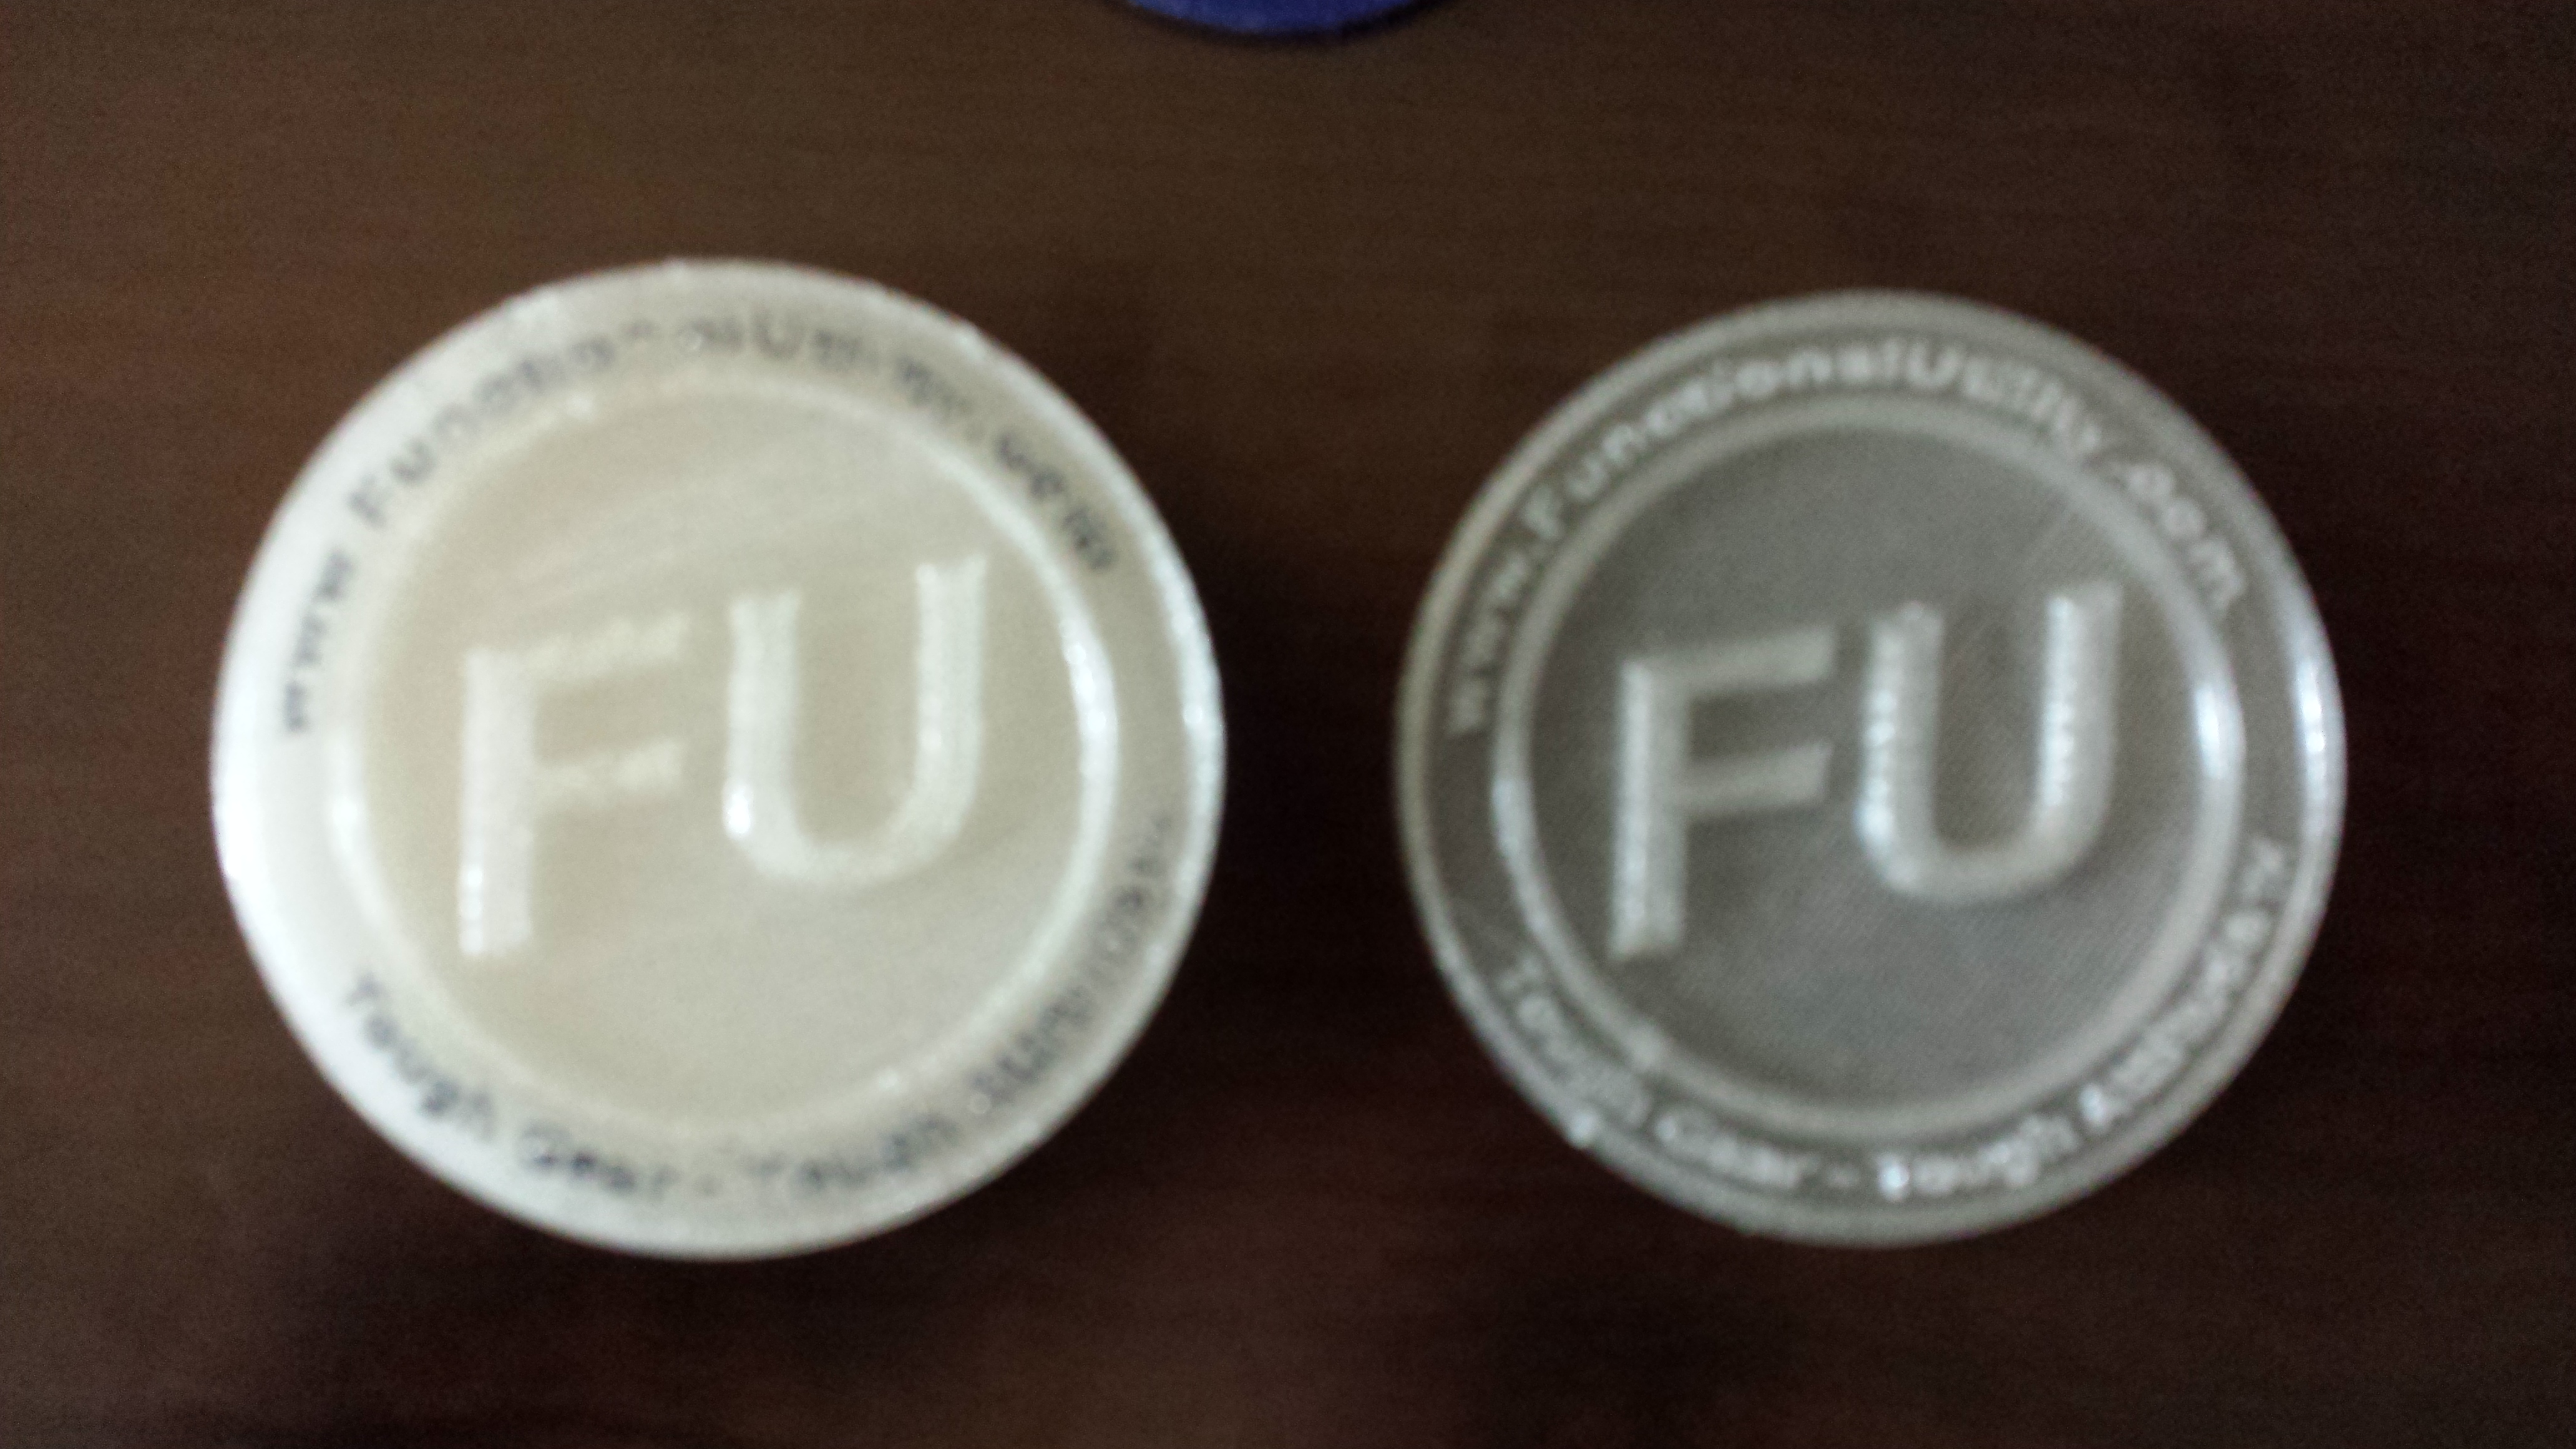
Raspberry Pi cases:
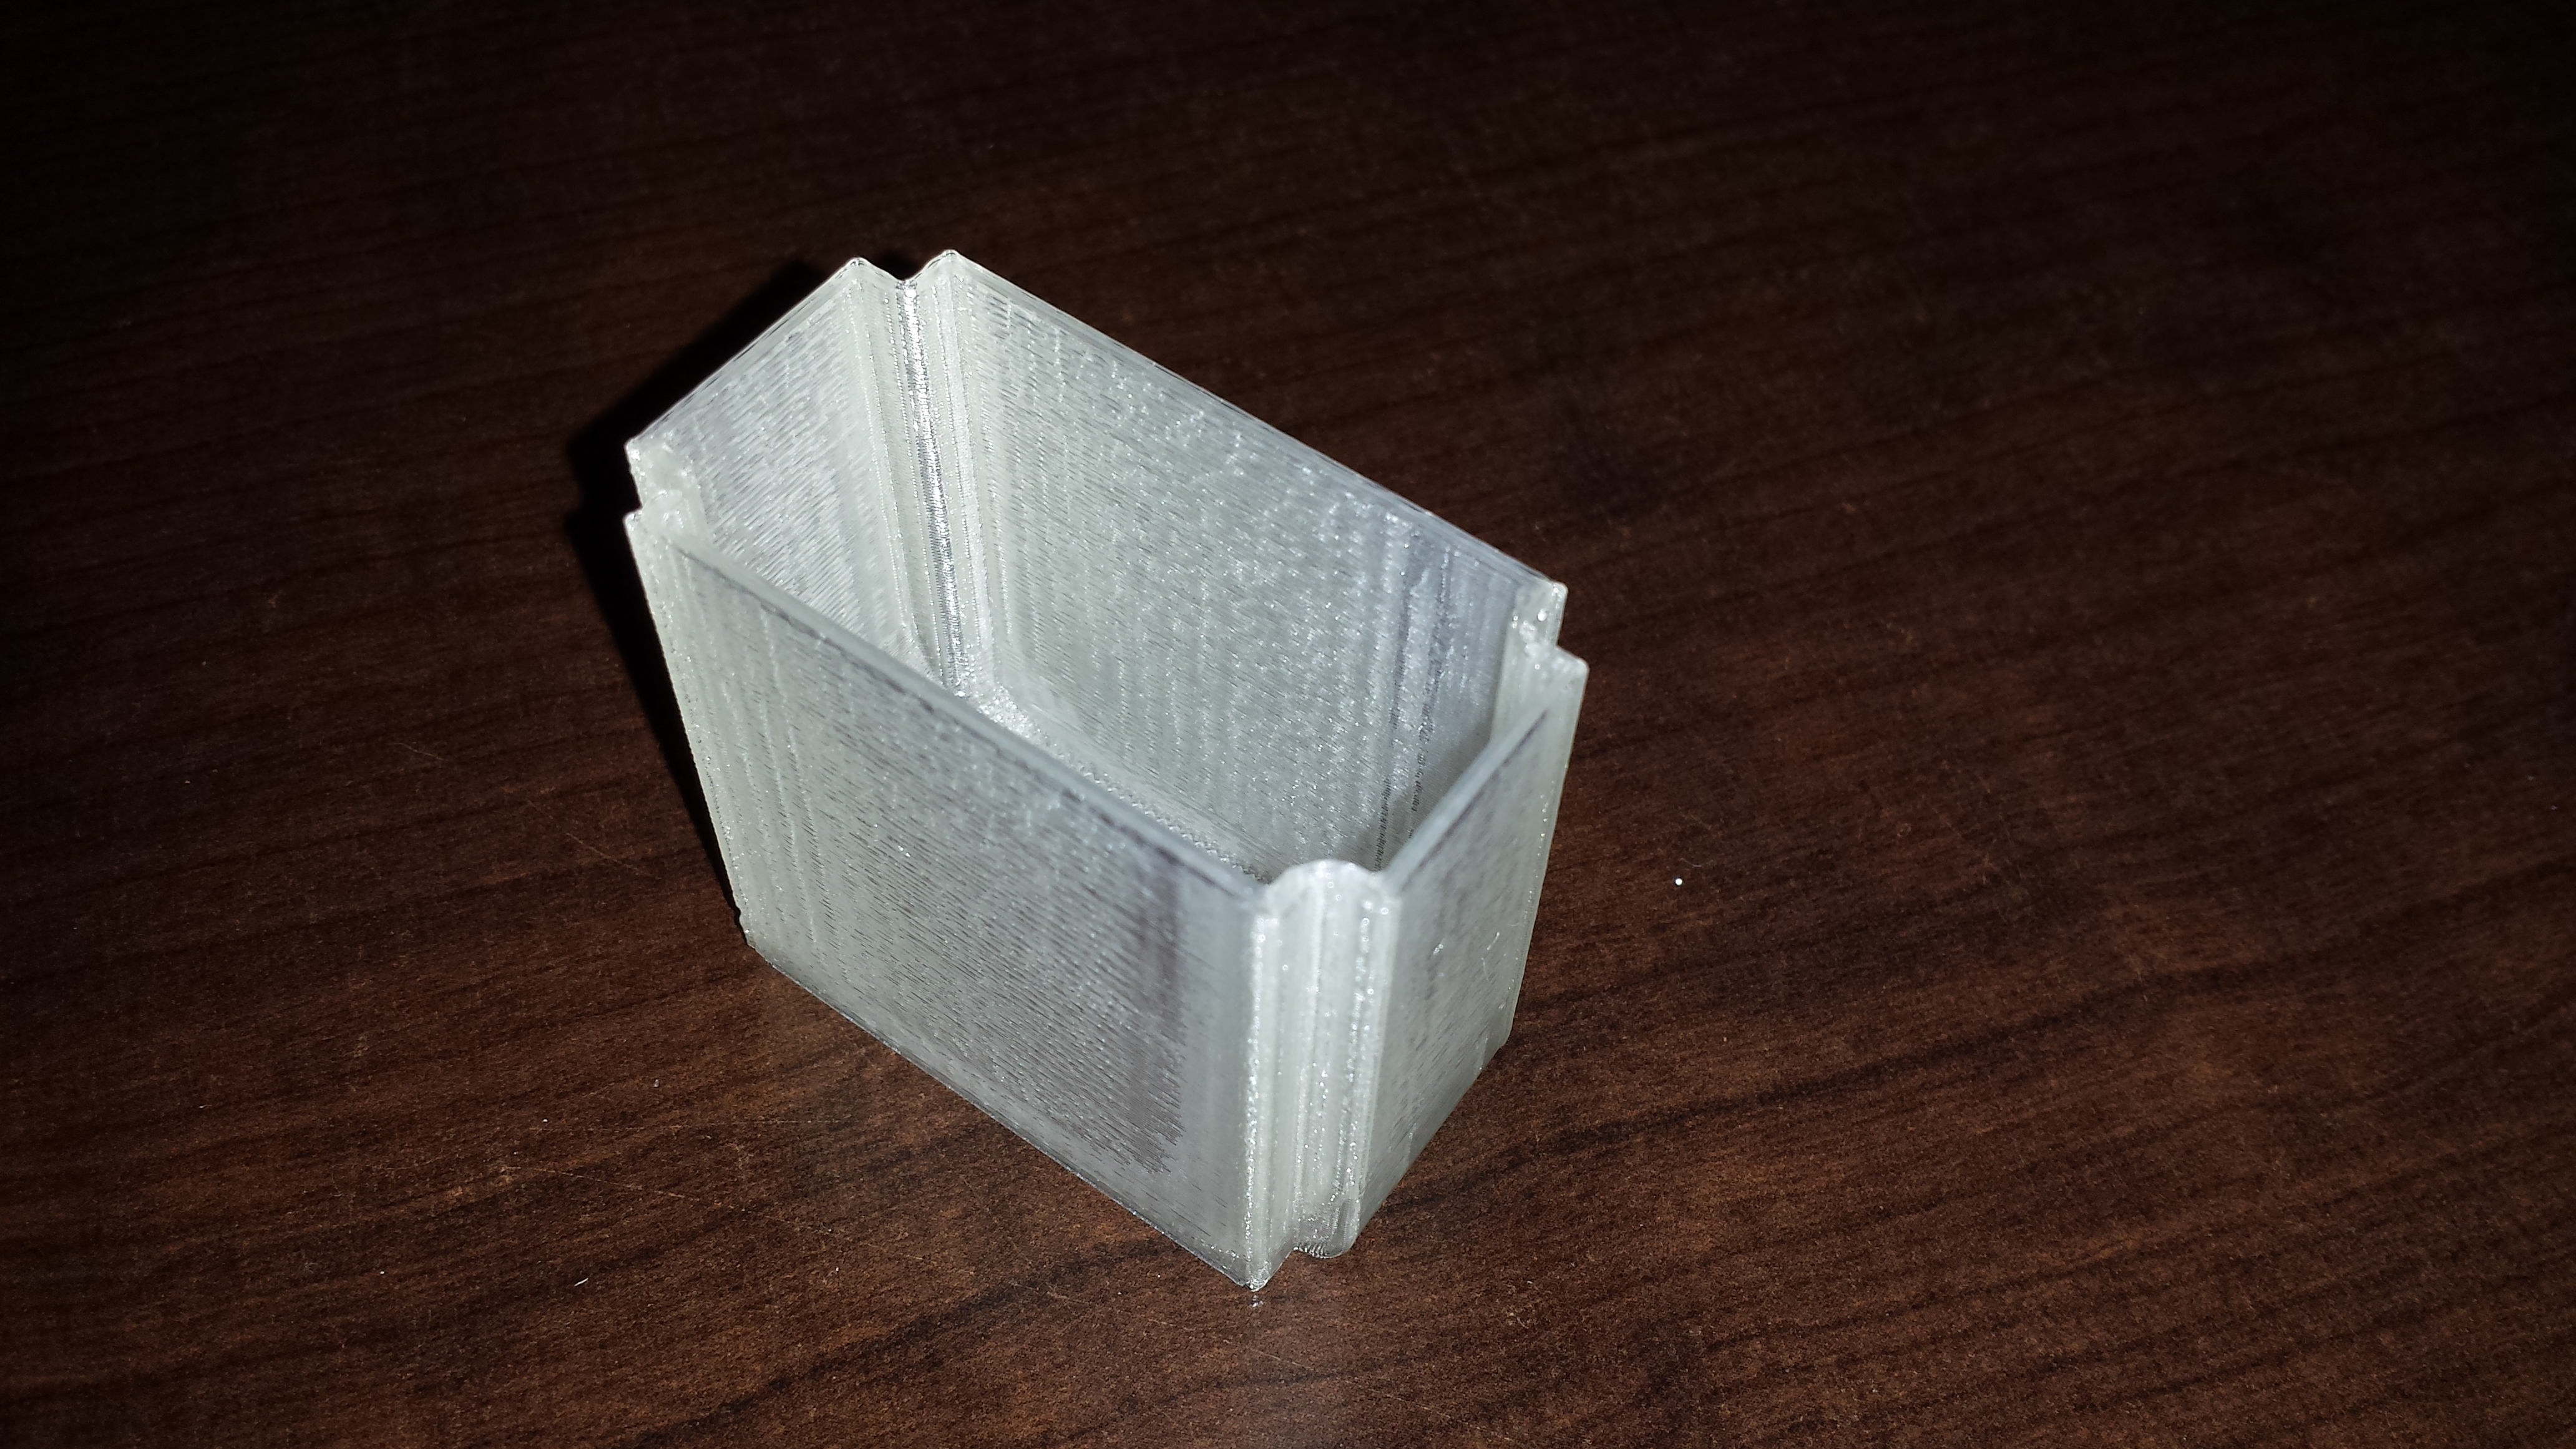
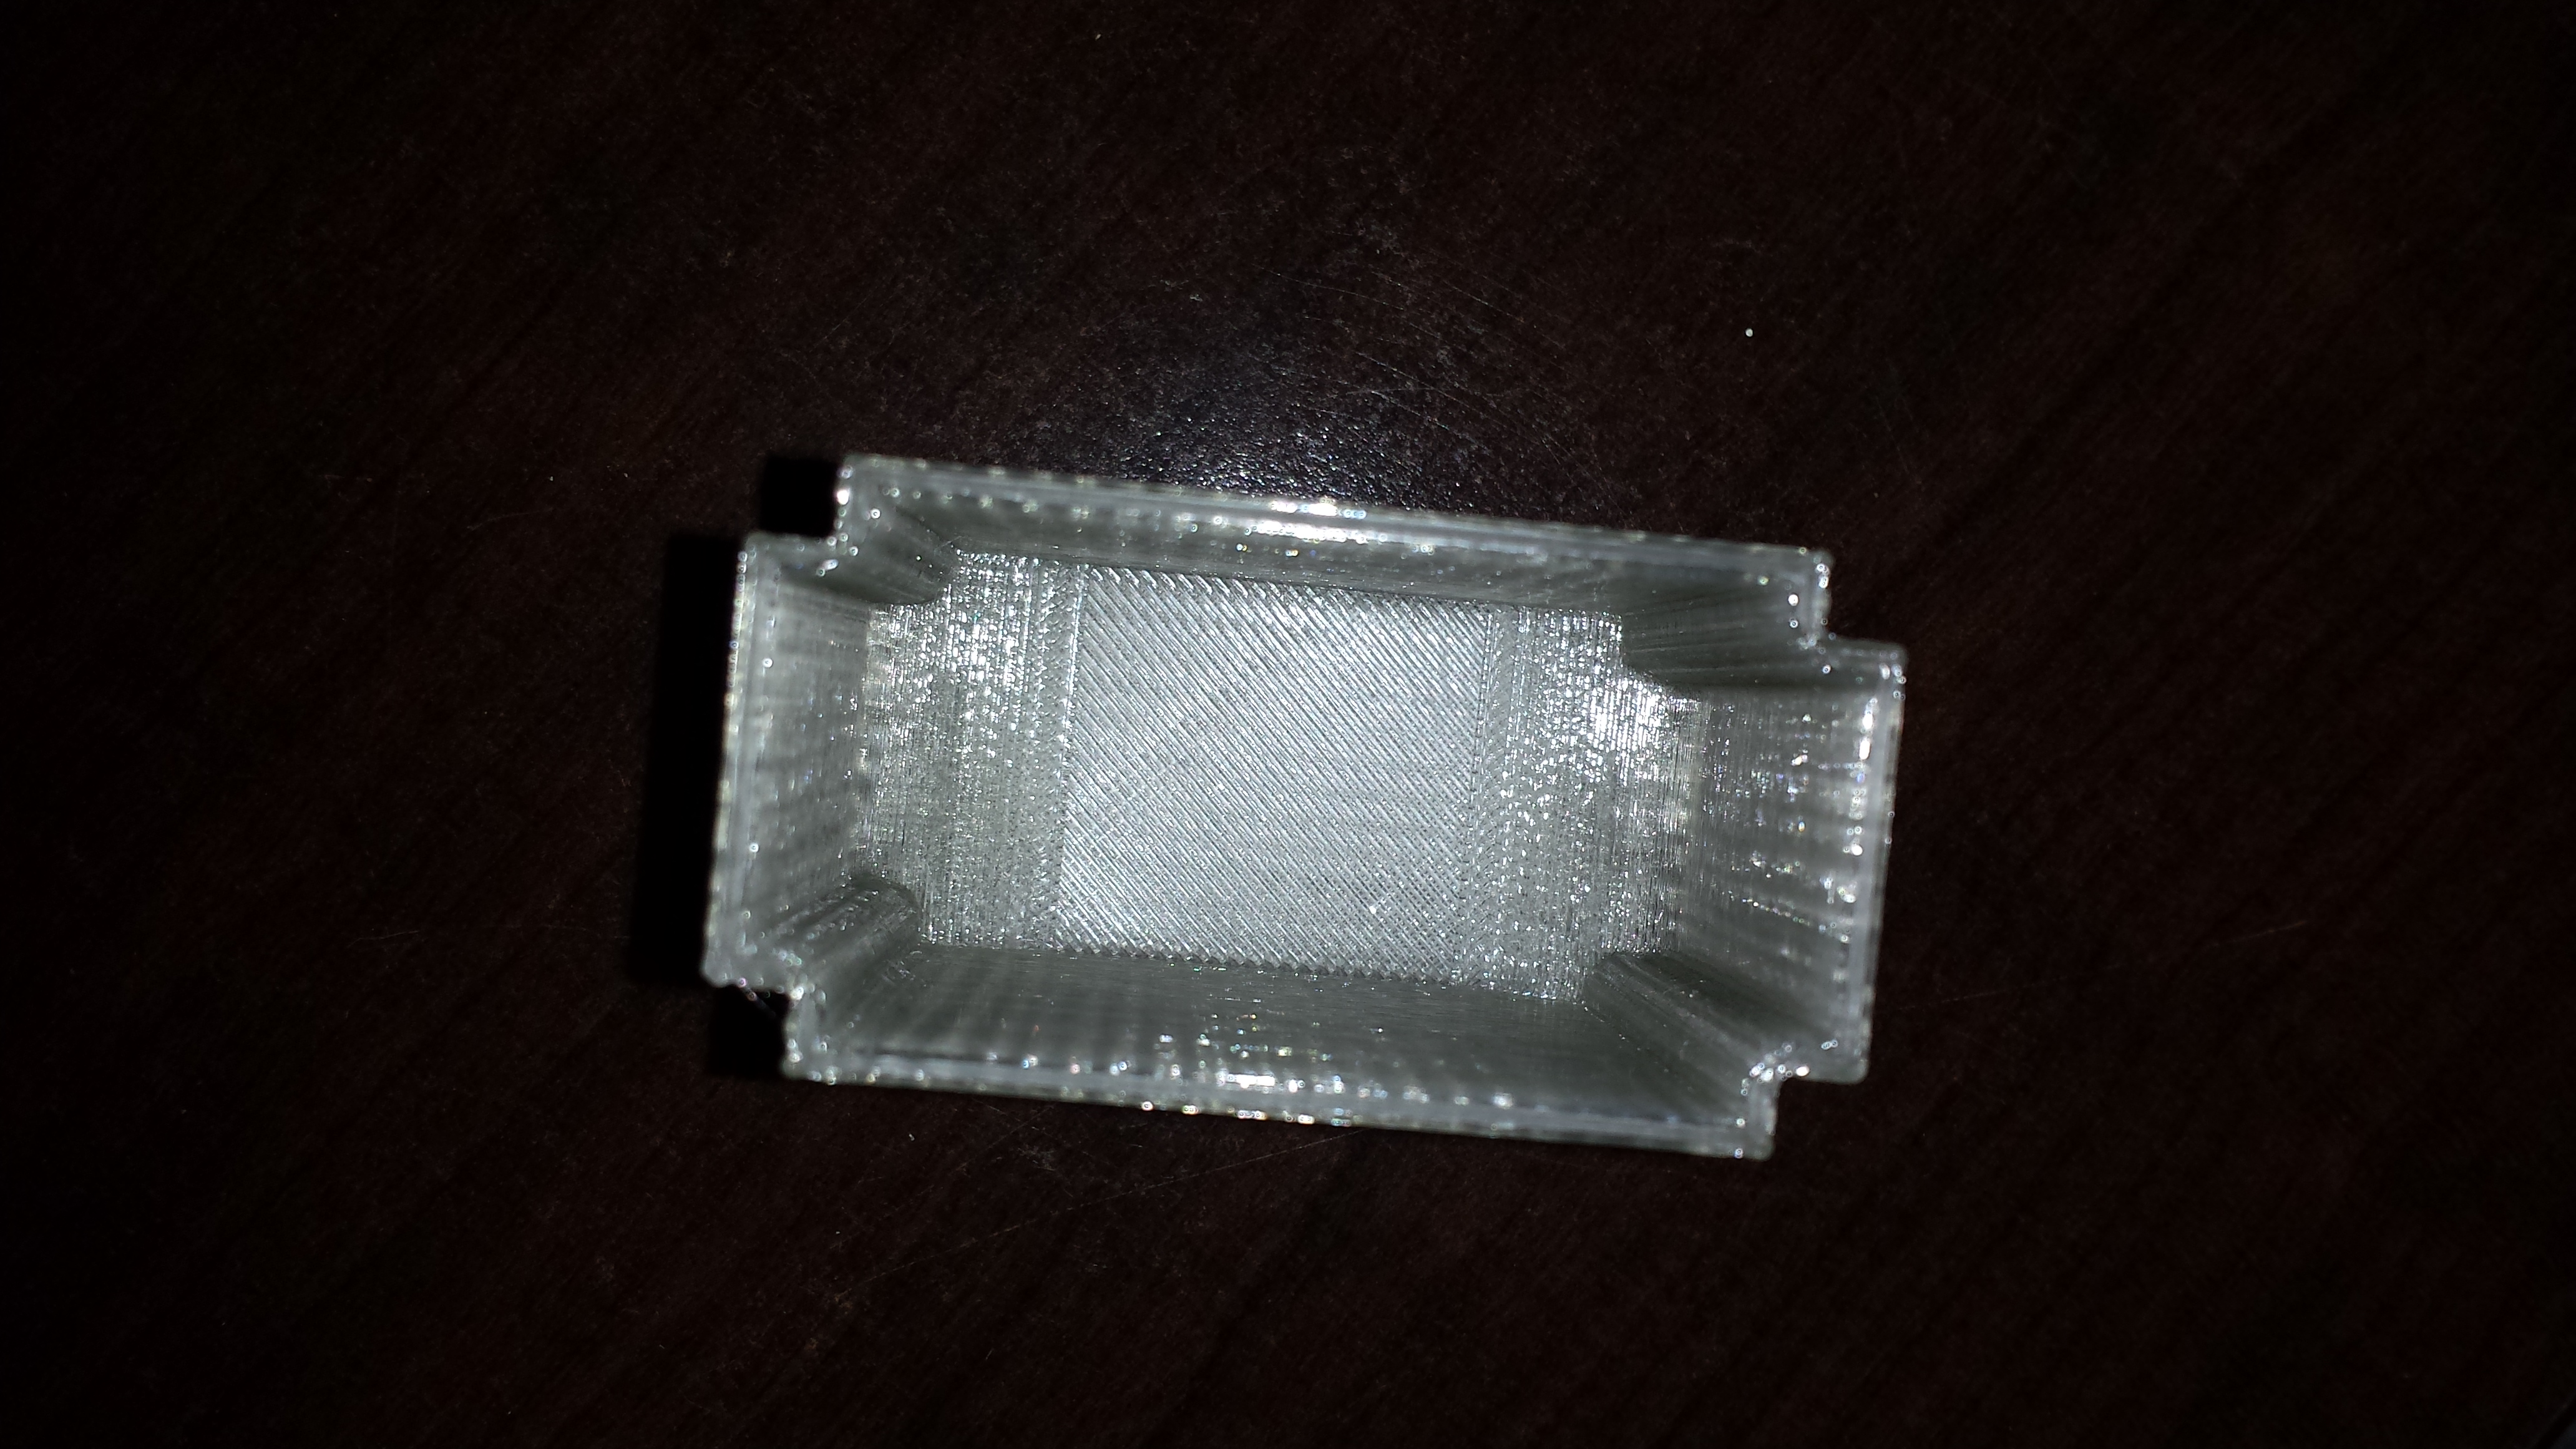
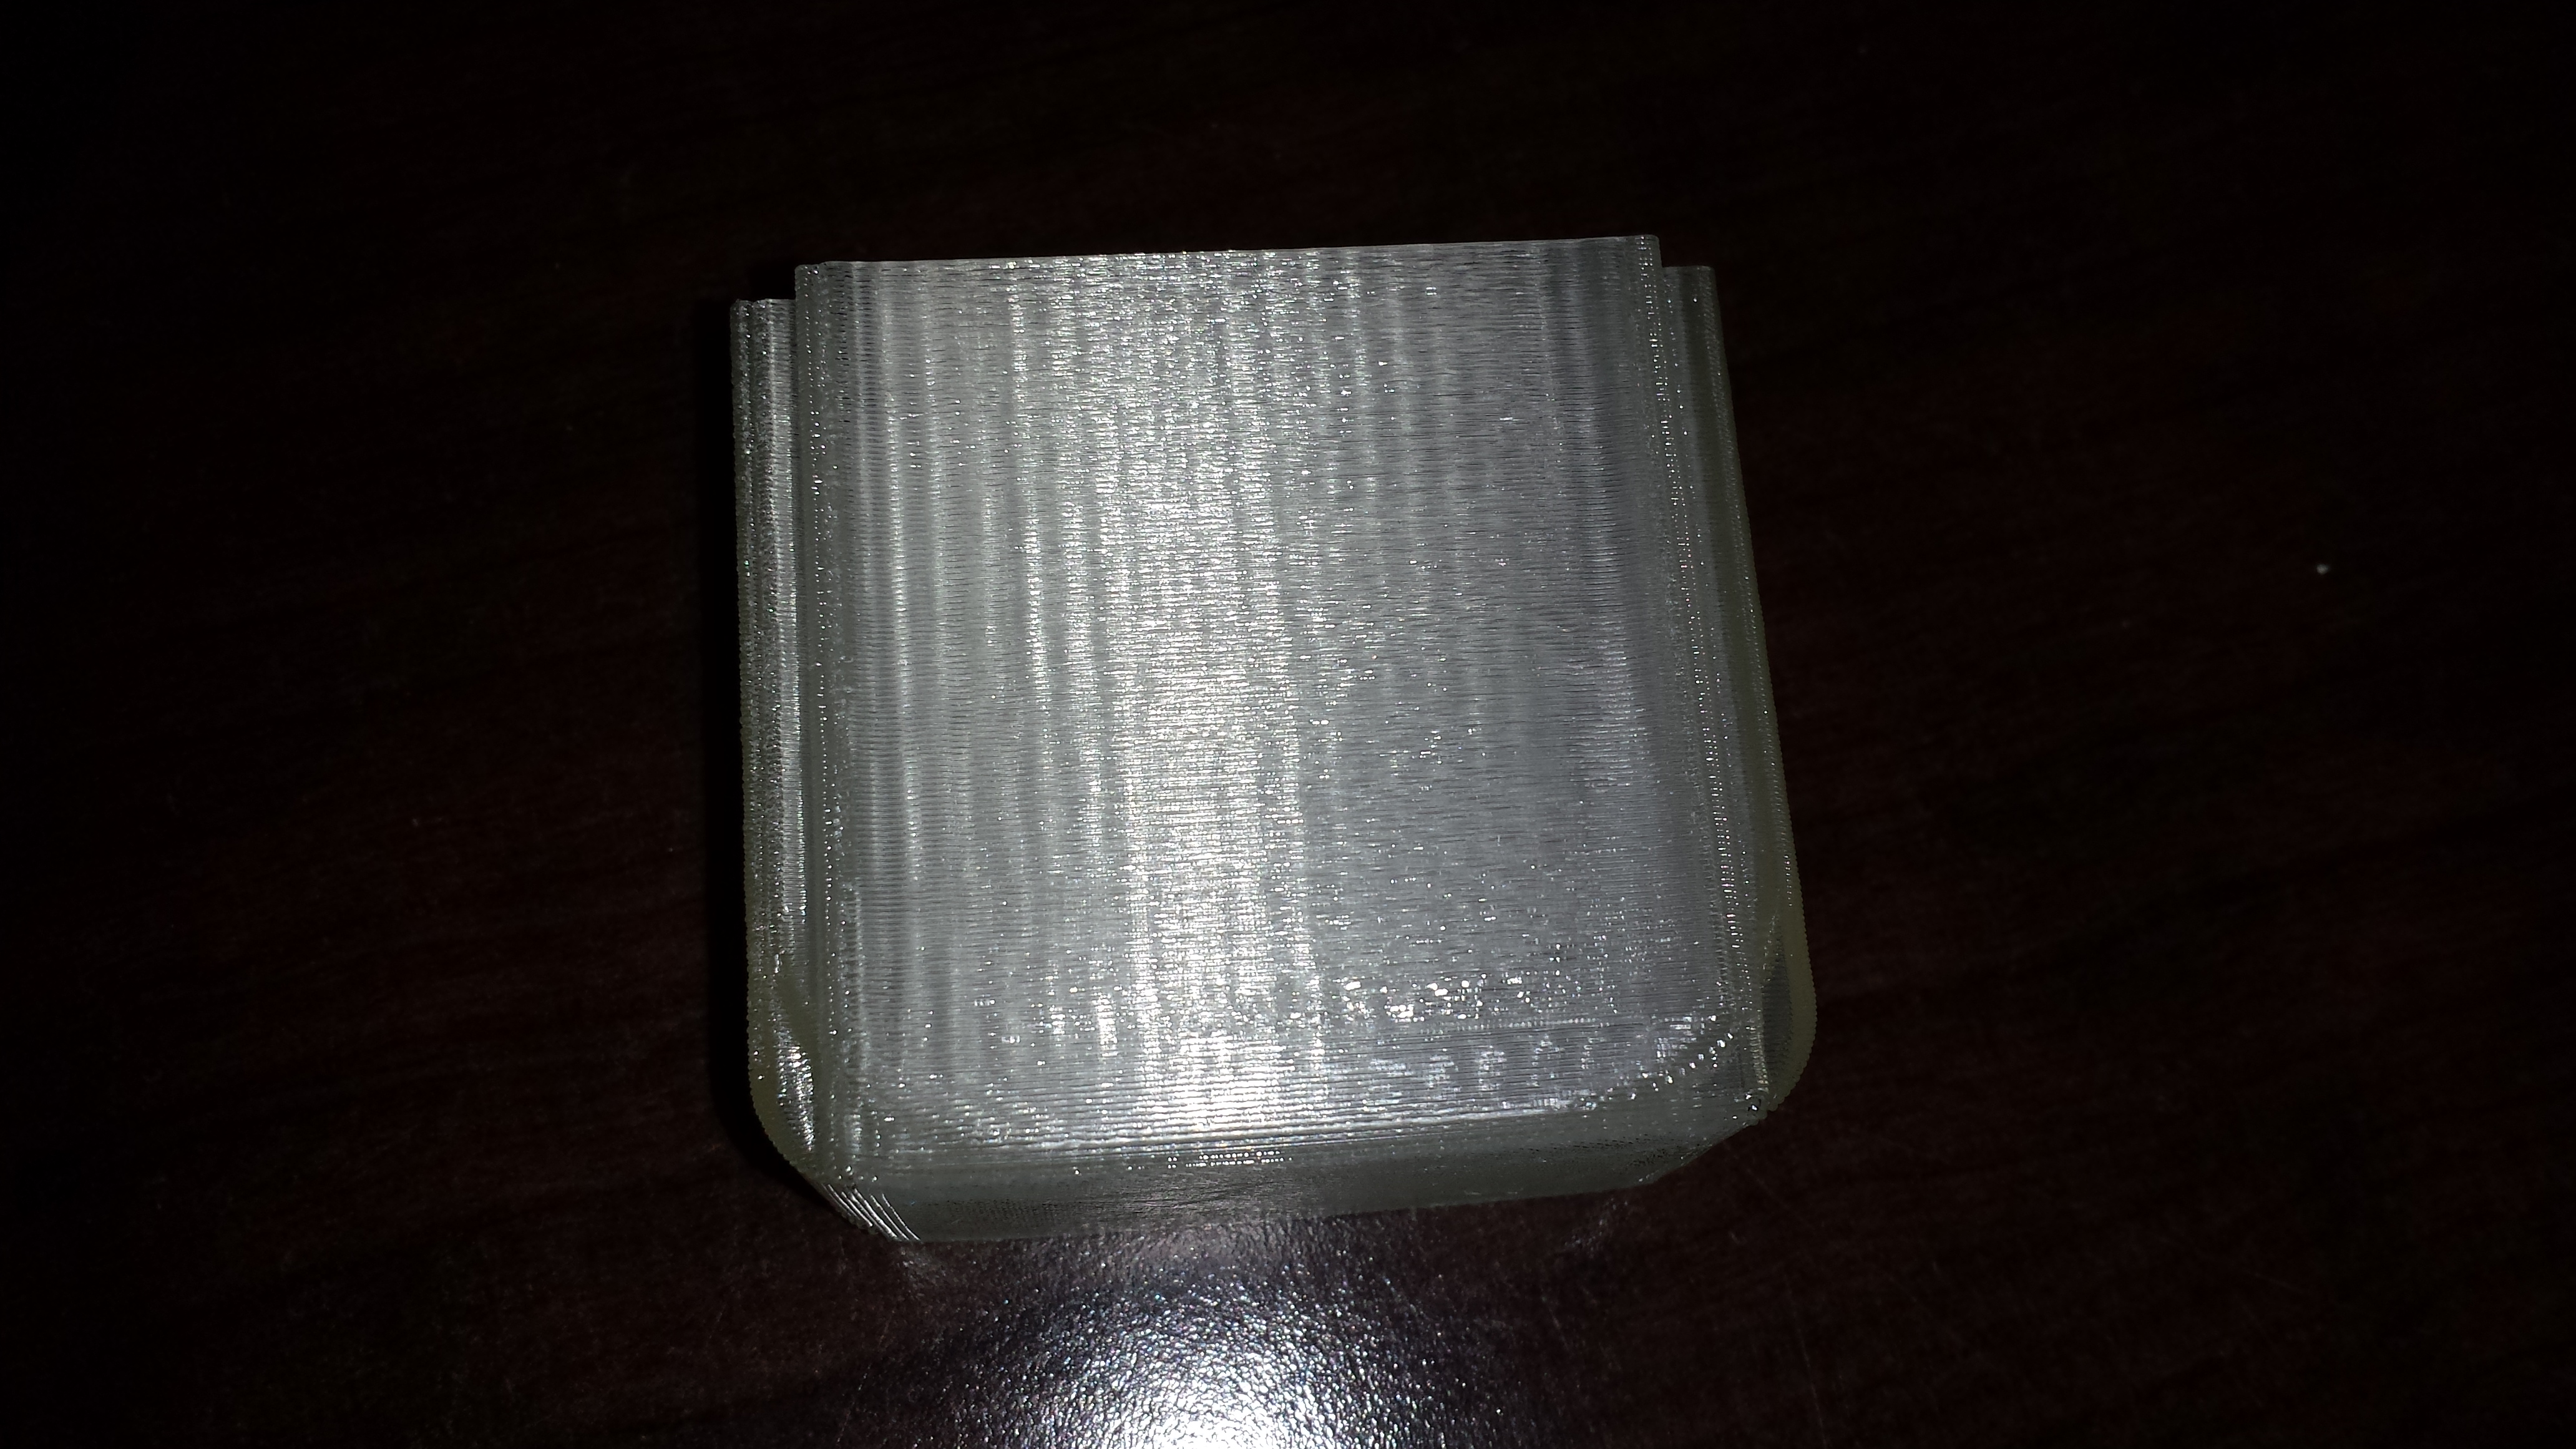
I got an order for 6 raspberry pi cases in several colors that have been keeping me (and my printer) busy recently. A friend of mine is going to the http://www.kansasfest.org/ and they will be doing something with raspberry pis. He posted in the forums if anyone wants a printed pi case for $8 and he got an order for 6.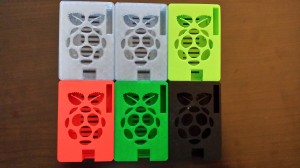
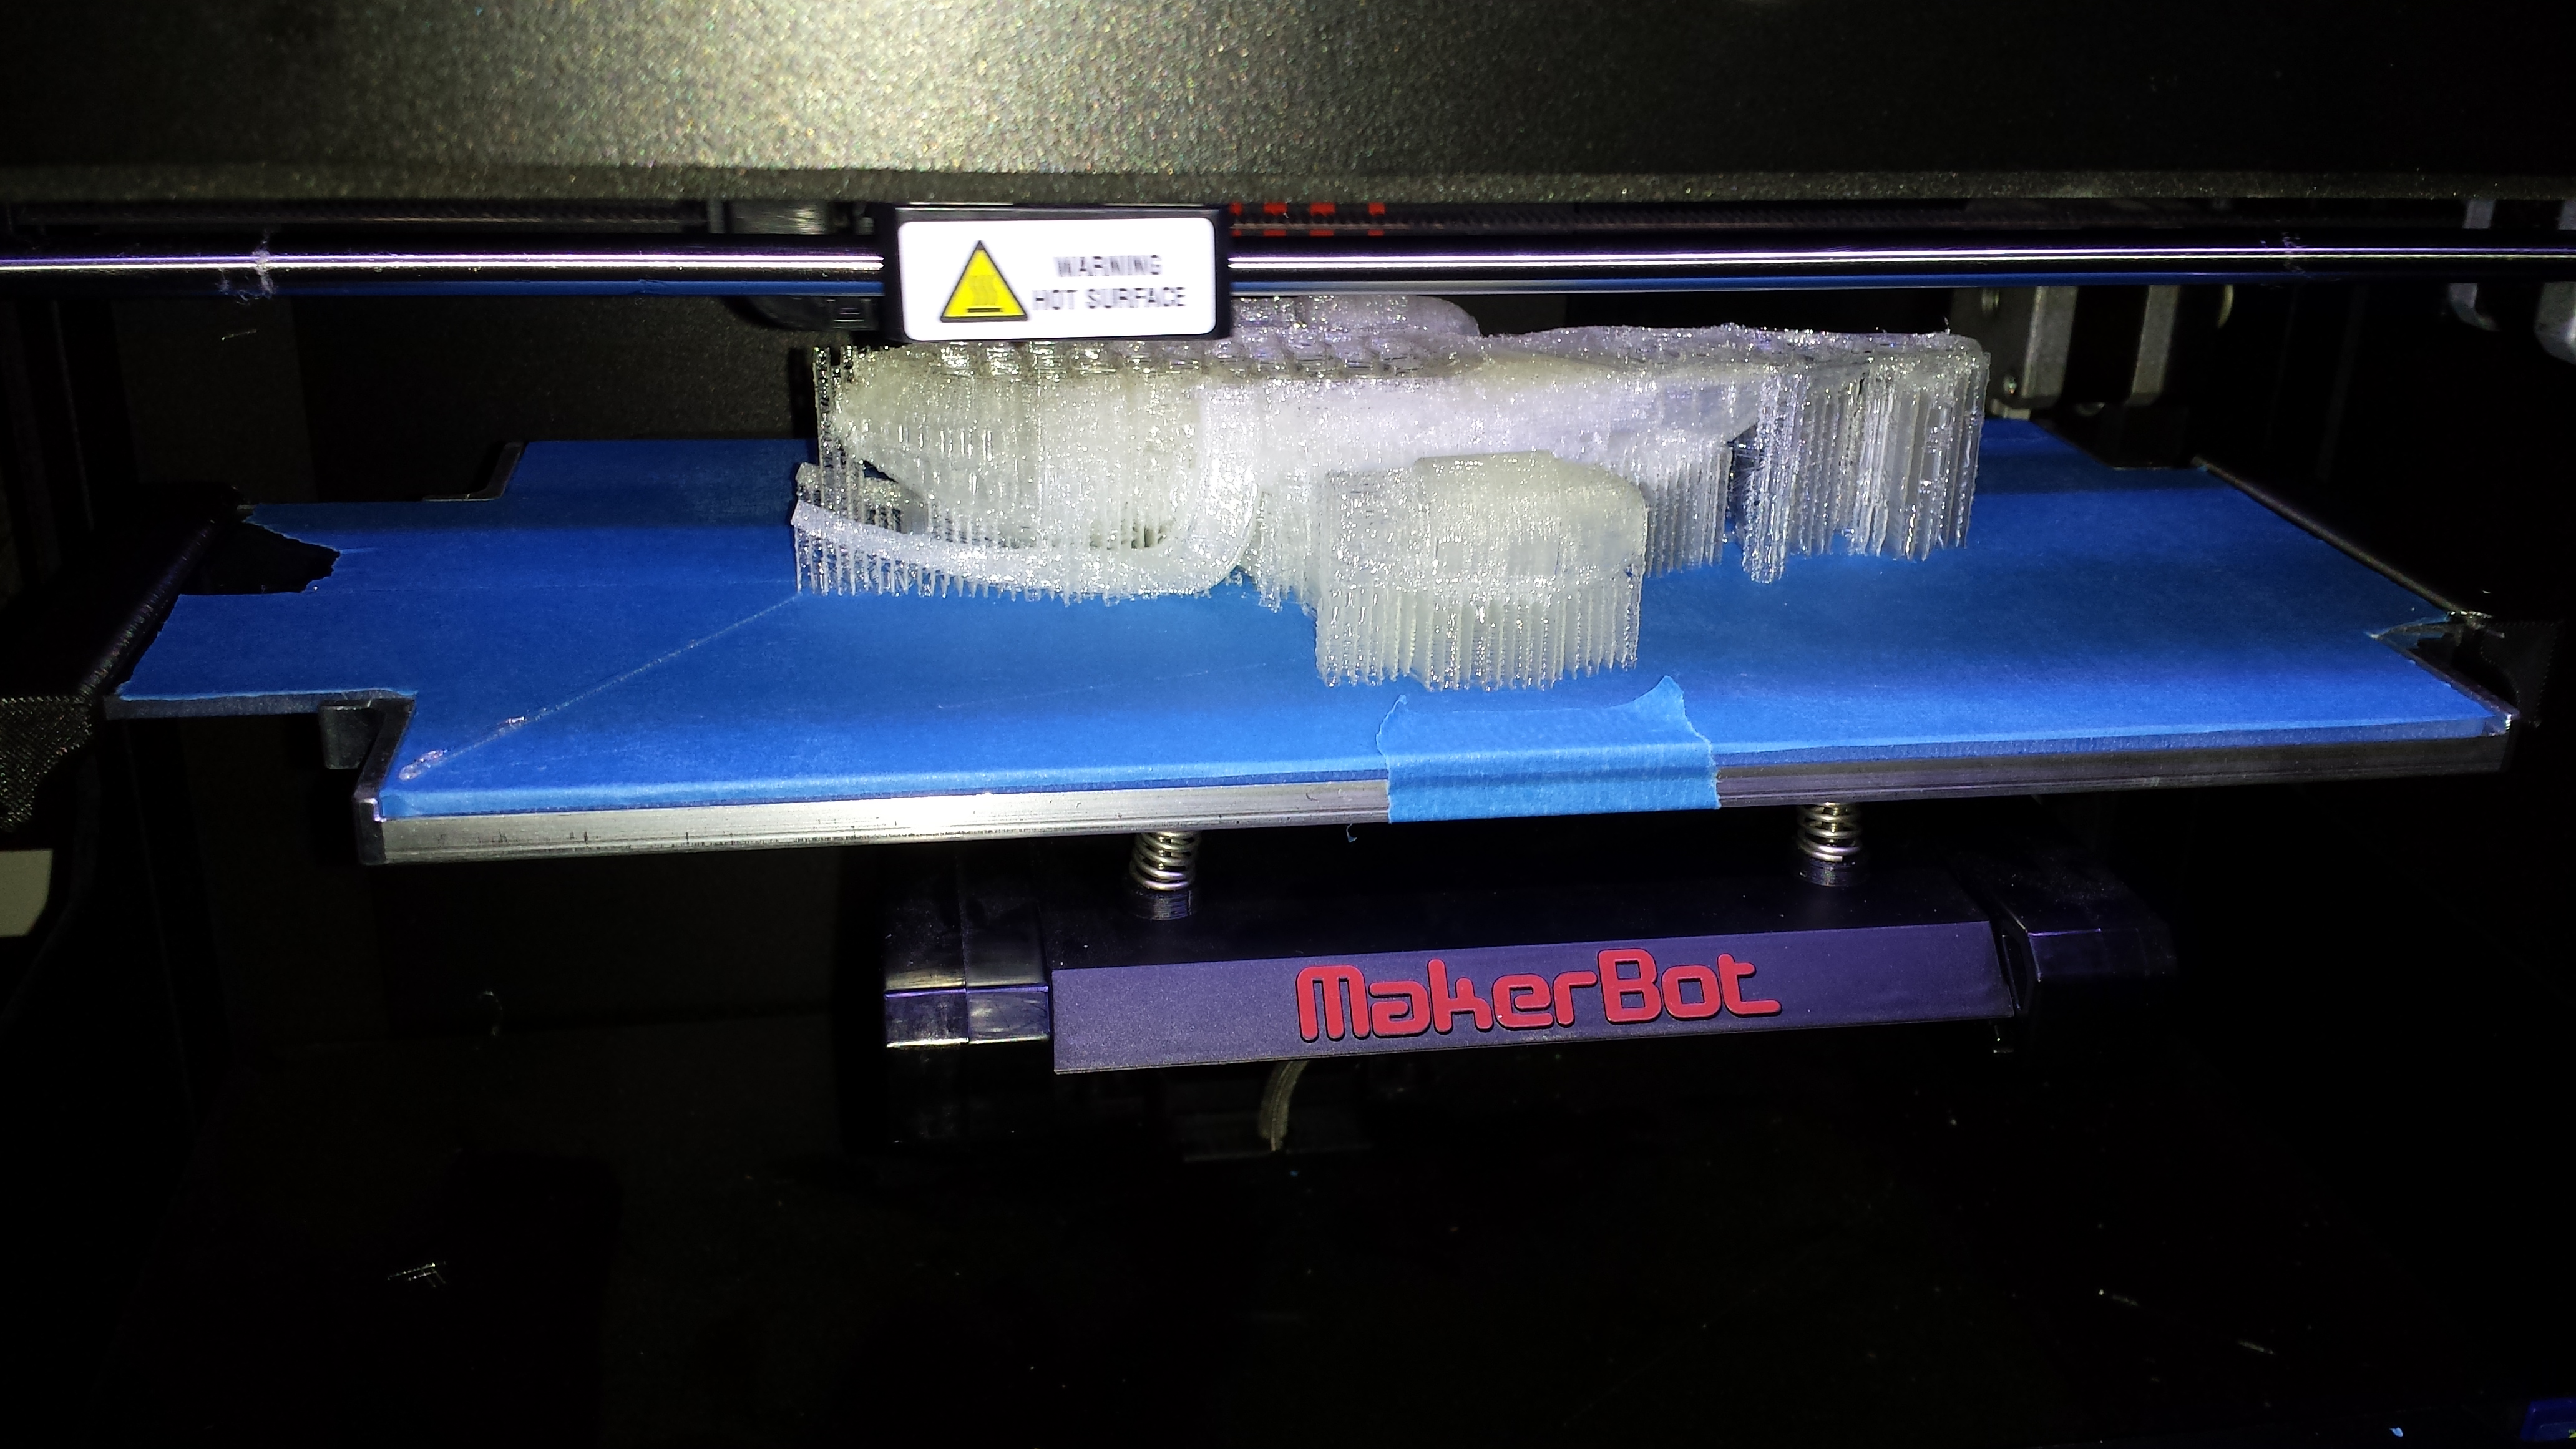
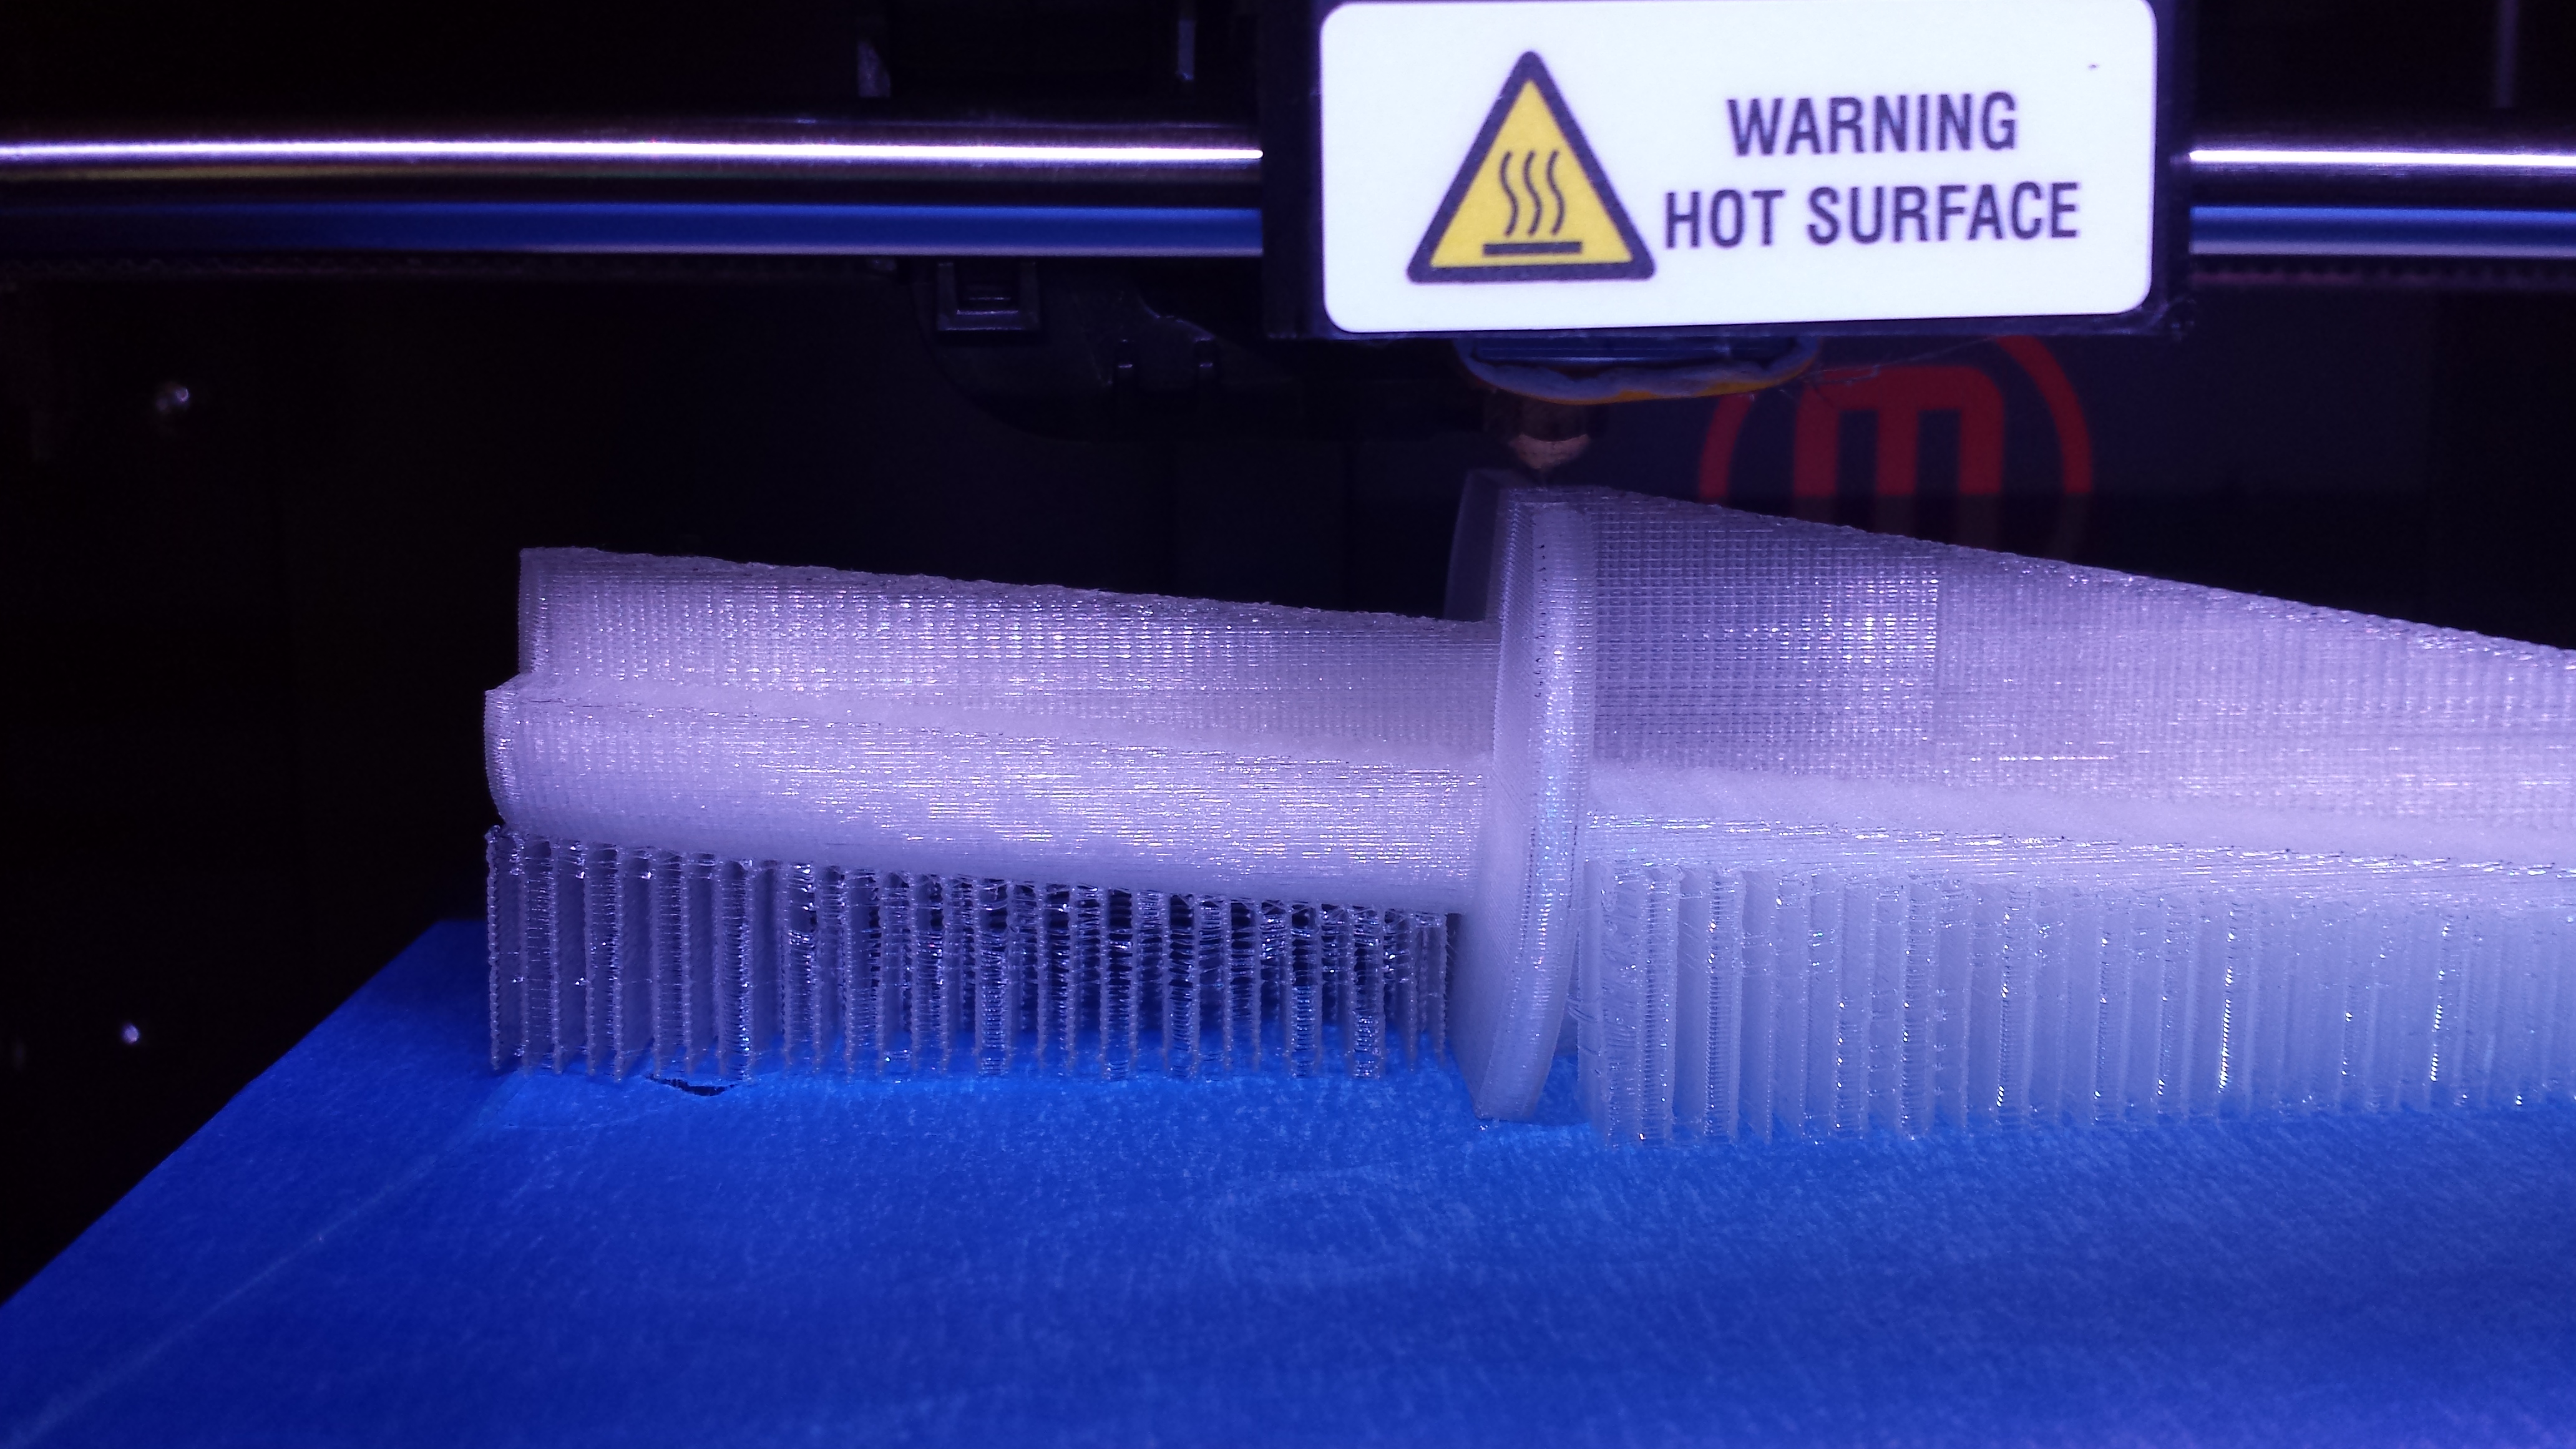
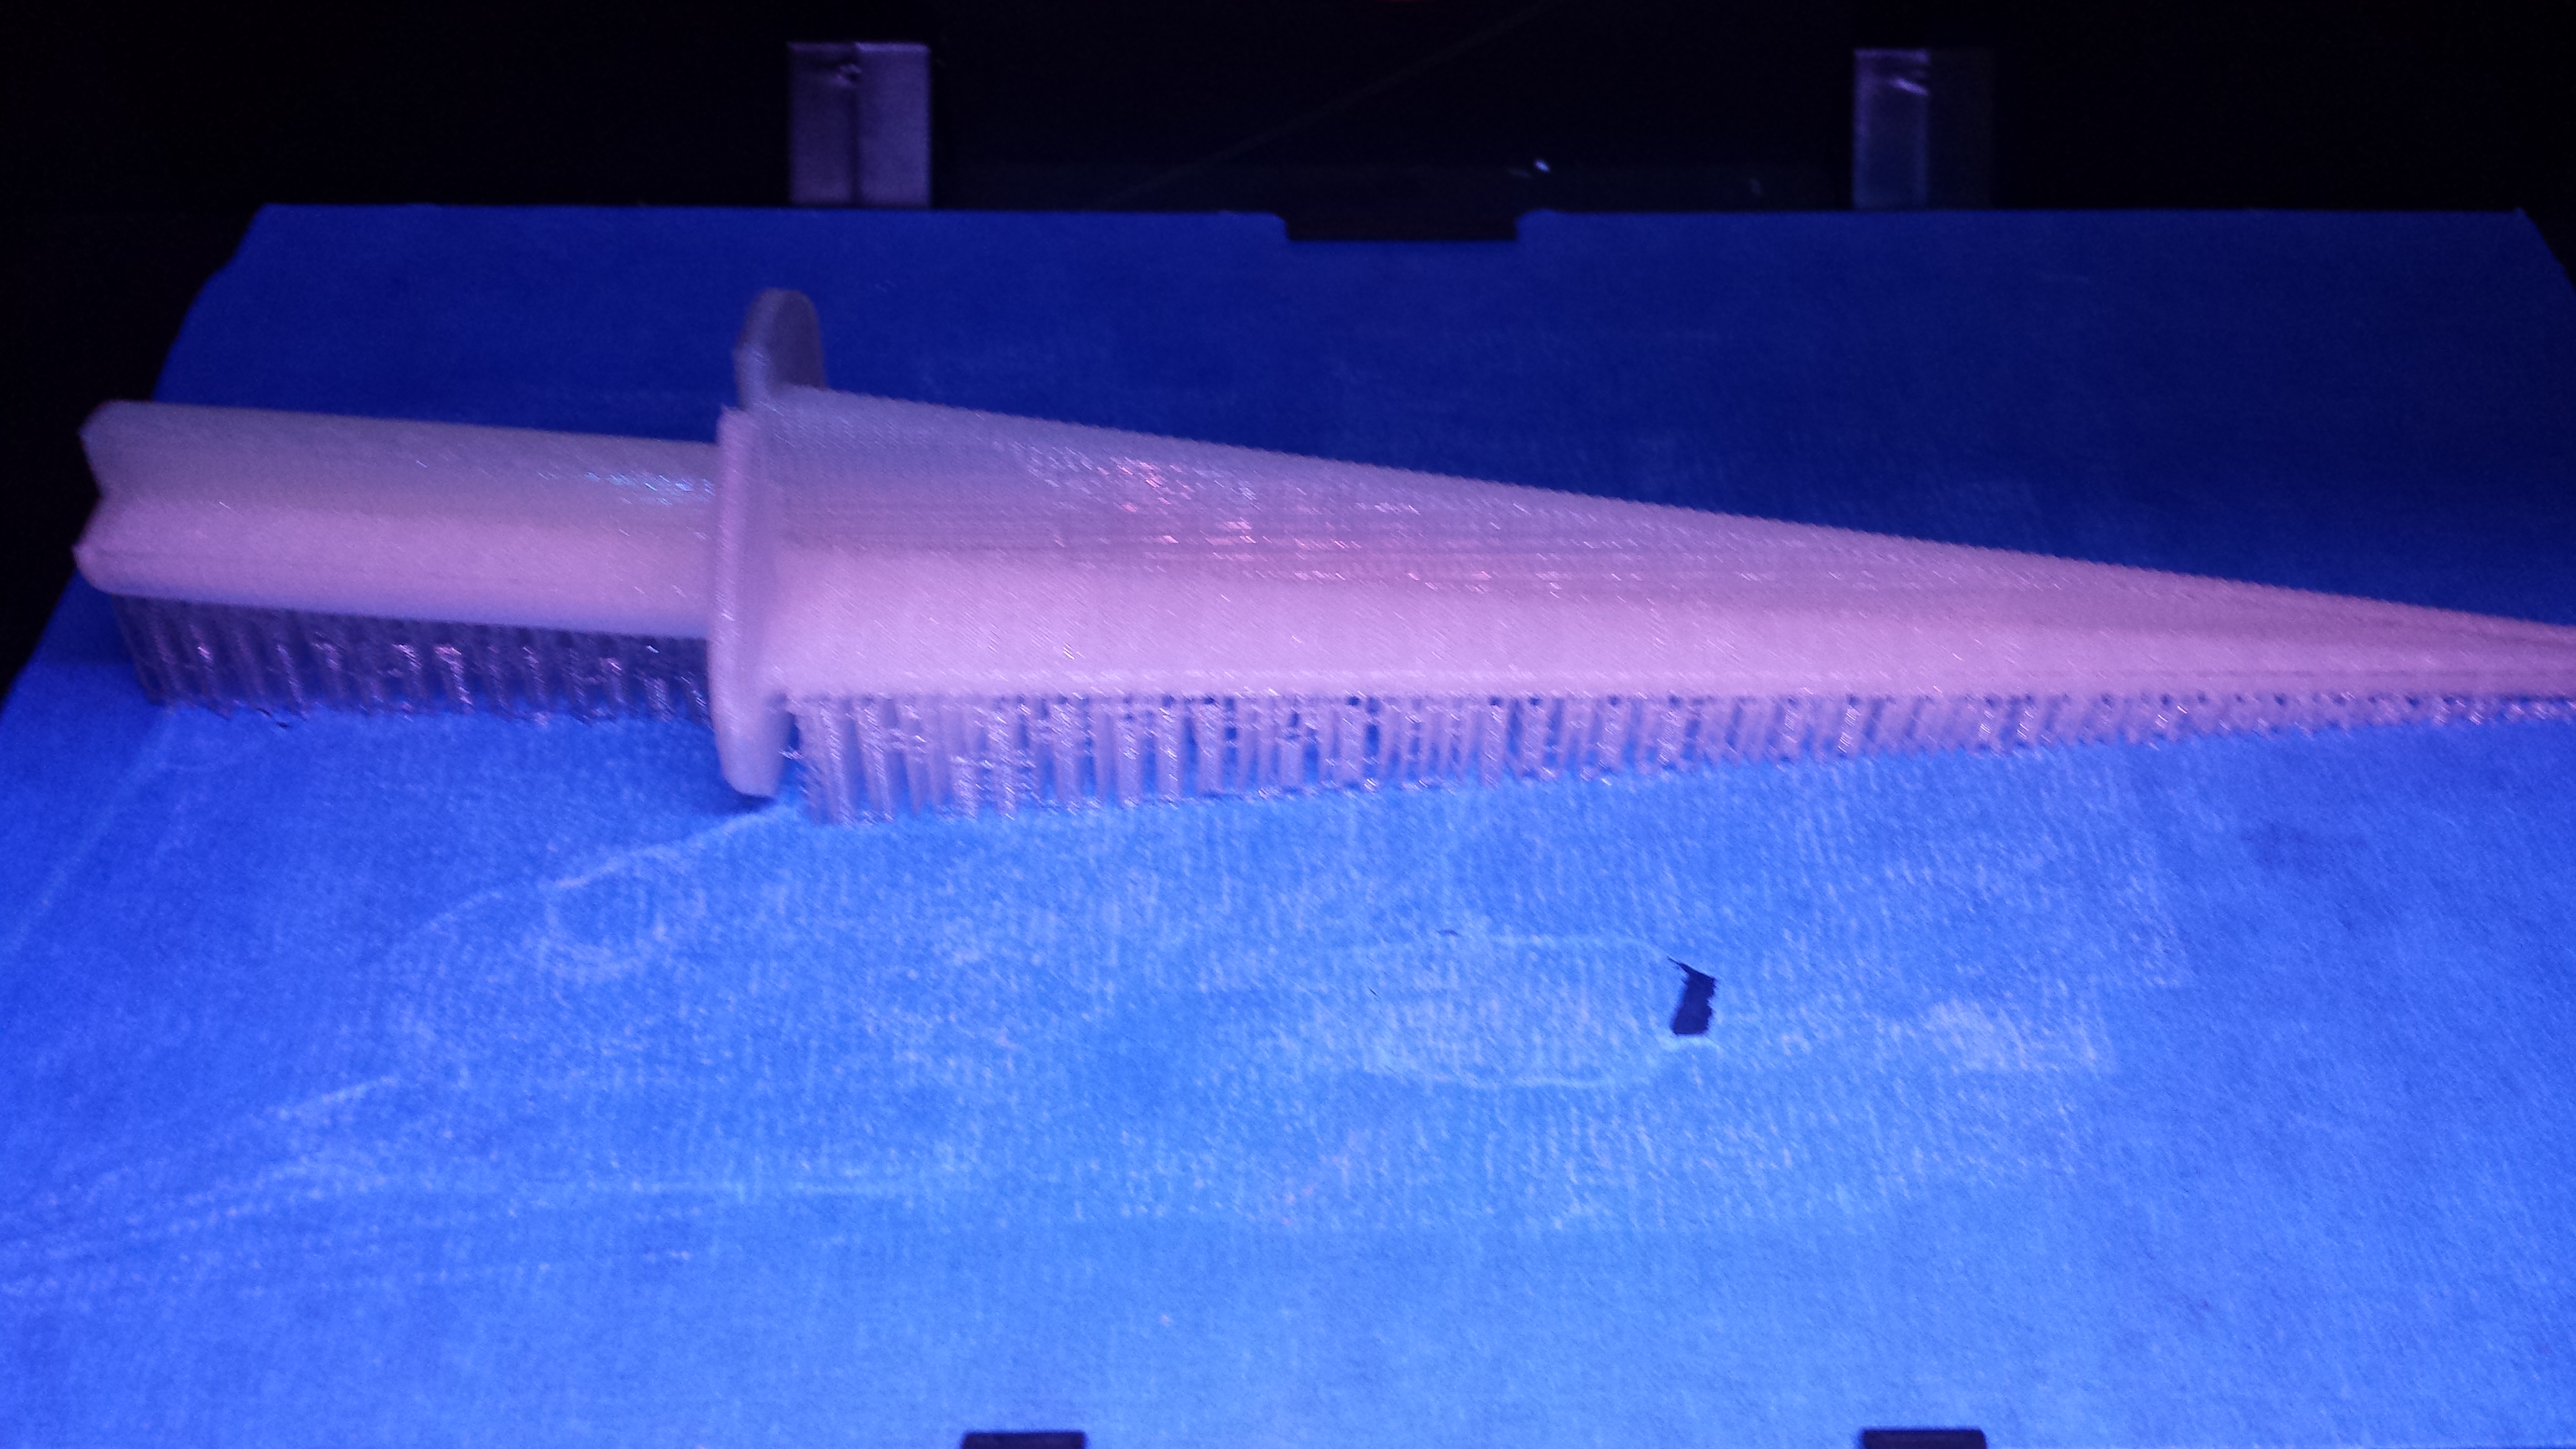
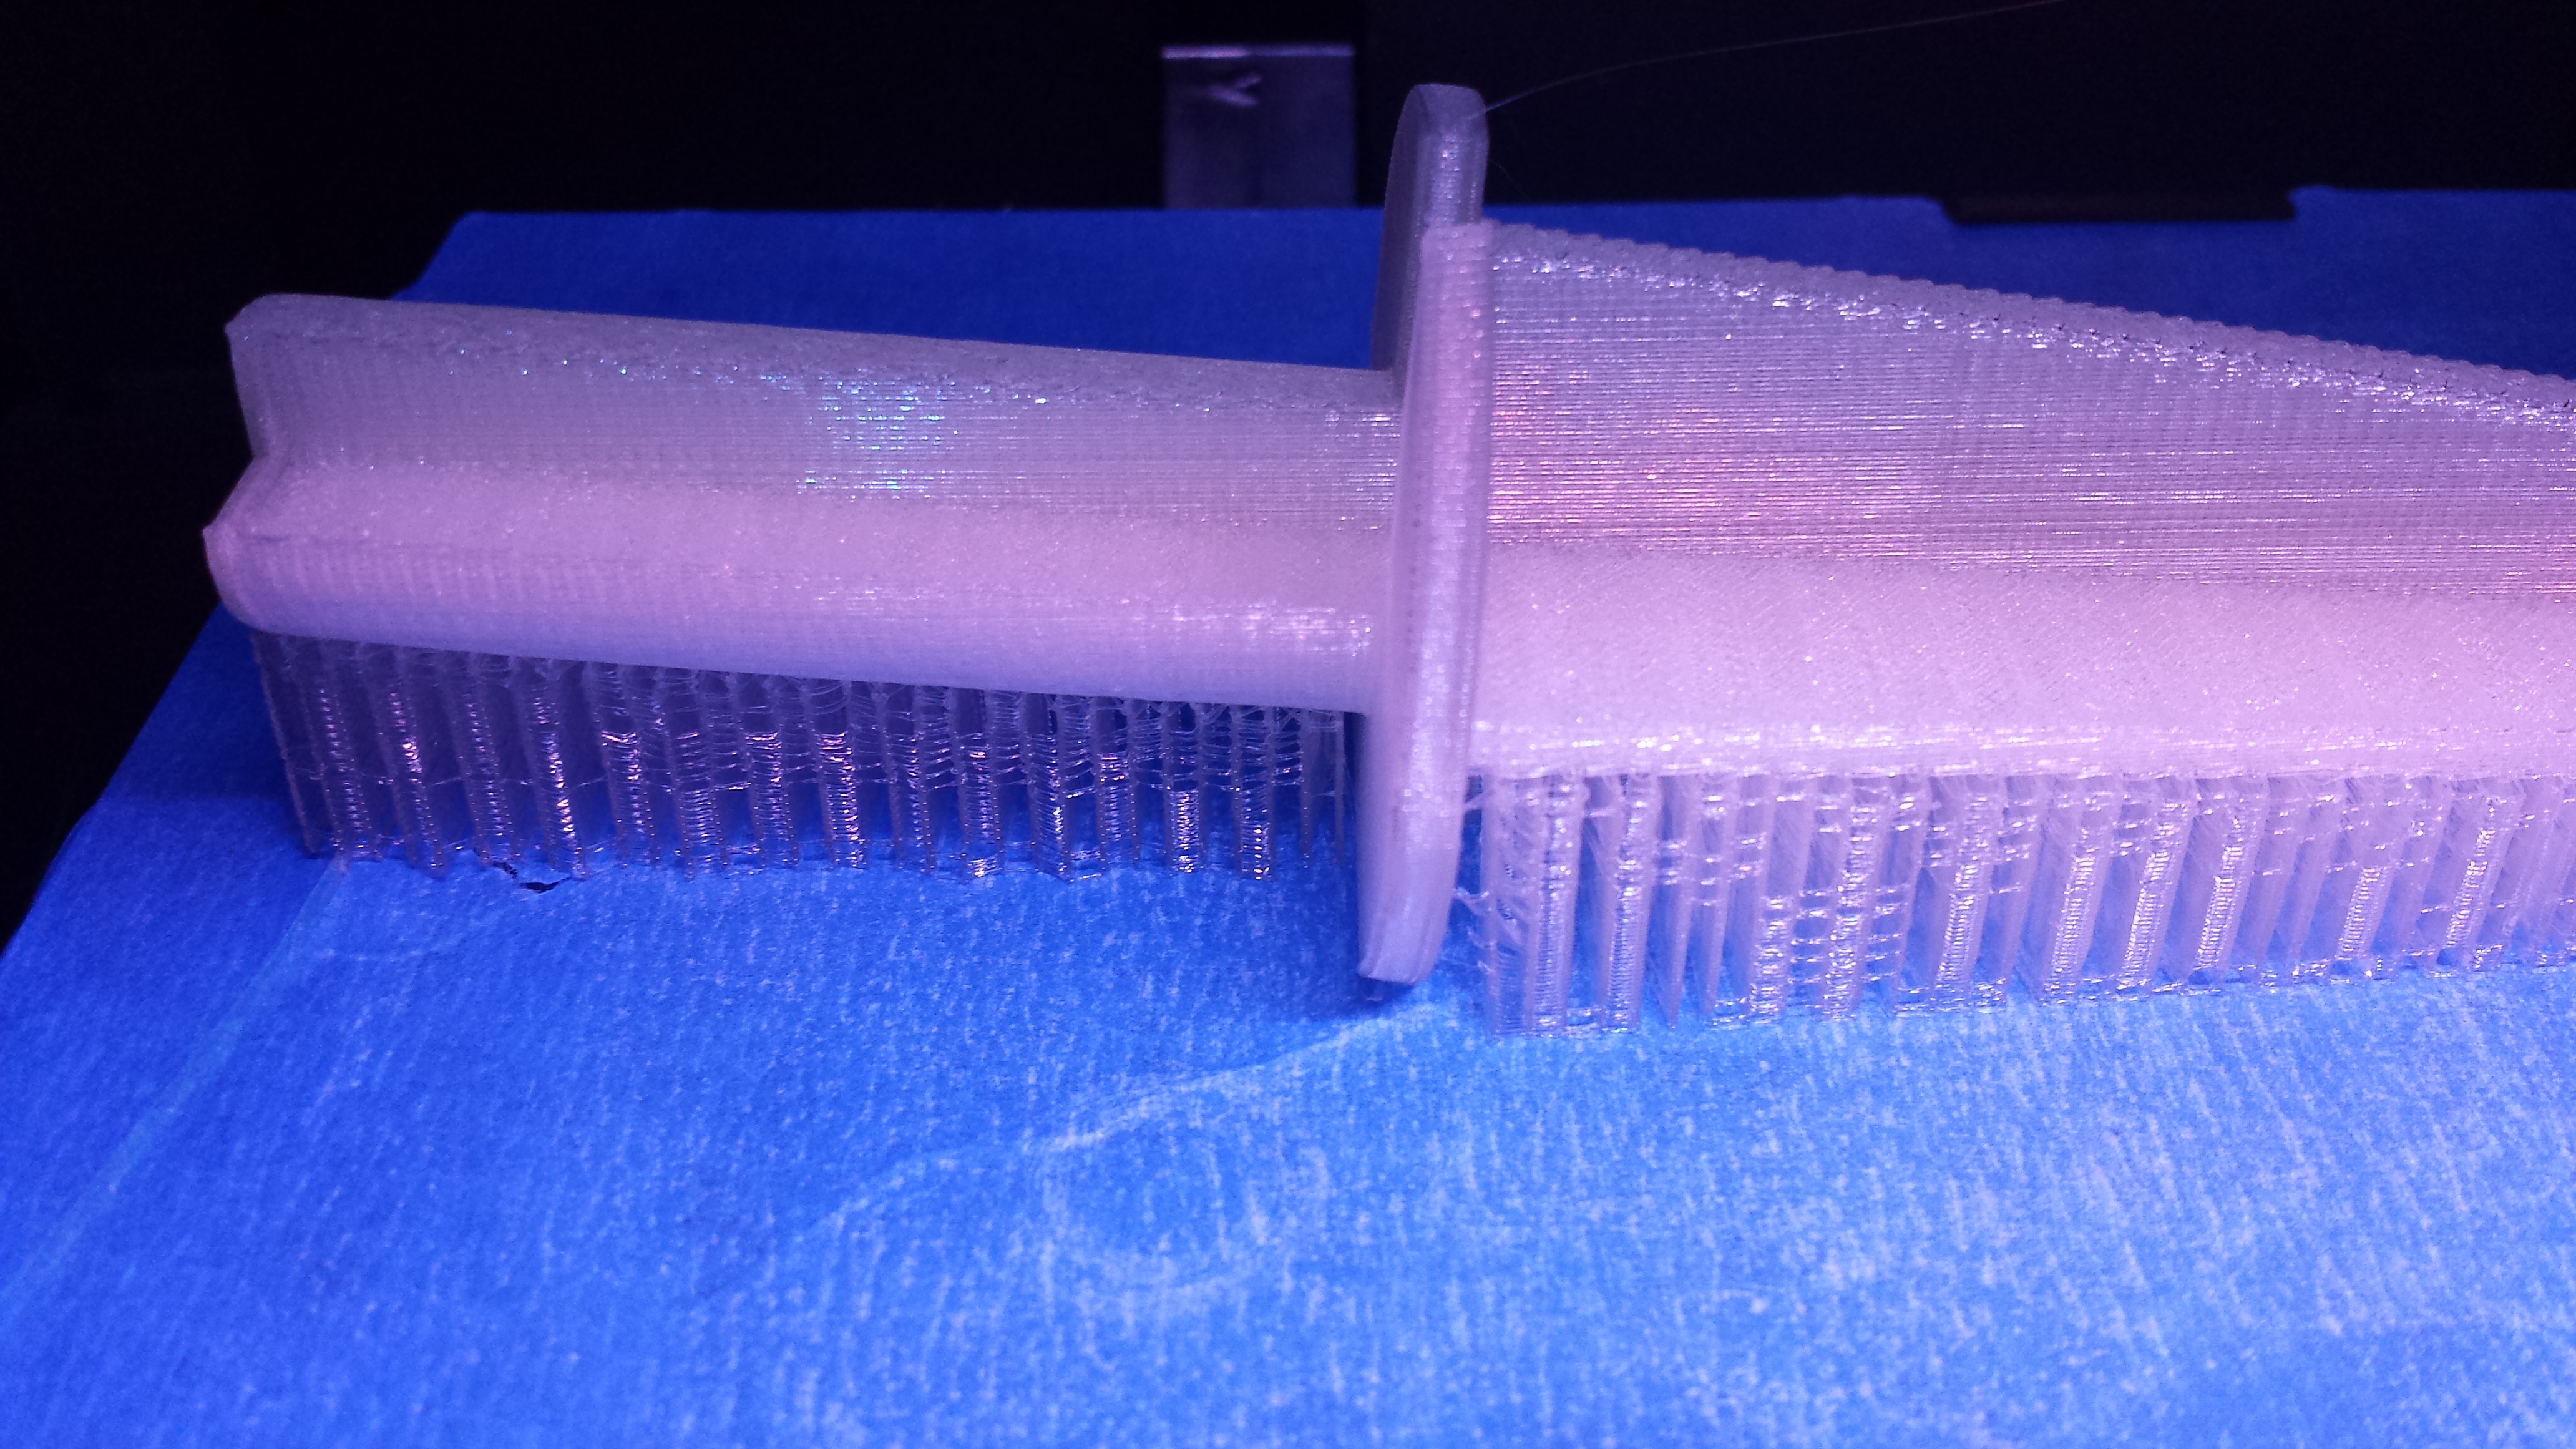
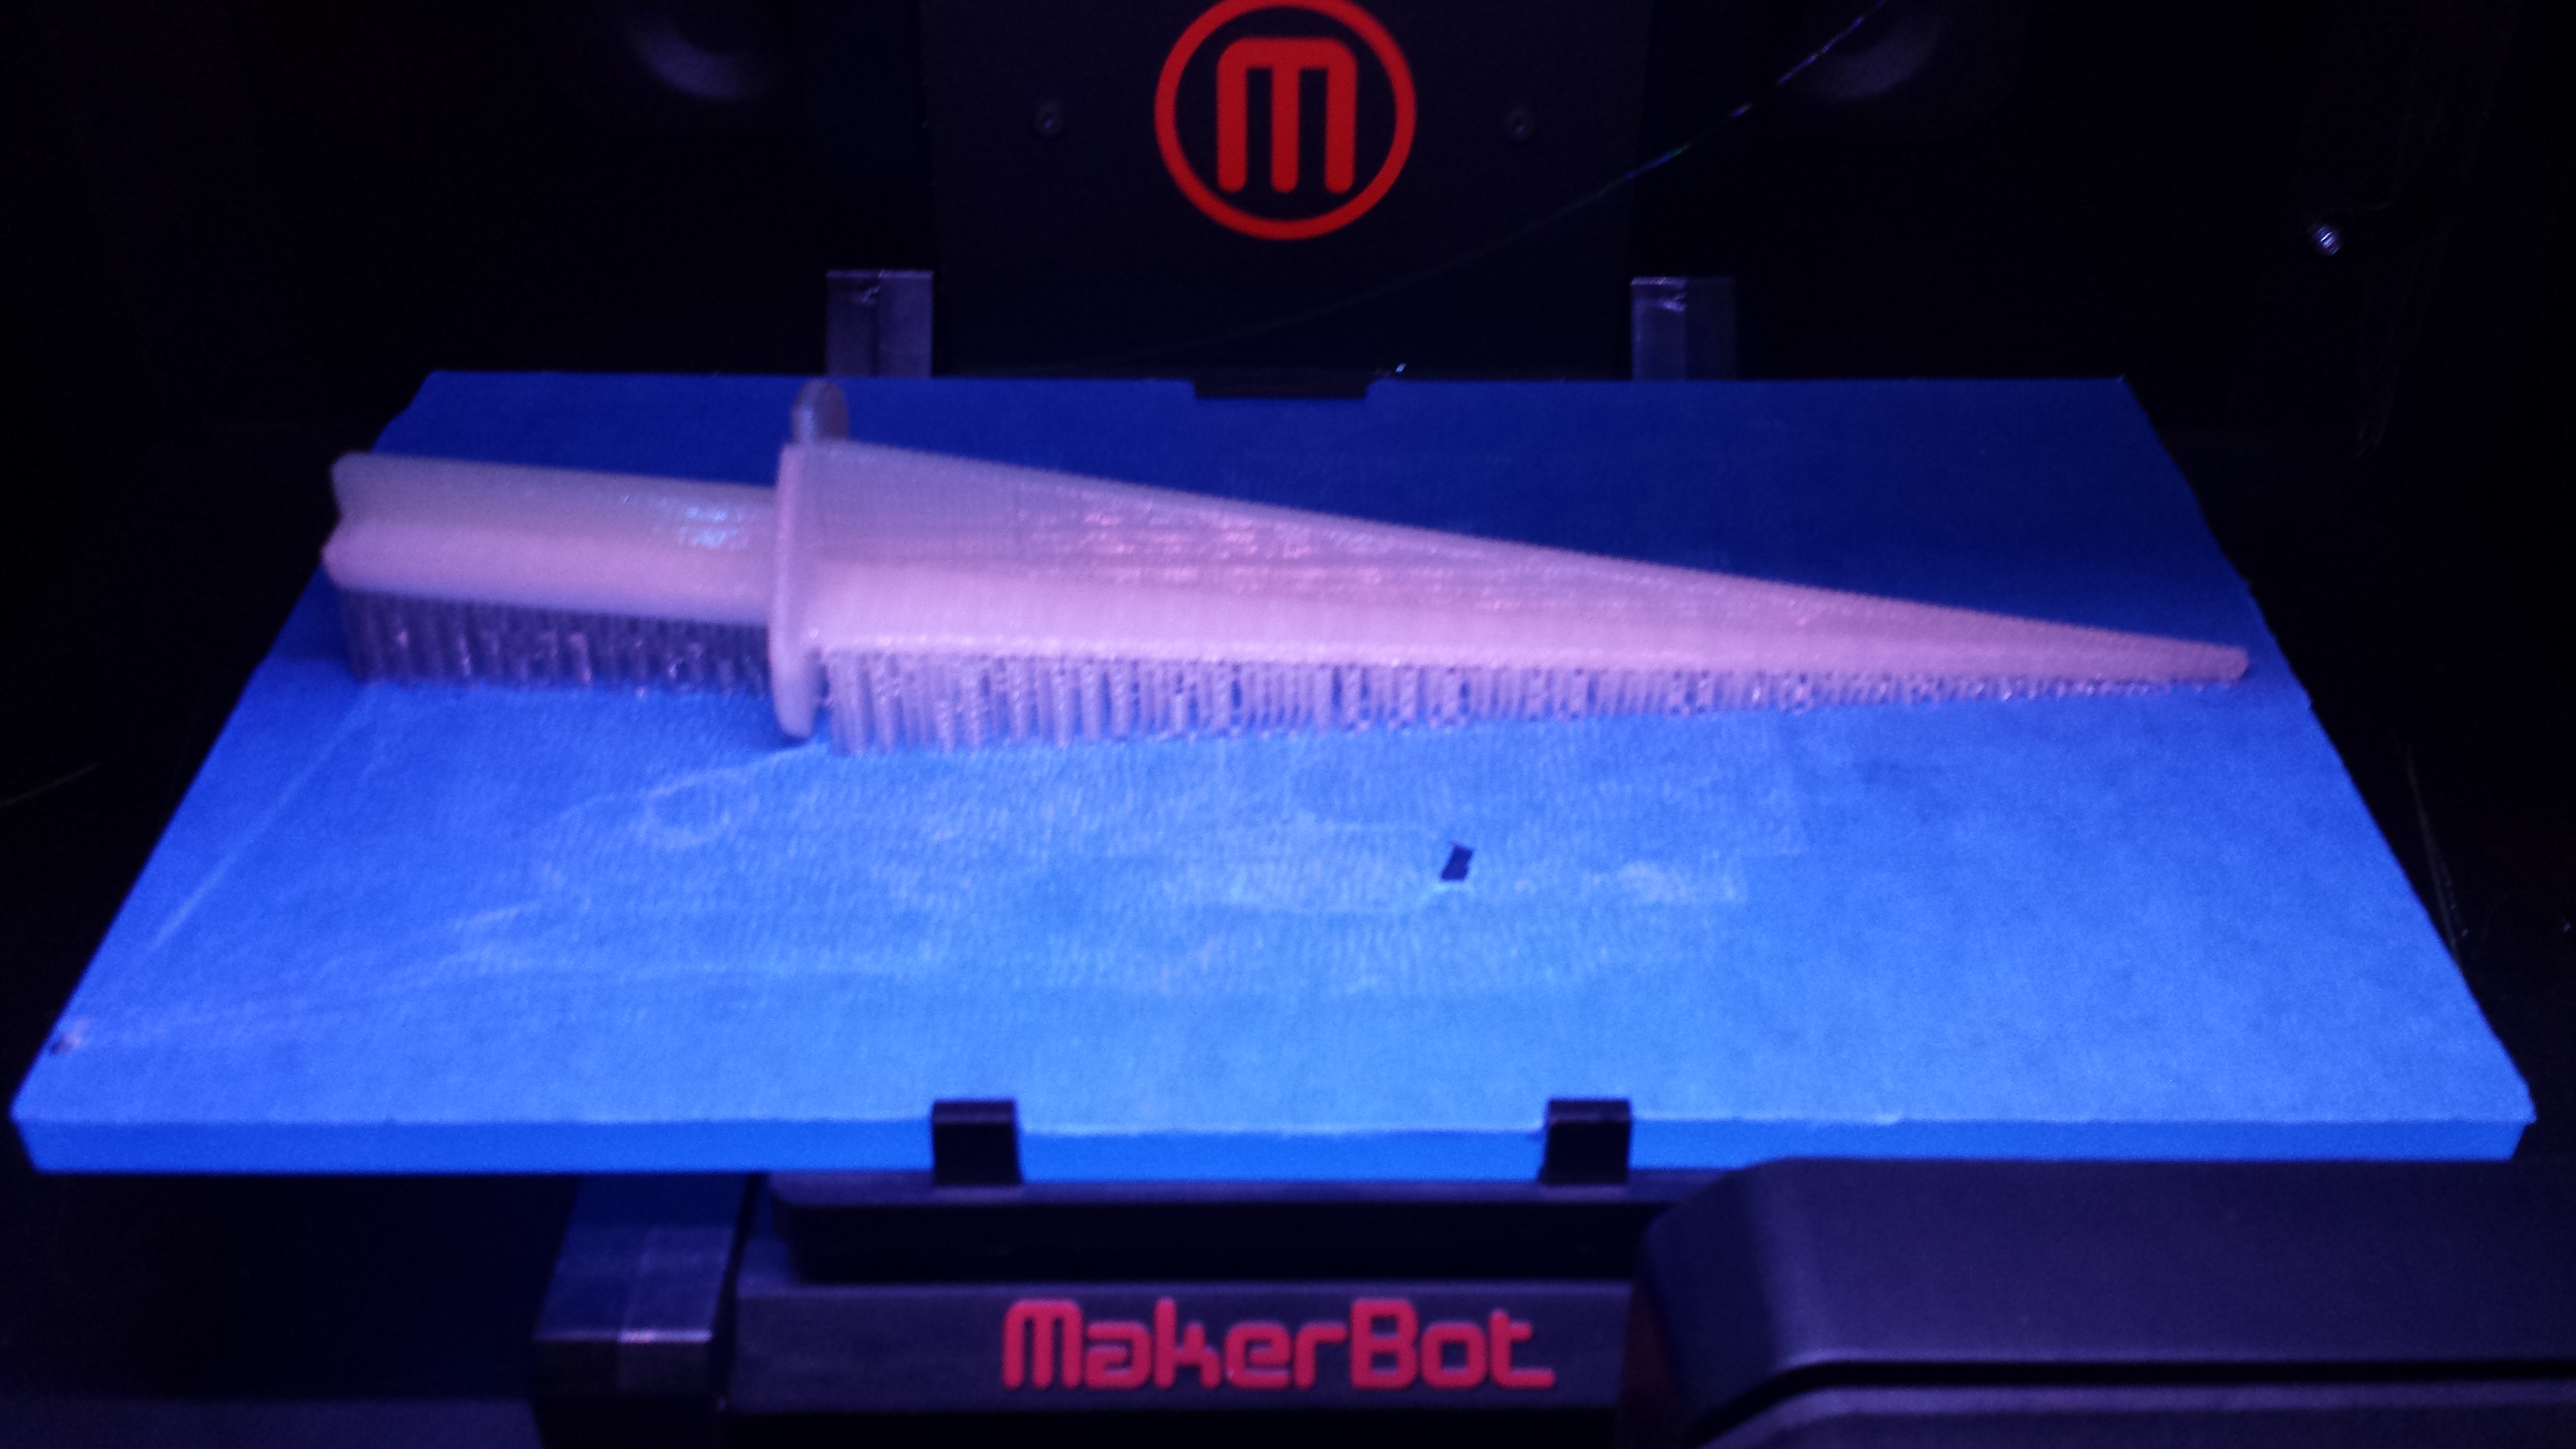
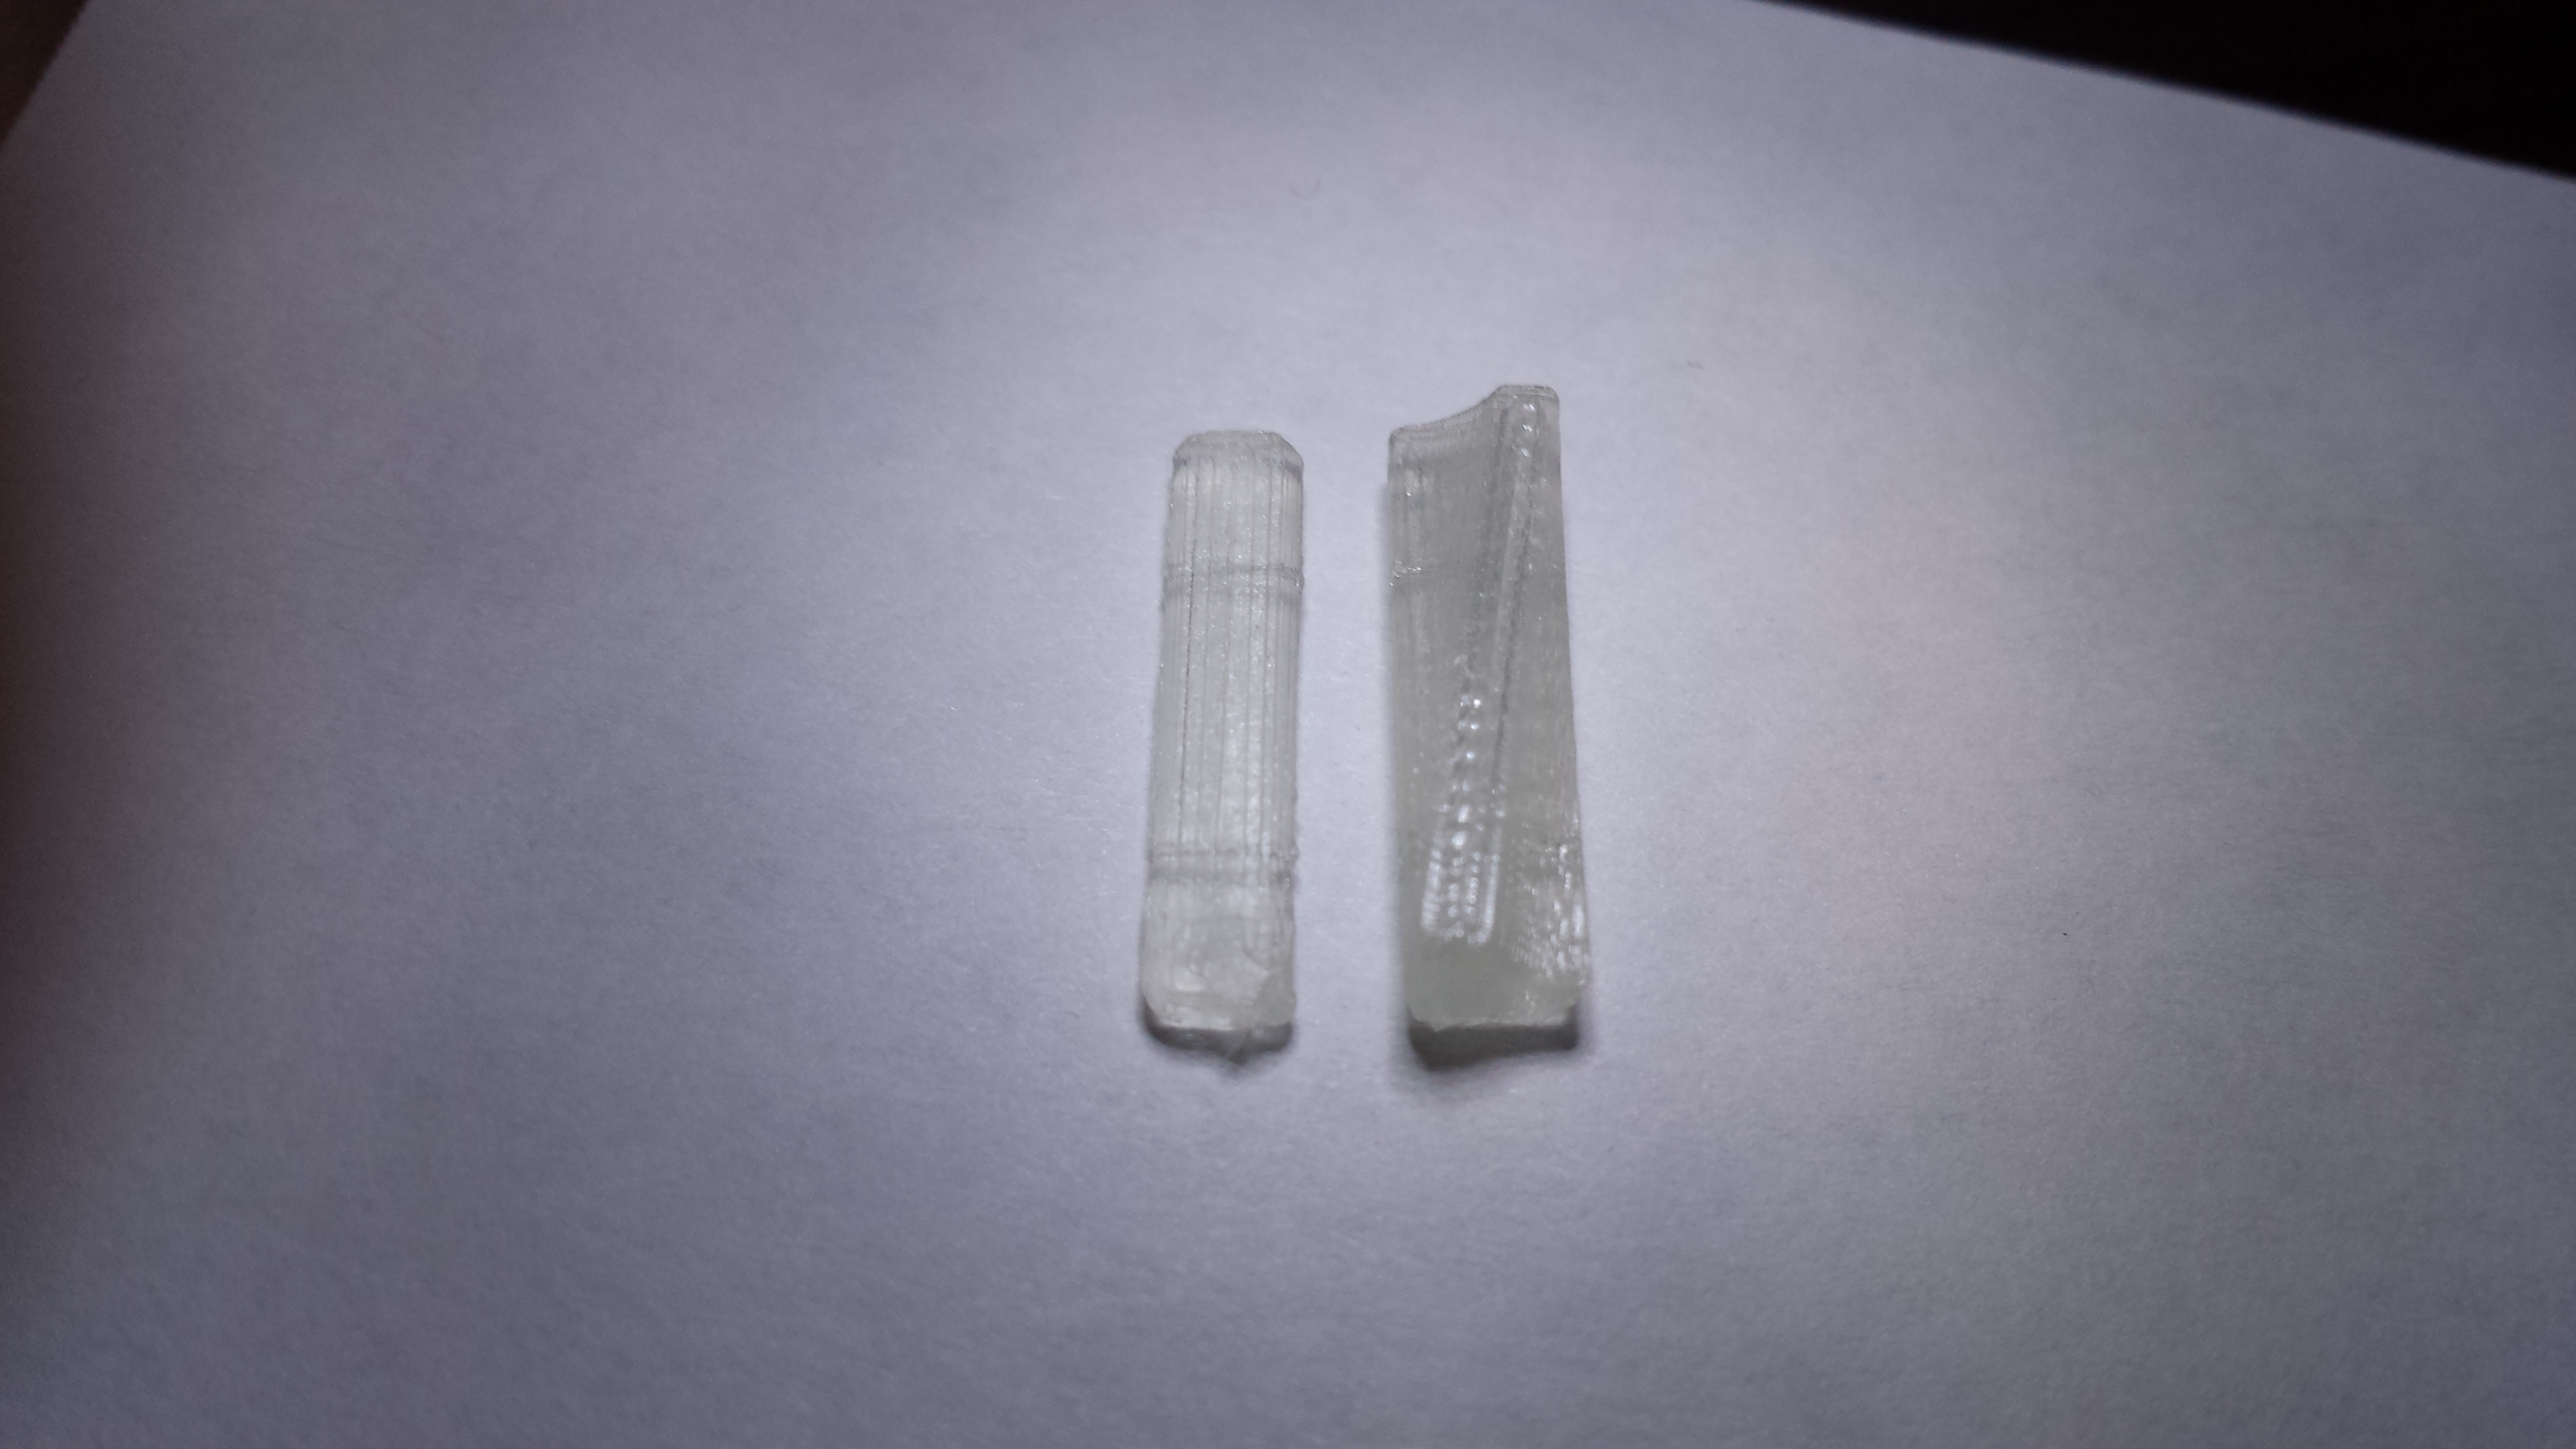
Filistruder:
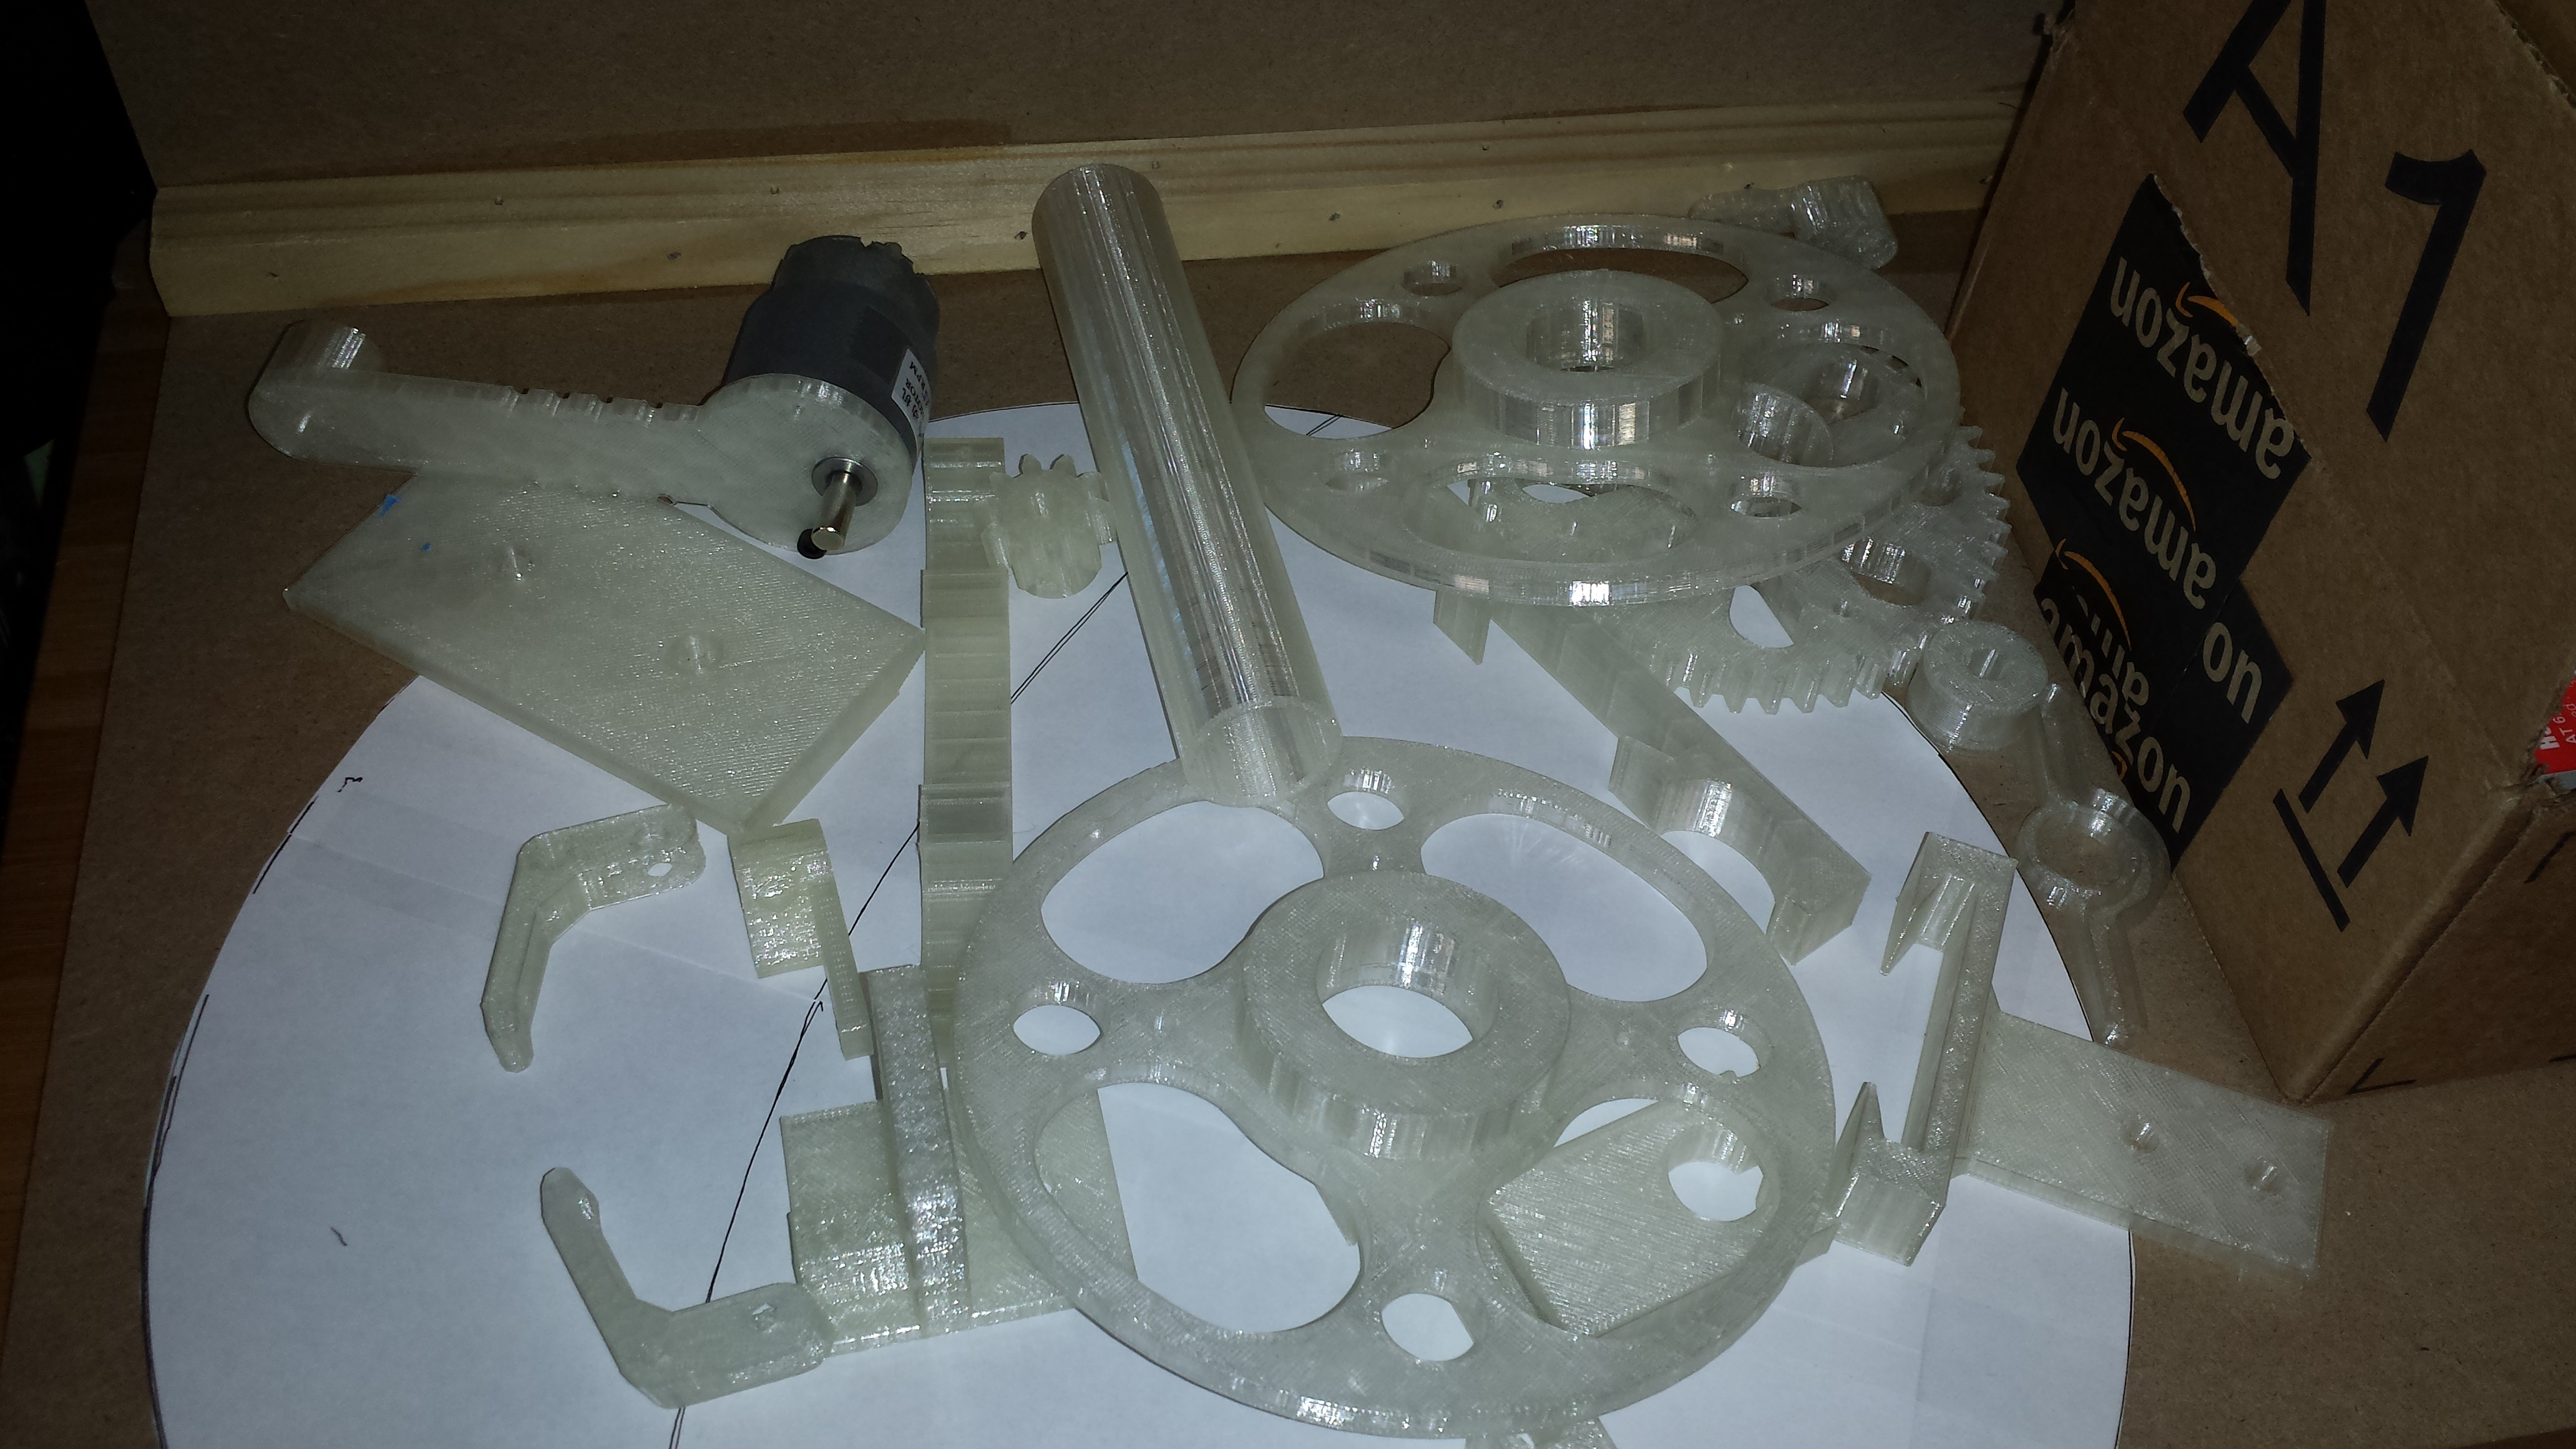
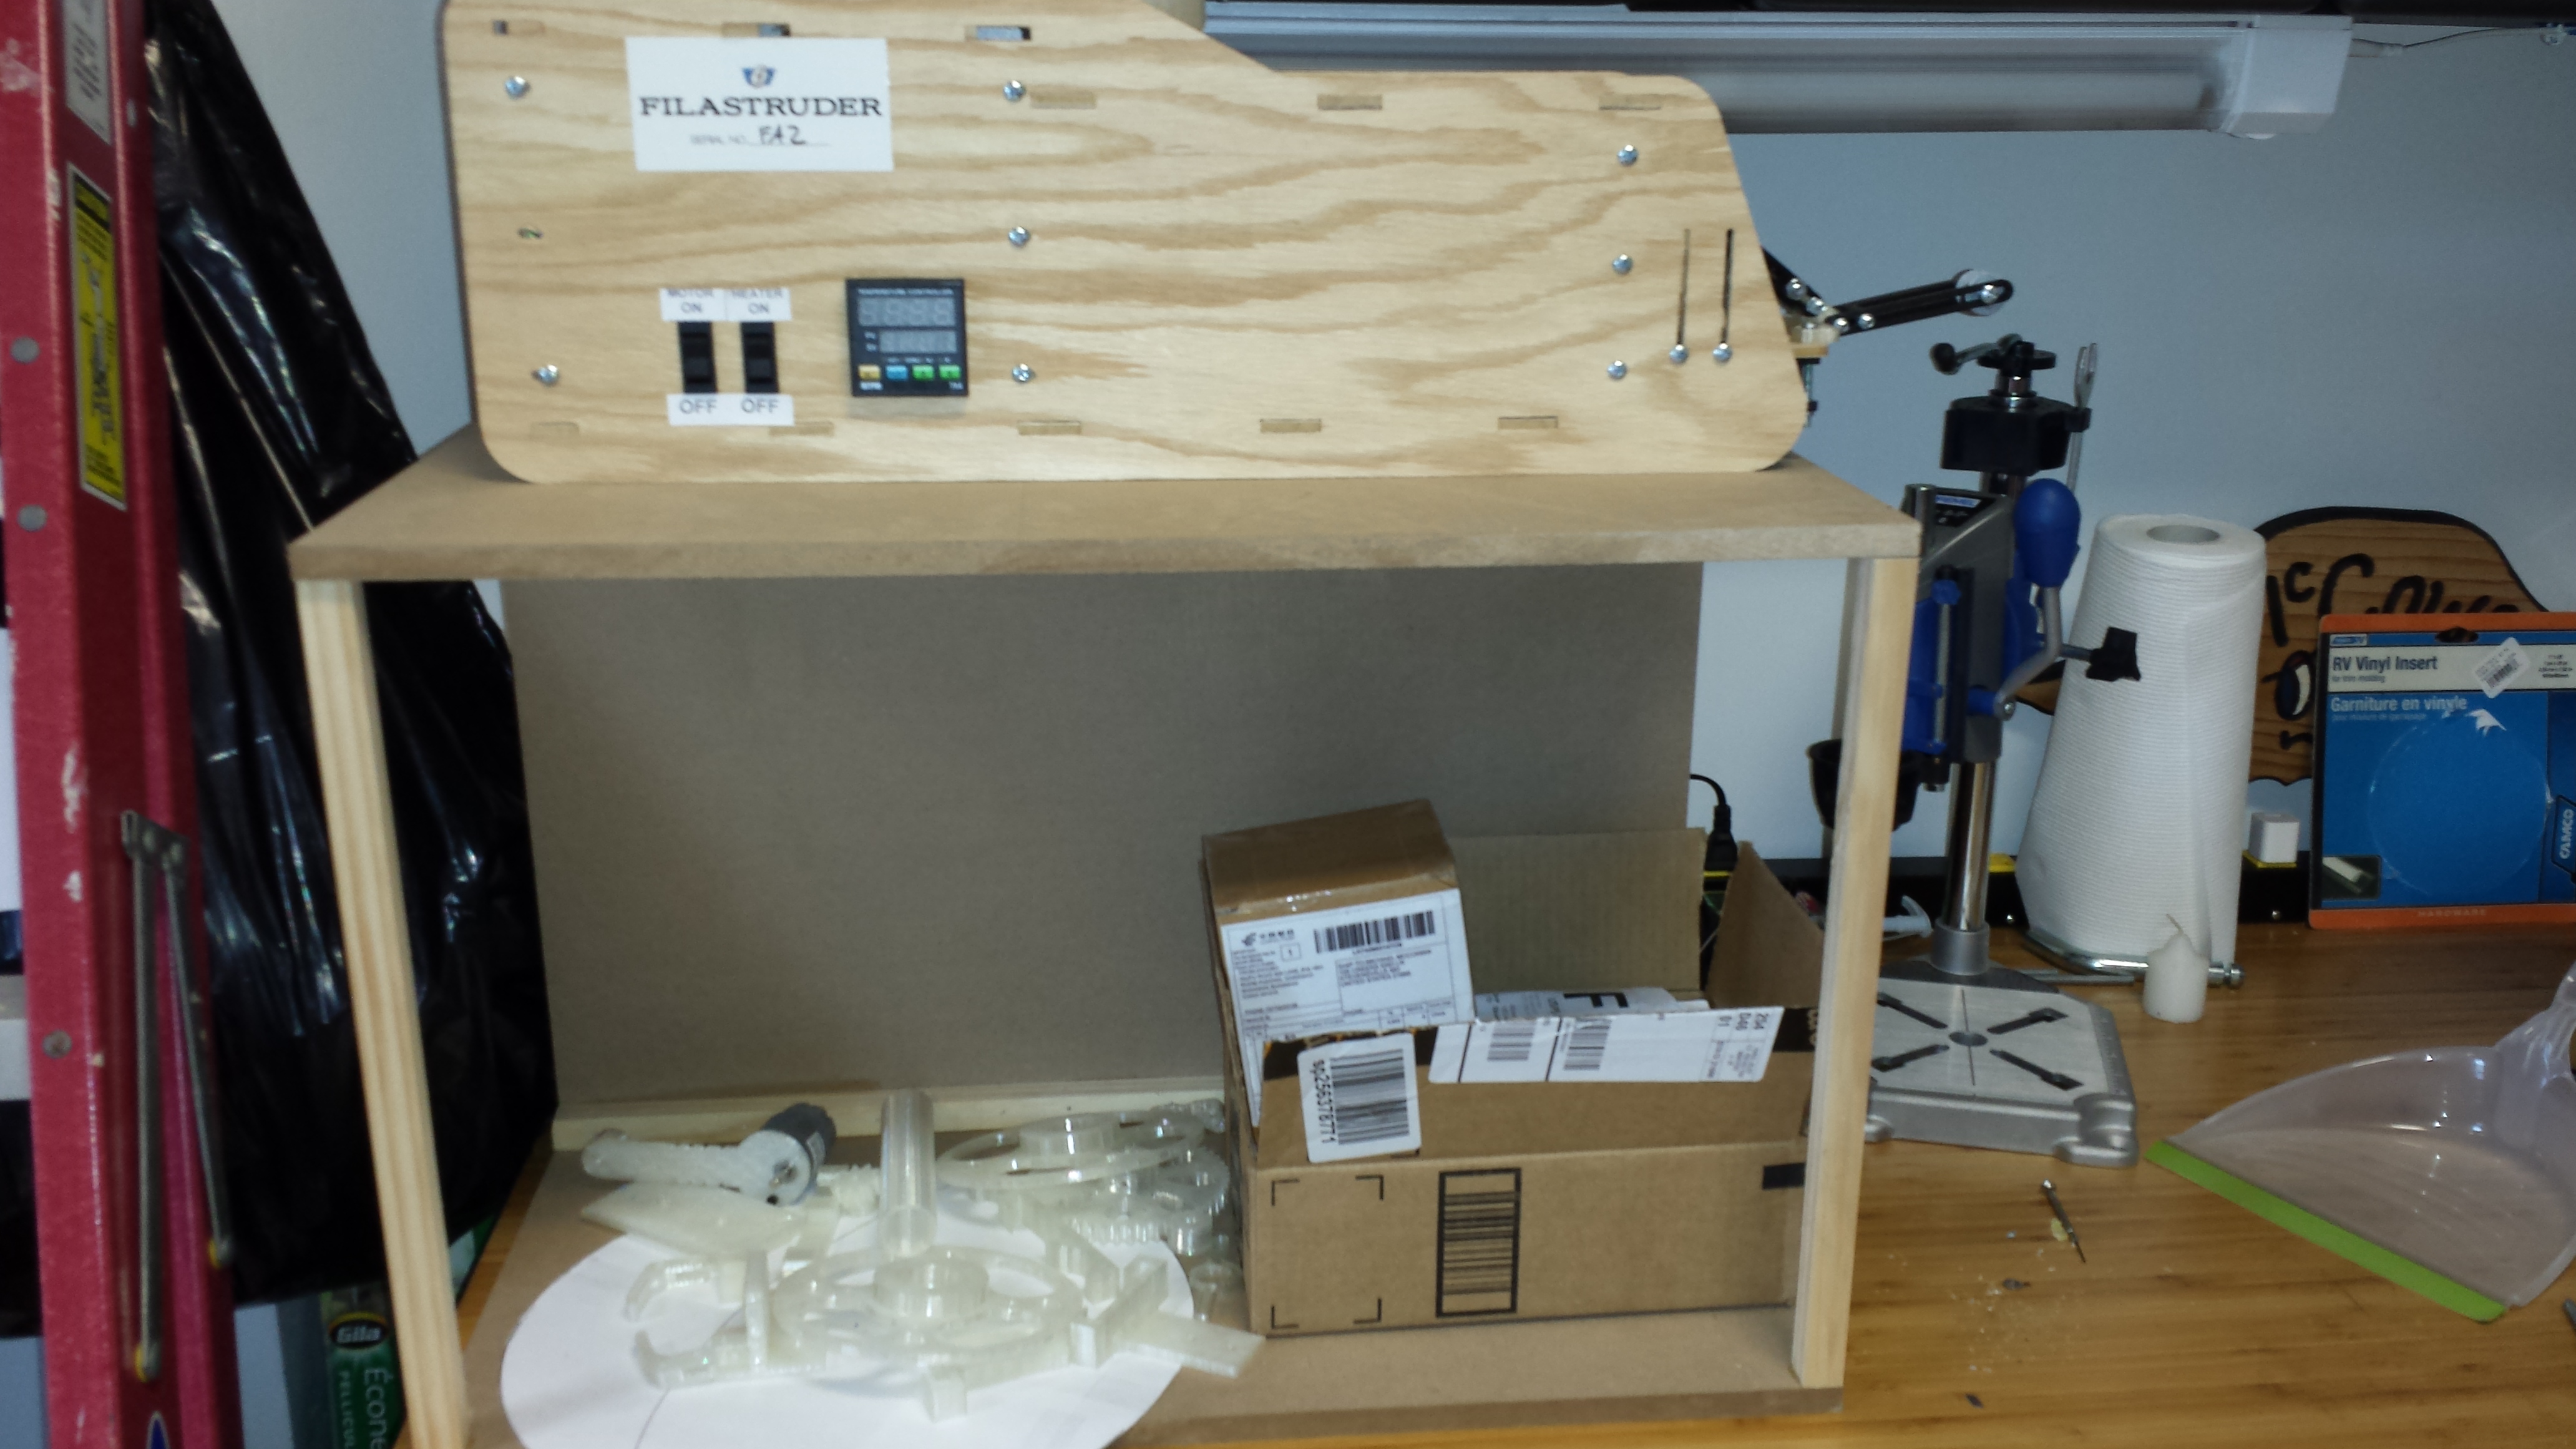
I was able to print a hopper and a replacement part for one that broken when I was assembling. The hopper is actually an upgraded one that I found on the thingiverse and it is very nice. I am so far very happy with the design and it fits perfectly. I still have yet to extrude any filament but I hope to soon. I will post my results once I get it going.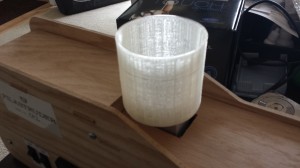
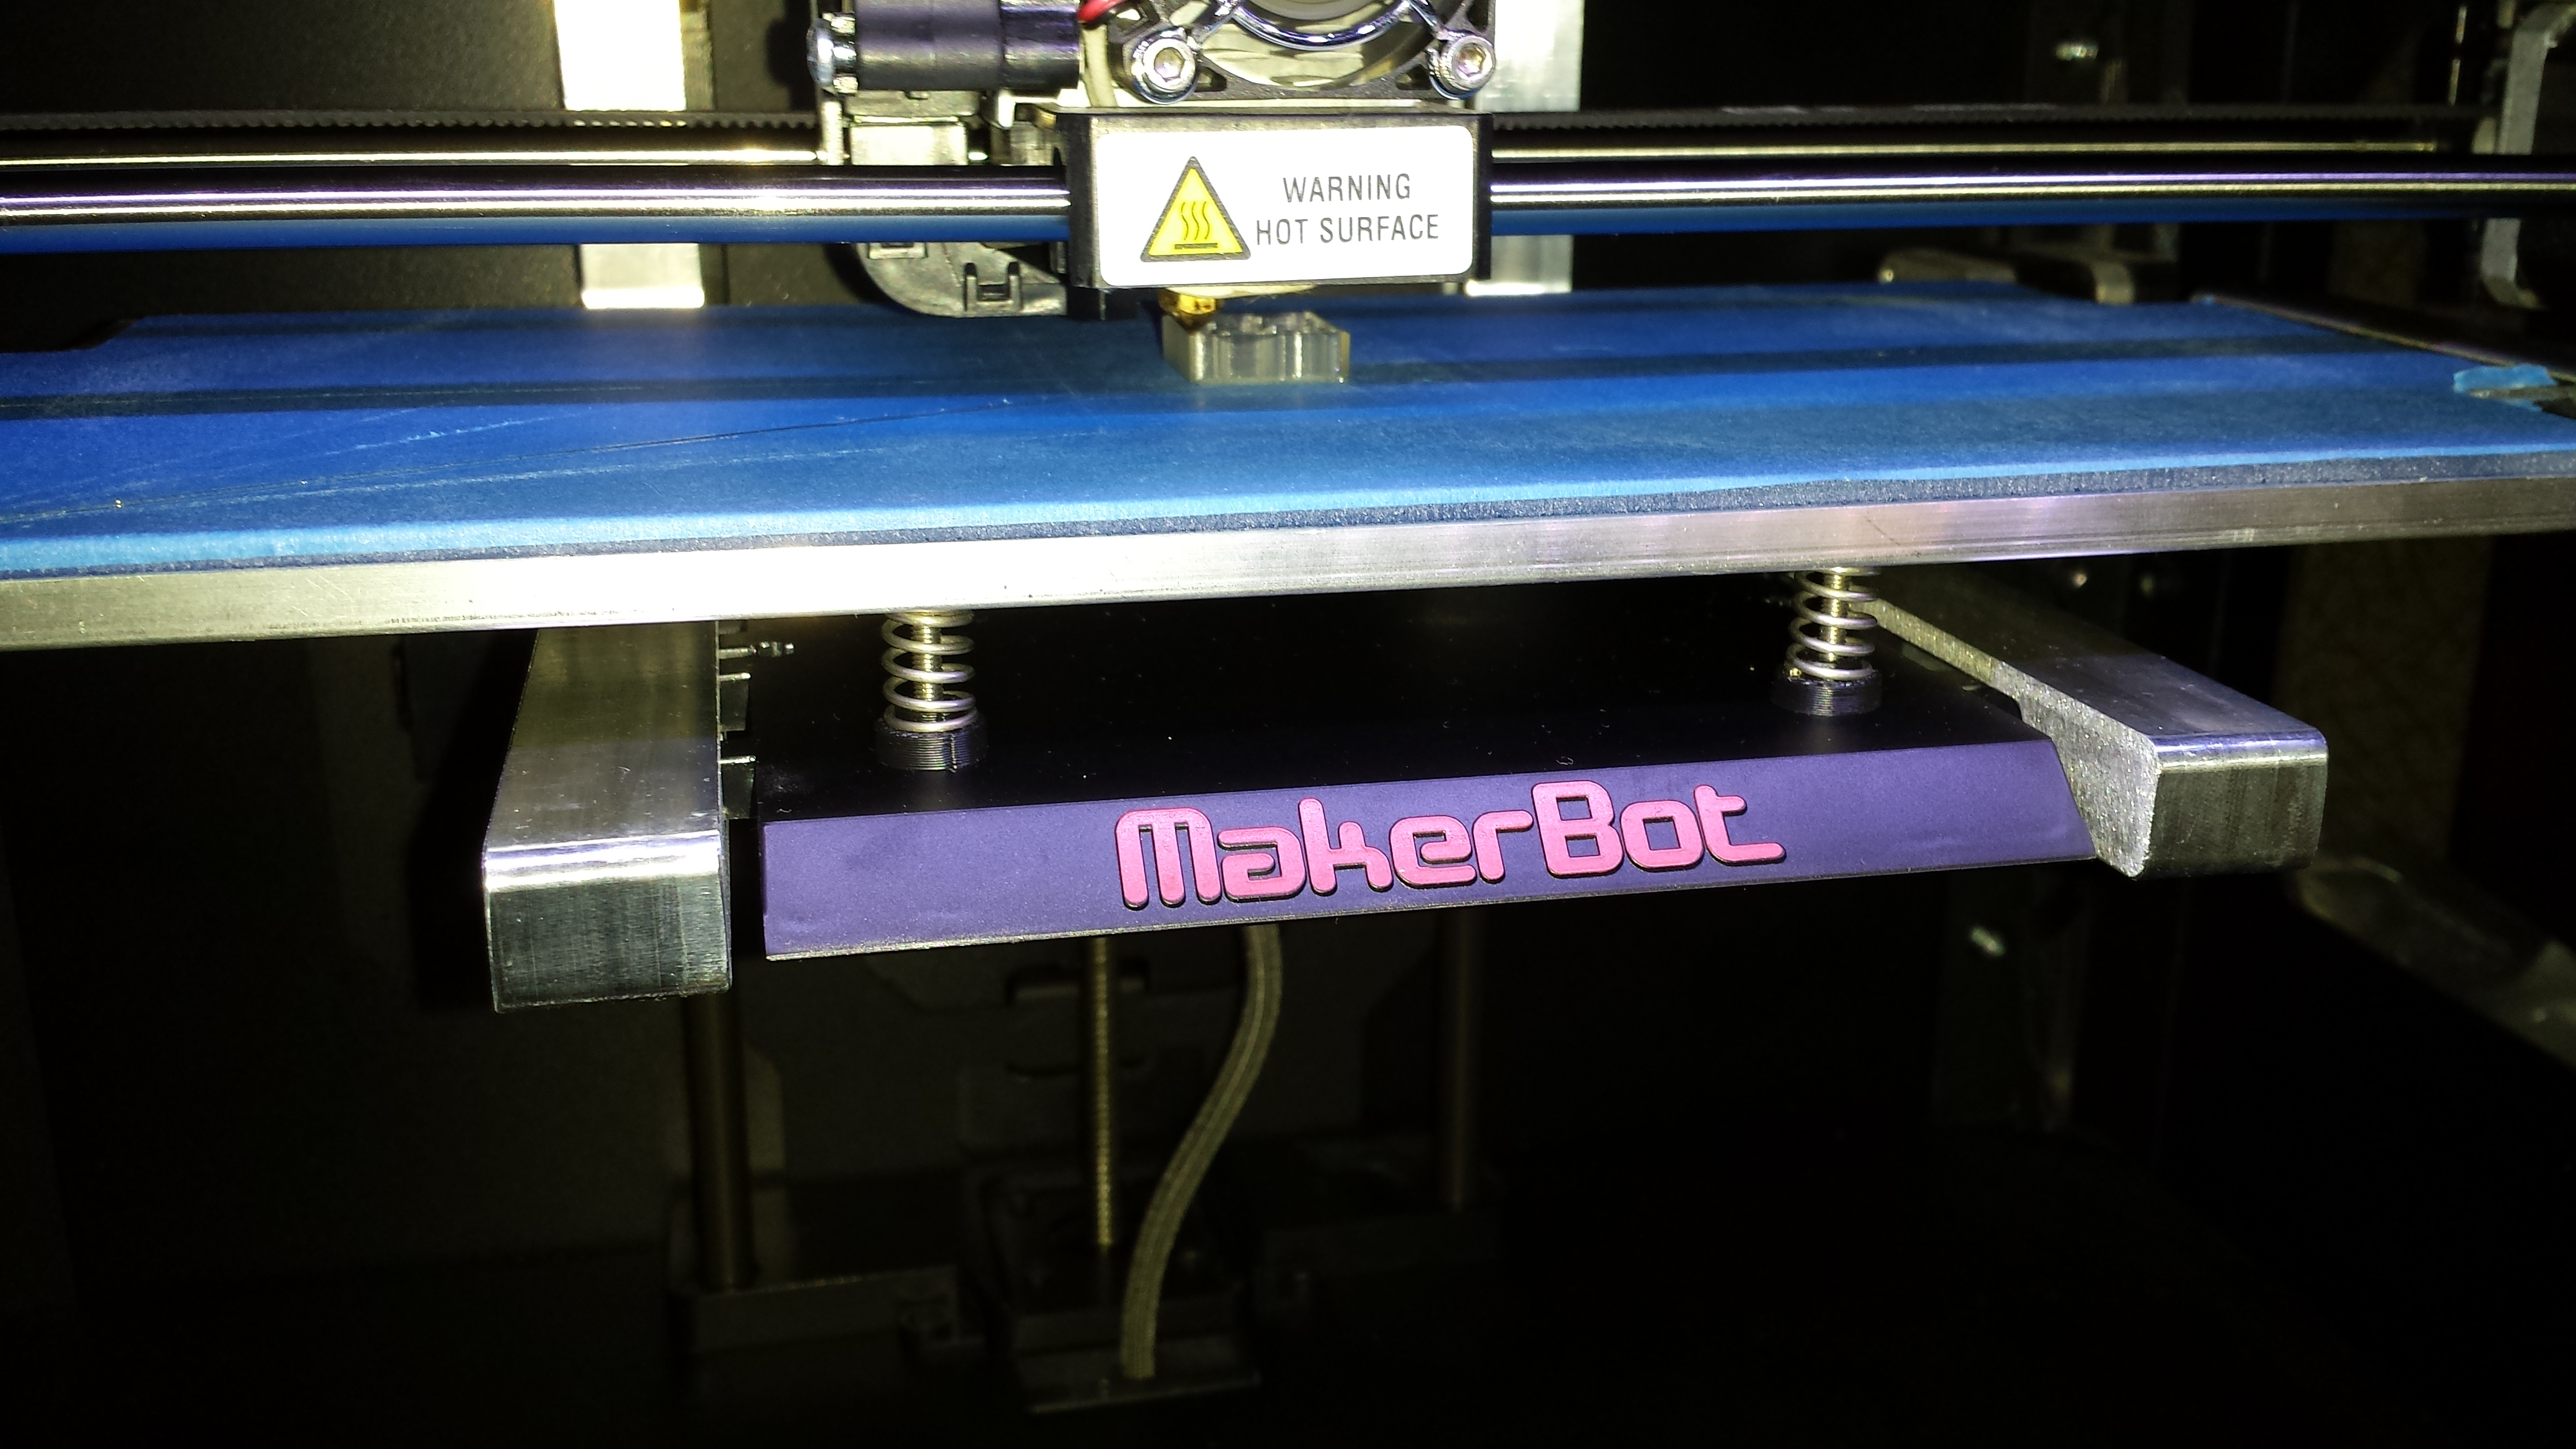
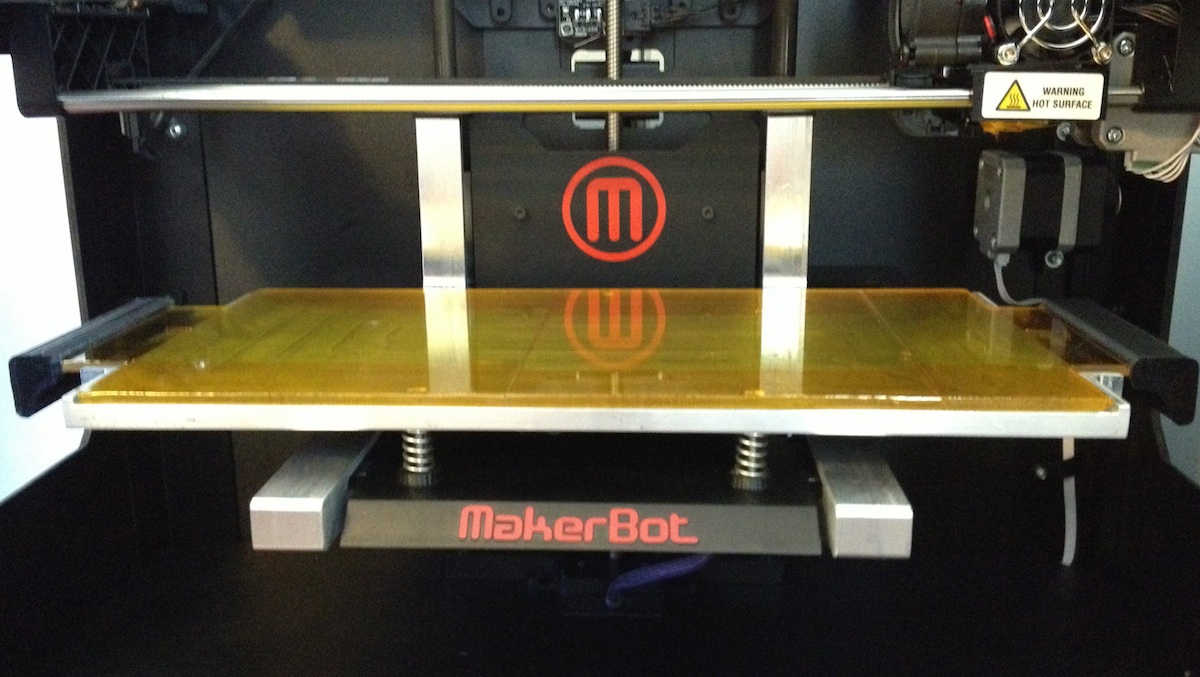
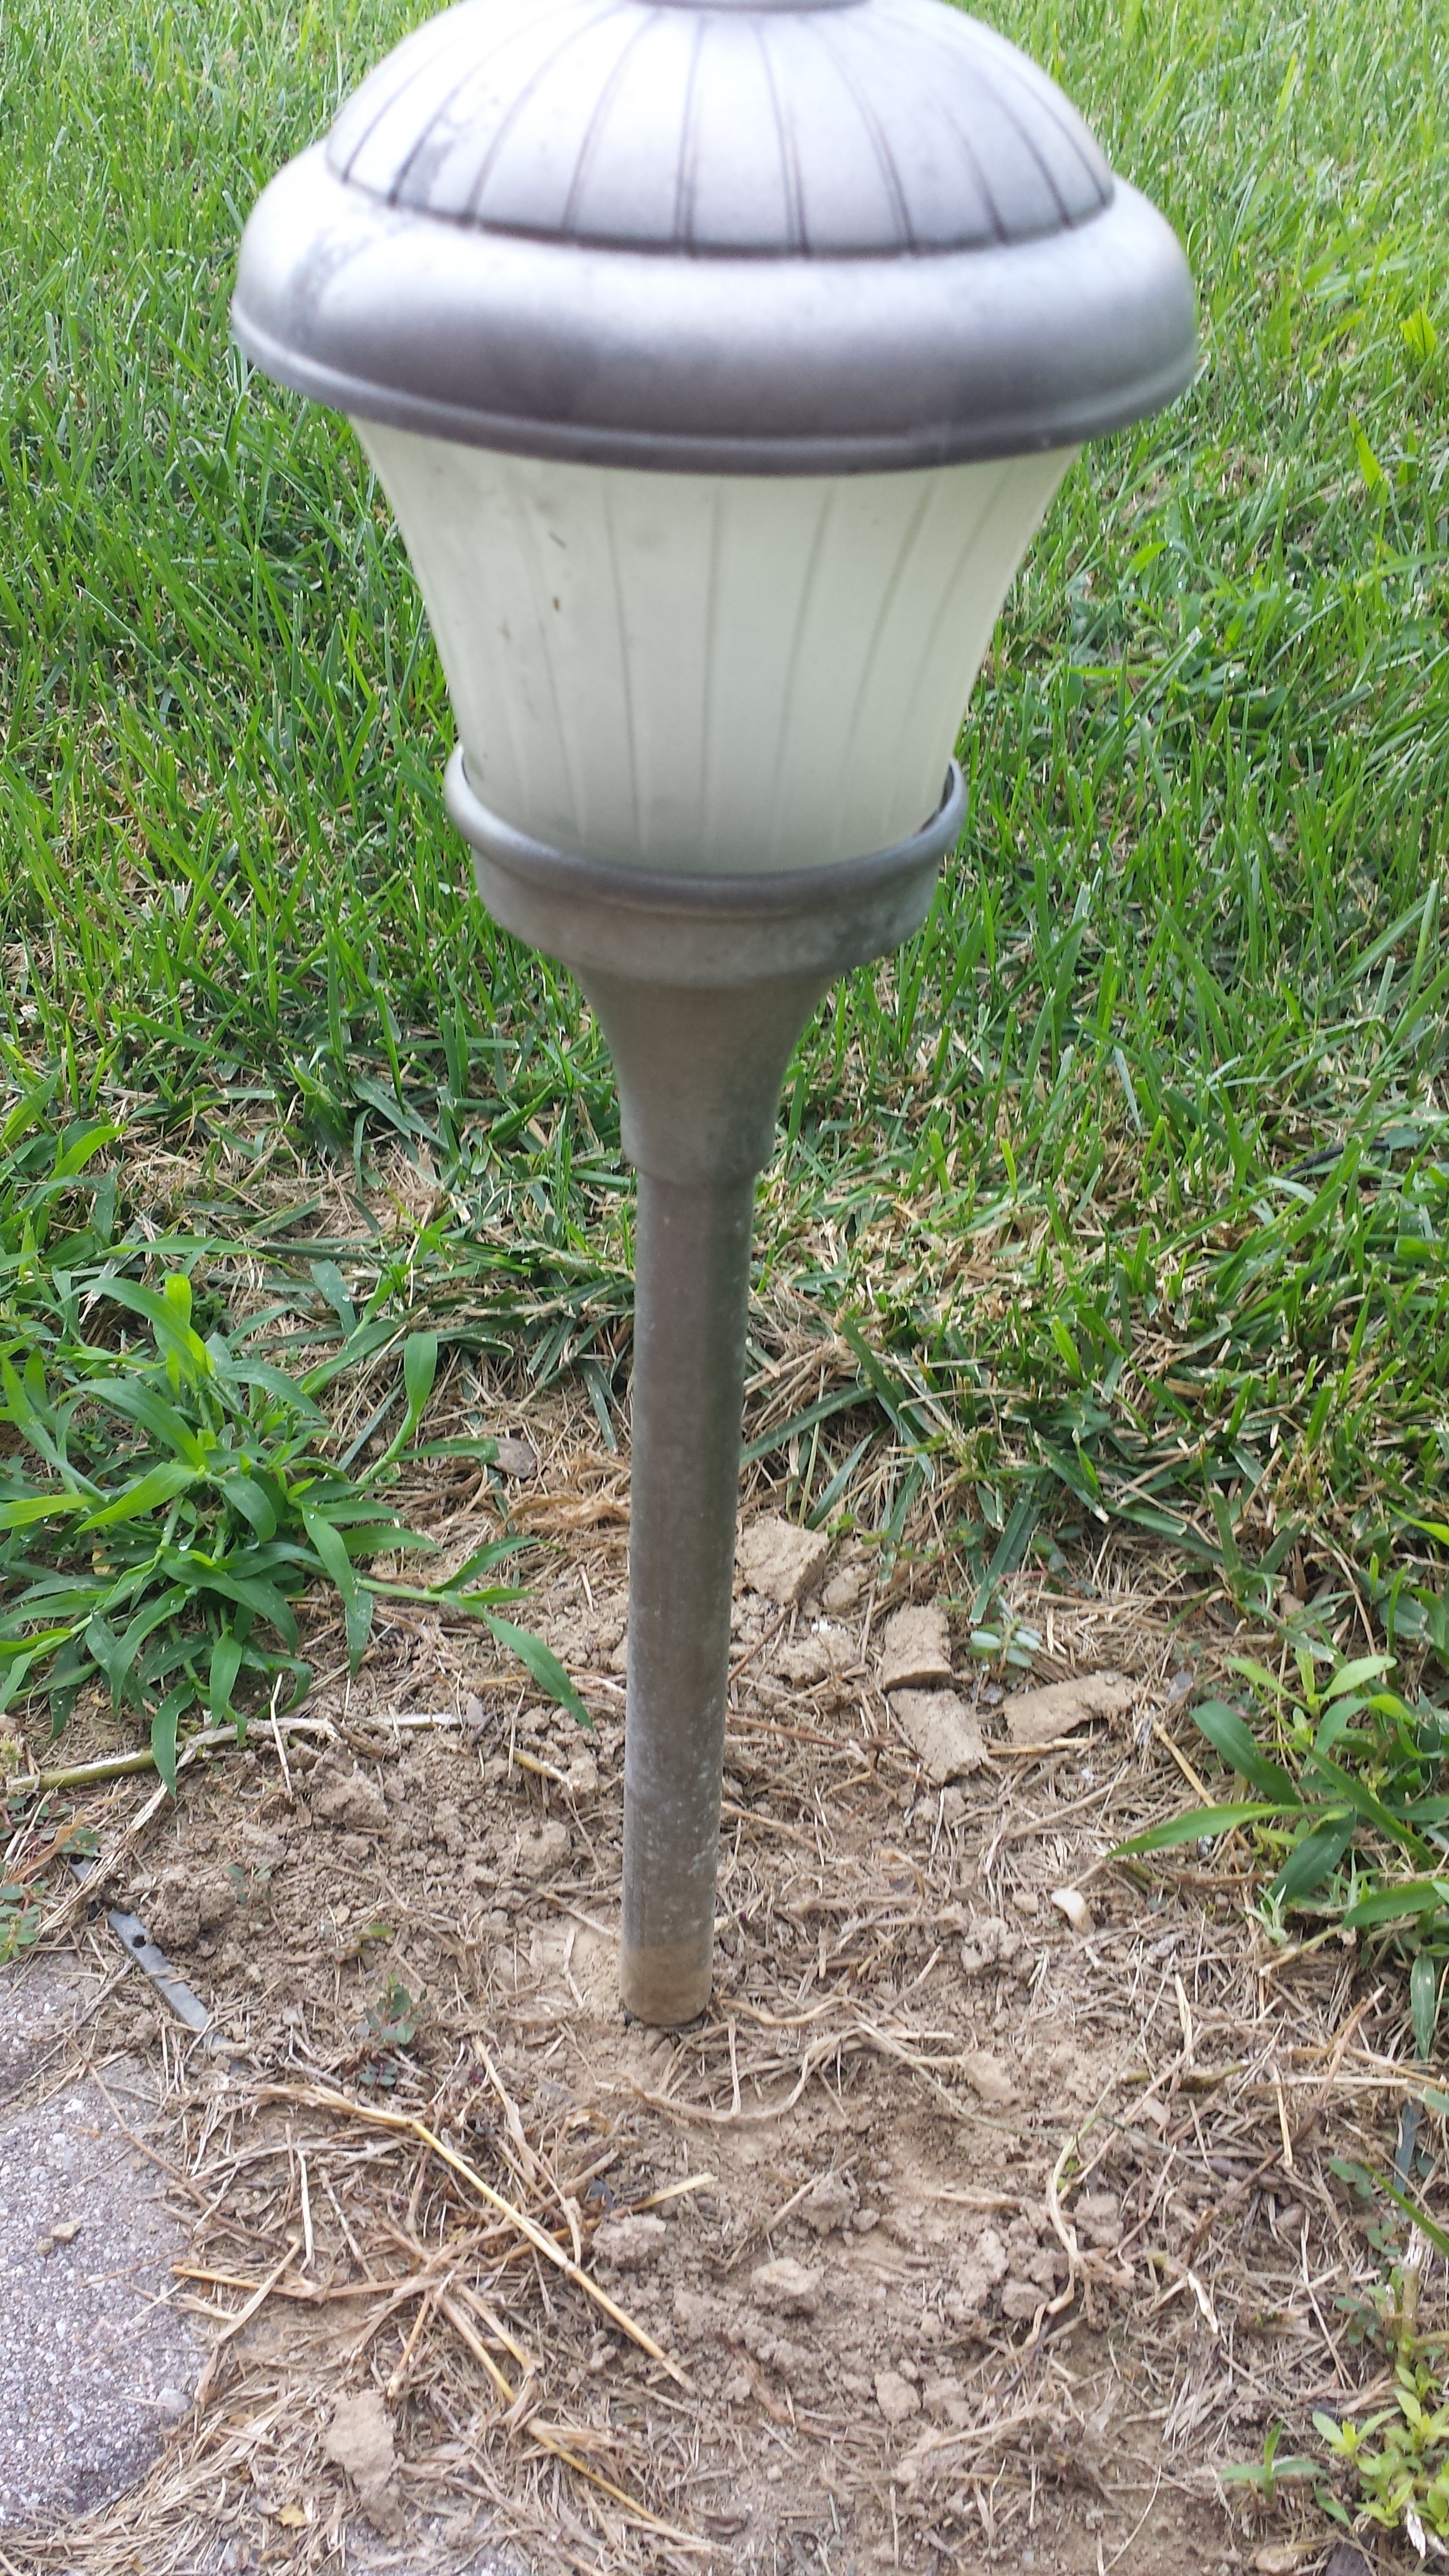
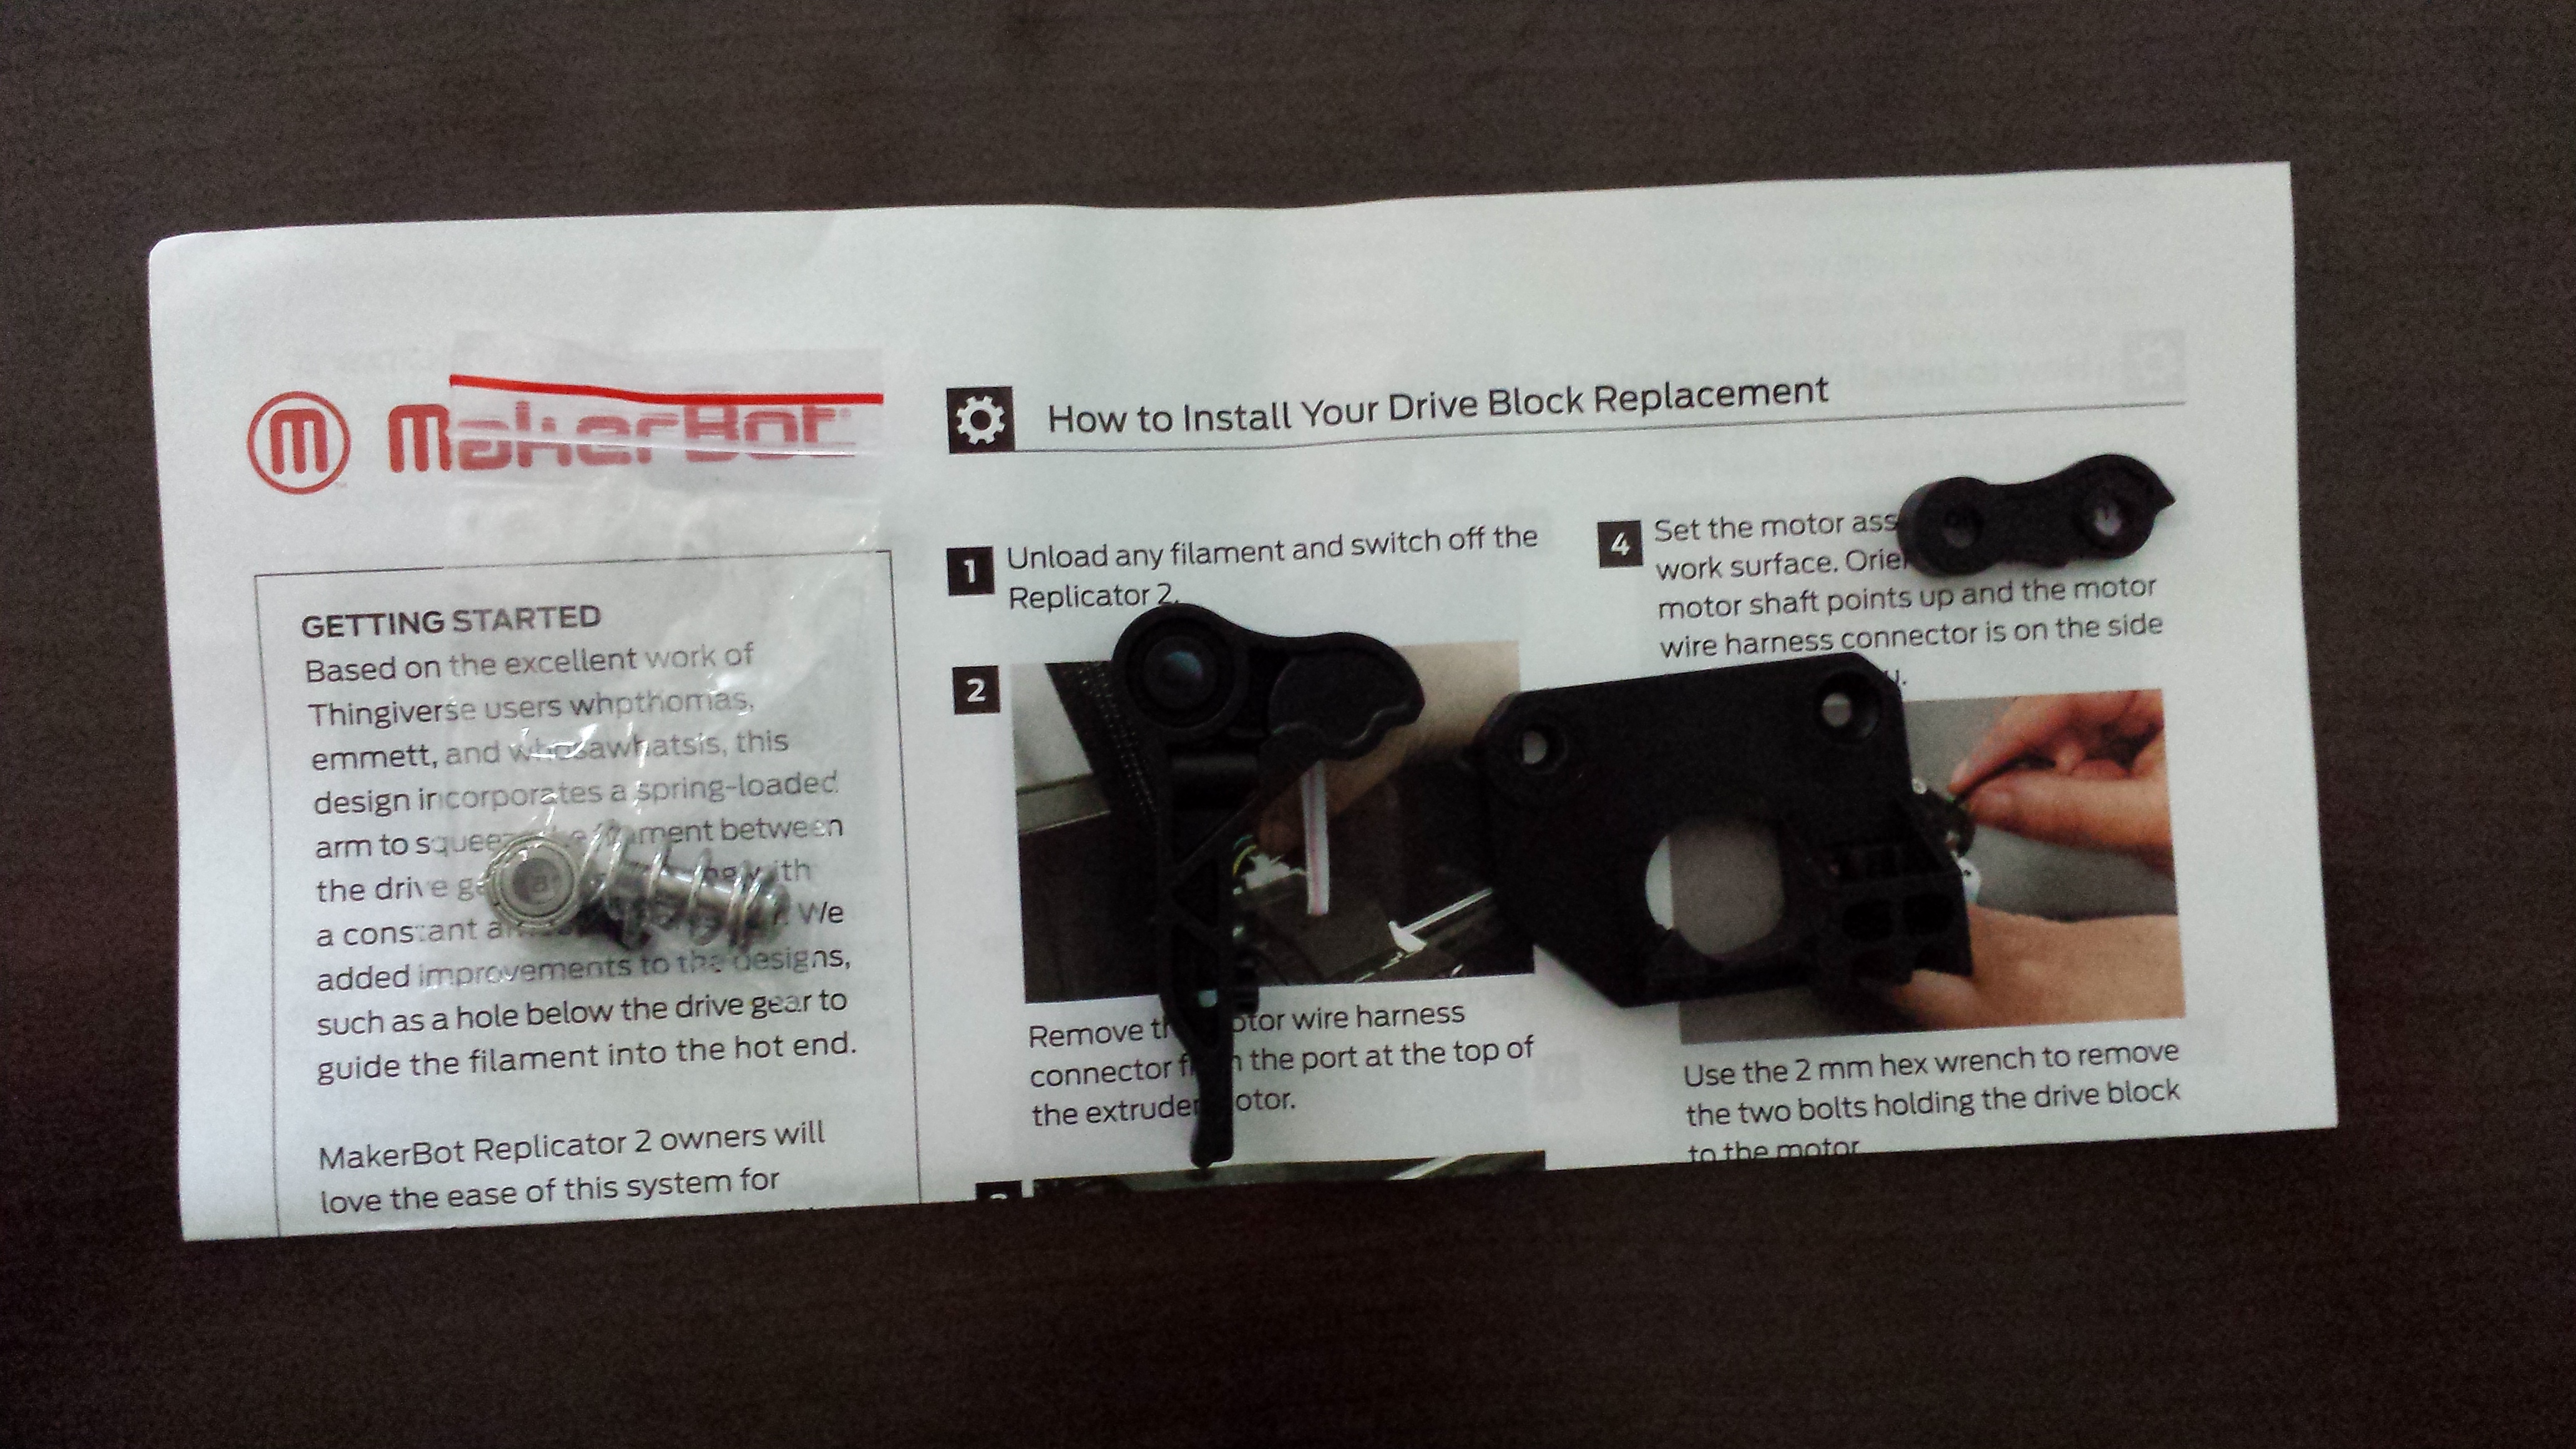
Free upgrade Replicator 2 filament extruder:
I finally received the free upgrade for the Replicator 2 filament extruder after waiting nearly 8 weeks (they said it would be 6). http://store.makerbot.com/extruder-upgrade.html?utm_source=MakerBot+Customers&utm_campaign=43f102128a-Replicator_2_Extruder_Upgrade_5_14_2013&utm_medium=email&utm_term=0_2a6be7f082-43f102128a-407817429
The installation was quite easy and it is working great. I have printed 3 pi cases with the new parts and everything is working fine so far.
More work from makexyz:
I got a few more orders from makexyz. This seems to be working out fine. I have made a few buck from these jobs but nothing to write home about. I never really thought I would make the big buck doing this and I only expected to supplement the cost of the printer. Any money I can get back for my investment is fine by me. Plus I enjoy doing the work (not so much the shipping and what not).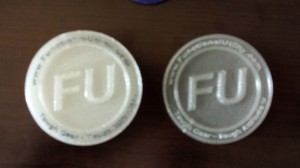
3D printing presentation on youtube:
It’s true I am on youtube http://www.youtube.com/watch?v=rndjCKFOLX4. I have gone 8 years without it happening (to my knowledge) but now I am out there. One of the members of unallocated space took video of my presentation and posted it on youtube. The audio is not spectacular but he did a great job integrating the slides into the video. Everyone said that they enjoyed the presentation. I hope they are not just being nice and someone got something useful out of it, I certainly had fun doing it. Check it out if you are interested.
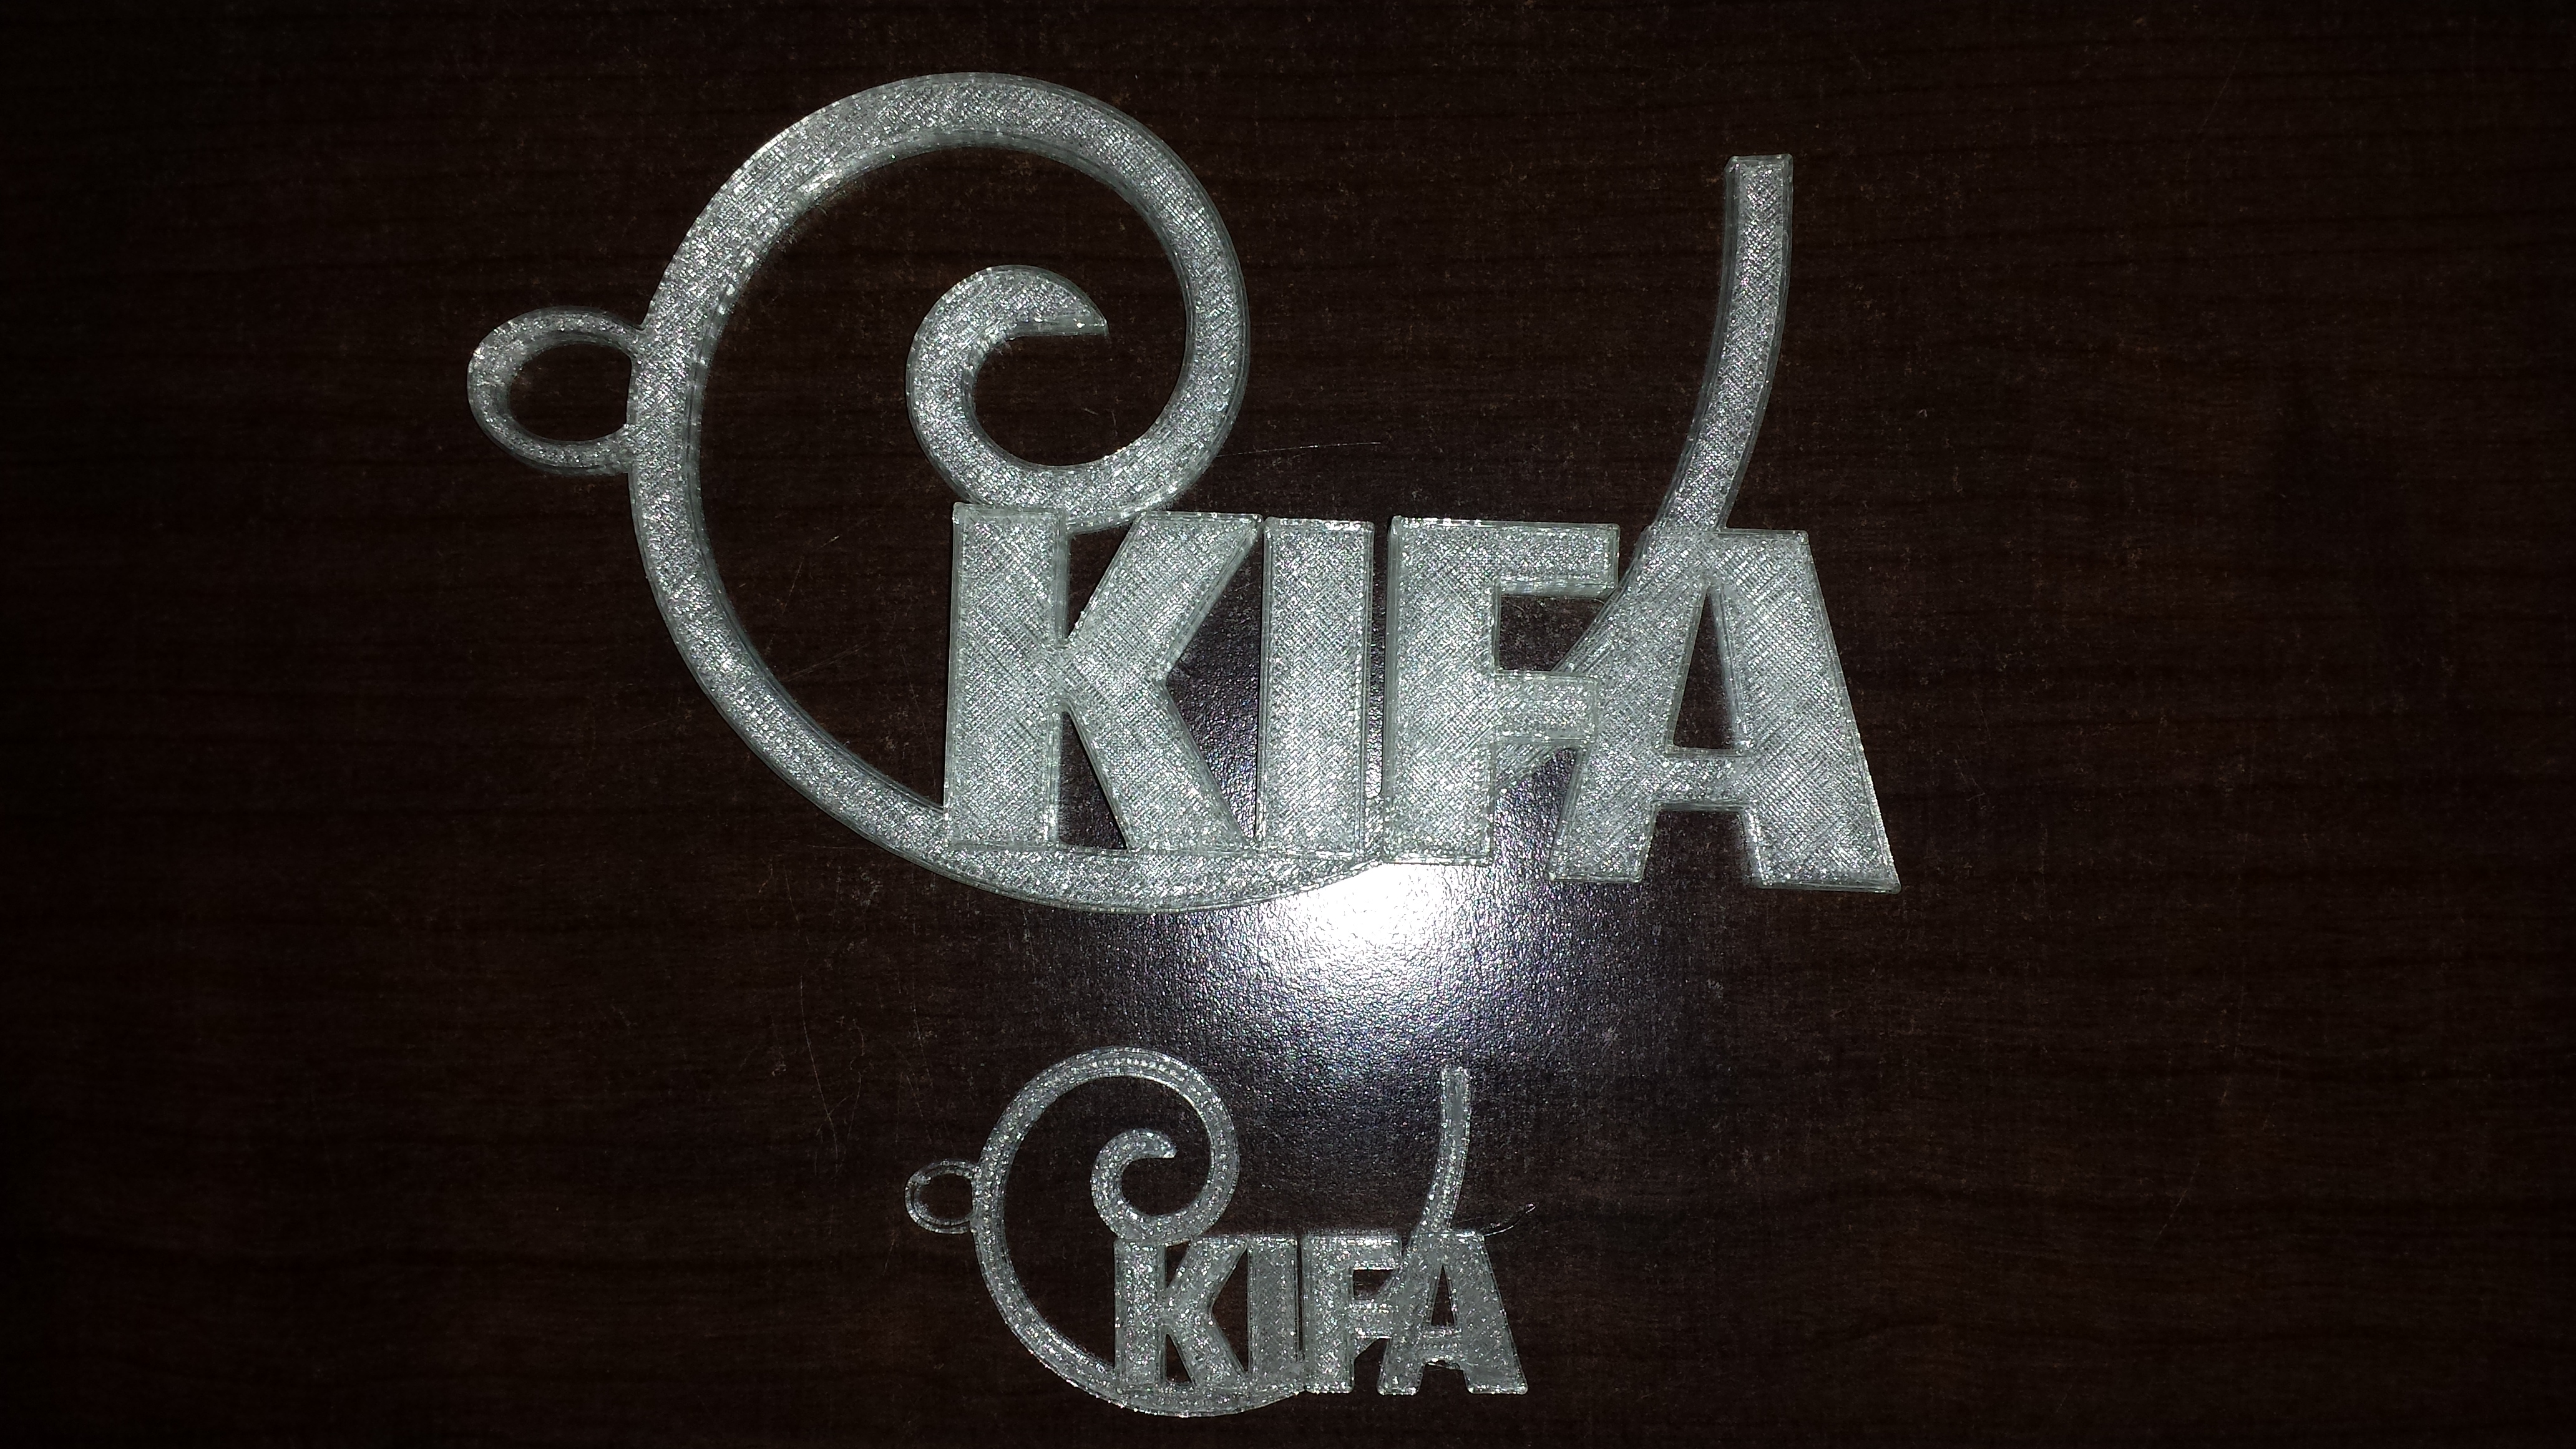
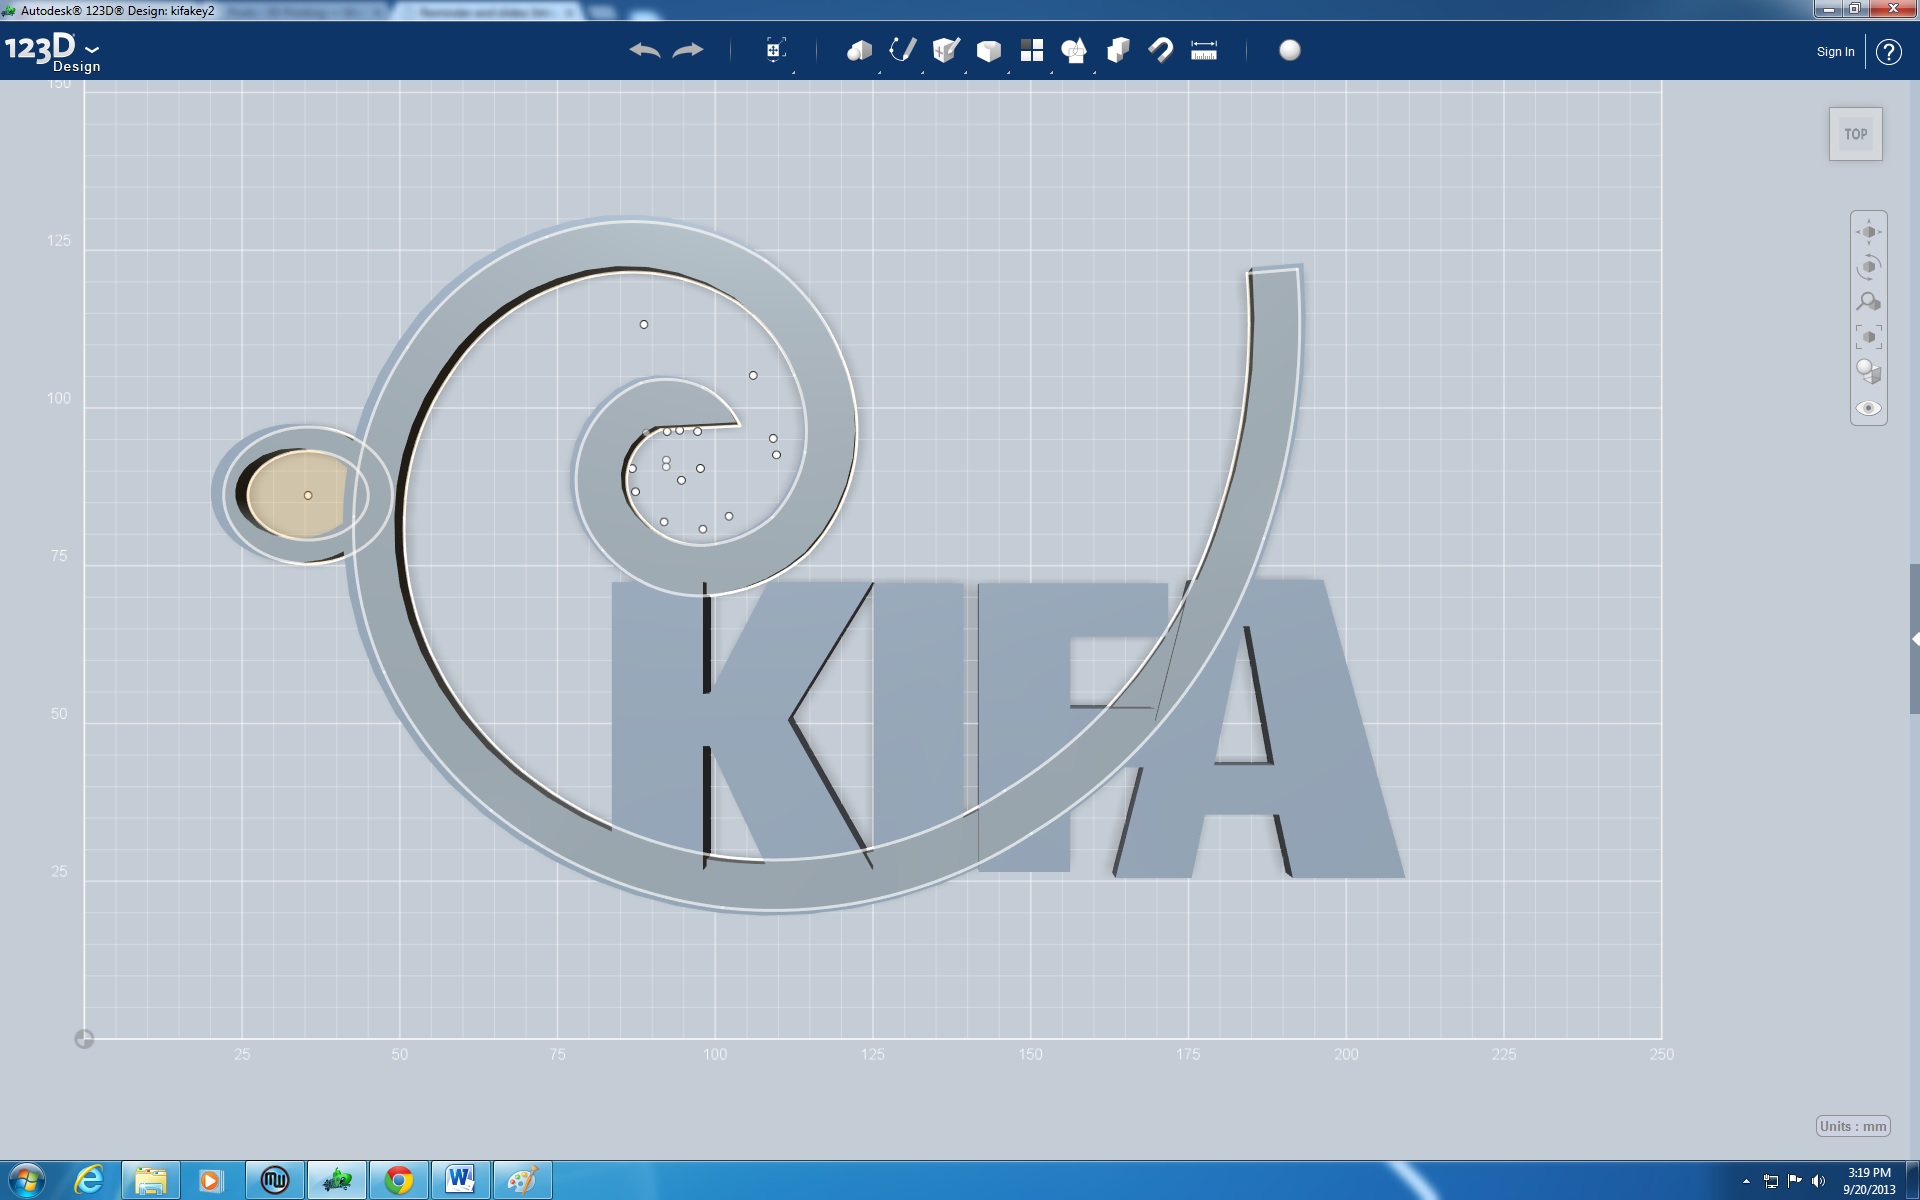
KIFA 3D printing presentation:
I will be giving my presentation on 3D printing again to the Kent Island Federation of Arts at the KI Library on Sep 25, 6:30 PM – 8:30 PM. I am not sure if this is open to the public or not I will try to post back once I figure this out.
Wow this is a long post but that’s what I get for not posting for three weeks.

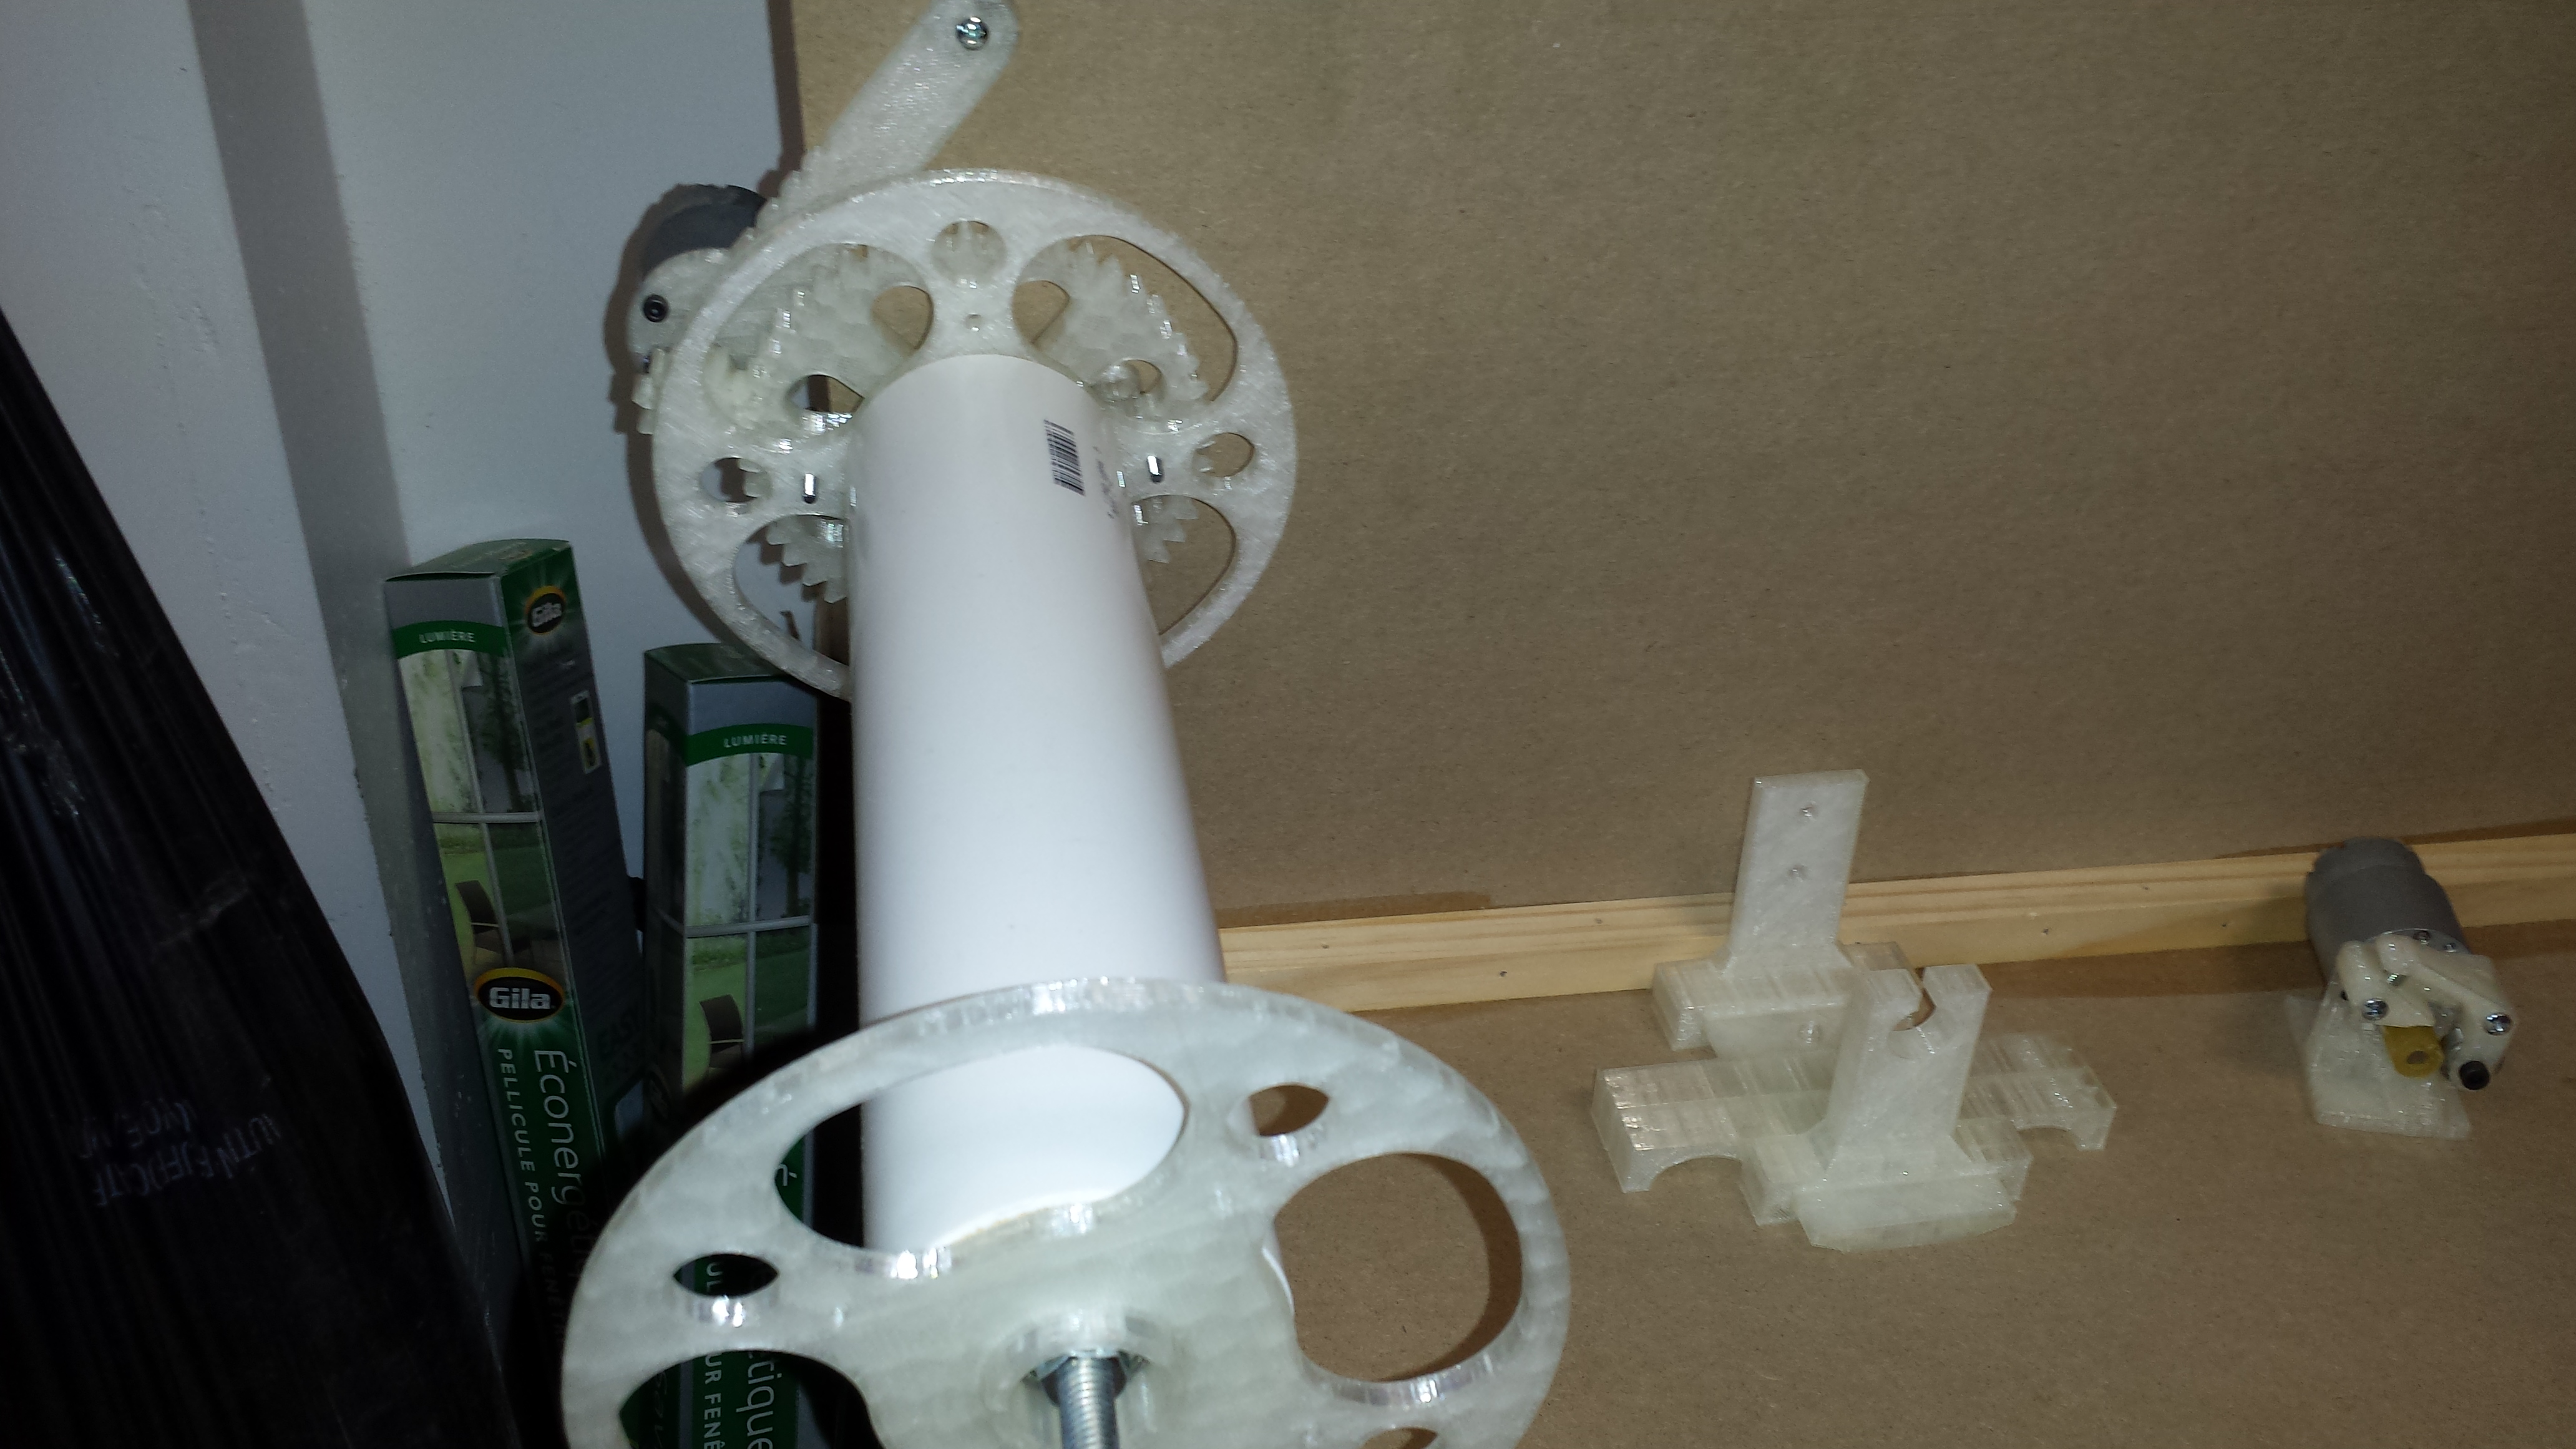
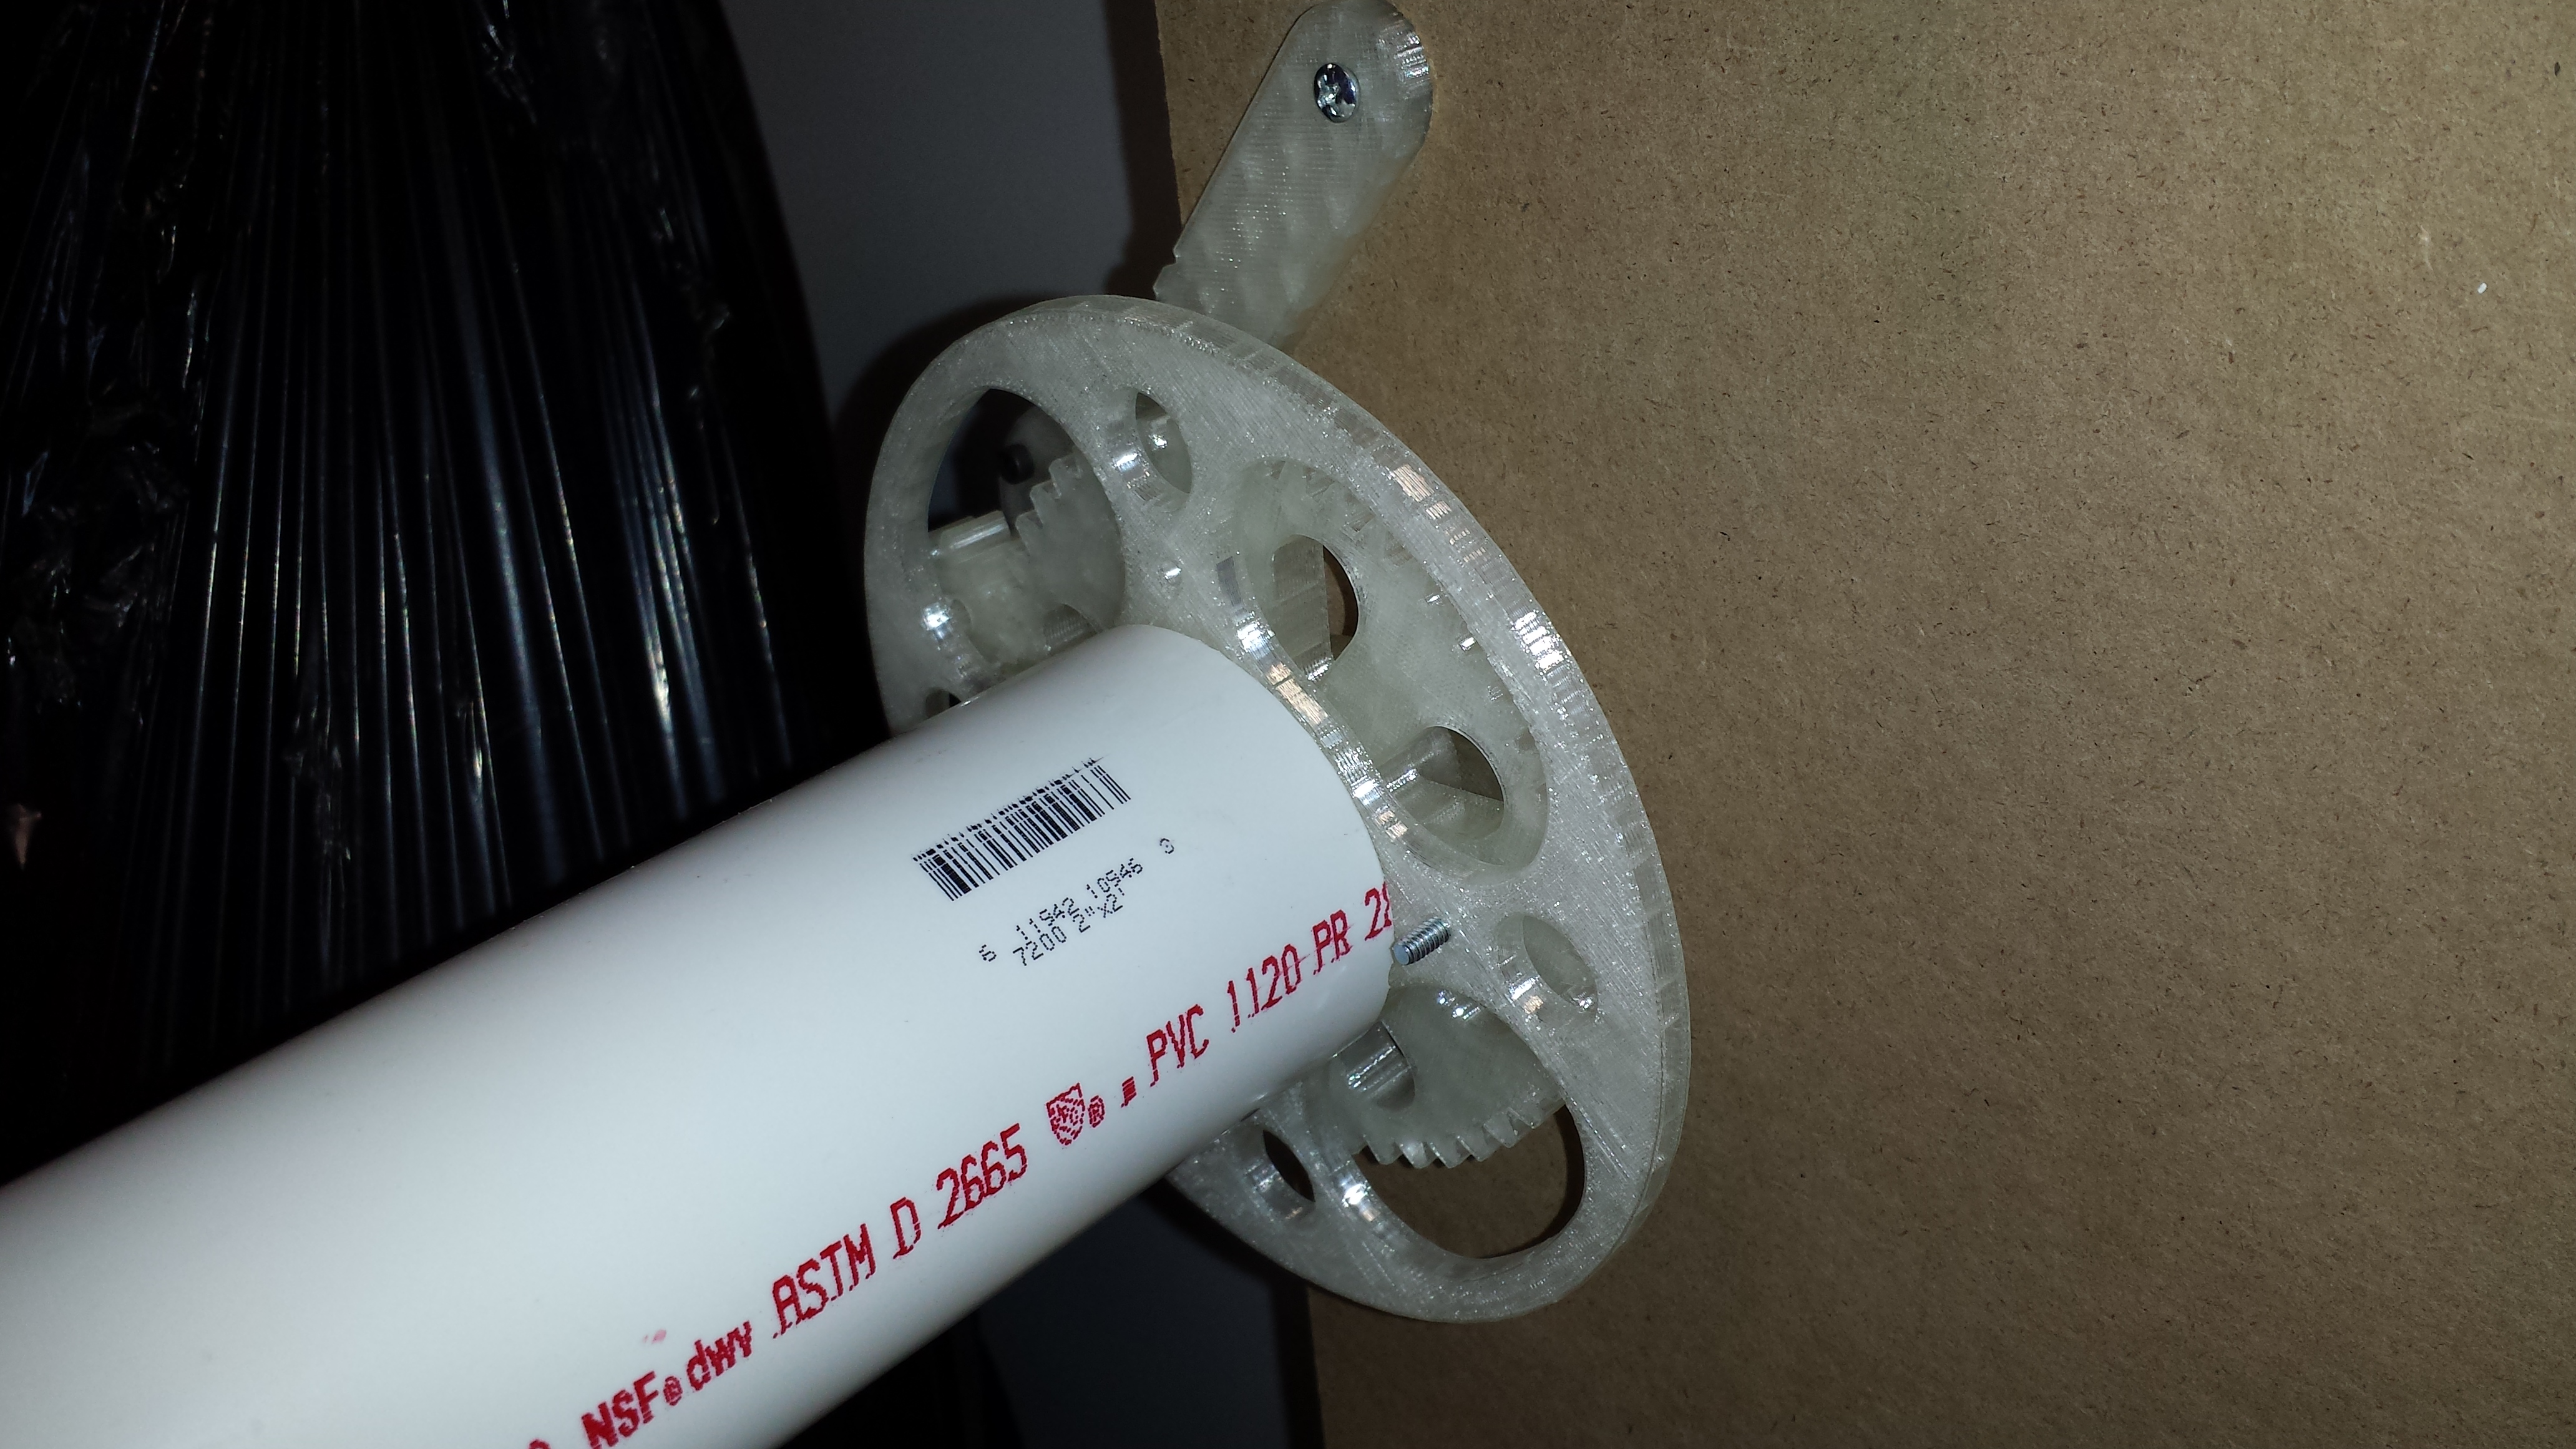
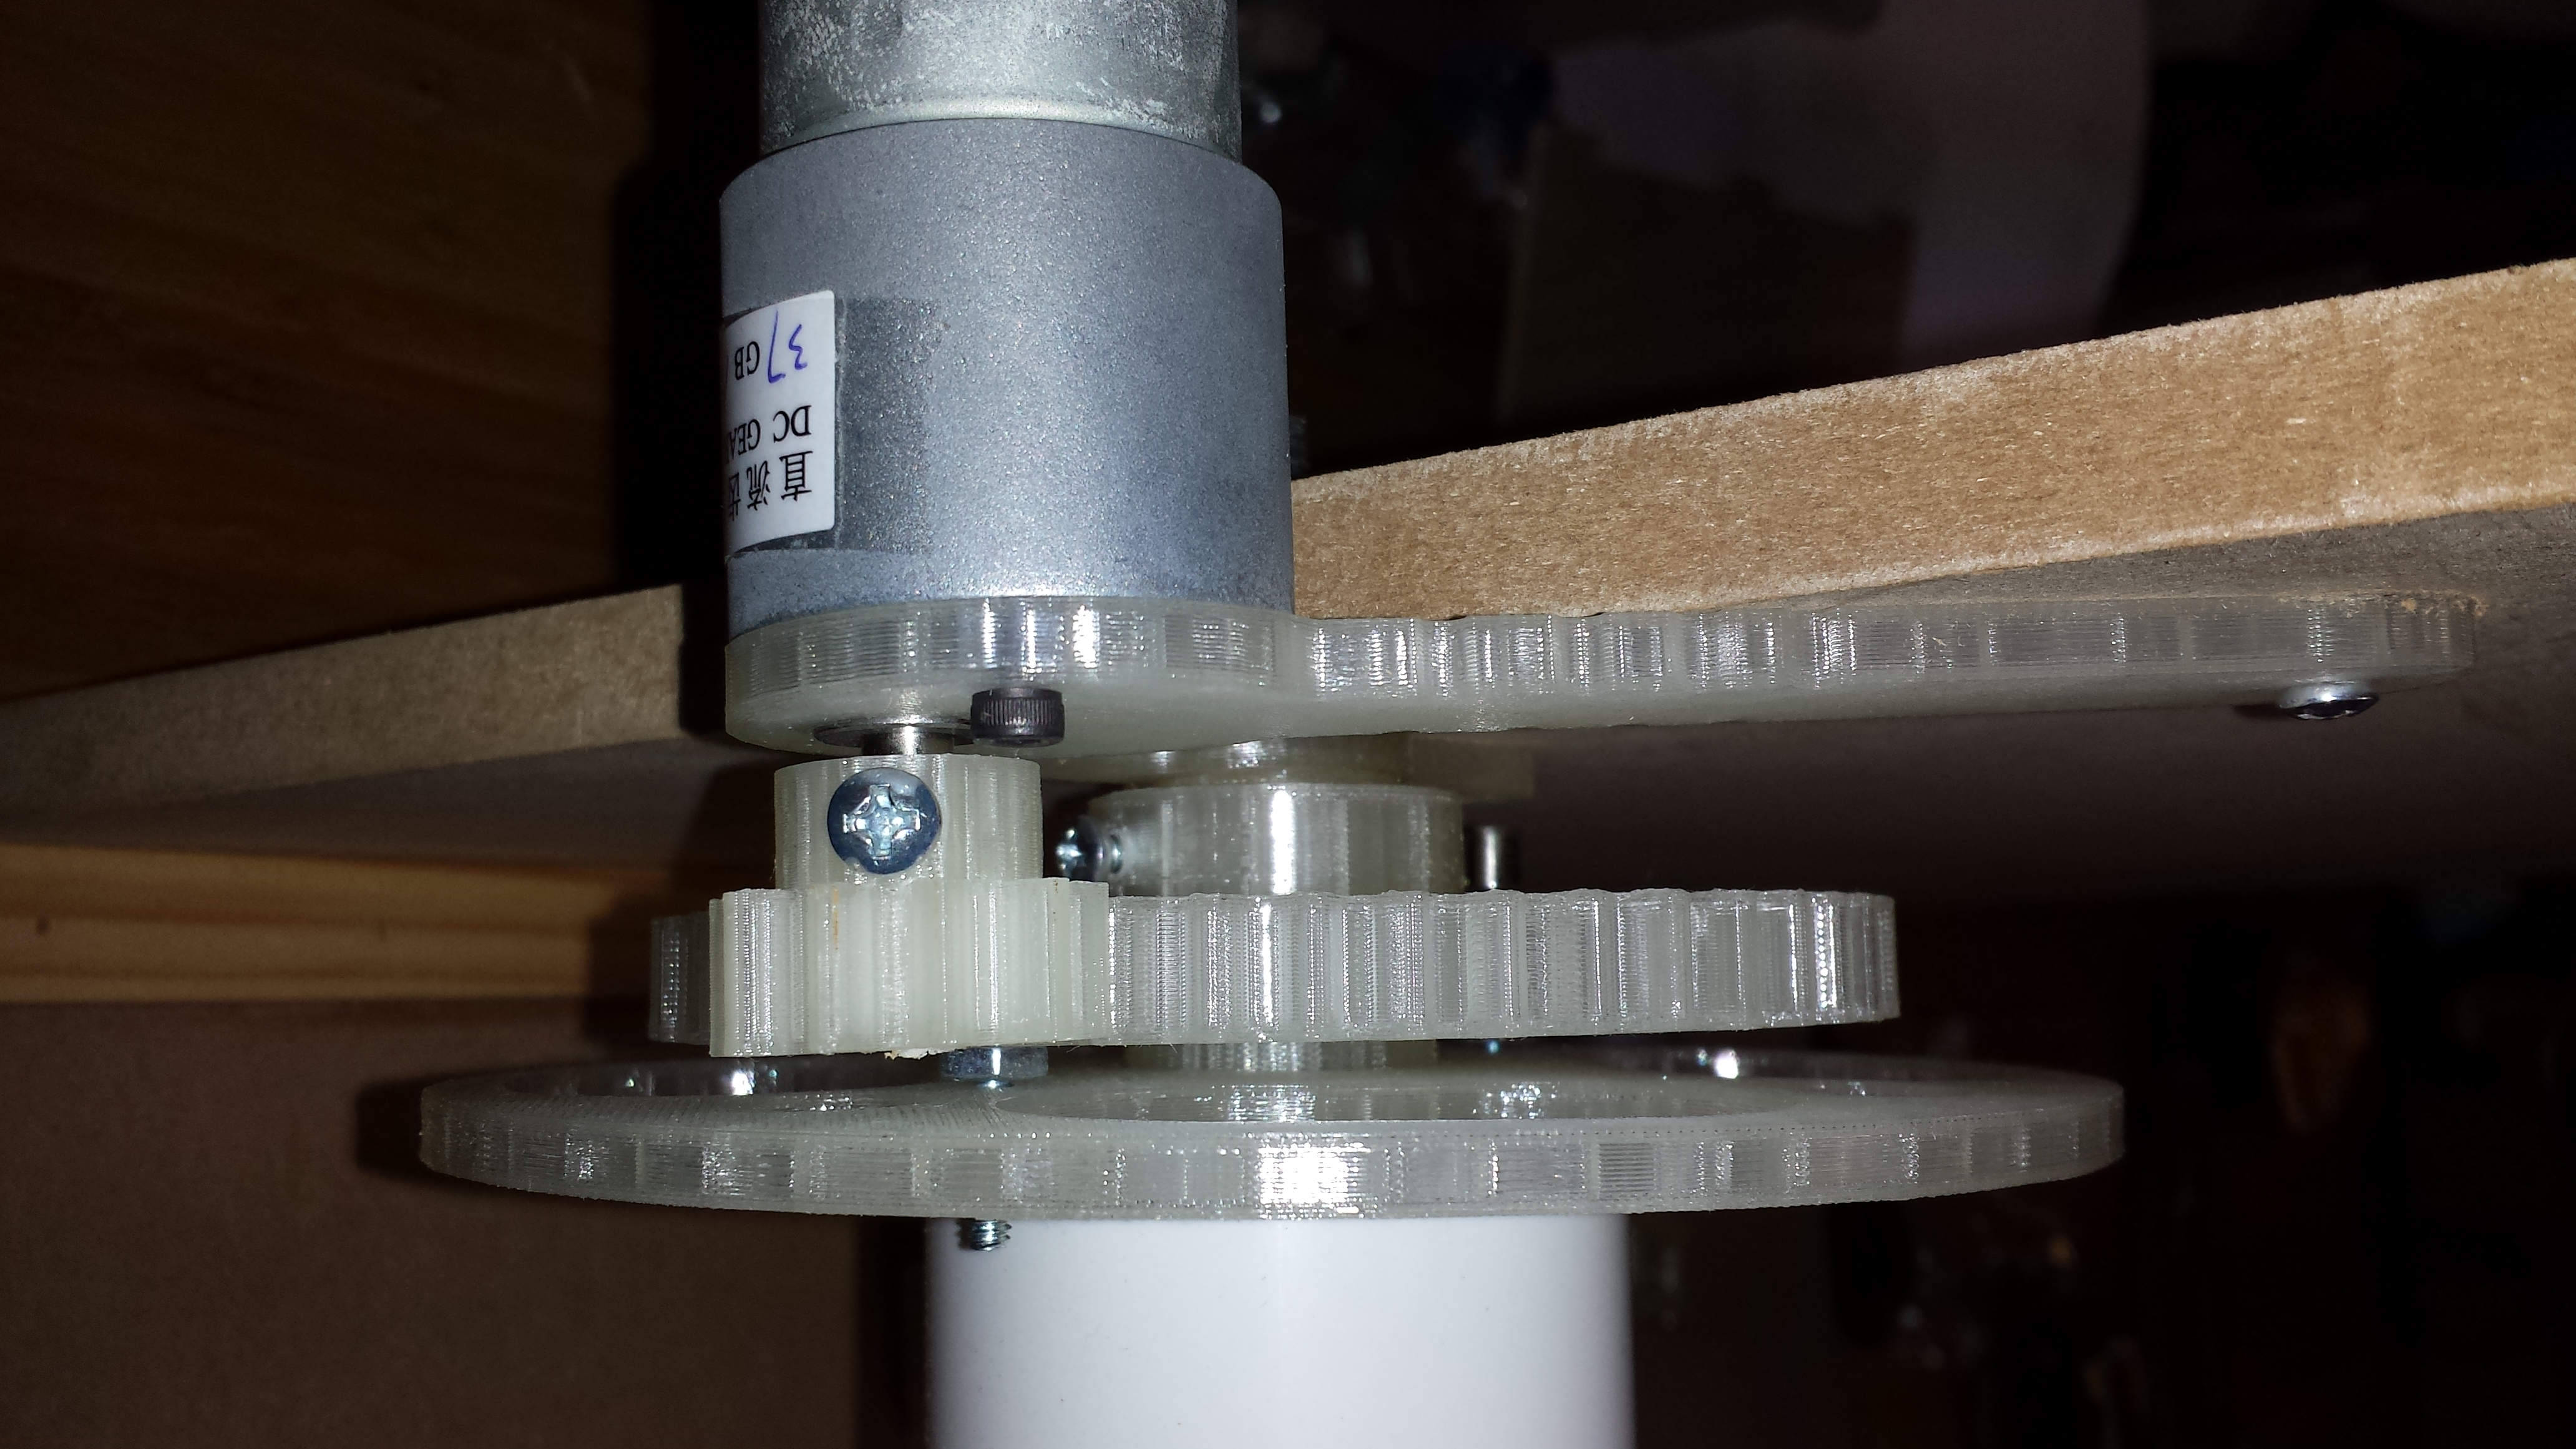
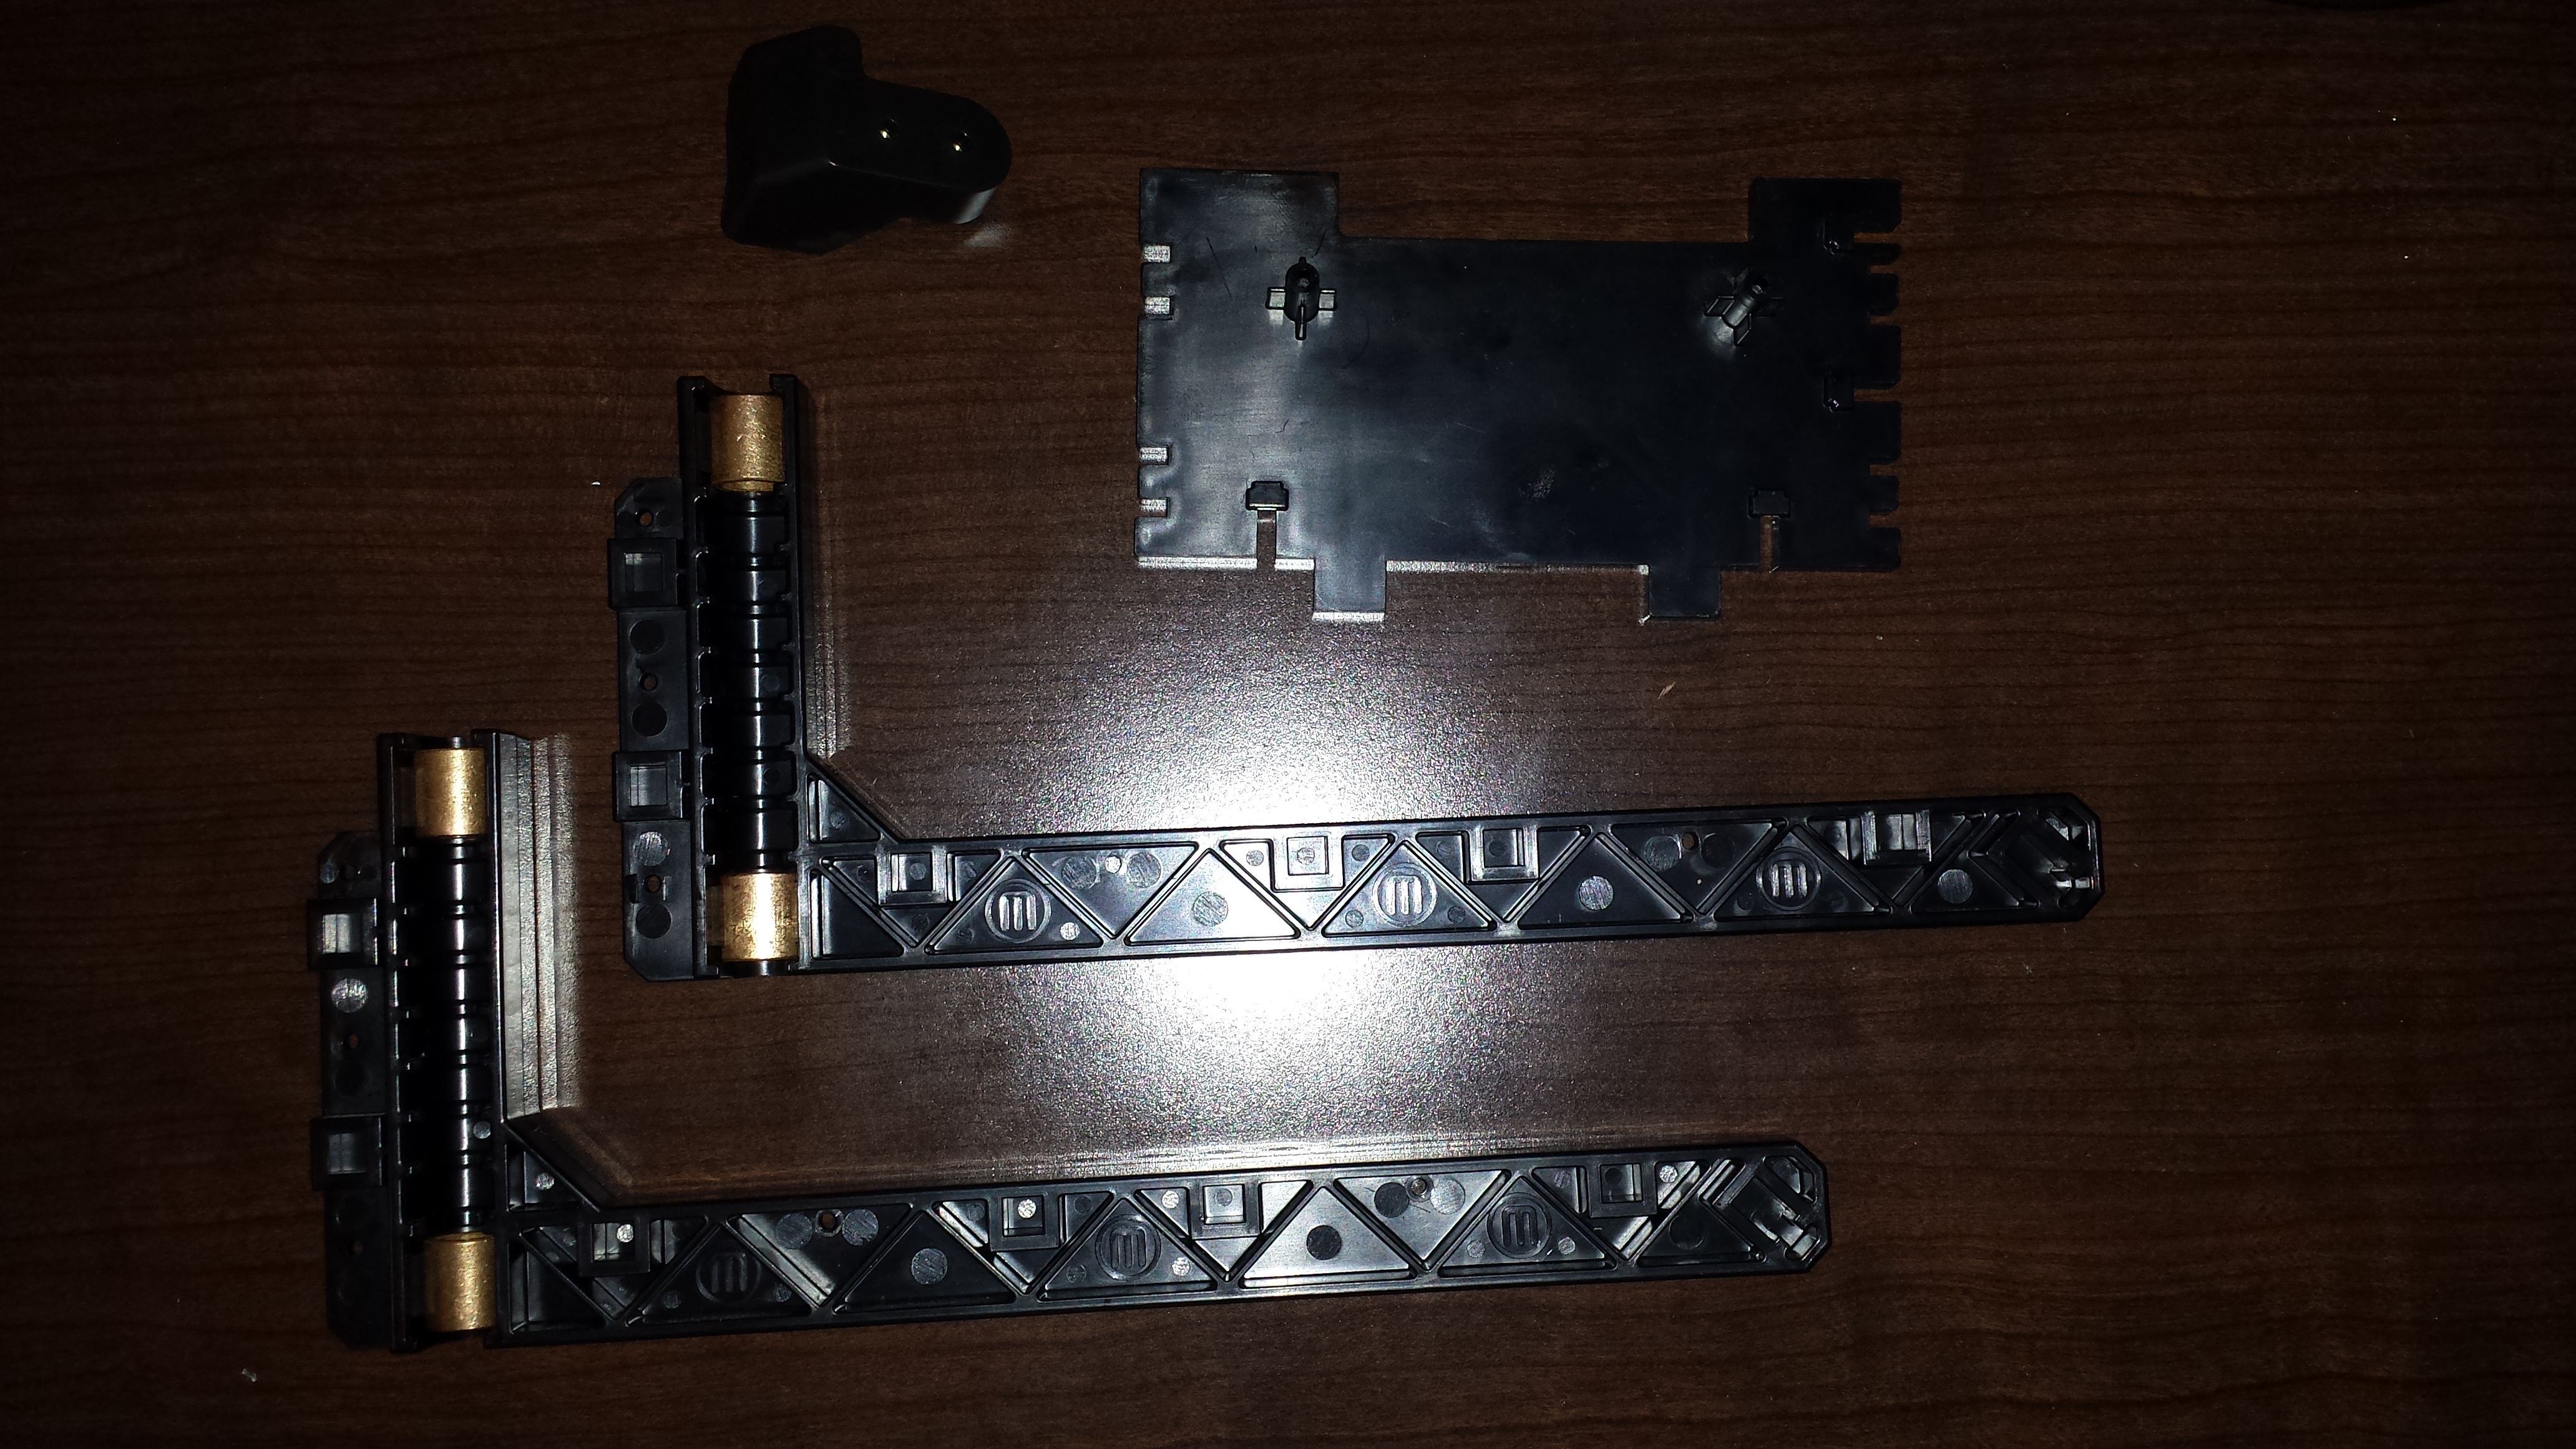
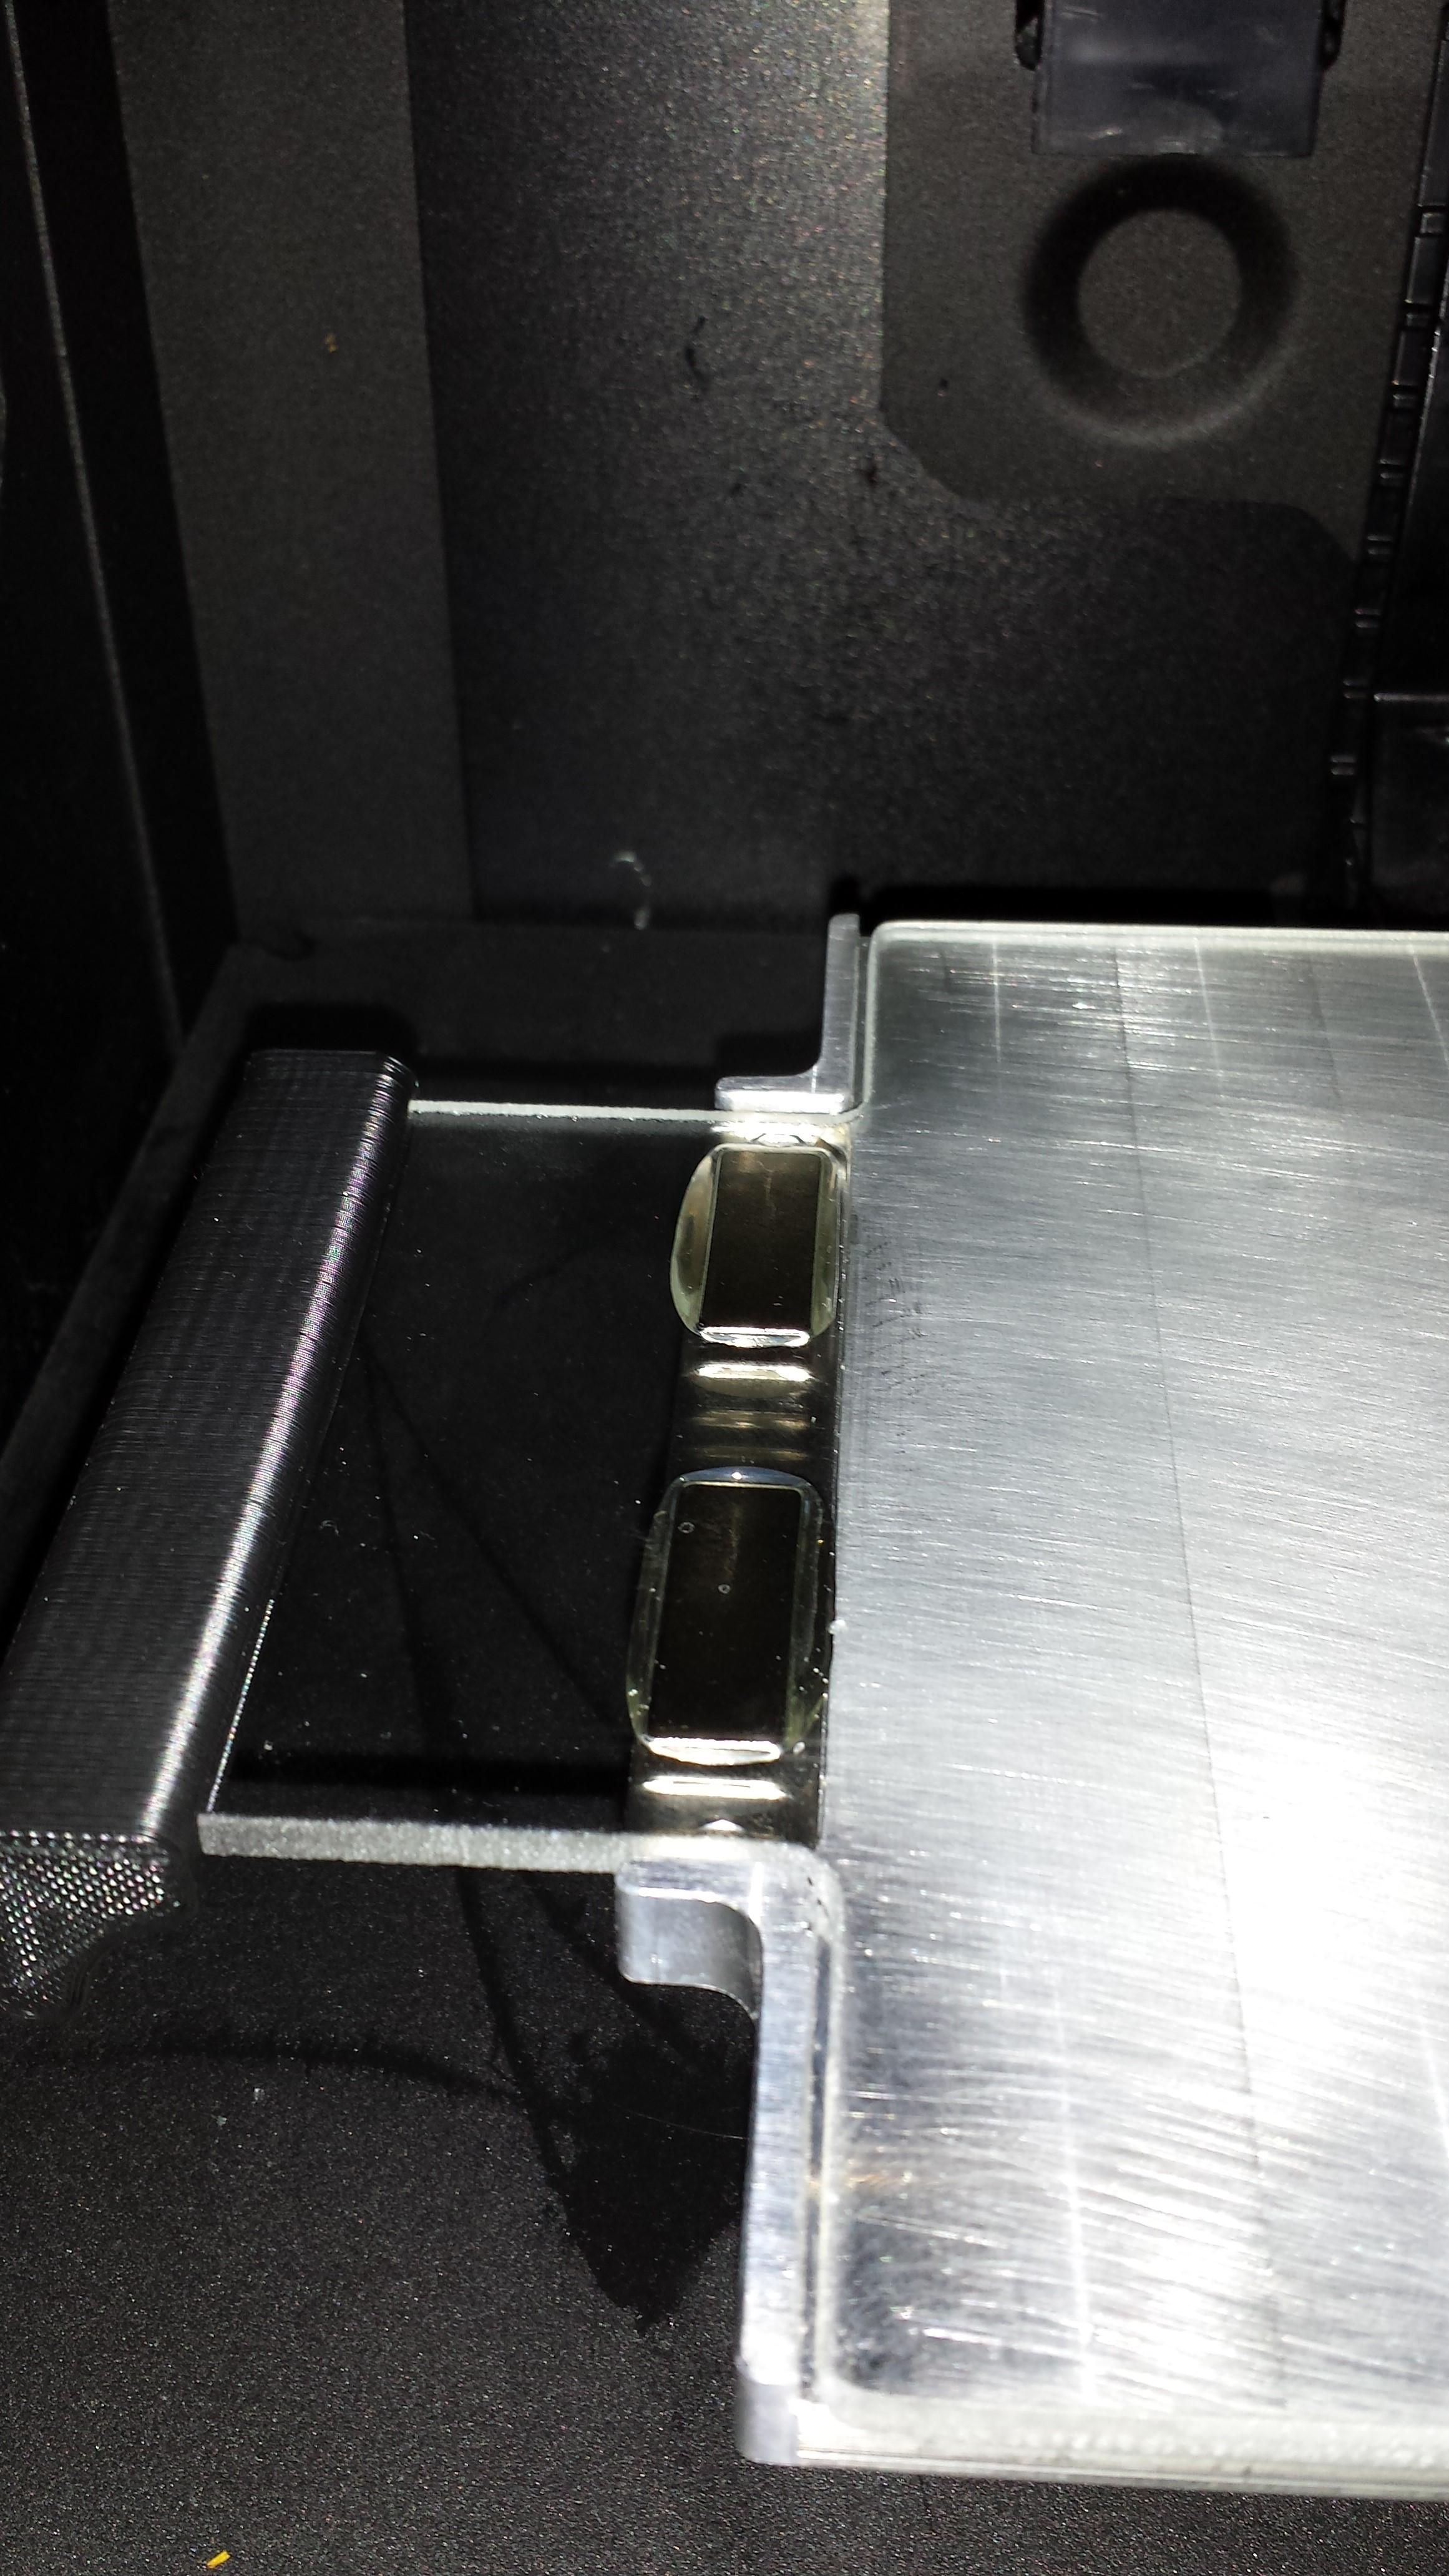
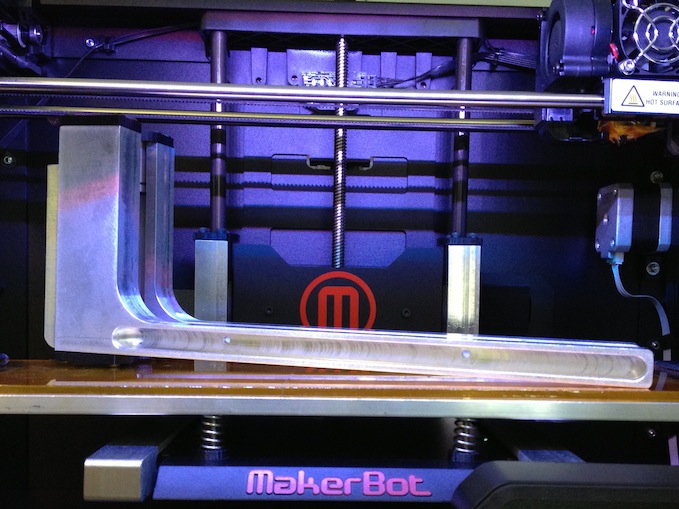
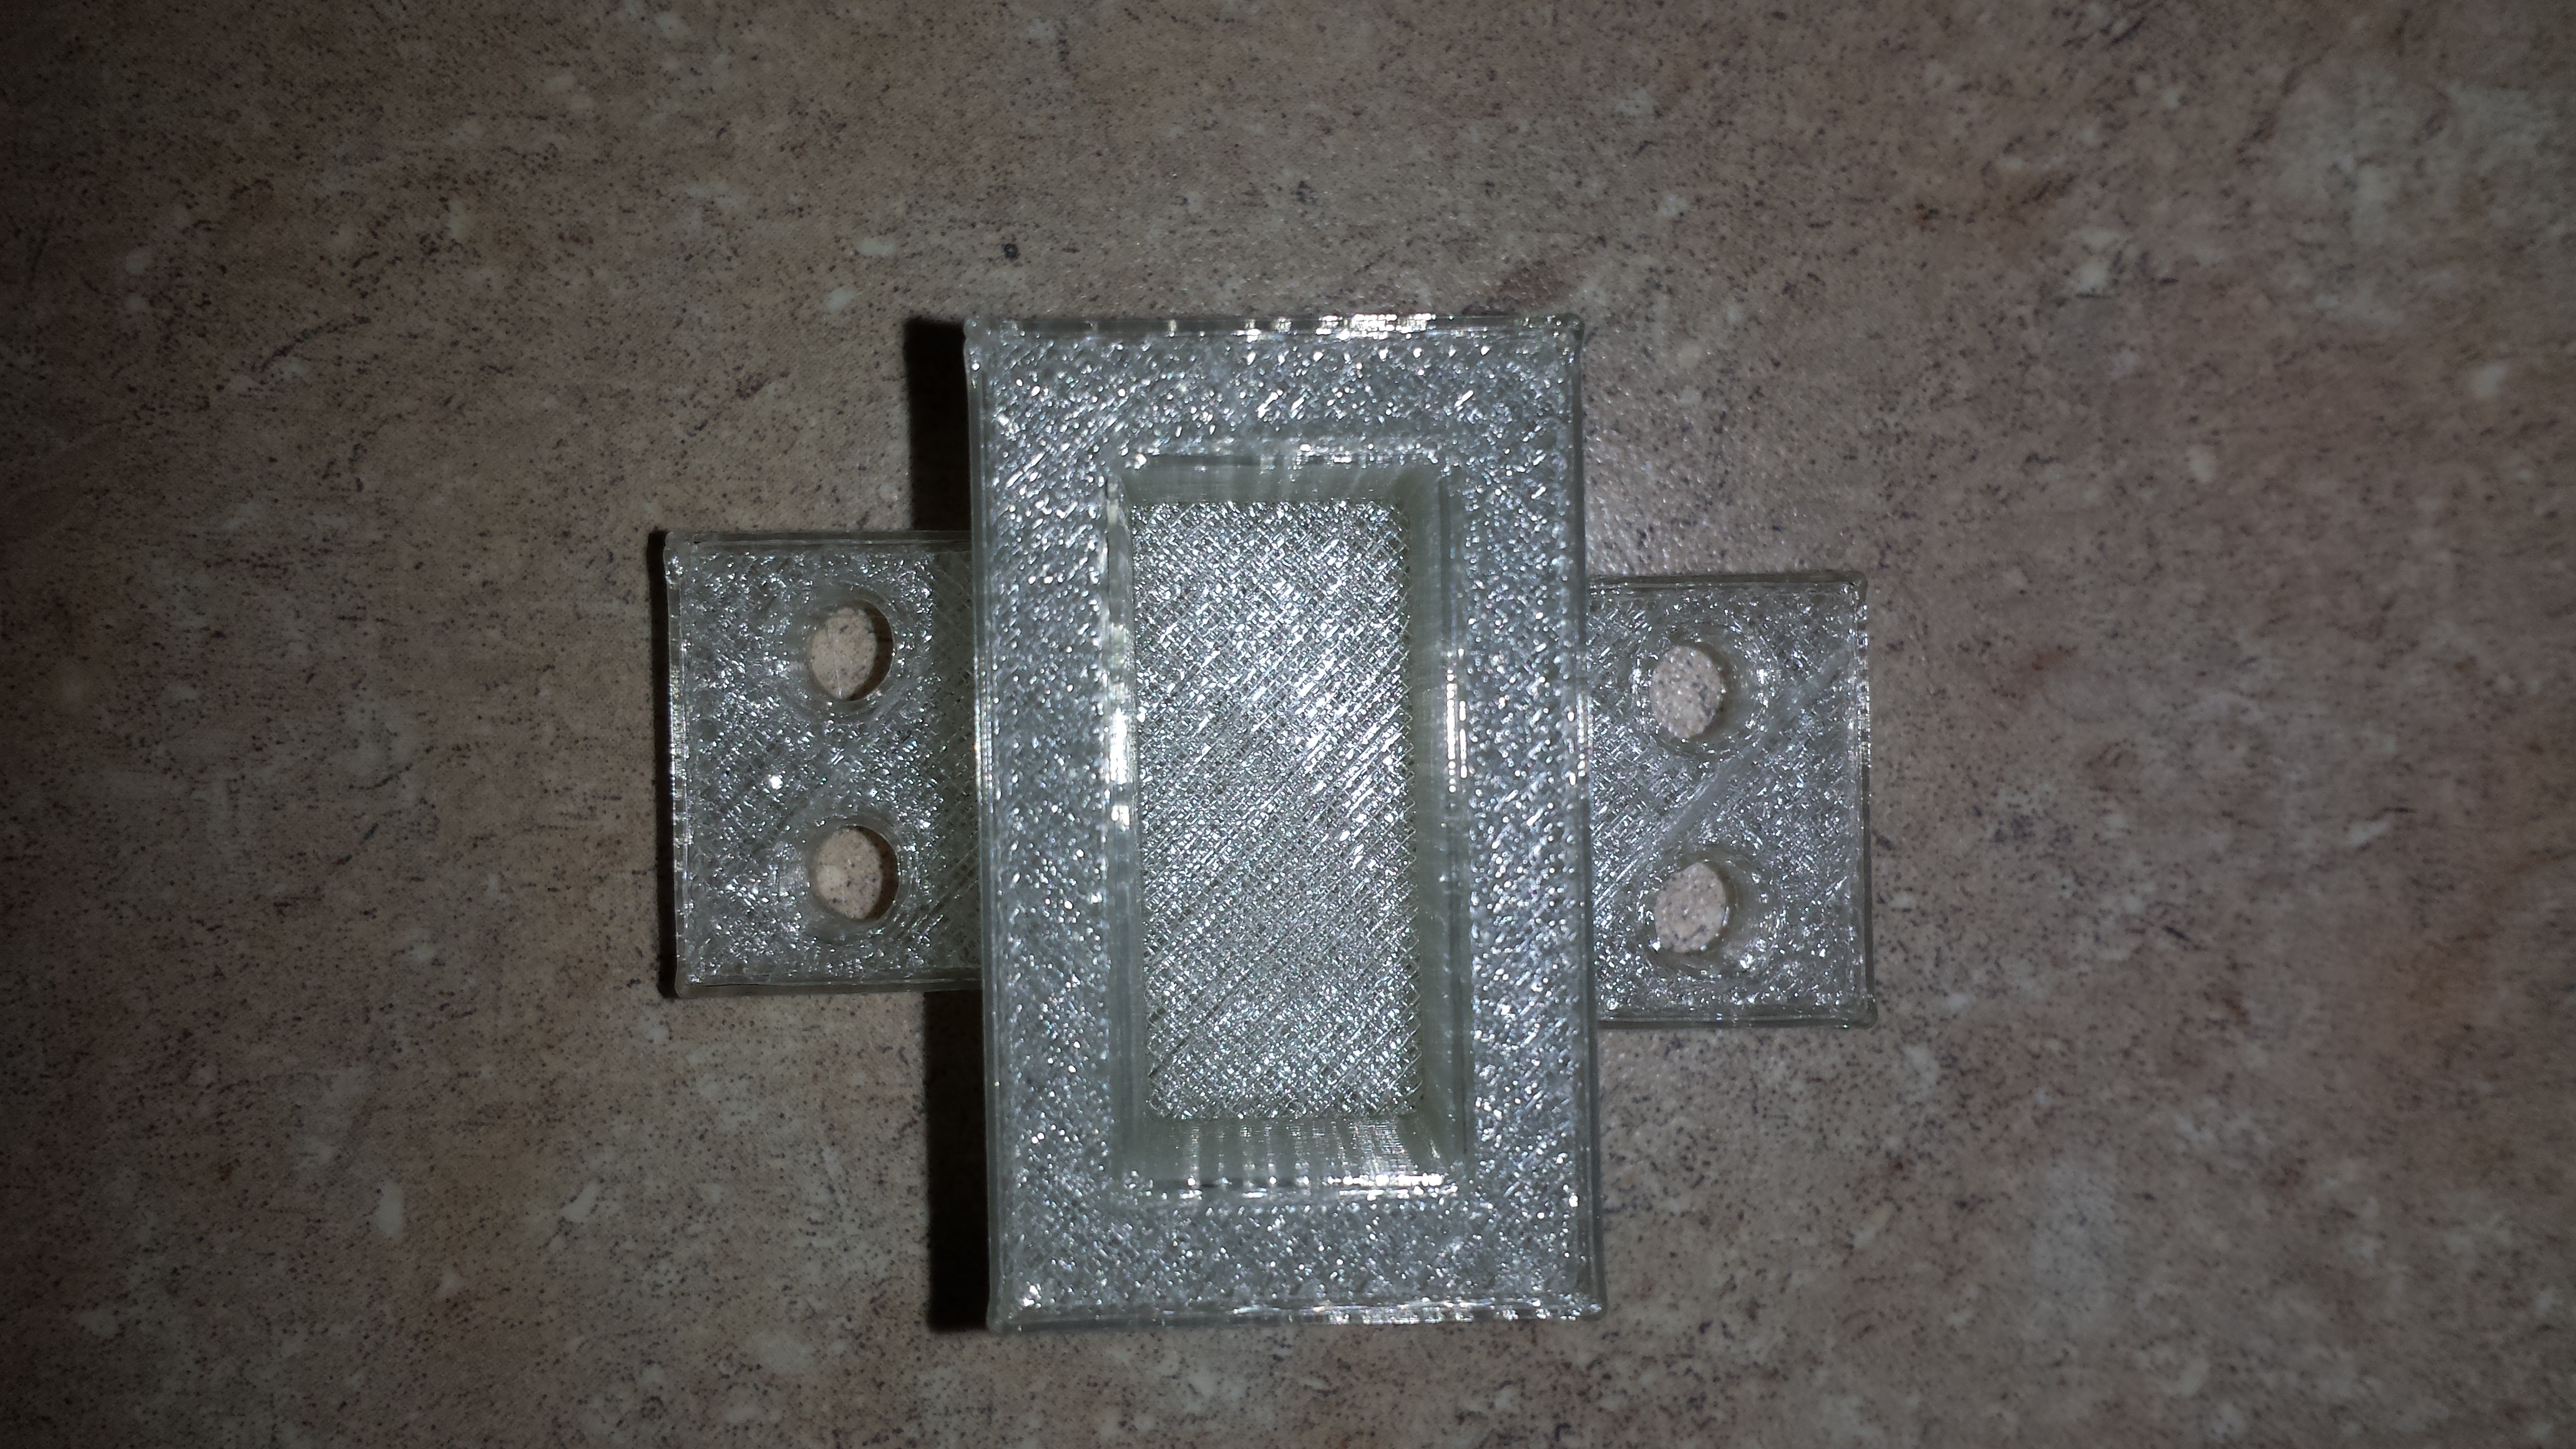
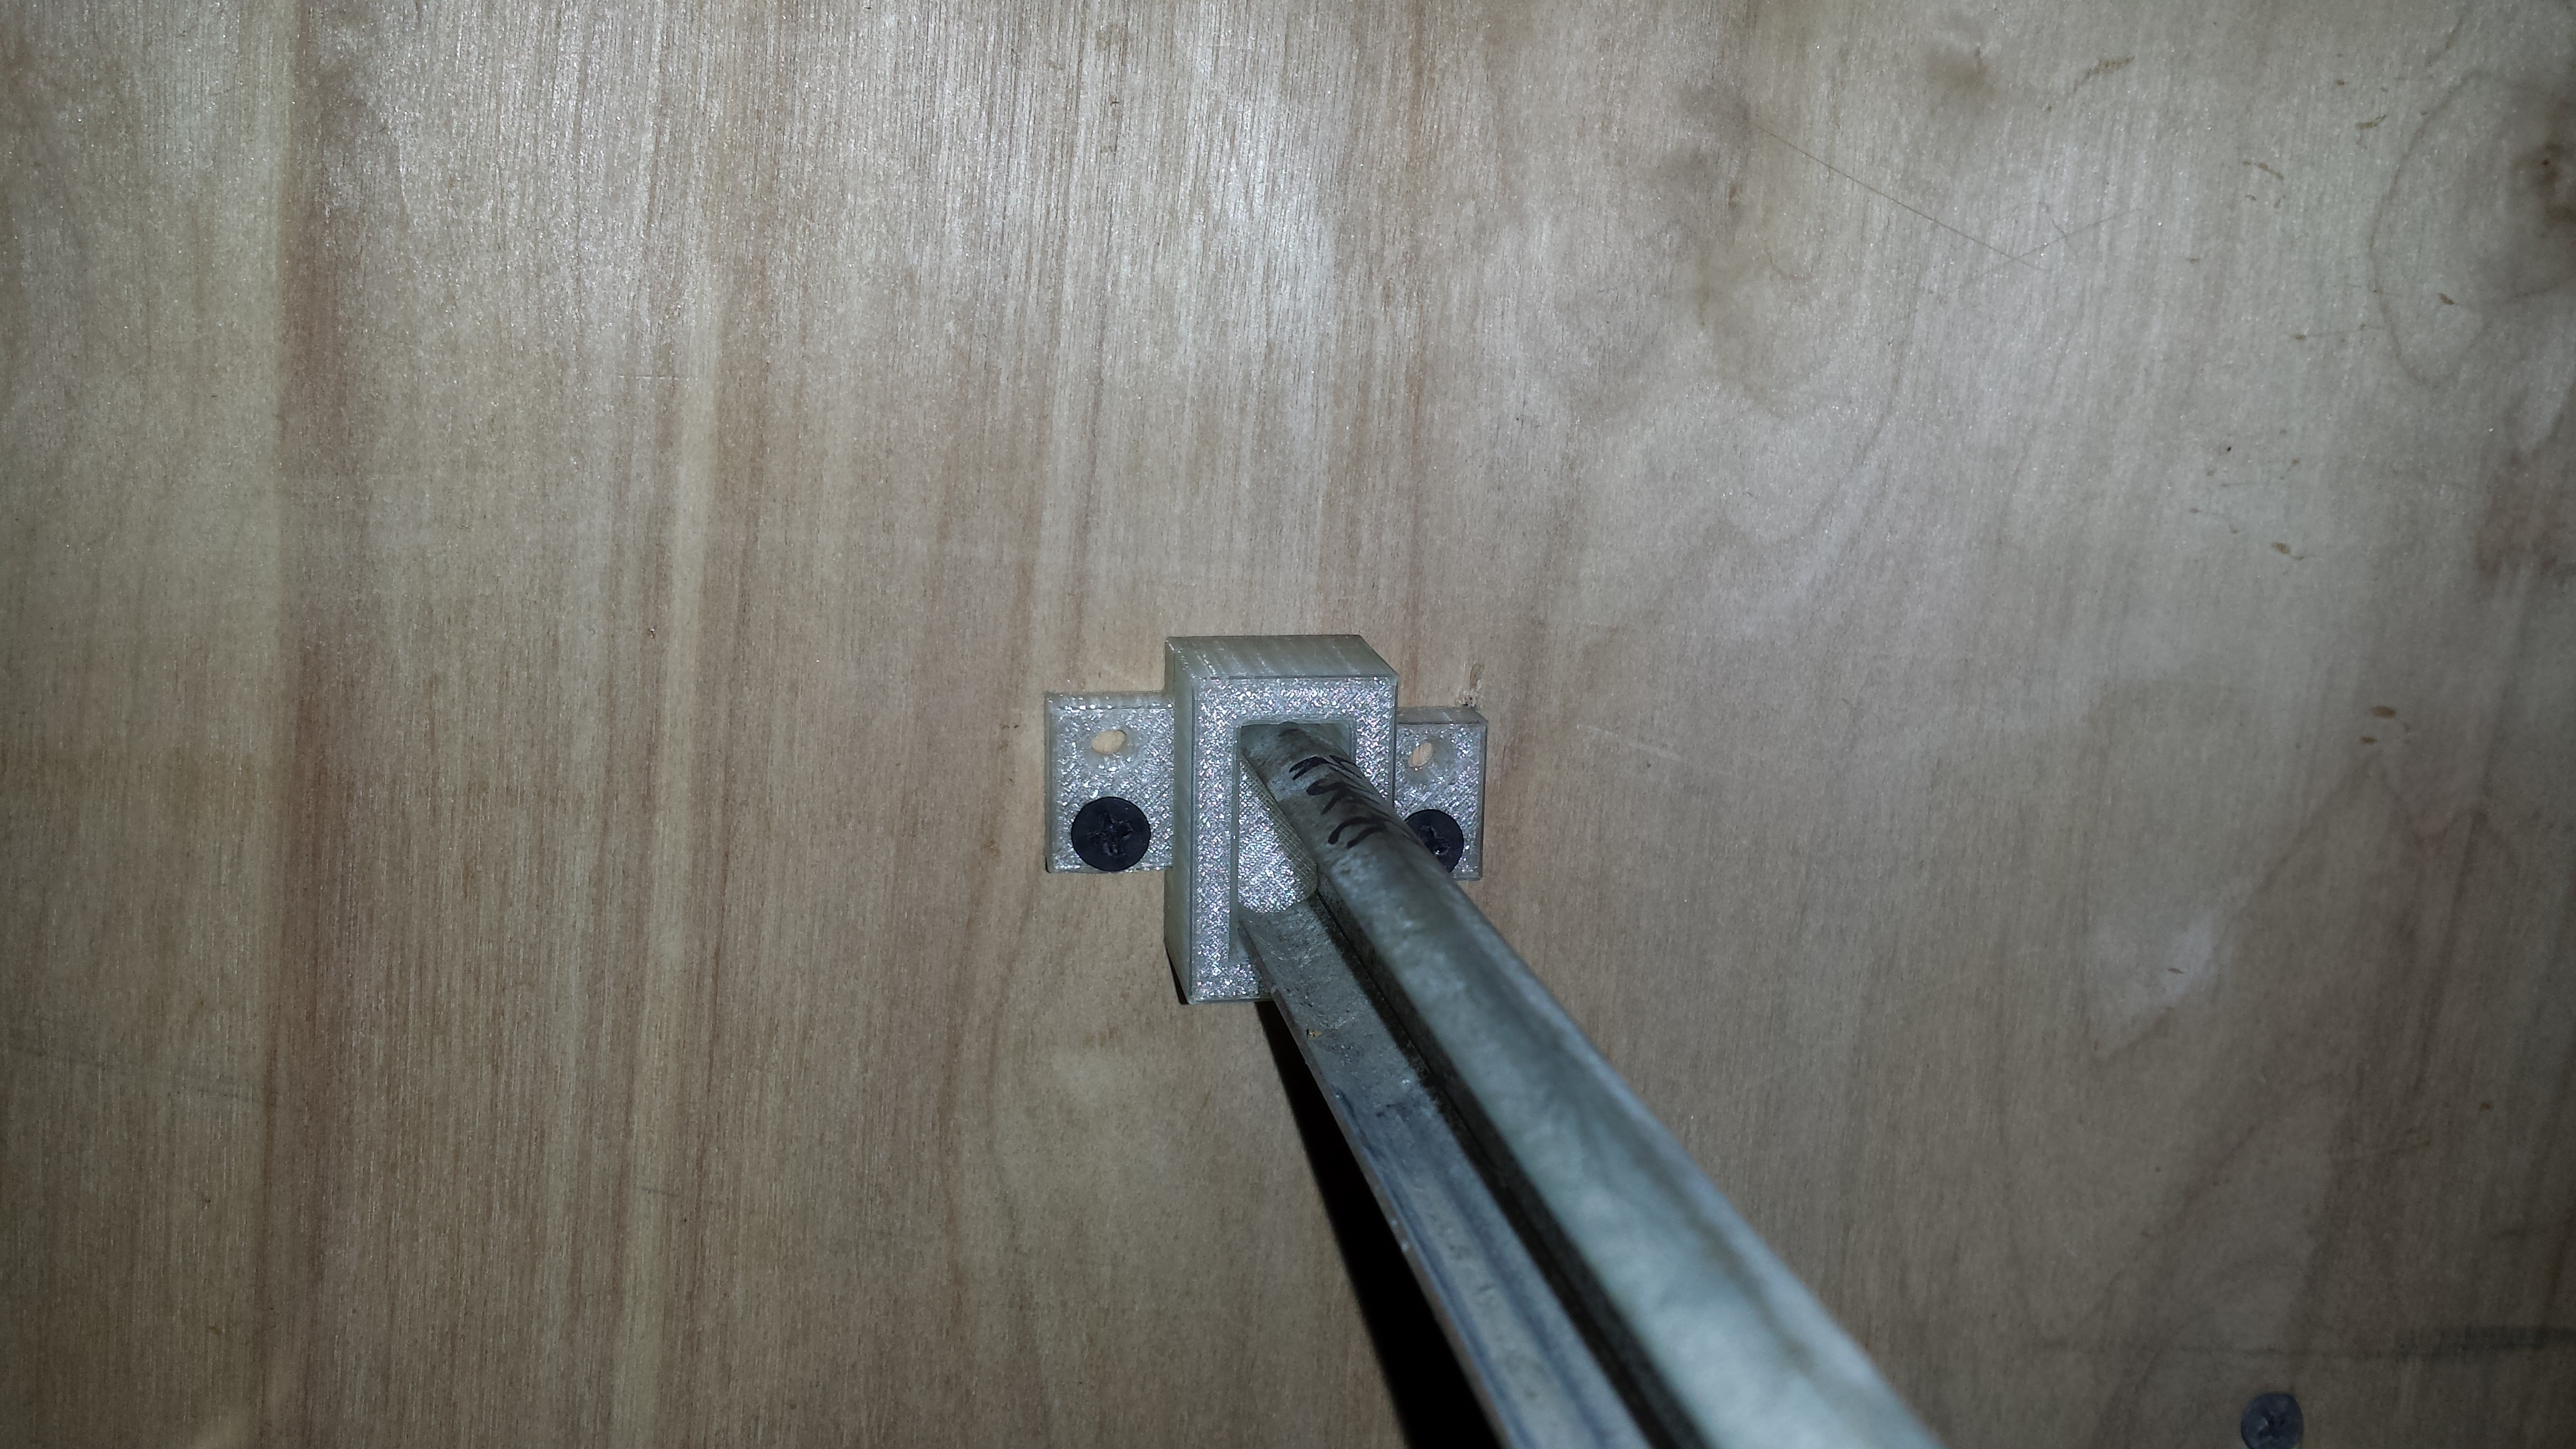
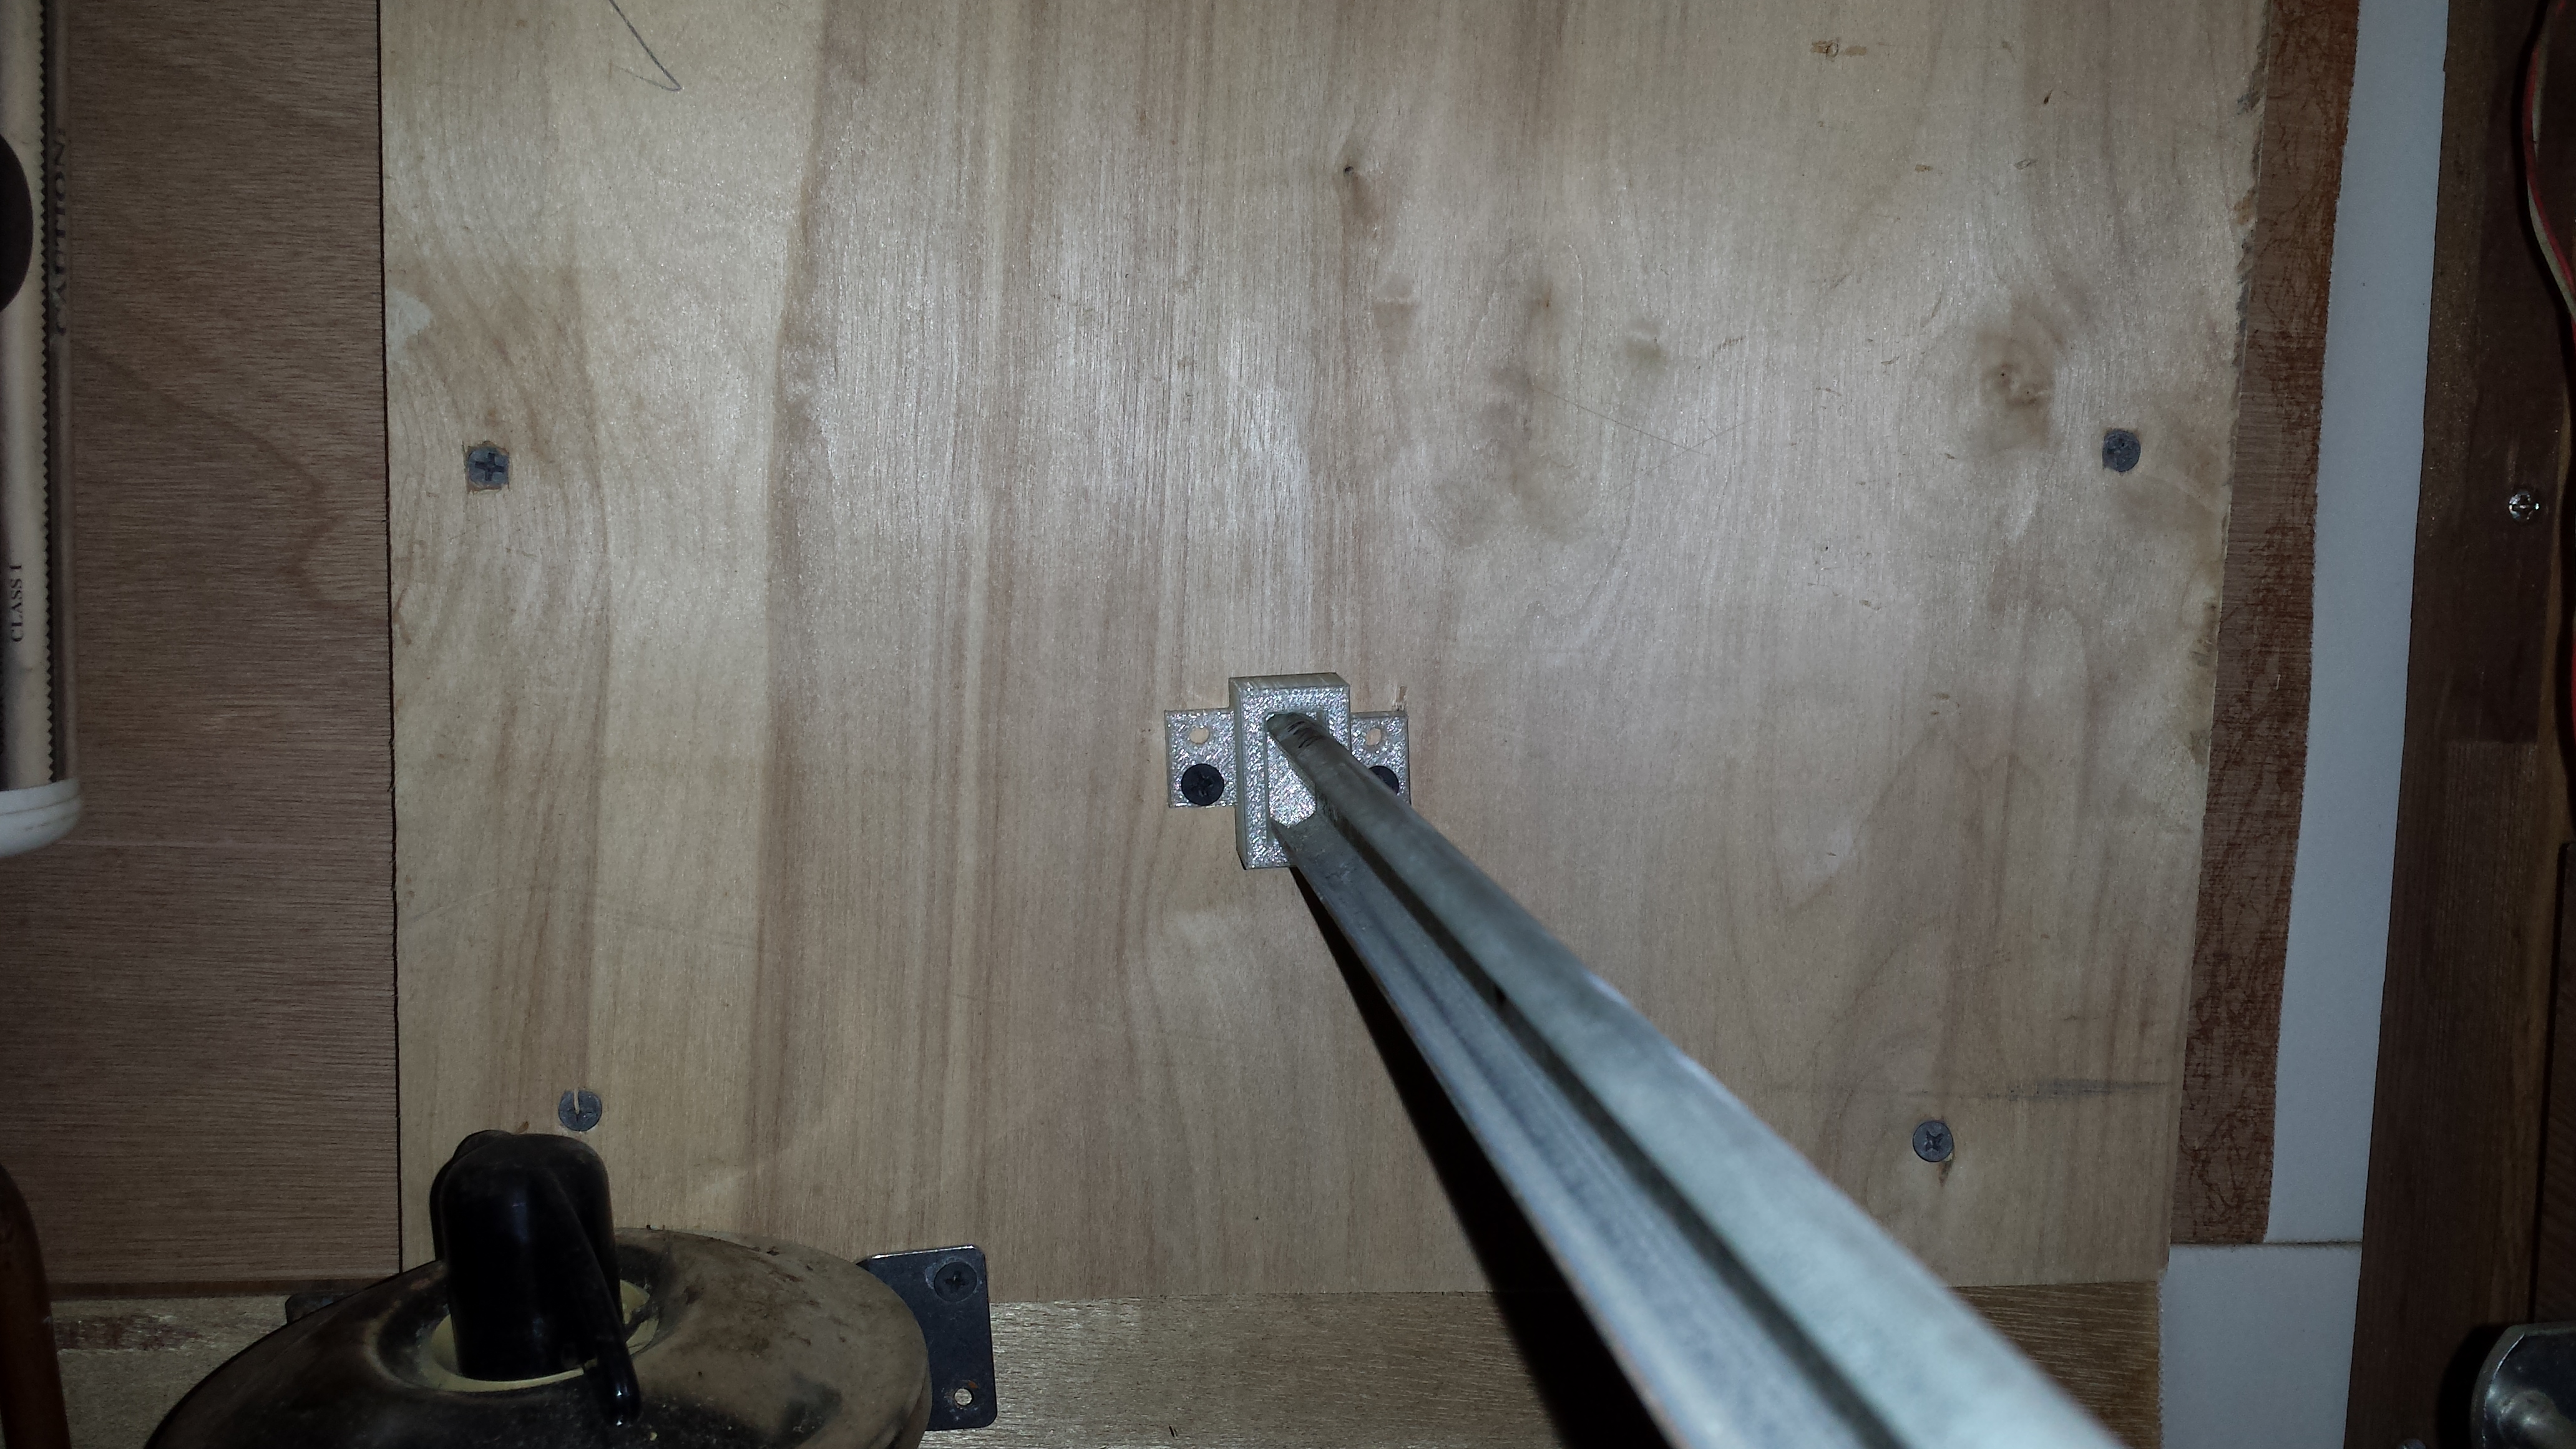
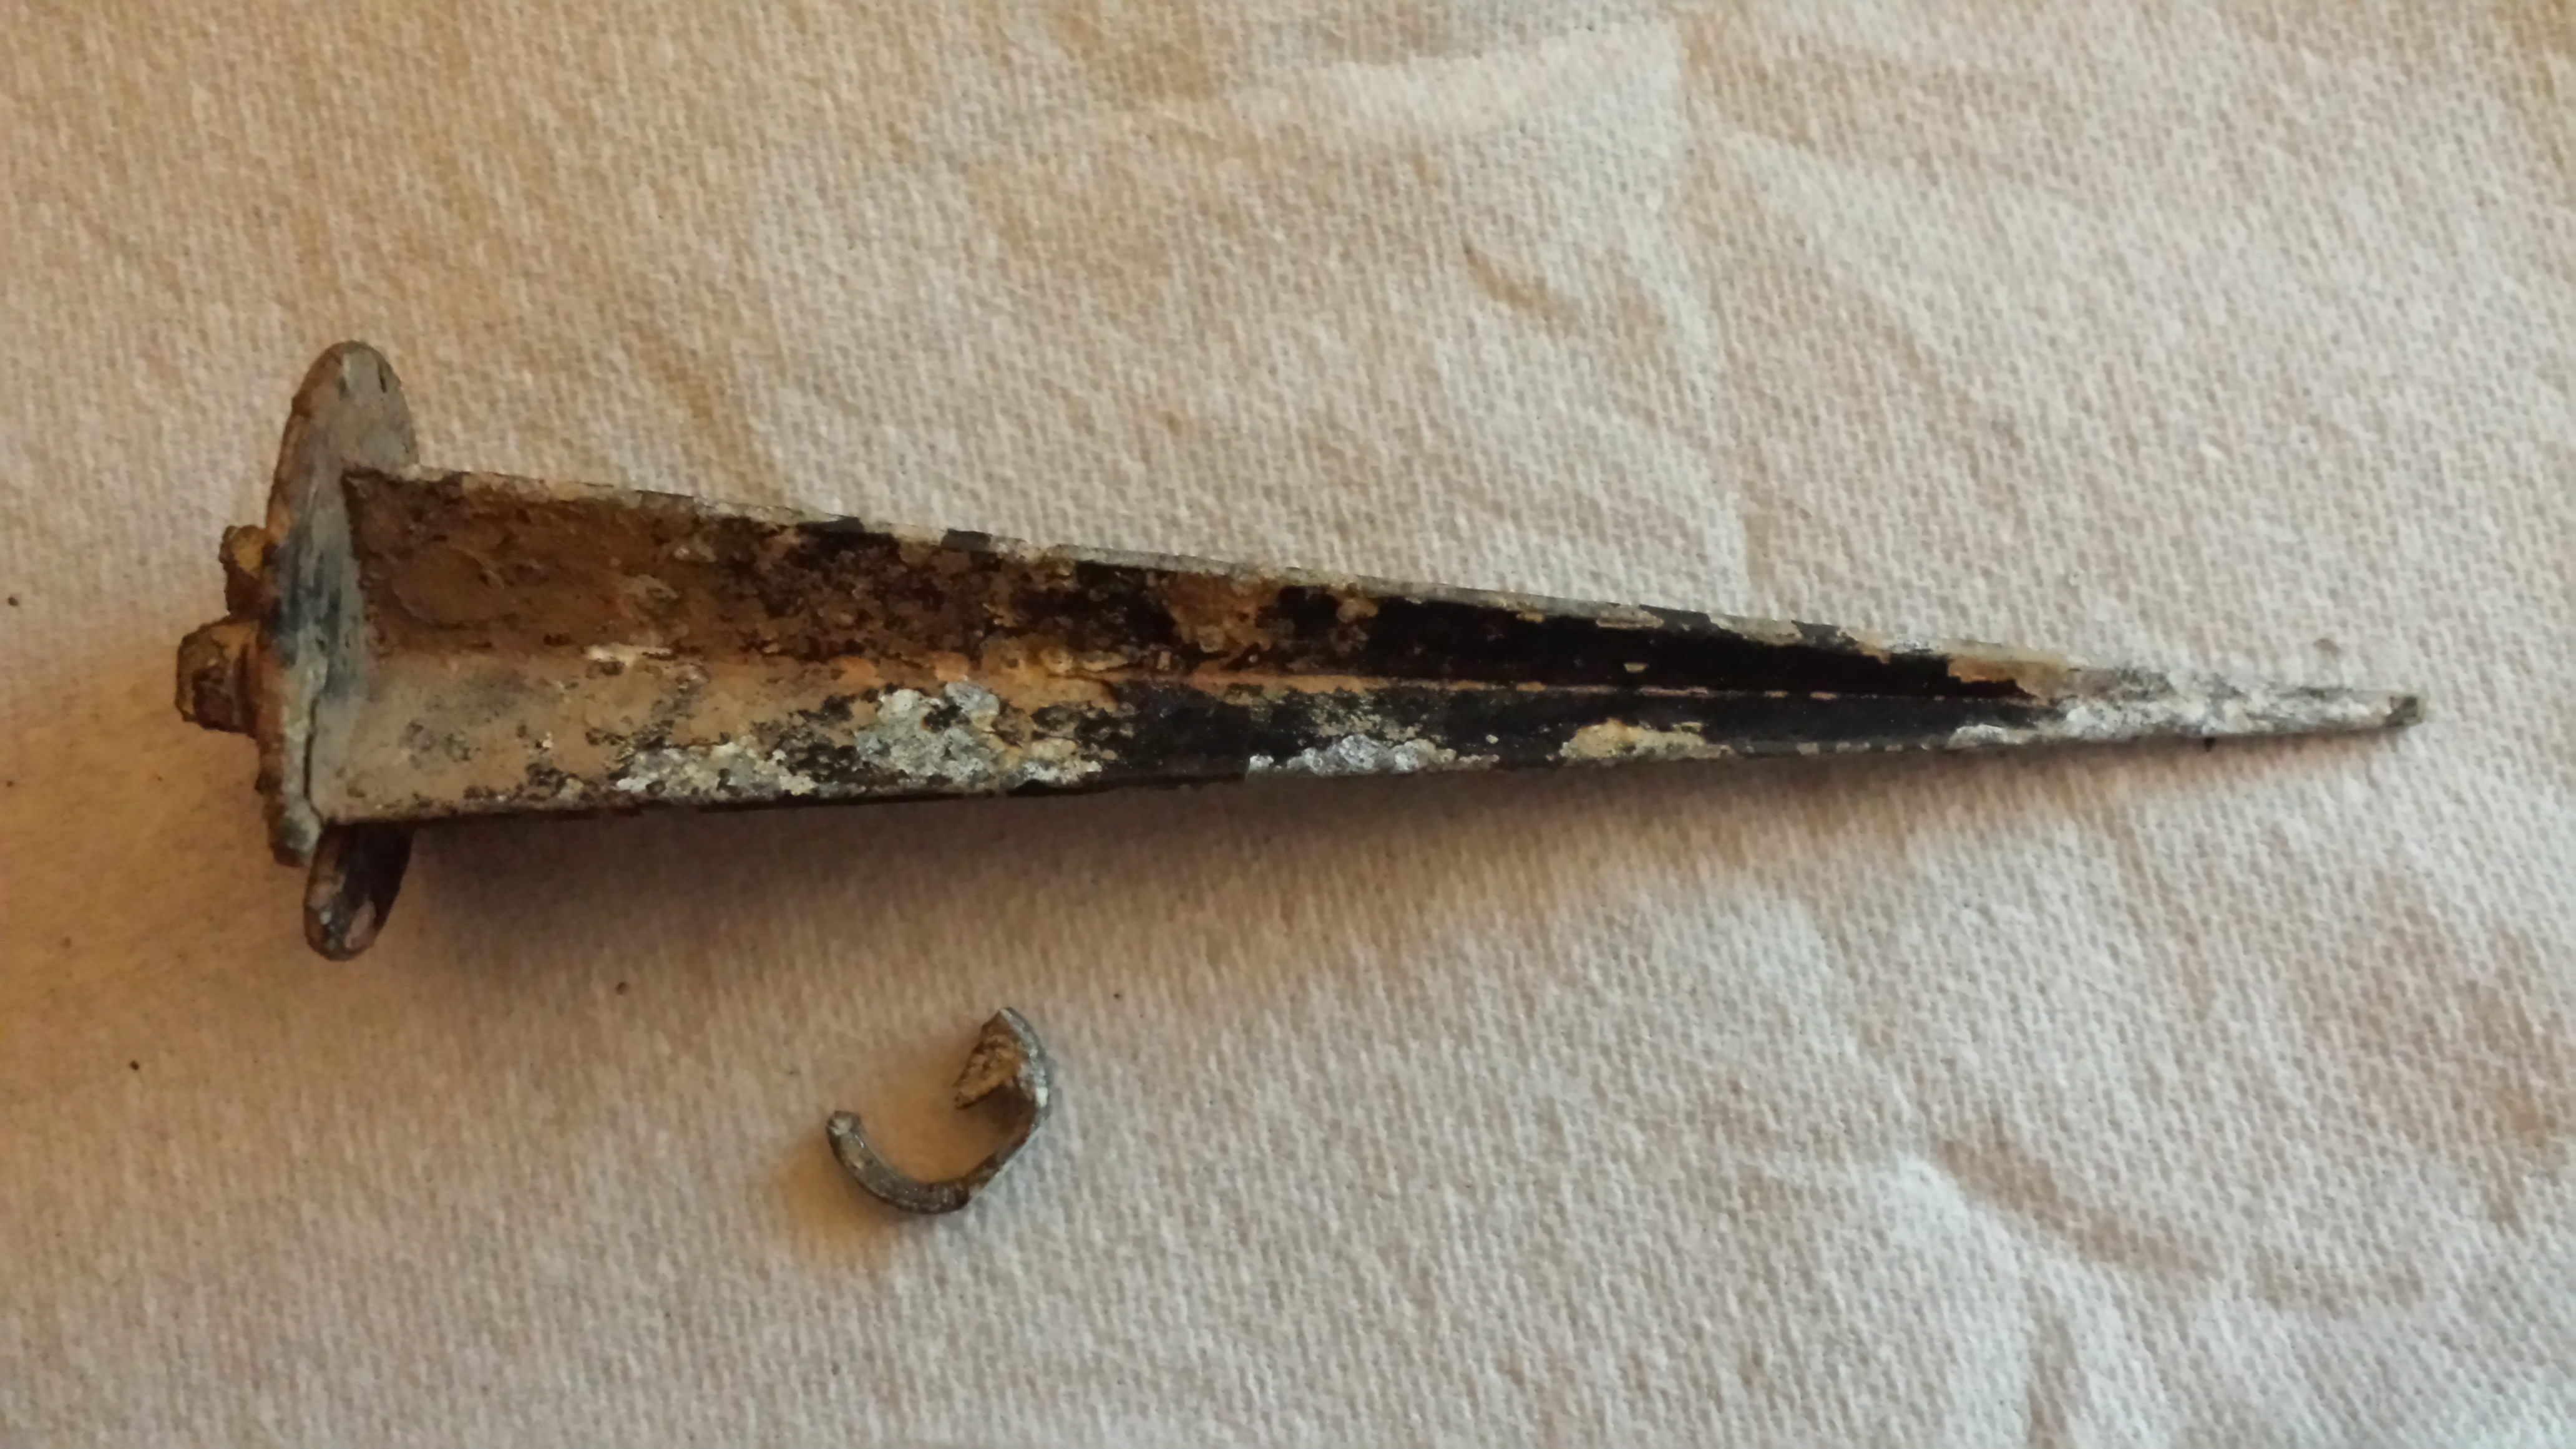
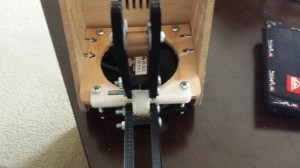
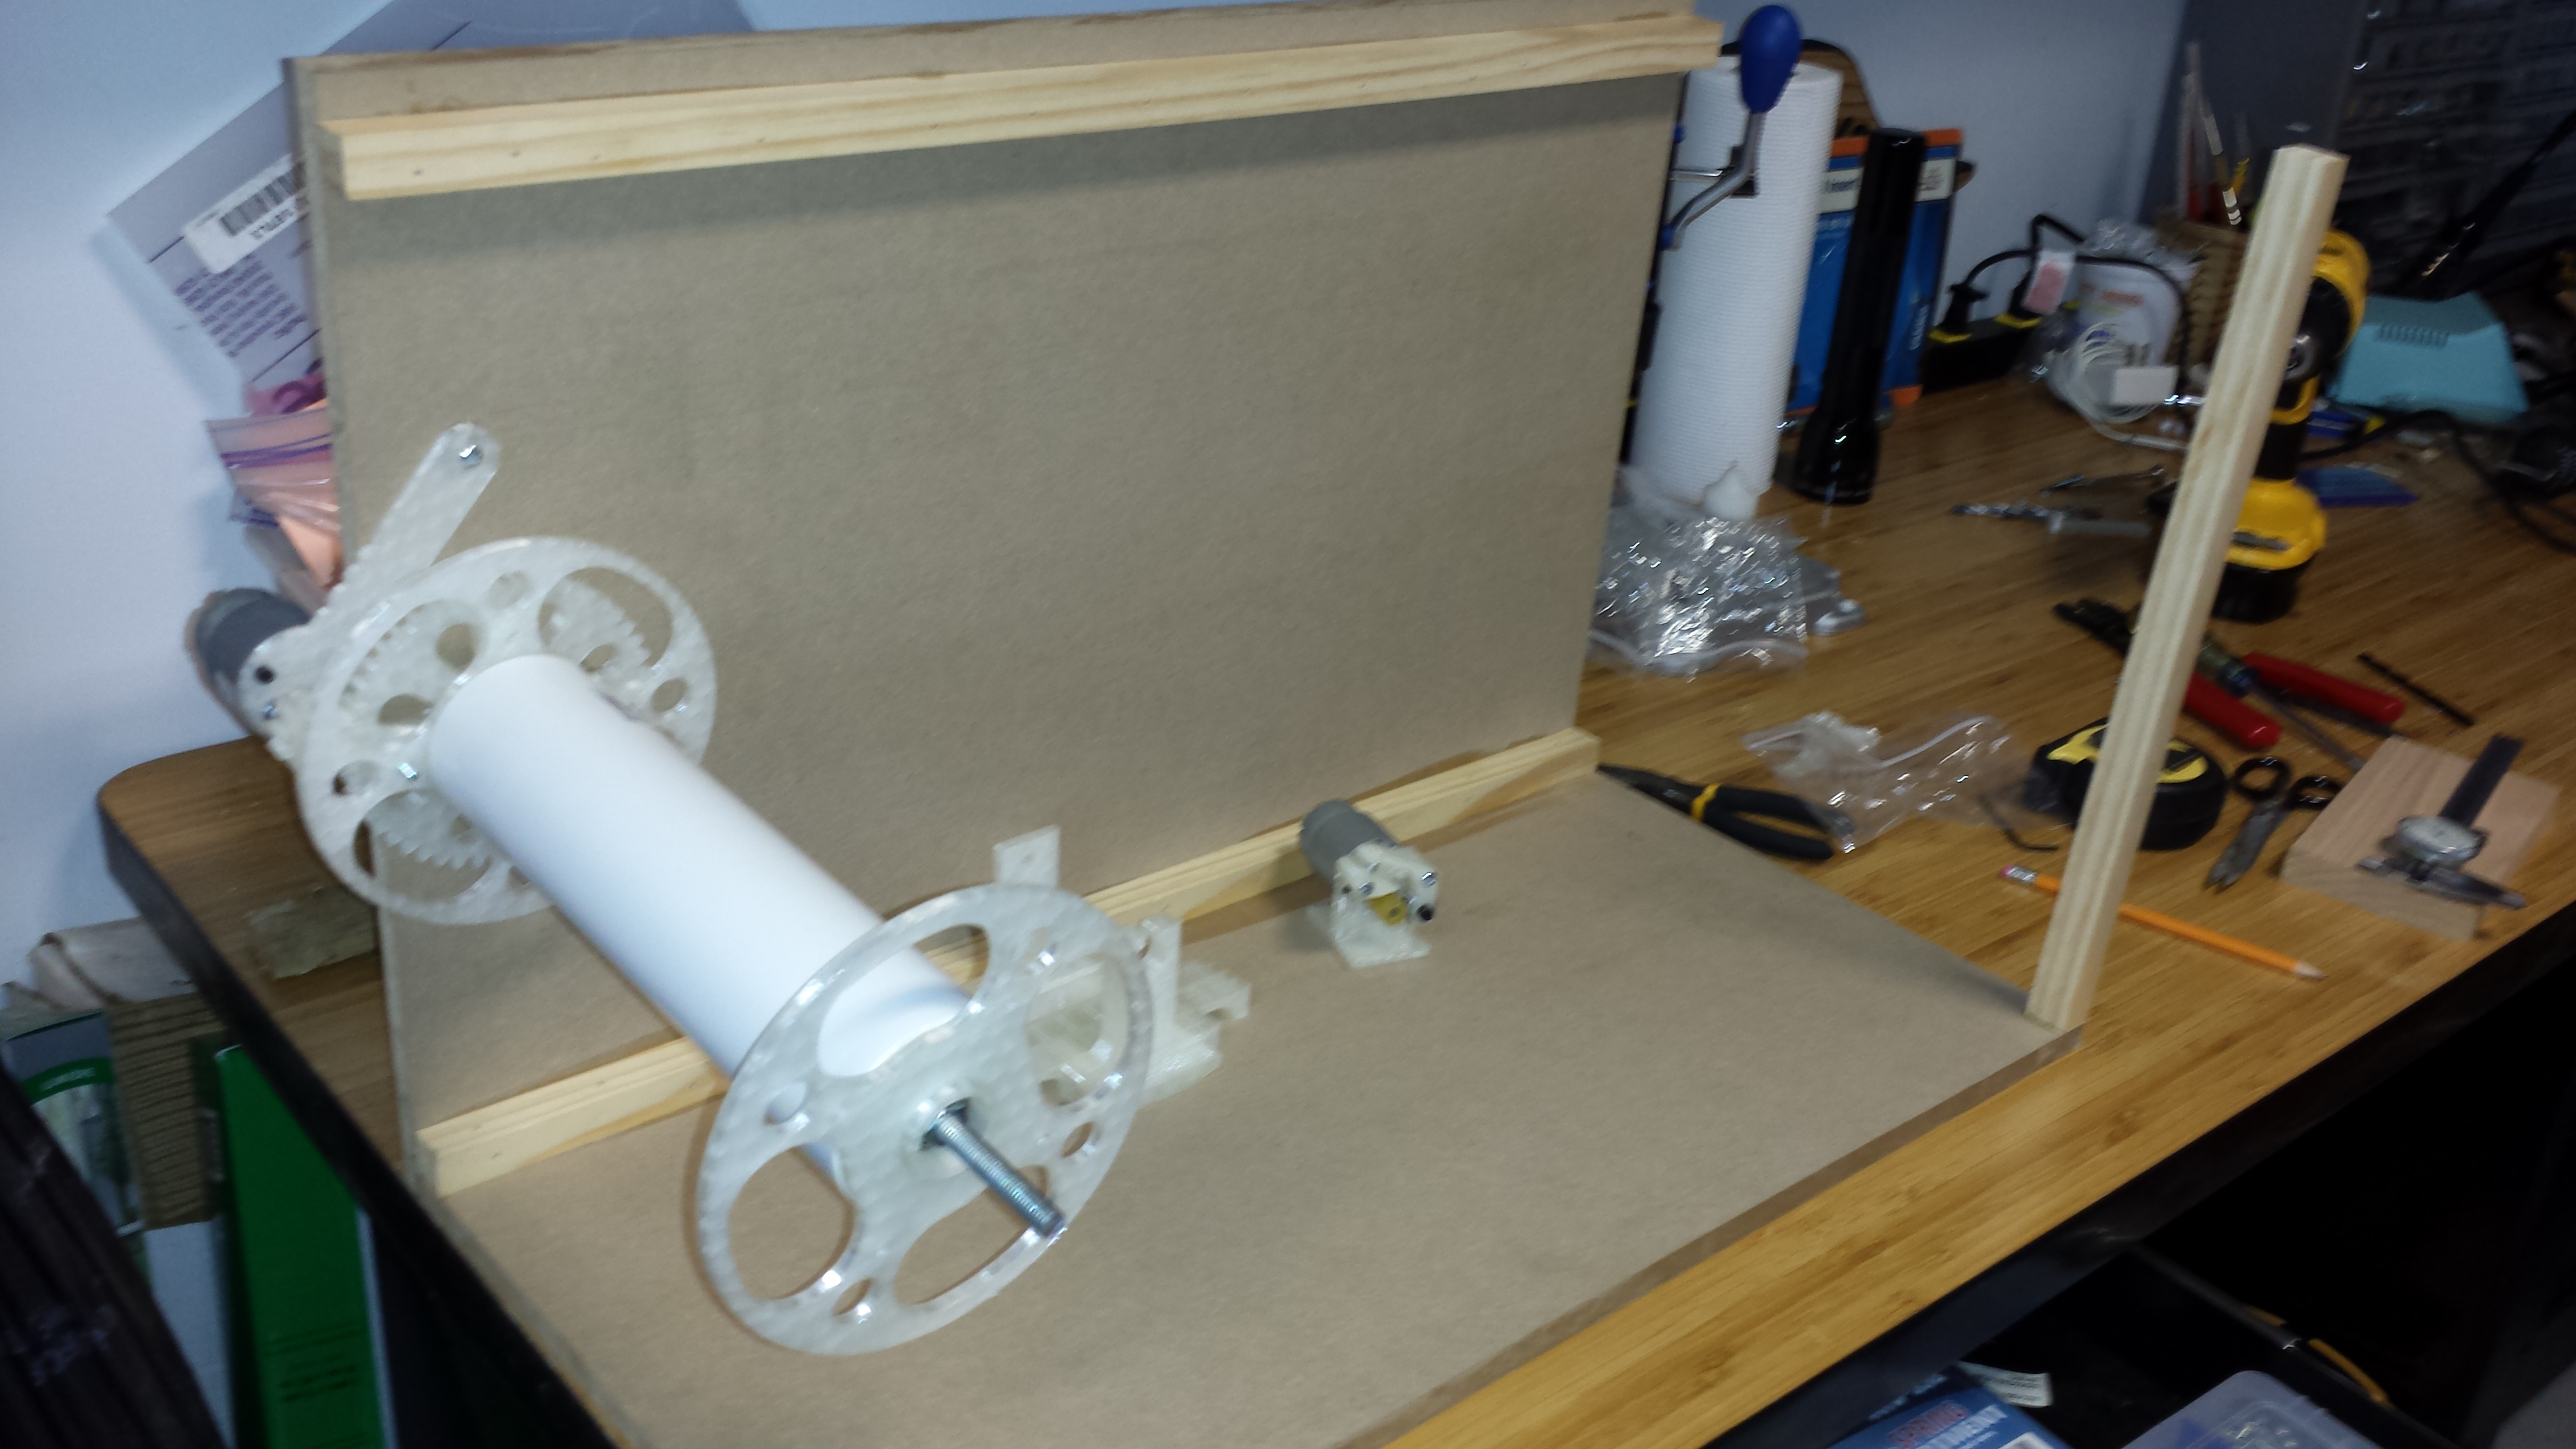 The puller assembled:
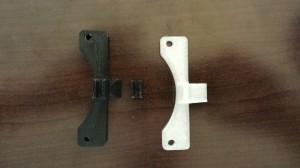
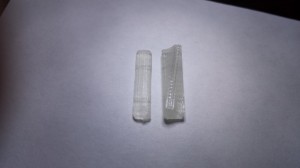
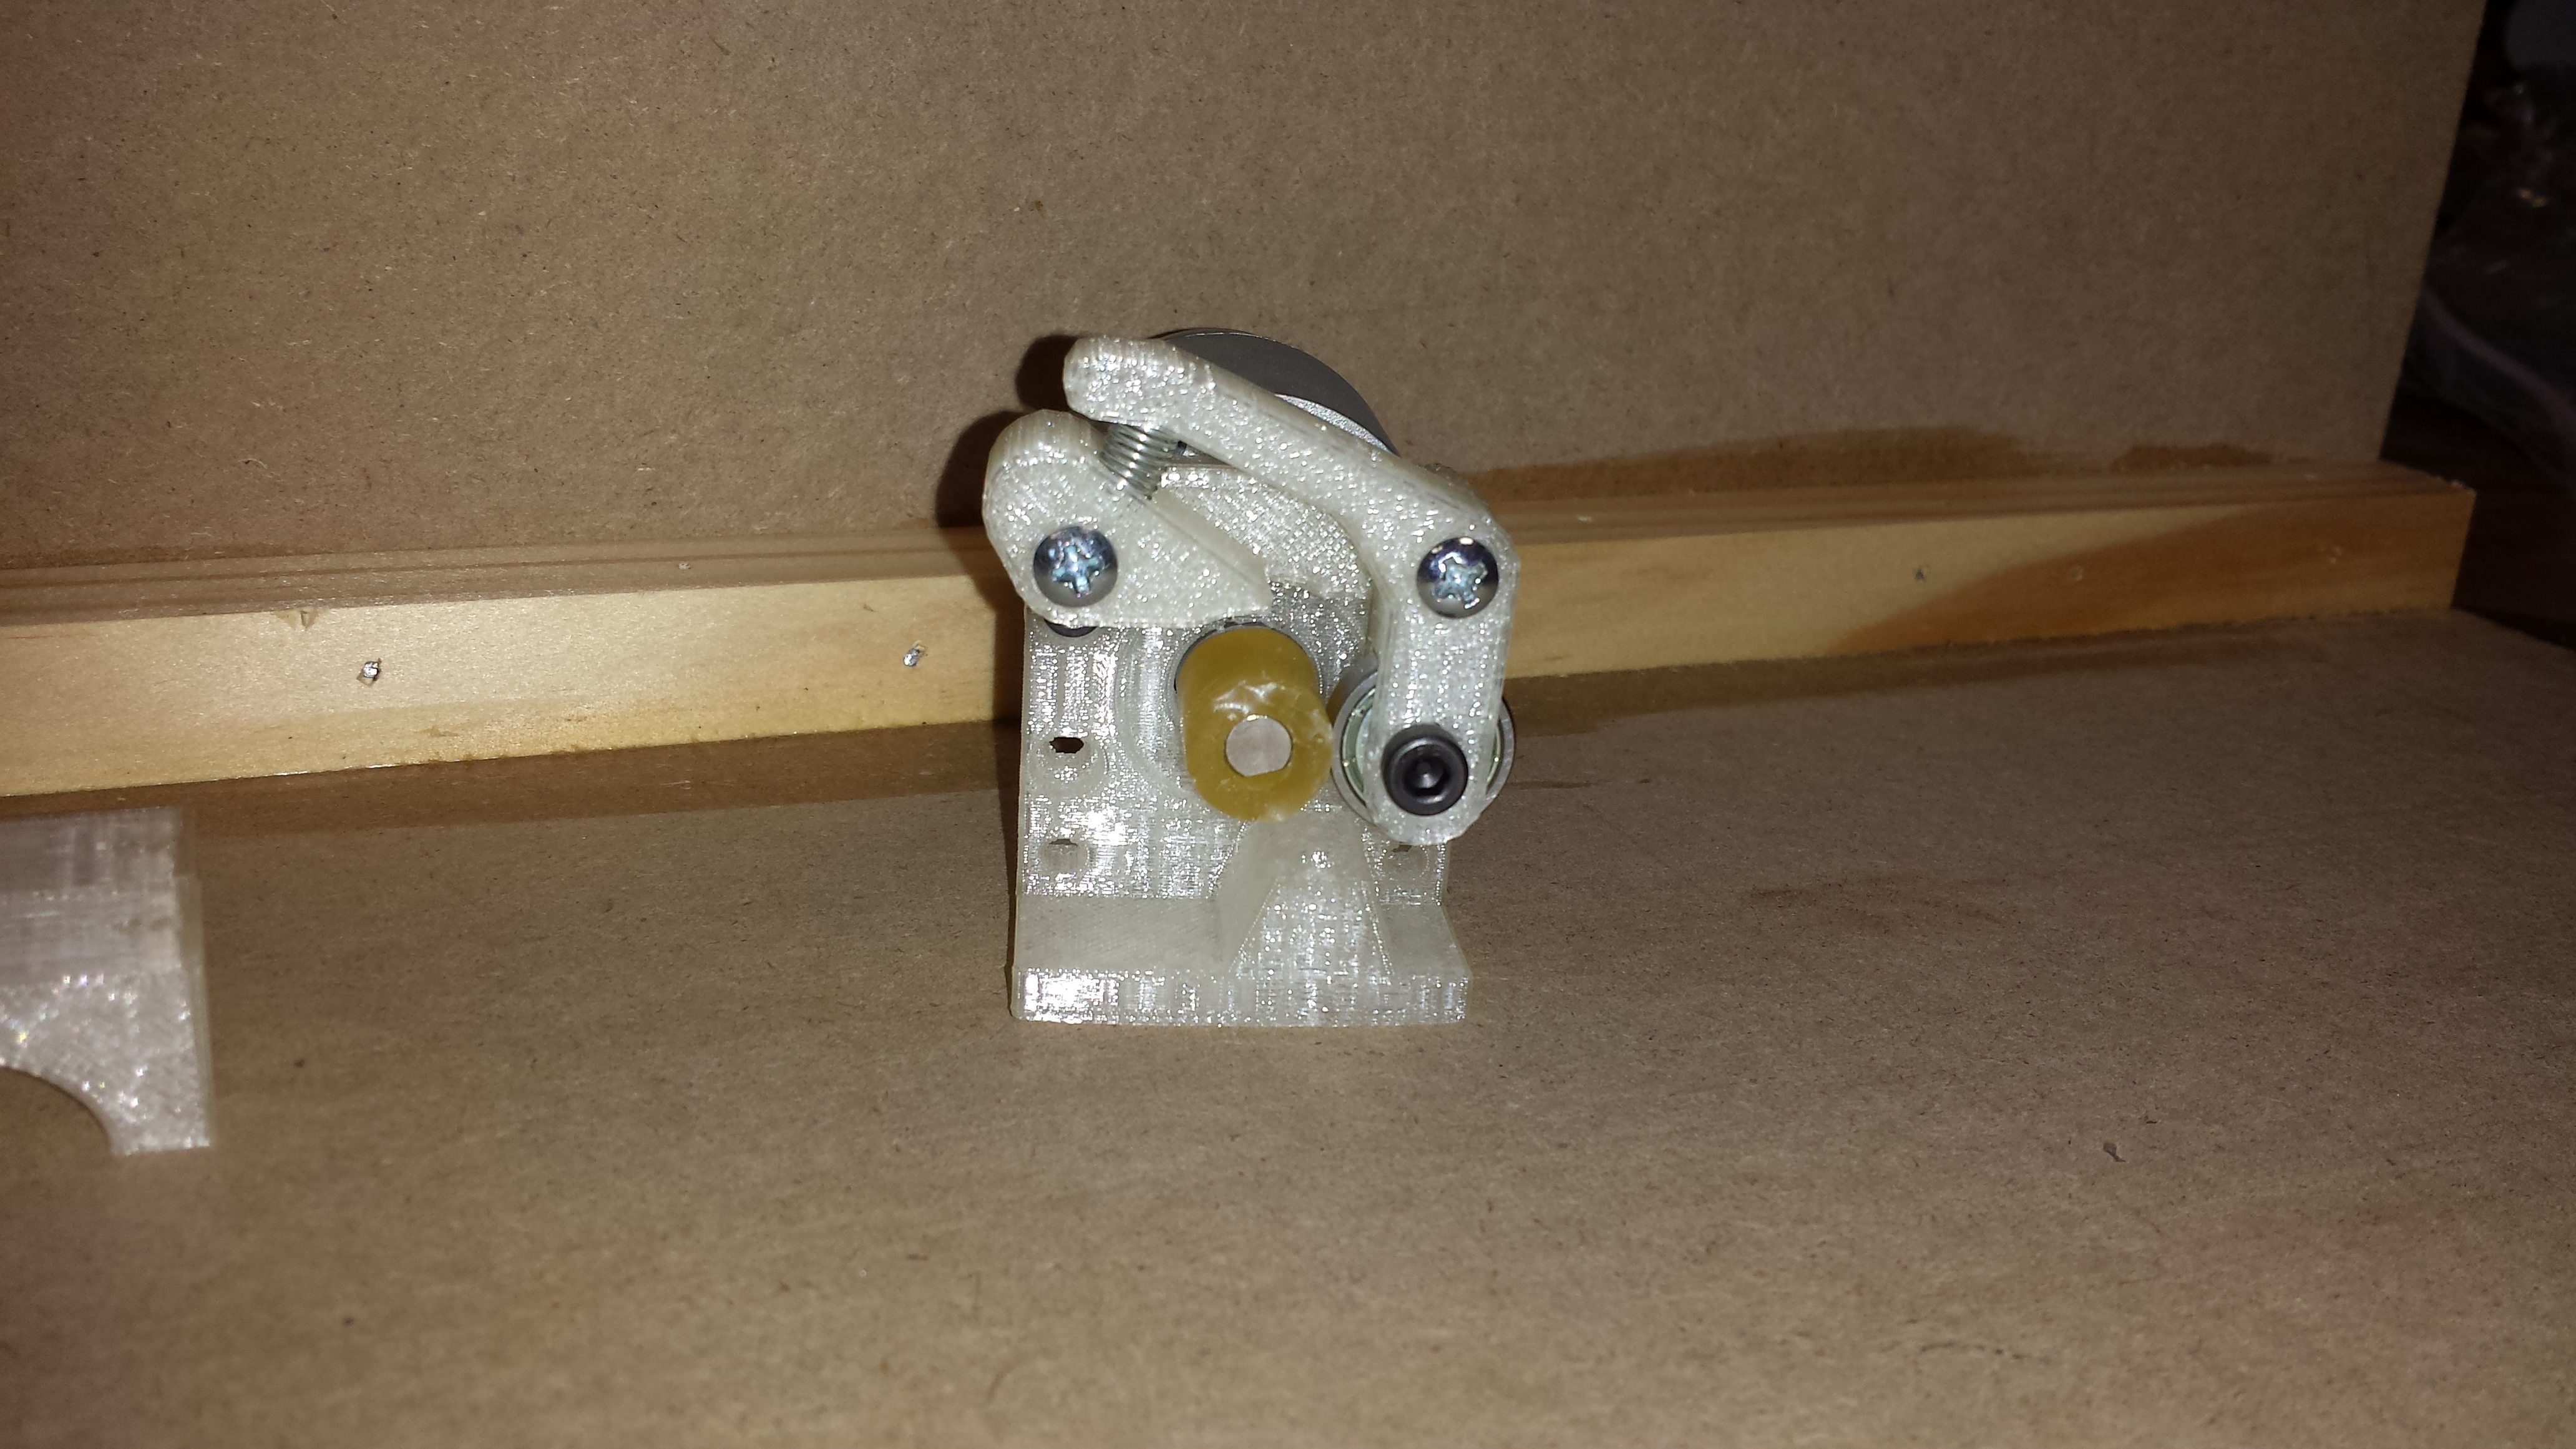 And the sensor parts are ready for the sensors.
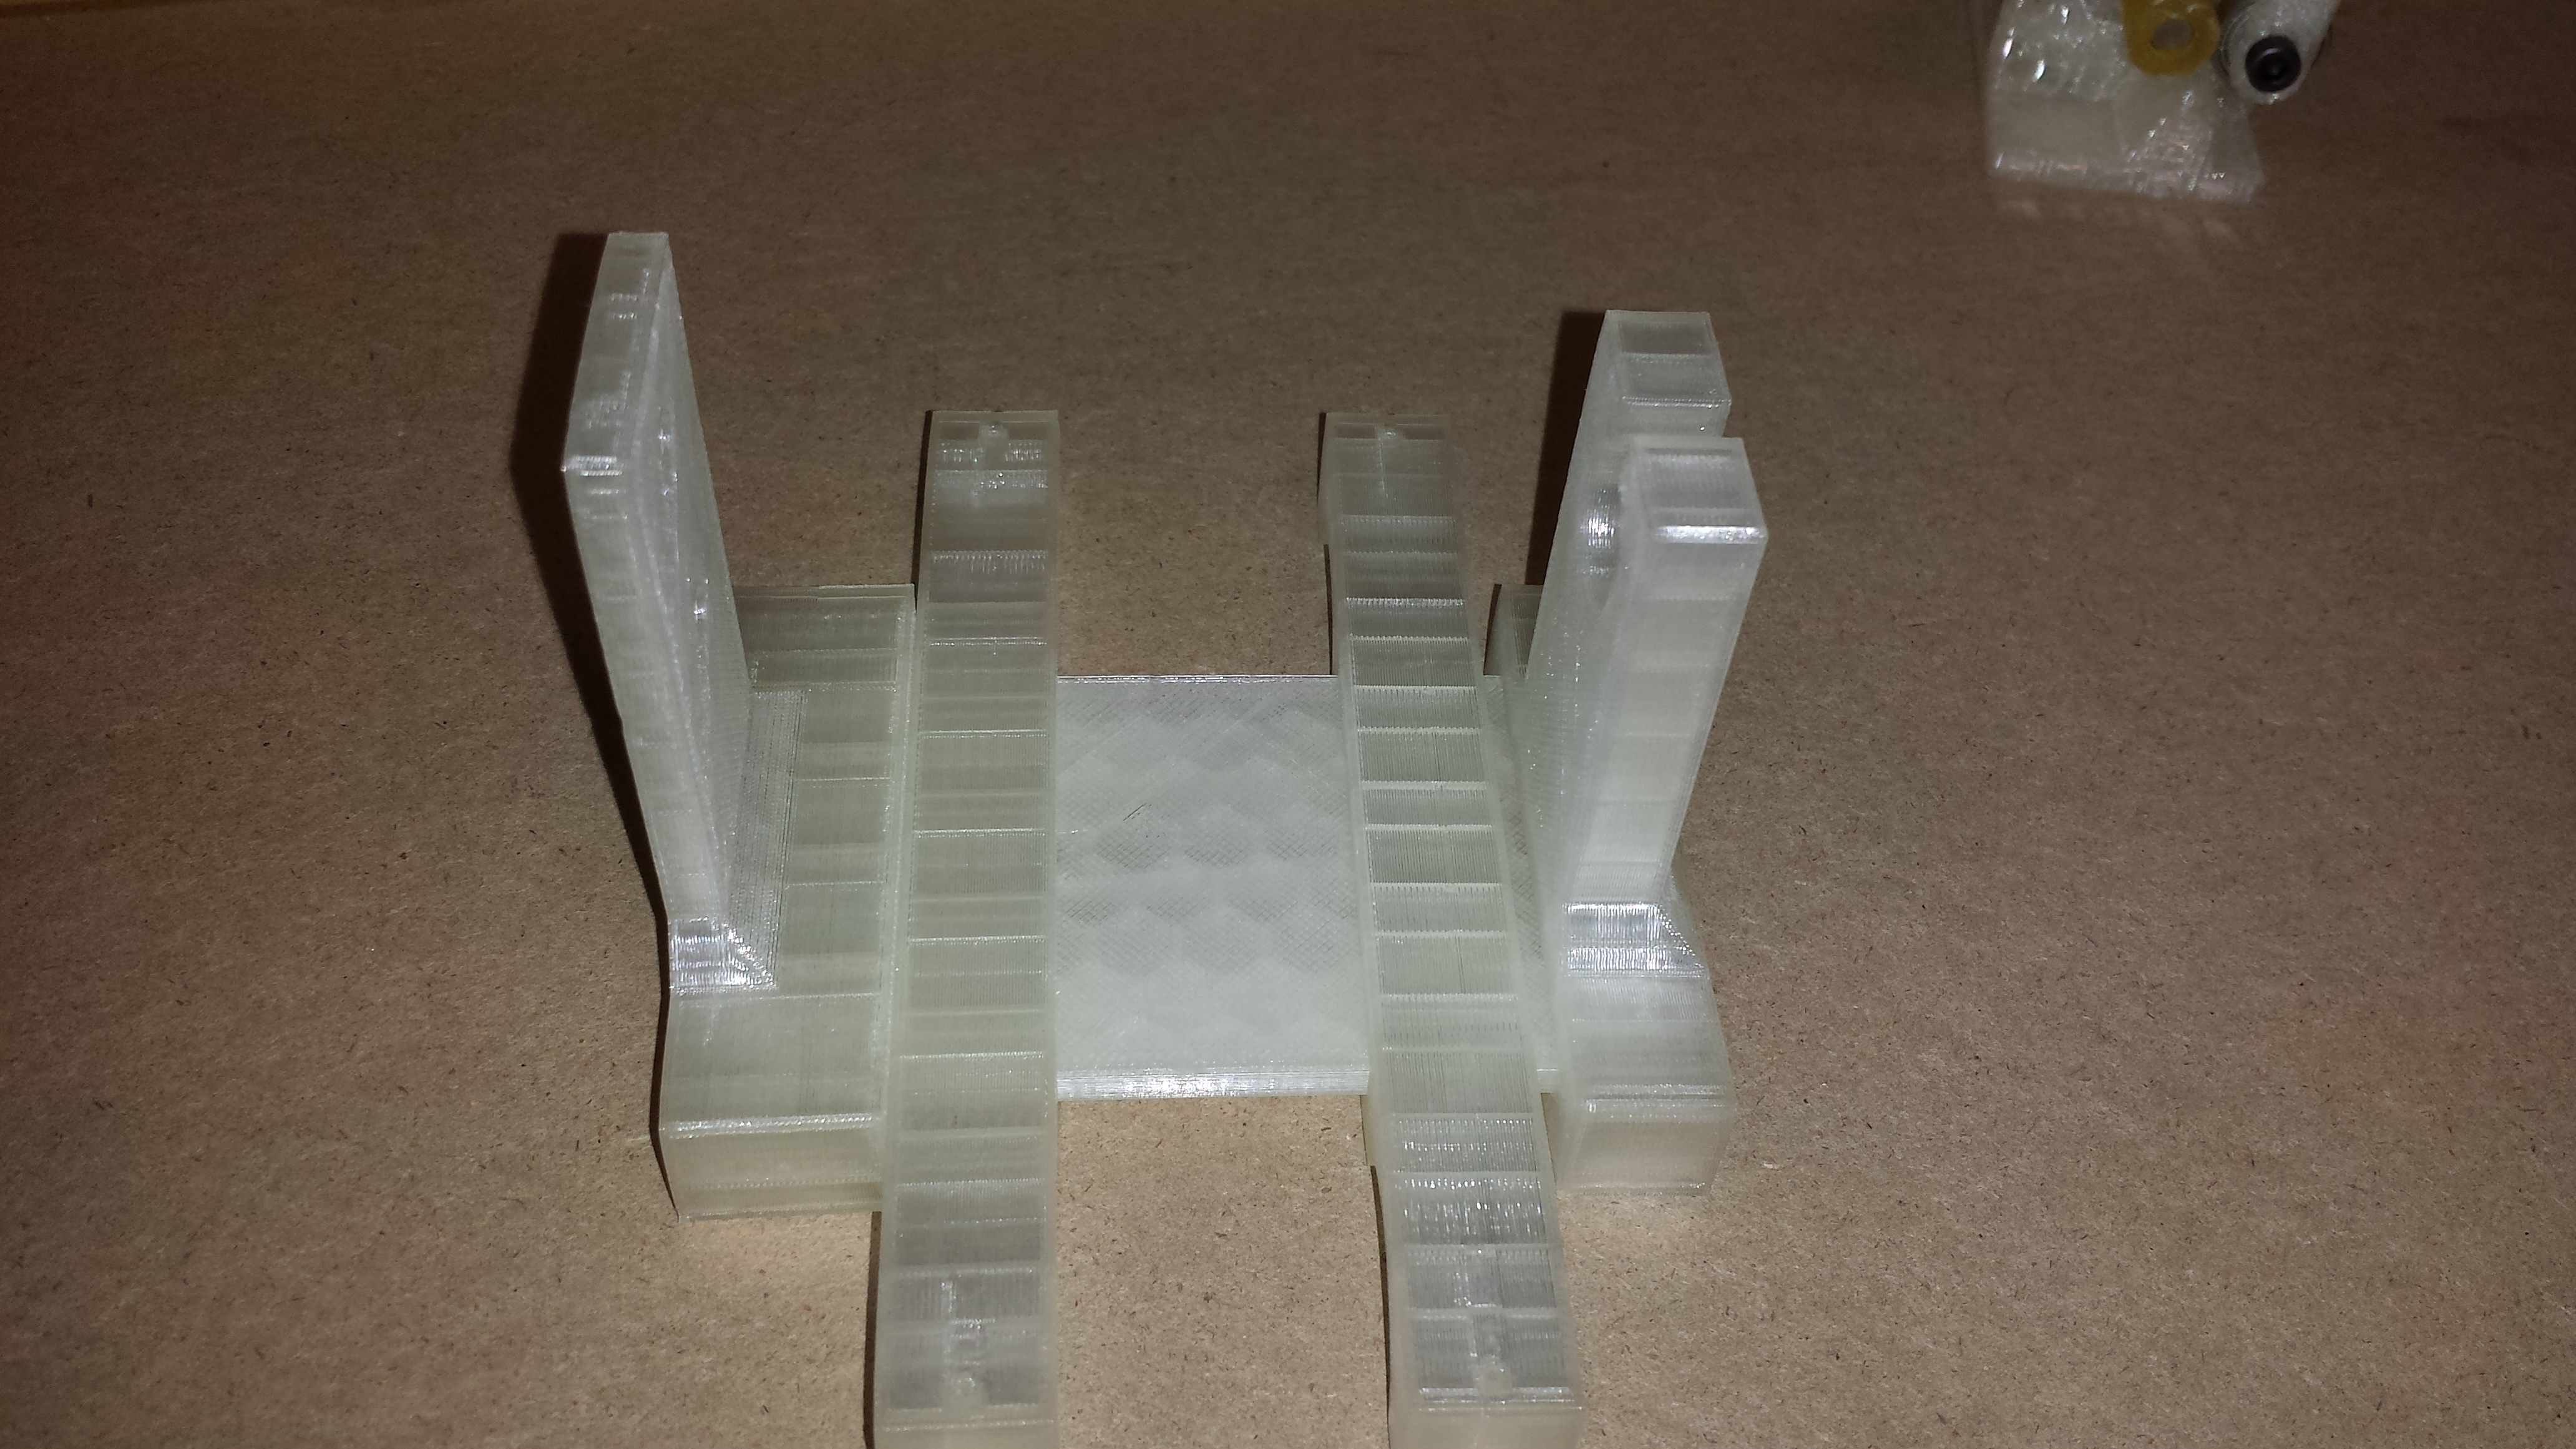 I still have a long way to go but at least its a start.